After the excesses of weekend feasting Monday nights in my household are vegetarian and usually include a dal of some sorts. This past weekend has been a whirl of celebration with my eldest daughter’s birthday sleepover followed by a large family lunch to celebrate, as well as squeezing in a celebration dinner in honour of our talented artist friend, Adele Henderson (you heard it hear first folks) who was displaying some of her charcoal paintings at the prestigious Mall Galleries in London.
Like soups, which I am a huge fan of, dal is the ultimate homely and warming comfort food. There are hundreds of varieties from all over India, Pakistan and Bangladesh and each week I try and cook a different one from the week before. Some require soaking, and others you can cook straight away. This week I have used toor dal (similar looking but smaller in size to channa dal), which I try to soak if I have the time (either overnight if you are very organized or simply for 20 mins). This simply makes the cooking time quicker, but is not essential to the cooking process. My usual routine is to soak the lentils on Sunday night and then to cook the dal on Monday morning. The whole cooking and preparation time takes no longer than 45 minutes (if you have not soaked and less if you have) so can easily be done prior to leaving the house, or returning later in the day.
This dal contains some wonderful flavours that work so well together. Asafoetida, or hing as it is also known, should be used with caution as it has a pungent smell, but adding a good pinch really adds a depth of flavour, which keeps you coming back for more. If you can use fresh curry leaves then use them, otherwise dried is fine. Fresh curry leaves are wonderfully fragrant and again really add great flavours to the dish. Then there is the sweet and sourness from the tamarind. I tend to opt for concentrate as it is easier to come by in regular grocery shops, however if you have some tamarind you can soak it and then strain it and add the tamarind pulp that is strained through the sieve.

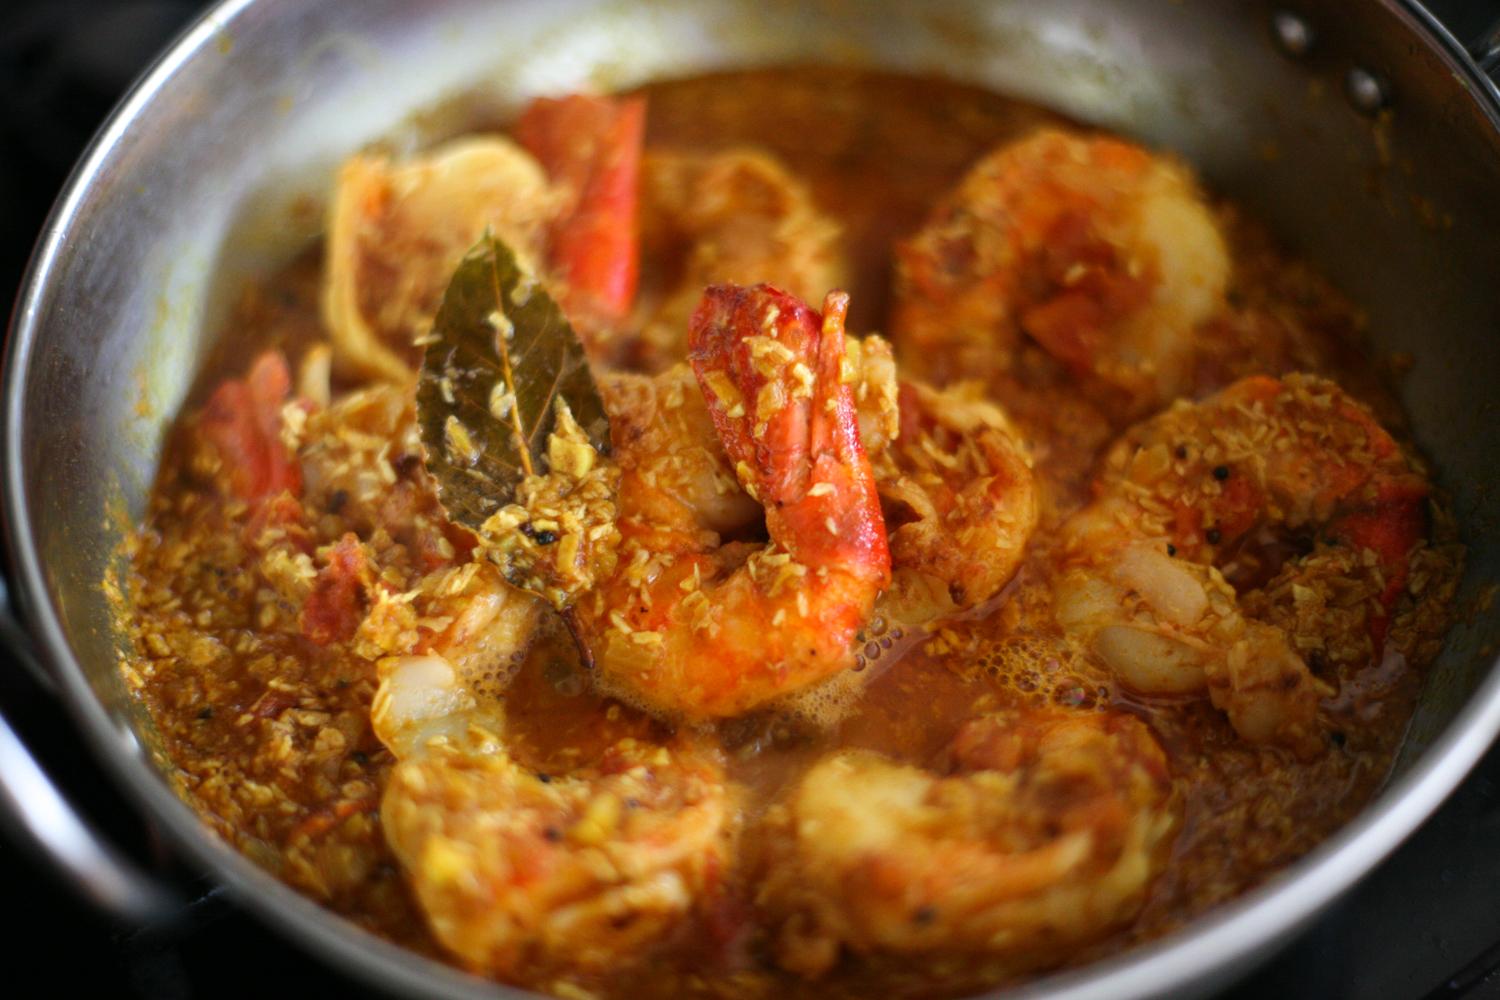
I tend to cook a generous amount of dal so that I can hopefully have some leftover to eat on Tuesday along with a fish curry; one less thing to prepare is always a bonus.
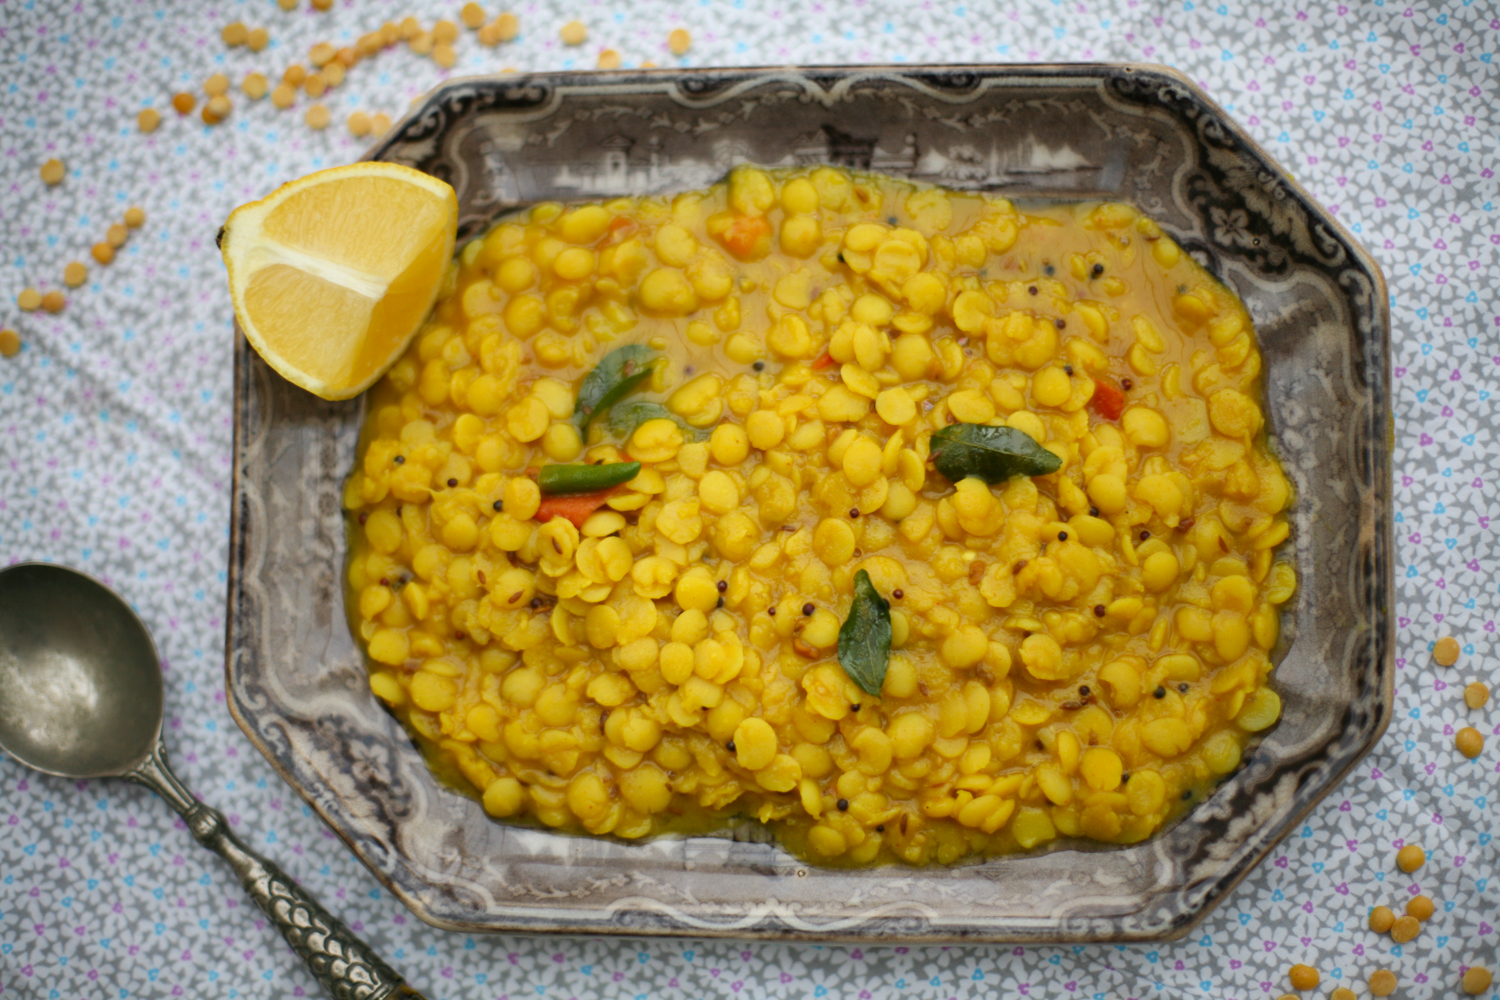
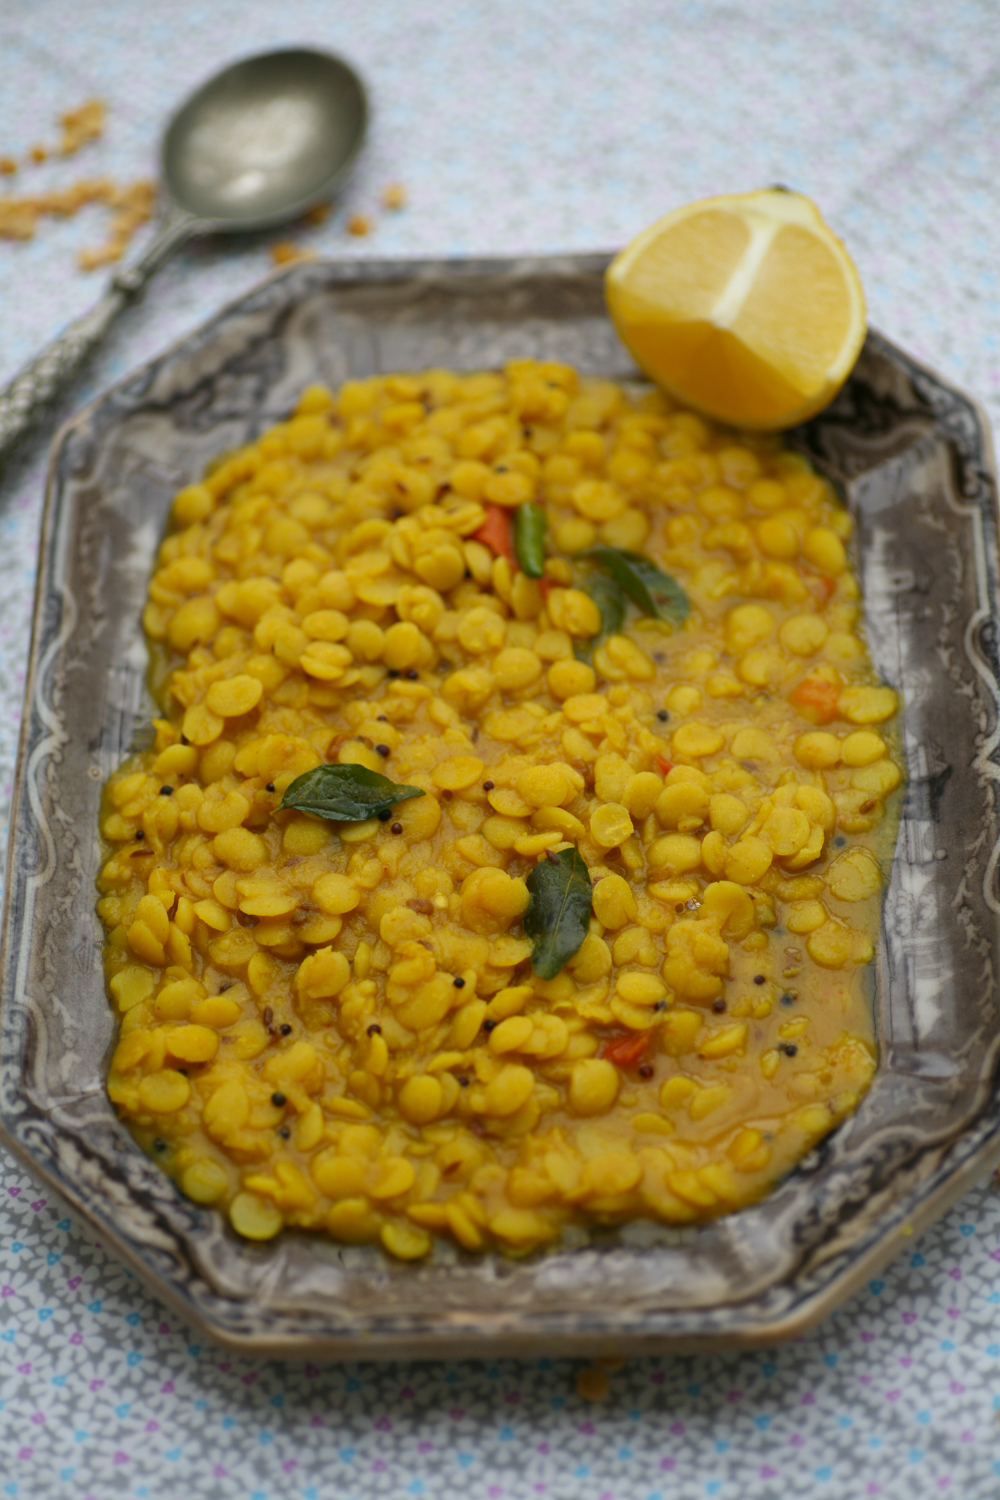
Indian Toor Dal with Tamarind and Ginger
400g toor dal
3 tbsp vegetable/sunflower oil
1 tsp of fenugreek/methi seeds
1 tsp cumin seeds
1 tsp black mustard seeds
10 fresh curry leaves
2 inches fresh ginger, finely grated/chopped
a good pinch asafoetida/hing powder
2 small chillies, chopped into three
2 tomatoes, chopped
1/2 tsp chilli powder
2 tsp turmeric powder
1 tsp tamarind concentrate
100ml water
2 tsp salt
1. Soak the toor dal in a bowl of water for 20 minutes or overnight if you are well organized. This simply makes the cooking time a little quicker but is not essential (unlike some lentils which you have to soak over night – red kidney beans and green mung beans for example). Make sure the water is sufficiently above the level of the dal. You rinse it through after so the exact amount is irrelevant.
2. Once the 20 minutes soaking are up, rinse the dal through a sieve and place in a large pan and cover with boiling water. This time the water should only be a little bit above the dal. Gently cook the dal so that it softens, this will take around 20-35minutes (more of you have not soaked). You may need to add more water if it gets soaked up whilst softening. It’s not an exact science so don’t worry too much on water amounts – sometimes I have it more ‘soupy’ in consistency than others. Remove the scum from the top of the pan, which occurs when cooking the dal. When it has softened, leave to rest whilst you finish off preparing the rest of the ingredients. To test it has softened squeeze a lentil between your thumb and forefinger. If it soft it is ready for the next stage, however, if the lentil remains hard you will need to boil it a little longer.
3. In a large karahi or frying pan heat up the oil and then add the fenugreek/methi, cumin and black mustard seeds. They will begin to pop so make sure you keep the heat low. Move them around the pan for 30 seconds before adding the curry leaves and give a good stir.
3. After three minutes cooking time add the chillies, fresh tomatoes and asafoetida/hing, fresh ginger, chilli powder and turmeric and mix in well together.
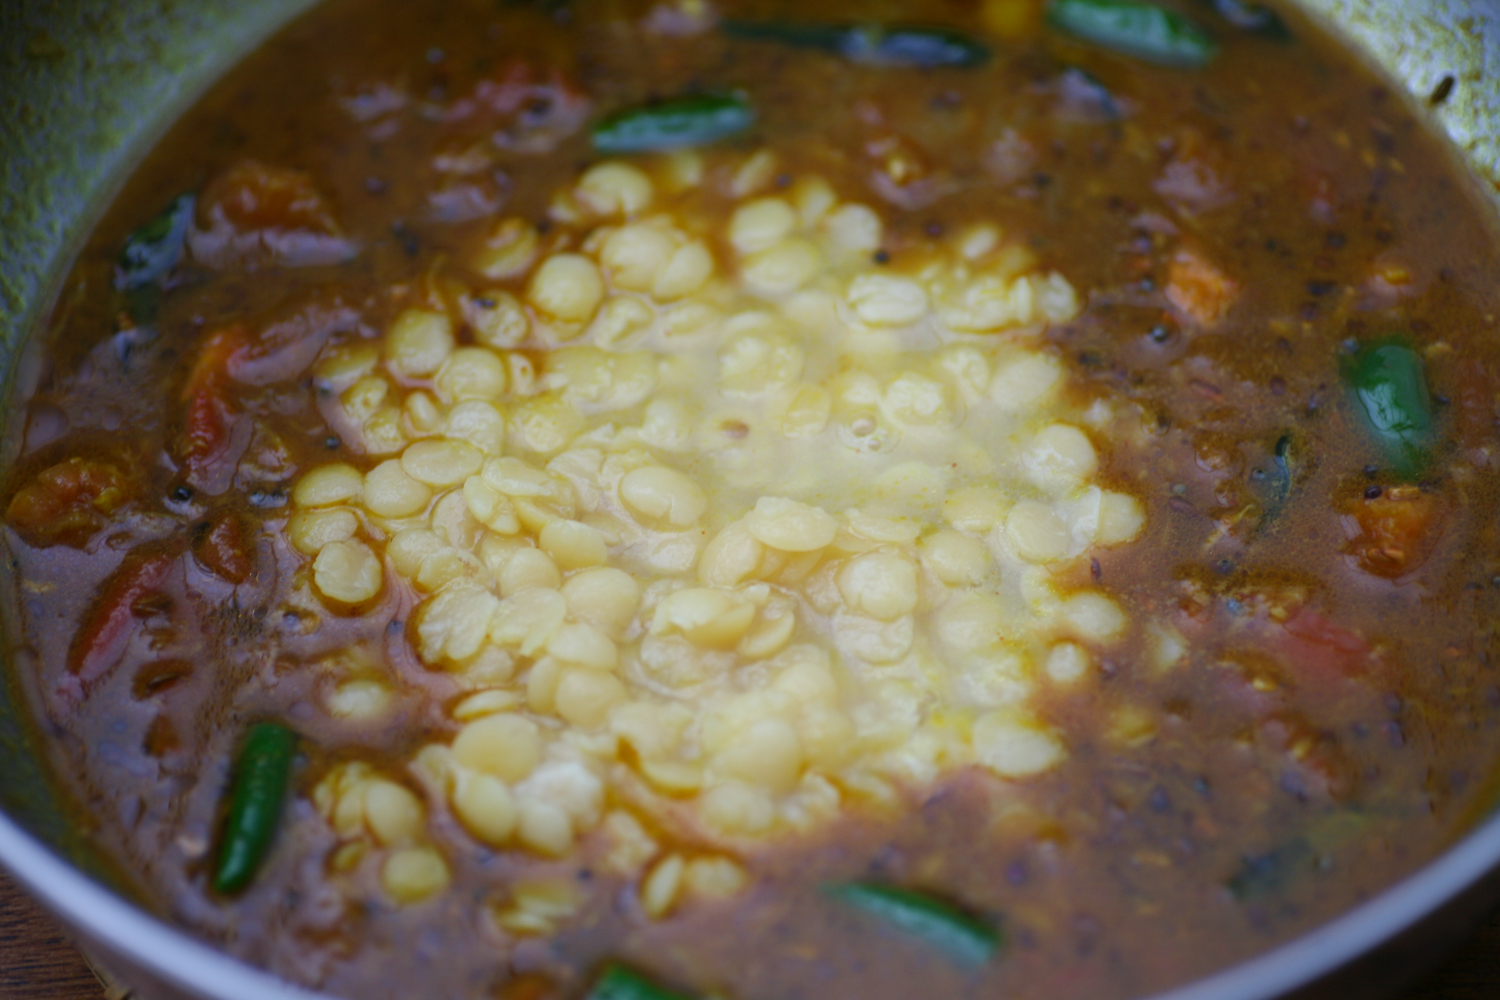
4. Once the tomatoes have softened – this will take a few minutes, add the tamarind concentrate and water and stir. You now want to deposit the pan with the toor dal into your karahi/frying pan with the other ingredients, or vice versa, depending on which pan is larger. Stir in well together and add a little extra boiling water to clean the pan and then turn that water into the main pan.
5. Add the salt to taste and leave to simmer for a further 5 minutes.
Serve with rice or Indian bread or simply on its own. I often like to squeeze in a little fresh lemon or lime as well.
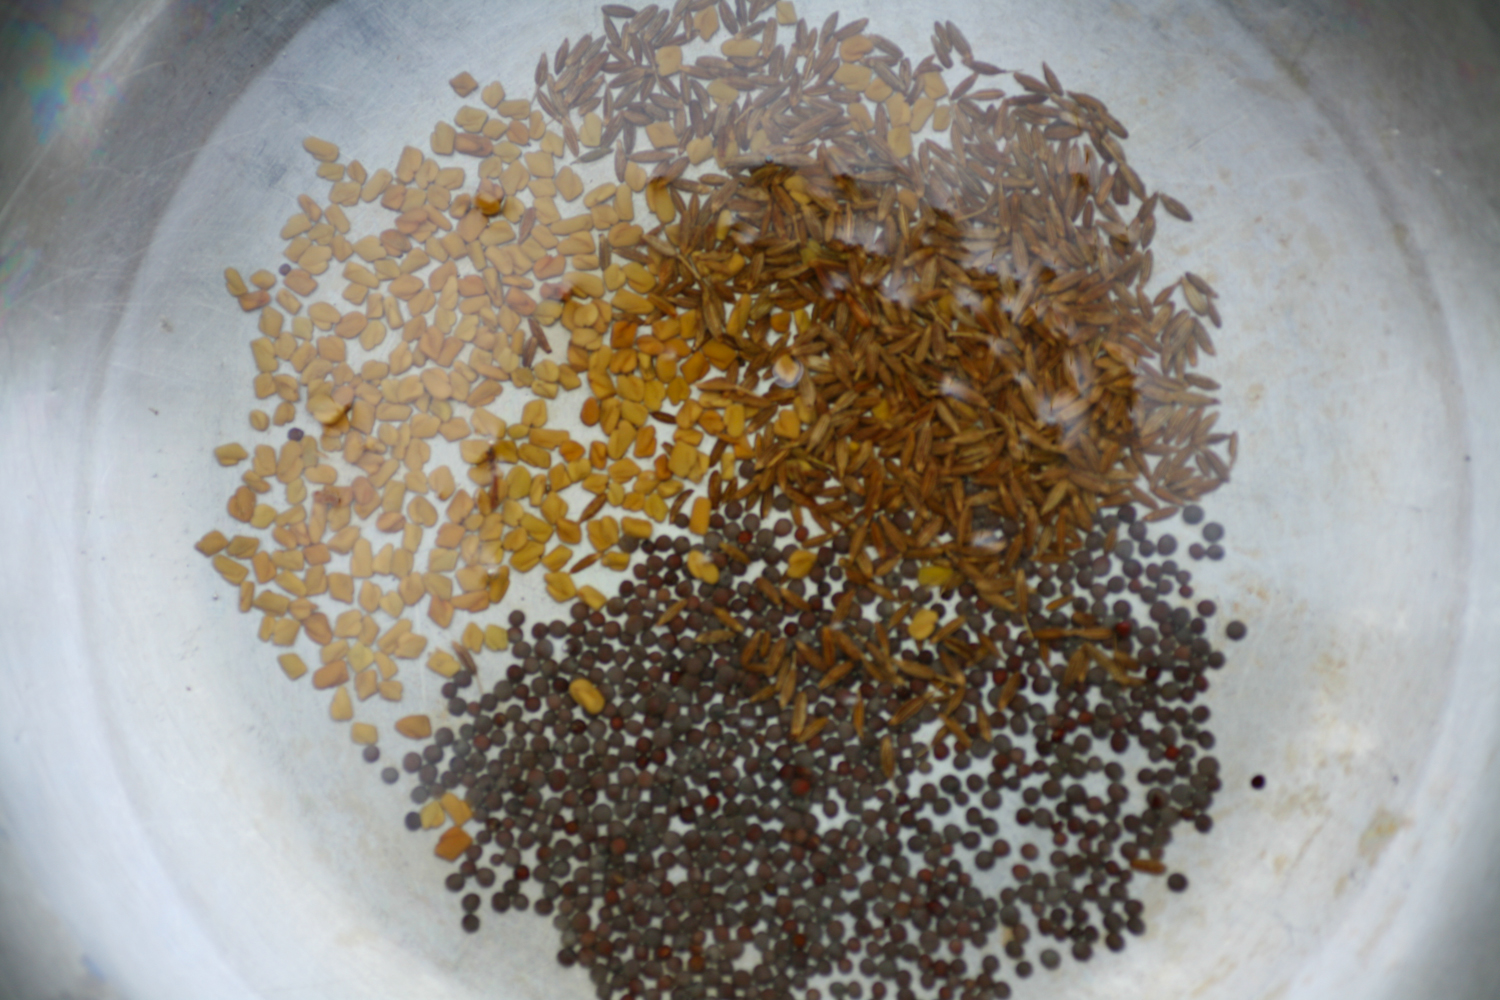 Cumin seeds top right, black mustard seeds bottom and fenugreek seeds top left.