Merry Christmas and Chilli Crab Linguine

Presents are wrapped, the Christmas cake made months ago, the tree decorated and the house smelling of pine trees and Christmas baking, all cardamom, nutmeg and cinnamon. Maybe you have done a spot of ice skating at the Natural History museum or seen some of the glorious window displays or lights in town.

Whilst not particularly festive we did love the carnival themed lights on Carnaby Street.

and the Karl Lagerfeld tree in Claridges Hotel was so impressive and rather original being turned on its head, reminiscent of a silver stalactite. It was rather magical, whimsical with a touch of Dr Seuss.

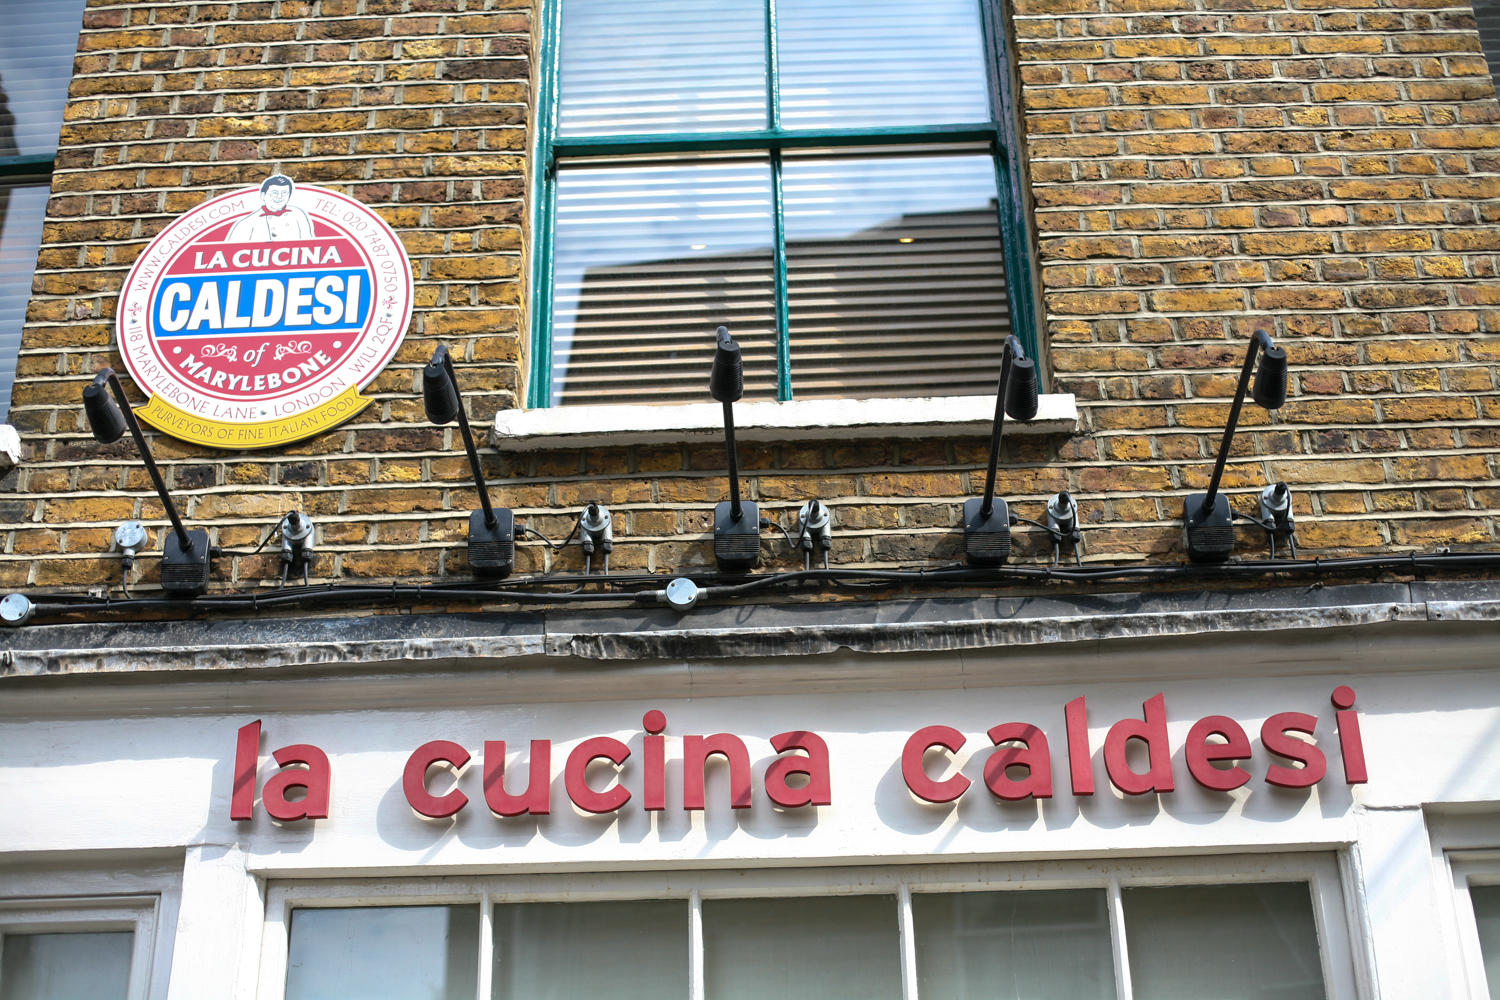
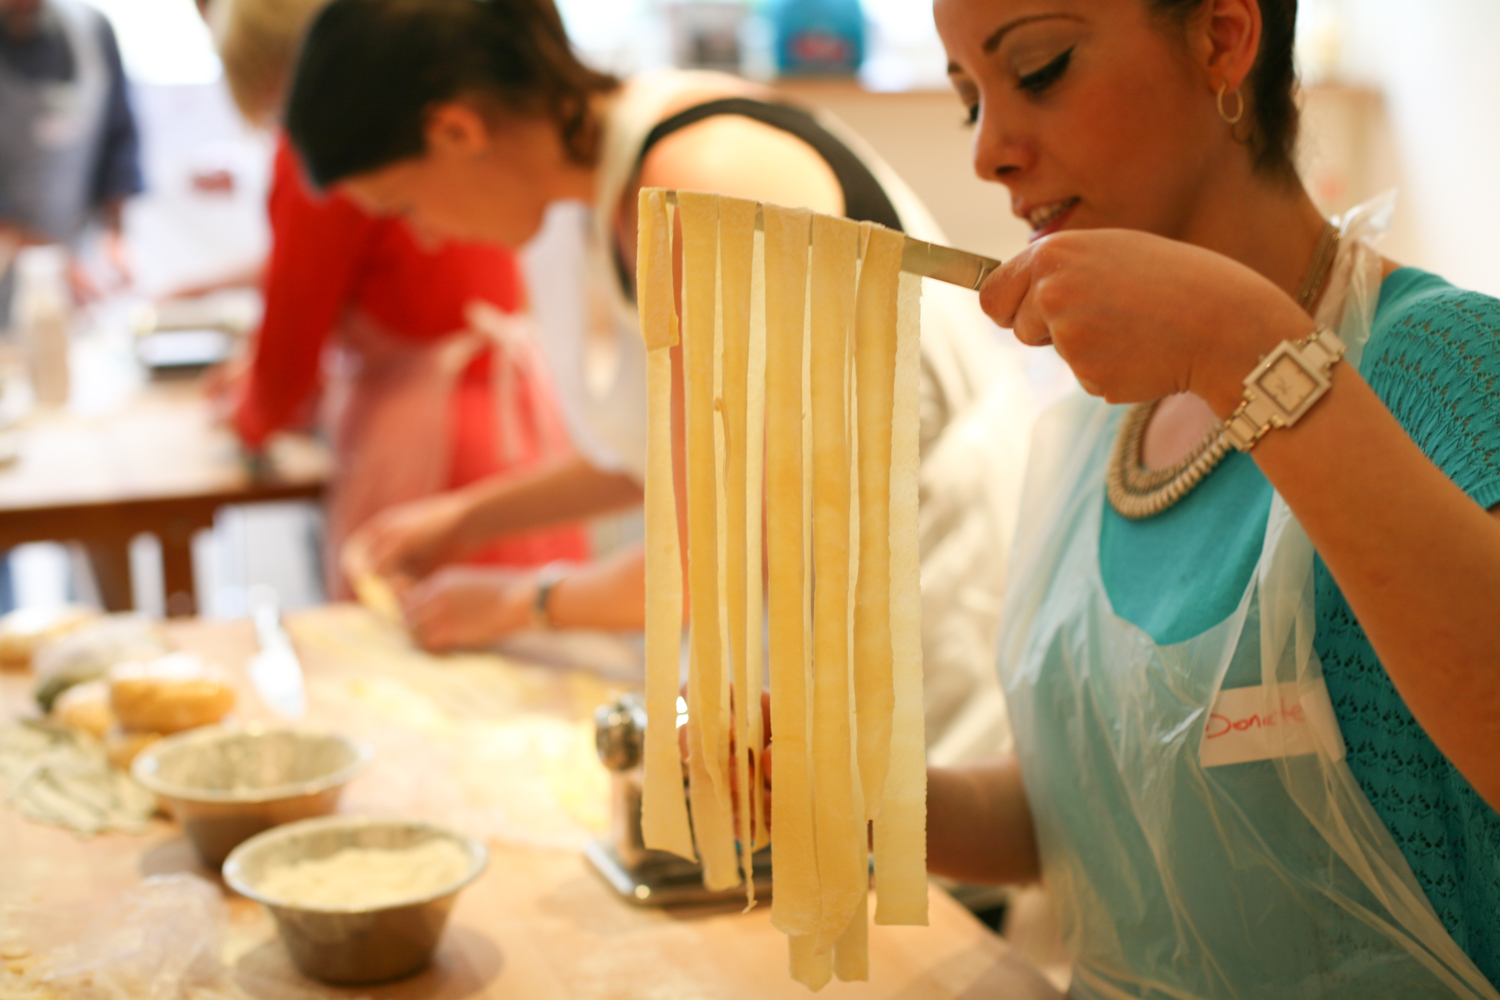
If however you are still searching for the ‘perfect’ Christmas gift, I can highly recommend the baking courses at Bread Ahead.

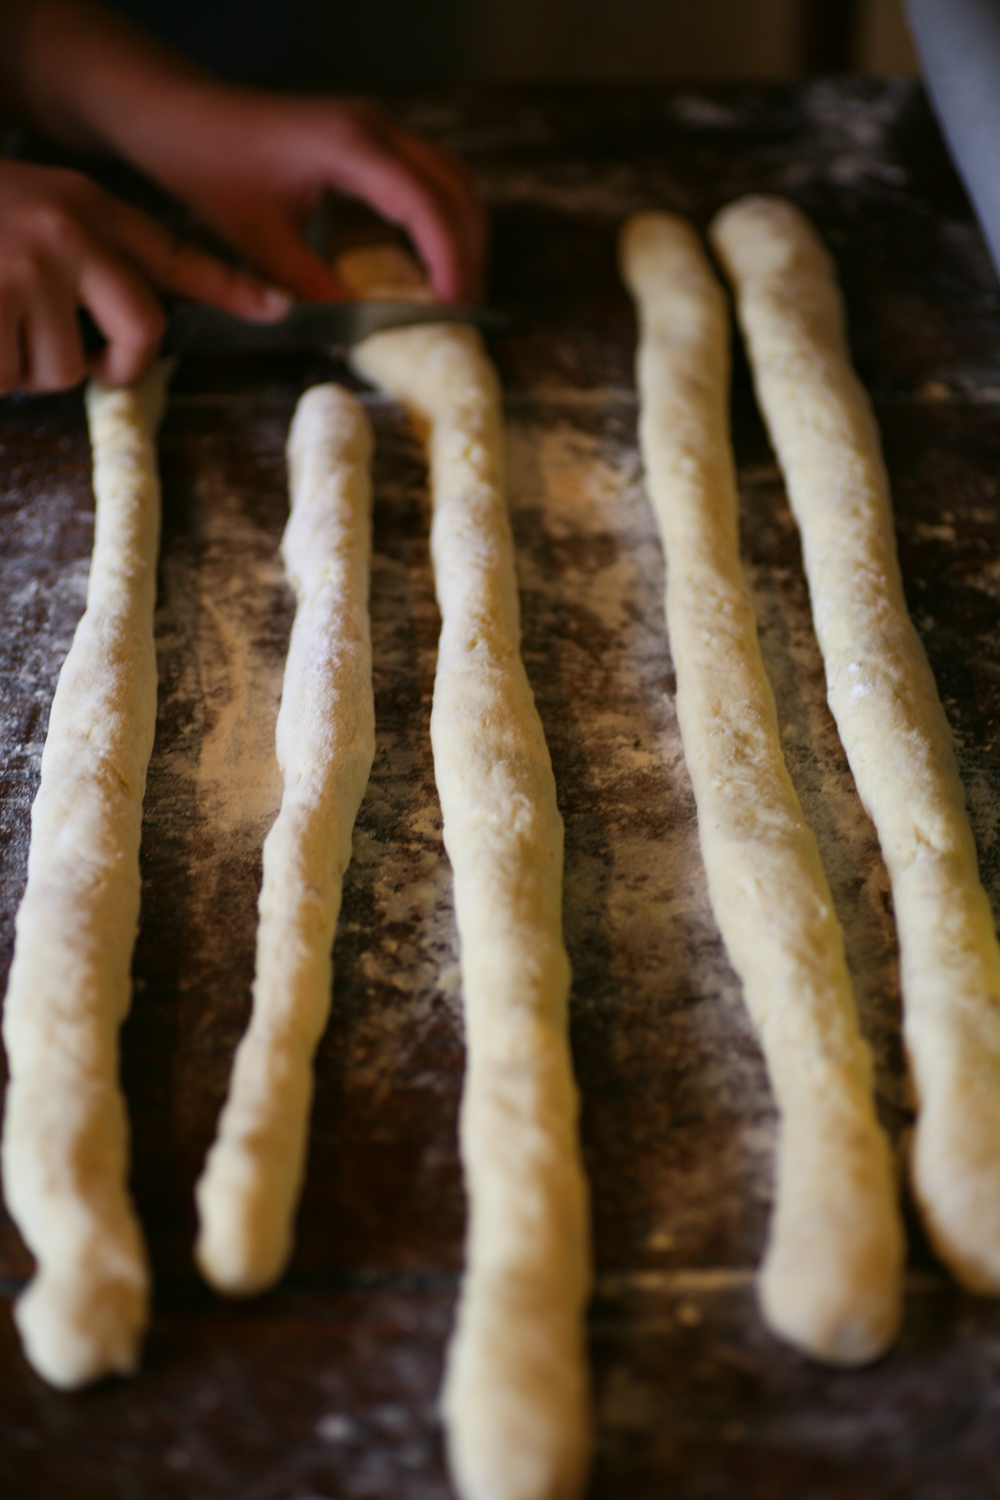
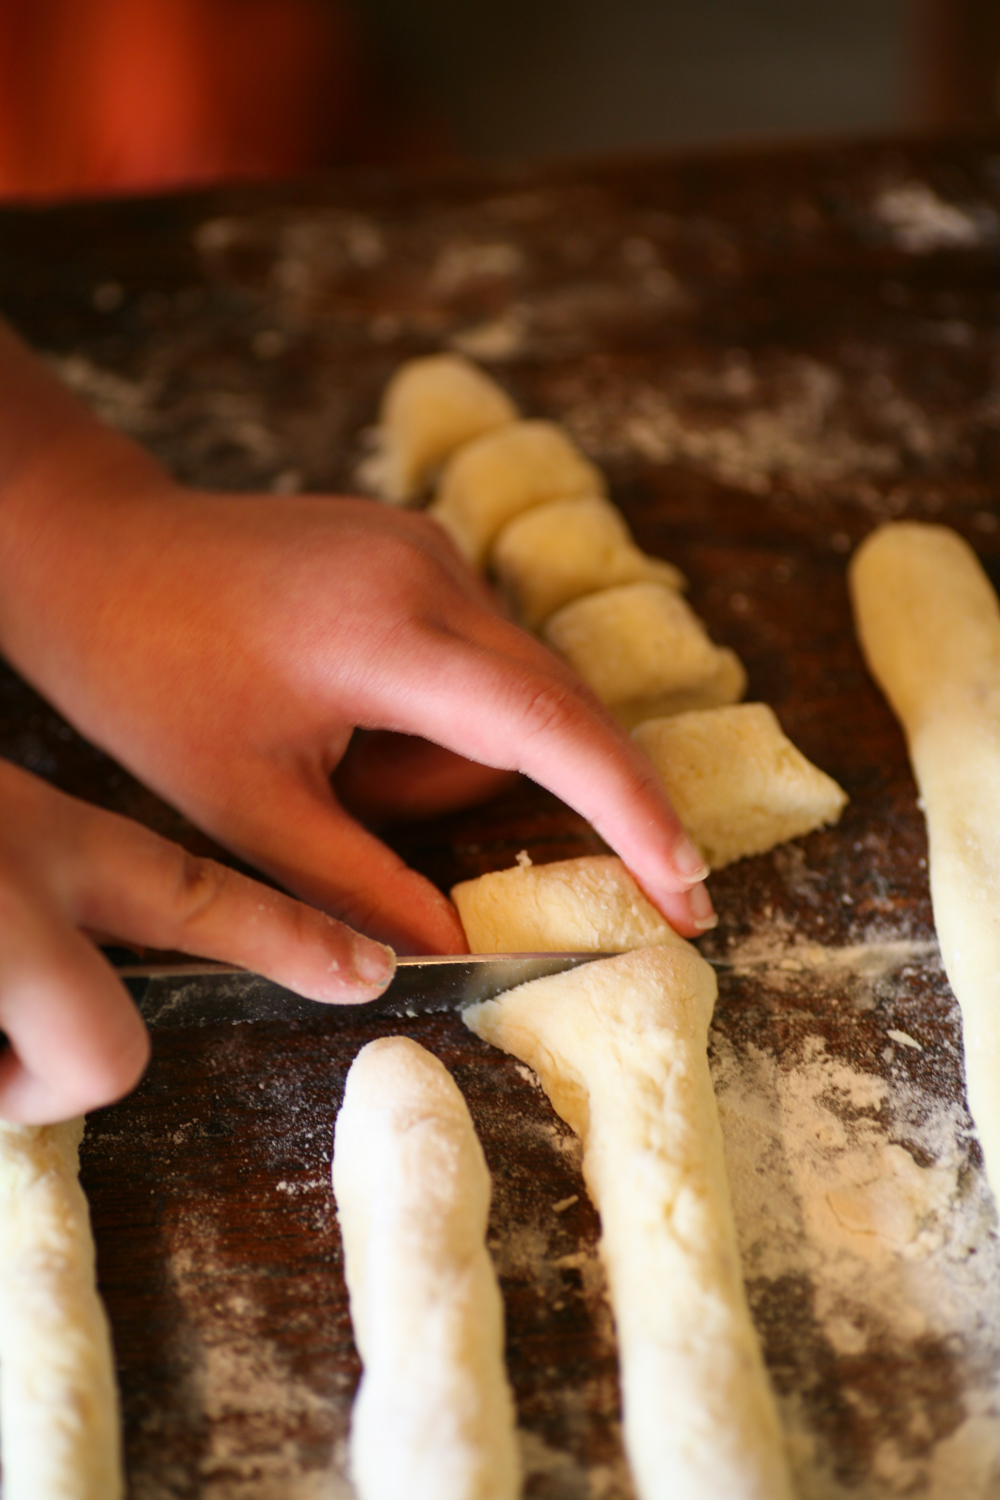
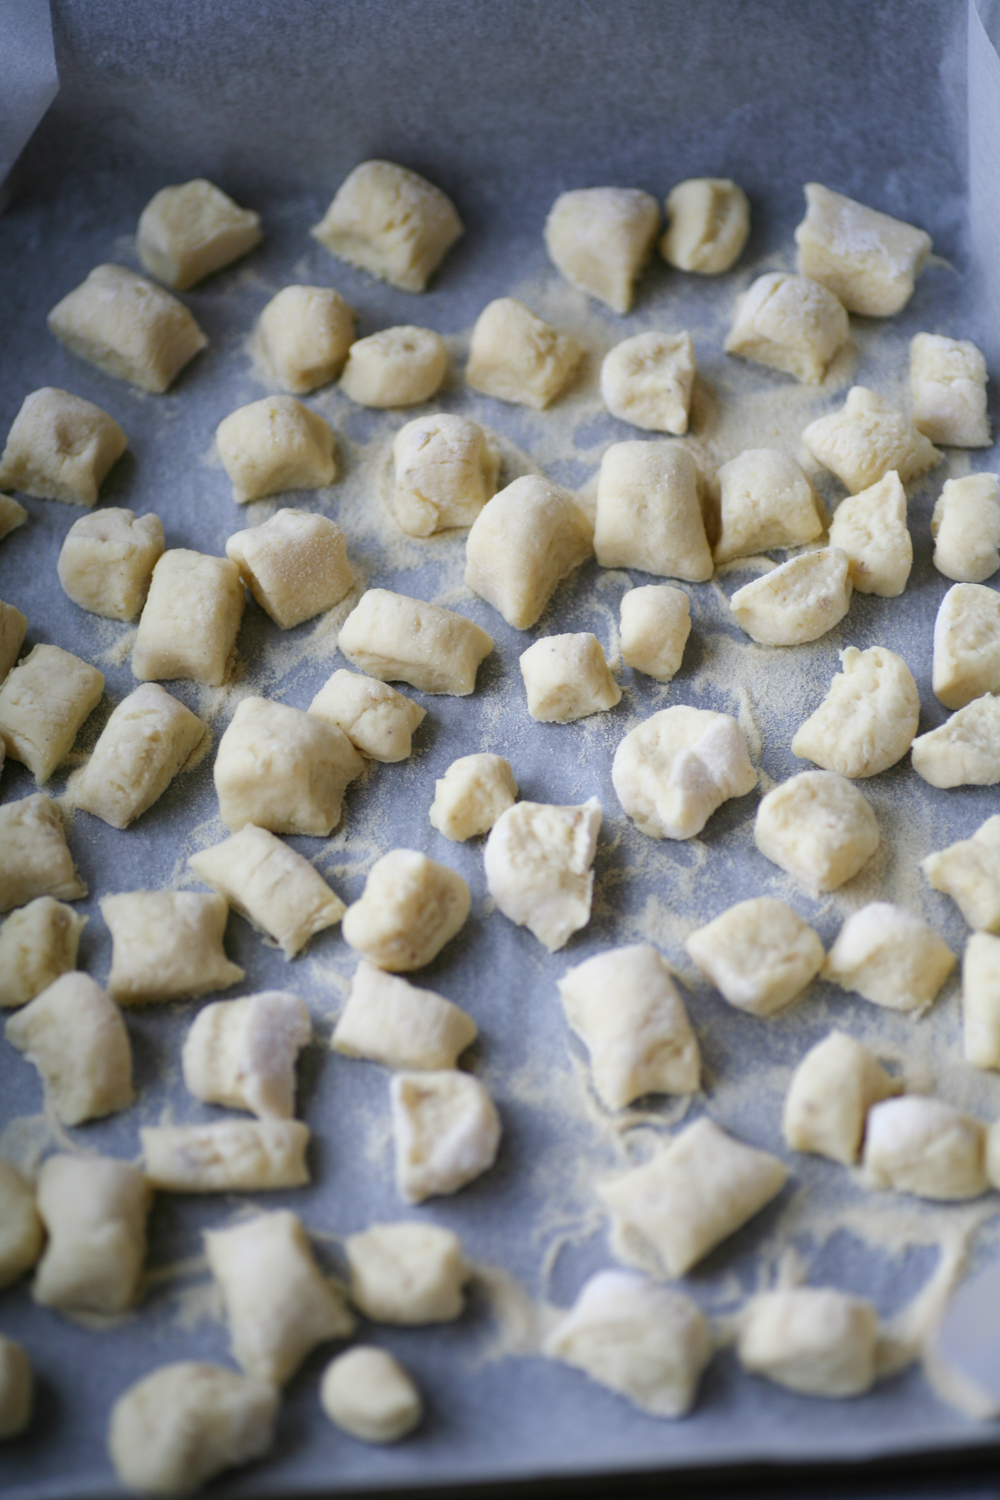
 There is a huge range of courses – even a donut making course – these are their donuts above: blueberry jam, hazelnut and almond praline, velvet chocolate caramel and caramel sea salt honeycomb. My father, brother and I have all done the sourdough, which we loved and would recommend, I’d definitely go back and do another course.

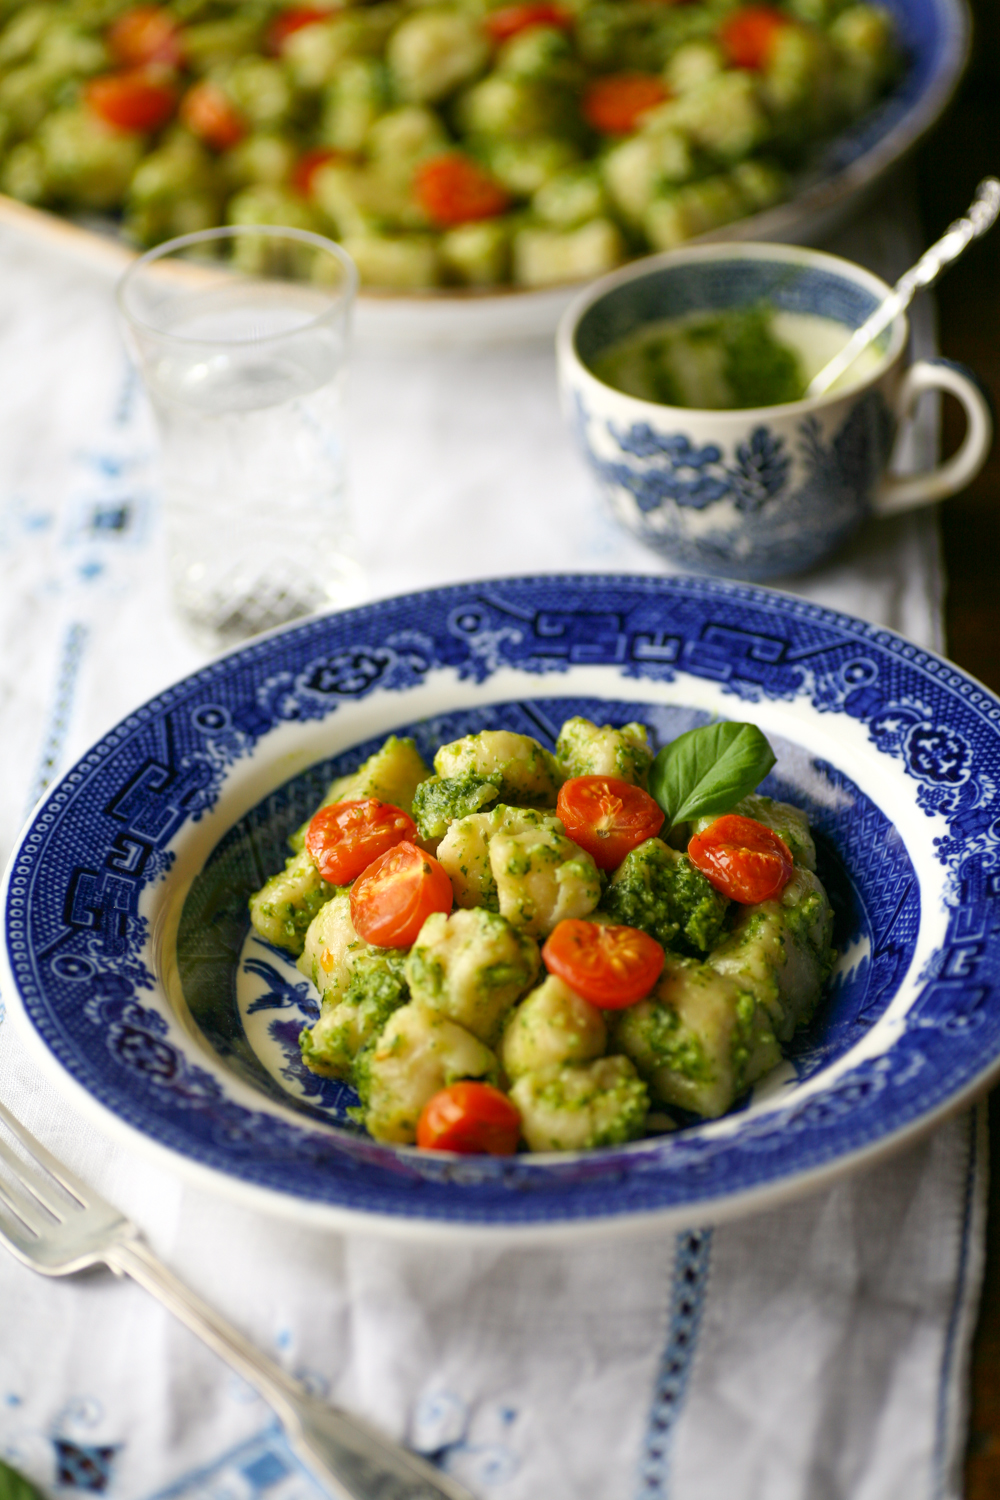
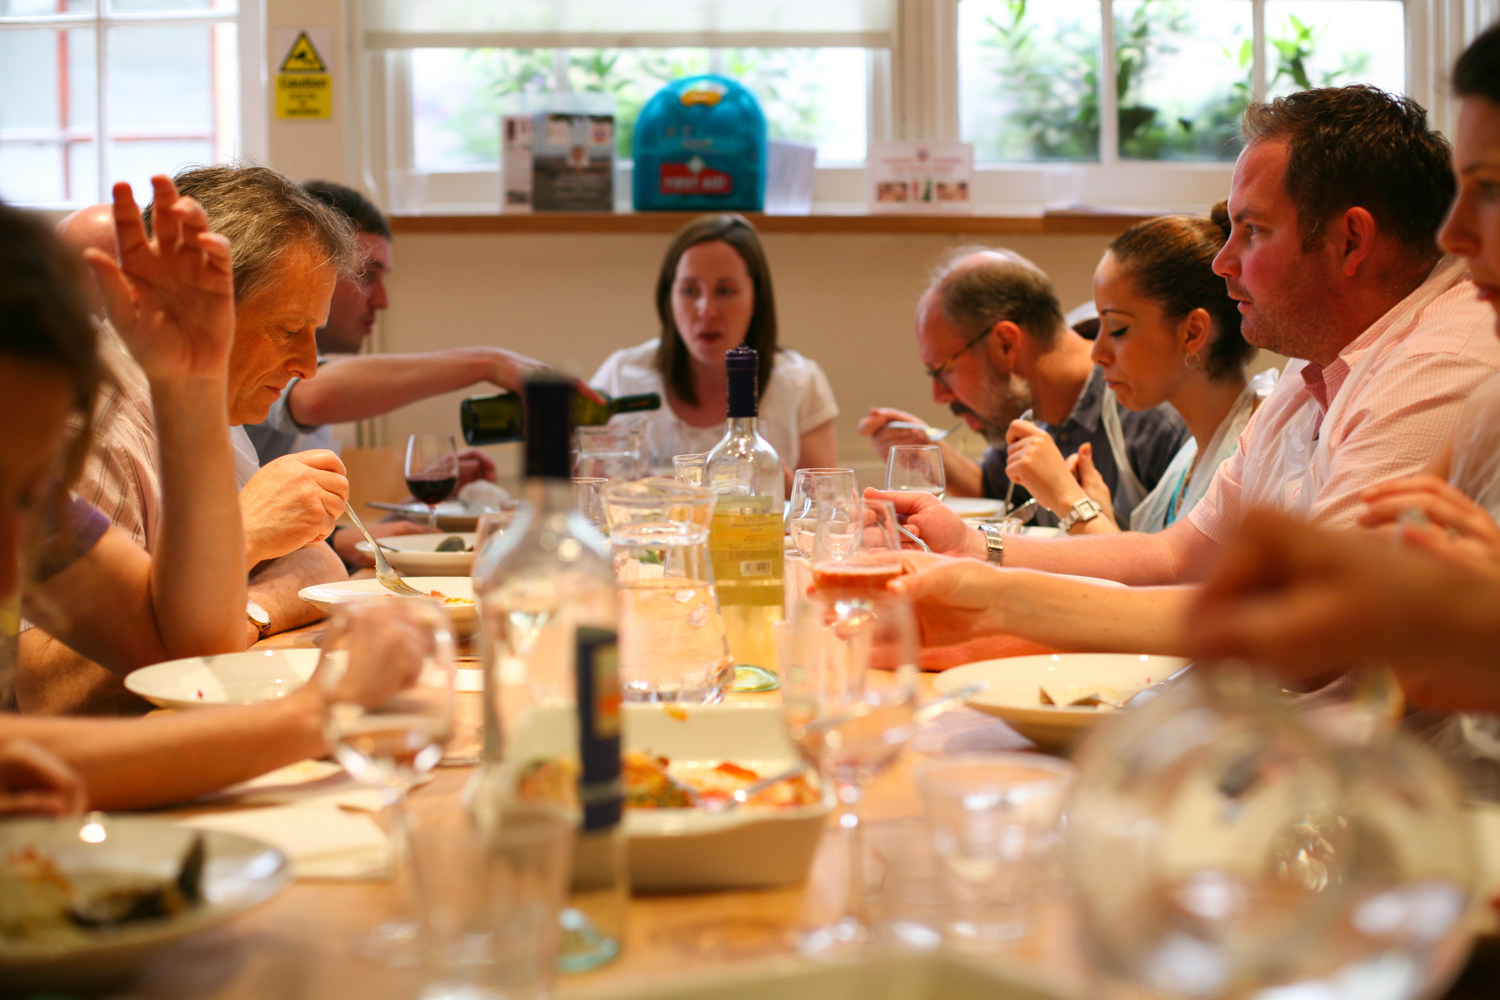
Over the Christmas period there is always lots of feasting and whilst all the traditional dishes are wonderful, it is refreshing to have the odd meal which is, lighter, zingy with a touch of chilli notes. As such I wanted to show you a super easy recipe, which is more a case of compiling than actual cooking but good to feed a crowd.

I adore crab, its definitely up there amongst my favourite things to eat. Not so long ago I devoured a whole crab over the course of an hour. I got really stuck in and was determined to get every last bit of crab out of its shell. A squeeze of fresh lemon and a cold crisp white wine, simple and yet heavenly. My kind of food.

mail

Now don’t worry this recipe does NOT require you to dissect a fresh crab. Its far simpler than that.

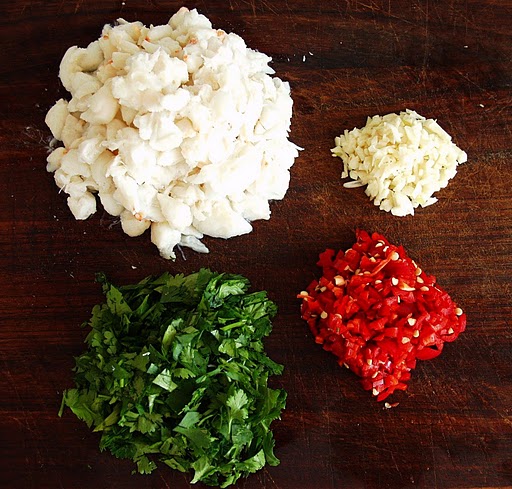
You need to buy two 170g  tins of white crab meat, which you can do at all supermarkets (it’s in the tinned tuna section).

chilli crab linguini

When you are ready to eat, boil the water for the linguine and finely chop the garlic, chilli, parsley or coriander and remove the crab from the tin/pot. When the pasta  is cooking, heat some chilli oil in a pan and place the garlic  and chilli in first and let it sizzle for 20 seconds before adding the crab bring the heat down and cook for a couple of minutes, stirring occasionally. As you bring the crab mixture off the heat squeeze the juice of one or two lemons and zest, depending on how much of a lemon kick you want to give the dish and a splash or two of olive oil along with either the parsley or coriander.

Once the linguine is cooked, drain thoroughly and immediately pour the crab mixture over the linguine. I tend to then mix it all together so that the crab is evenly spread through all the pasta.

Serve immediately and season with black pepper and rock salt and wait for the mmmmmmmm reaction. It will happen, trust me.

I have also tried this dish using chilli flakes instead of fresh chilli. Both are good, but I think the fresh chilli has the edge. I cook this dish for my children, but obviously omit the chilli and they love it.

I hope you do too.

Chilli Crab Linguine

serves 4

dried linguine (see packet for amount per person)

2 x 170g tinned white crab meat

2 large red chilli, finely chopped

5 cloves of garlic, finely chopped

1 large bunch of parsley, coriander/cilantro, chopped

juice of 1 or 2 lemons

zest of 1 lemon

1 tbsp of chilli oil

2 tbsp of olive oil

rock salt and black pepper

1. Finely chop the garlic and chilli and chop less finely the parsley or coriander.

2. Boil the water for the linguine and place in the pan. In a separate pan heat the chilli oil and then place the garlic and chilli in the oil for 20 seconds to sizzle away before adding the crab. Cook on a low heat for a couple of minutes, stirring occasionally.

3. As you take the crab mixture off the heat add the juice of one or two lemons, the zest and the olive oil.

4. Drain the linguine and then mix the crab mixture into the pasta thoroughly.

5. Serve and season with rock salt and black pepper

Enjoy.

Right I am going to check out now for a few weeks but I will be back on form in the New Year with some interesting posts and recipes from where I am heading. Follow my instagram @chilliandmint to find out more. Have a wonderful Christmas one and all and thank you so much for continuing to follow me on my blogging journey.


Wild Garlic Pesto Linguine with Sausage Crumb

IMG_0392Continuing with the same theme as last week’s post I decided to use up the remaining fresh wild garlic that my mother had given me by whizzing it up to create a pesto. It stores so easily in the fridge, for at least a week, and the whole family love it so its a win win.  Making pesto in general is easy and versatile. You can alternate the nuts from pine to walnut to pistachio and add a host of herbs and vegetables: basil, coriander spinach, wild garlic, tomatoes, peppers. I love the look of these varieties that Saveur has come up with.

IMG_0414

I thought the addition of a sausage crumb scattering would be a nice touch and balance well with the wild garlic. I used one sausage per person and then made a little incision into each sausage so that the outer ‘skin’ could be taken off. With the sausage meat I then broke it down and gently fried it, so that it crisped up.

IMG_0413

It took far less time than cooking a sausage normally would so again this whole meal was created in a very short space of time. I found I had lots of pesto leftover so popped it in the fridge in a sealed jar to use over the coming days.

If you are unsure about foraging wild garlic you might like to check out the Royal Horticultural Society guide on how to recognise it – see here.

Wild Garlic Pesto Linguine with Sausage Crumb

Pesto

200g wild garlic leaves washed and roughly chopped, flowers removed

100g parmesan cheese, finely grated

100g pine nuts/walnuts

150ml olive oil

squeeze of lemon juice

salt

pepper

****

1 tsp ground nut oil

sausages (1 per person)

linguine

  1. First you need to wash the wild garlic leaves thoroughly and remove the flowers (these are edible but best put on as a garnish re my last blog post).
  2. Roughly chop the leaves and then place them into a food processor and blitz so that they are broken down.
  3. Next add the parmesan cheese and blitz again before adding the pine nuts.
  4. Gradually add the olive oil so that a paste forms. Add more or less olive oil depending on the thickness you require for your pesto.
  5. Season to taste and add a dash of lemon juice.
  6. Boil a pan of water and add the linguine and cook according to packet instructions – just under 10 minutes should be perfect.
  7. To make the sausage crumb all you need to do is remove the outer covering of the sausage and discard. With the sausage meat, break it down using your hands.
  8. Heat a frying pan and add the ground nut oil. Add the sausage meat and move around the pan until it browns and begins to crisp. This should be done within about 5 minutes.
  9. Strain the pasta and place back in the pan. Add a generous amount of pesto and stir into the pasta.
  10. Serve into bowls and scatter with sausage crumb.

You can store the remaining pesto in the fridge in a sealed jar for over a week. 

IMG_0415


Homemade Gnocchi with Basil Pesto and Roasted Cherry Tomatoes

IMG_8522

Have you ever made homemade gnocchi? I am sure the cynics out there will say it’s way too time consuming and just buy a packet instead. Killjoys would be my response. Not only is it ridiculously straight forward and freezes really well but it is also great fun, especially if you get your children involved. Mine are on half term, so it was a perfect activity to do on a rainy morning. If you have ever made your own play dough then you will find making gnocchi super easy.

IMG_8494

After gently boiling 1kg of potatoes in their skins until they are soft – under an hour, you peel them and then put them through the mouli  when they are still hot and the skins now removed.

IMG_8498

Mix the potato, pasta flour, egg and seasoning on a clean surface using your hands – now this is the fun bit!

IMG_8506

It won’t take long before you will have created a large warm dough ball.

IMG_8508

Split the dough into small balls and then roll out into long stripes. You want then to cut them up into bite sized morsels – see photos above and below.

IMG_8512

IMG_8513

Place the bite sized cubes onto a tray with greaseproof paper which is already scattered with semolina or flour. You can either freeze them like this on the tray and when they are frozen transfer into freezer bags. Equally if you are going to eat them immediately, prepare a pan of boiling water and then drop them into the water. When they rise to the top they are ready and you simply need to remove them with a slotted spoon.

IMG_8519

There are so many combinations that are so tasty to eat with gnocchi. If you fancy a sausage and fennel ragu then see my recipe here. Today we decided to make some homemade basil pesto and then roast some cherry tomatoes in the oven for a short while.

IMG_8564

A simple and most satisfying meal that is loved and cherished by the whole family. What sauces do you like to have with your gnocchi? Leave a comment below to let us all know.

IMG_8567

Basil Pesto

serves 4-6

40g fresh basil leaves

50g pine nuts

4 garlic cloves

6 tbsp extra virgin olive oil

30g pecorino cheese

salt to taste

1. In a blender add all the ingredients and whizz for 30 seconds. Season to taste.

That easy !

****************************

Roasted Cherry Tomatoes

250g cherry tomatoes

1 tbsp olive oil

rock salt

1. Place the cherry tomatoes in a baking tray and pour the olive oil on top with a sprinkling of rock salt.

2. Place in an oven at 180 degrees for 20 minutes.

************************************

Homemade Gnocchi

serves 4-6

1 kg floury potatoes (King Edwards, Maris Piper etc)

300g ’00’ pasta flour (you can get this in any supermarket)

1 egg

1 tsp salt

few twists of black pepper

1. In a pan of boiling water add the potatoes, with the skins on – this will make them less watery – until they are soft. Depending on the size this will take under an hour.

2. Drain the water from the pan and using a fork and knife peel the skin from the hot potatoes and place them in the mouli one at a time. Turn the mouli handle around so that the potato goes through the mechanism.

3. Turn the potato out onto a clean surface and add the flour, egg, salt and pepper. Using your hands fold the ingredients into one another so that you form a compact dough ball.

4. Split the dough into smaller parts and roll into a long sausage using your hands, so that the dough is roughly 2cm thick.

5. Using a knife cut the dough sausage into bite sized cubes and place on a tray with baking paper scattered with either a little flour or semolina.

6. If you are freezing then place then in the freezer like this until they are frozen, then transfer to a freezer bag.

7. If using immediately then boil a large pan of water. Add a little salt and gently place the gnocchi in the water. When they rise to the top you can remove them from the water using a slotted spoon.

8. When they are still hot mix thoroughly with the basil pesto and place on a serving platter, sprinkled with the roasted tomatoes.

Serve immediately when hot.


Pasta Pasta Pasta at La Cucina Caldesi Cooking School

IMG_5915

“I am not a glutton – I am an explorer of food”
― Erma Bombeck

Last week I booked myself onto the full day pasta course at La Cucina Caldesi cooking school, which is attached to the Italian restaurant, with the same name, on Marylebone Lane in central London. I was keen to learn from an Italian pro on the various skills and techniques required to make different types of pasta and gnocchi and the sauces that accompany them.

IMG_5920

Cooking courses are always very good fun, not least because you are thrown together with a diverse bunch of kindred fellow foodies who are all eager and receptive to learn. As well as getting to cook a number of dishes together you also get to feast on them over a long lunch with a glass or two of wine.  The ringmaster for the day was the formidable Stefano who tells things straight and does not suffer fools….just don’t mention the ‘pepper lady’ to him, but clearly is a warm hearted Italian from Parma – well via Lewisham, with a good sense of humour.

The workshop included a lengthy list of recipes ranging from green fettuccine with rabbit ragu to potato gnocchi with tomato, sausage and fennel seed ragu, scialatielli – fresh pasta ribbons with herbs and parmesan, cannelloni, ravioli, gluten free pasta, spinach pasta, clams with chilli, garlic, white wine and ribbons pasta and that glorious spaghetti alla Puttanesca, which is a tomato sauce filled with olives, capers, anchovies, garlic and herbs.

From the word go Stefano set a good pace as we had a lot of ground to cover. First we discussed sauces and he showed us how to make a range of good old honest tomato sauces. The class discovered that we all use too little salt and not enough extra virgin olive oil (has to be extra virgin folks there is no going back now) but once we’d ironed out these failings we all stepped up to the plate and were more liberal with both ingredients.

IMG_5981

Making gnocchi was surprisingly very straightforward or perhaps it was the case that Eric, our chosen classmate, made it look easy, to bind the potato, ’00’ flour, egg, salt and pepper. After a large dough ball was created it was separated for the group so that we could all have some dough to work with and create the gnocchi itself. Once the dough is made, it takes a very short time to prepare and then cook them as they only require a couple of minutes in boiling water. Thankfully we had a tasty sausage, tomato and fennel seed ragu ready to incorporate with the gnocchi so that we could sit down and enjoy our hard labour.

IMG_5984

Something that I for one am guilty of is that quite often I serve a pasta dish at home and then I place the sauce on top. This one act alone gives the game away that I am not a genuine Italian mamma, although the fact that I don’t look the slightest bit Italian I guess doesn’t help! Italian pasta dishes are mixed together with the sauce before they hit the plate, so that when the dish comes to the table the pasta and the sauce are already the best of friends.

IMG_5999

We all got very stuck into making the pasta ribbons. Stefano taught us a nifty little trick to prepare them, which I have been practicing at home ever since. In a nutshell: roll out some pasta and then feeder through all the settings on your pasta machine. Make sure you scatter a good helping of flour underneath as well as on top of the pasta and cut into 40cm pieces. Leave to dry out for a couple of minutes before placing your pasta rectangle horizontally in front of you and folding in each end, making sure to do two, three or four folds each end before they almost reach each other in the centre. Then cut through the pasta vertically leaving a finger size between the next cut. Then slip the knife under the middle of the pasta running horizontally and then lift and voila your pasta should look like the one above and below. It was a very satisfying action to achieve.

The ravioli was also very enjoyable to make. So much so I made more when I got home for my dinner guest and then the following day to feed the girls. The ones I made at home I filled with ricotta, parmesan, chives and pink peppercorns. You can get so creative with the fillings that I am looking forward to experimenting over the coming months.

After almost 6 hours on our feet – bar some time to sit down and enjoy the food – exhausted and very full indeed we all bid our farewells and dispersed into the metropolis clutching our goodie bags of leftover fresh pasta for us to use at home. The day flew by ever so quickly and I feel I took away some new skills. If you are thinking of going on a course at La Cucina Caldesi one recommendation would be eat a very light breakfast….you have been warned!


Potato gnocchi with a sausage, tomato and fennel seed ragu

A recipe I learned during the course at La Cucina Caldesi

Gnocchi

1kg floury potatoes (King Edward, Maris Piper or Desiree)

1 heaped tsp salt

sprinkling of black pepper

300g ’00’ flour

1 egg

Ragu

6 Italian pork sausages (if you live in the UK you can order on line from here or here)

6 tbsp extra virgin olive oil

2 garlic cloves, lightly crushed

1 onion (red or white), finely chopped

1 tbsp fennel seeds

2 bay leaves

125ml red wine

3 tbsp tomato puree

400g tin of whole Italian plum tomatoes

To make the ragu:

1. Remove the sausages from their casings and chop up the meat using your hands.

2.Heat up the olive oil in a frying pan over a medium heat and the garlic. After 2 minutes add the onion and seasoning and allow the onion to become translucent – this will take 5 minutes on a low/medium heat.

3. Throw in the fennel seeds and bay leaf and stir into the onions and garlic.

4. Add the sausage meat and fry for around 7 minutes or until cooked through. You will need to stir the meat regularly to stop it sticking.

5. Add the red wine and allow to reduce for a couple of minutes. Then add the tomato puree and tinned tomatoes and stir well.

6. Leave the ragu to gently simmer for 10-15 minutes allowing the flavour to work together.

To make the gnocchi:

1. Boil the potatoes in their skins in salted water until tender, which can take up to an hour.

2. Peel the potatoes whilst hot using a fork and sharp knife and then pass the potatoes through a food mill (see photo of the potato and gnocchi shots).

3. On a clean flat surface empty out the ground potatoes and add the flour, egg and seasoning and knead together into a dough.

4. On a lightly floured work surface roll the dough into a 2cm thick sausage shape and then cut into 2cm long pieces. Place in a tray which has been lightly scattered with semolina or flour.

5. As gnocchi freezes very well it is advisable to make double portions and freeze half. When you want to use again, cook from frozen and allow an extra minute or two cooking time.

6. Place the fresh gnocchi in a pan of boiled salted water. When they rise to the surface strain and place in a large bowl/plate ready for the sauce.

Place the cooked gnocchi in a large bowl and pour in the sauce and mix together gently with a spoon. Ladle into bowls/plates or into a large serving platter.

IMG_6055