Mention the worked ‘gyoza’ in my household and you will hear yelps of delight – and that’s not just from the children. These moreish savoury dumplings are incredibly addictive and are a great little starter or snack, although you can off course have them as a main meal along with some steamed greens with soy and garlic perhaps.
Japan and China both have their version of the dumpling, although these dumplings first originated from China and were then adopted by the Japanese. The Chinese dumplings are known as jiaozi if they are boiled or steamed and guo tie if they are fried, in Japan – gyoza and the US – pot sticker.
The Chinese variety have slightly thicker wrappers and have a far wider combination of fillings than their Japanese counterparts. They are often steamed, whereas the Japanese gyoza are fried for a few minutes and then steamed for a further few minutes. The fillings I typically use for the vegetarian are tofu and shiitake mushrooms, or the meat variety filled with pork, chicken or duck or the seafood version, which tends to be prawn. Whatever takes your fancy these little dainties will be forever cherished by those who sample them.
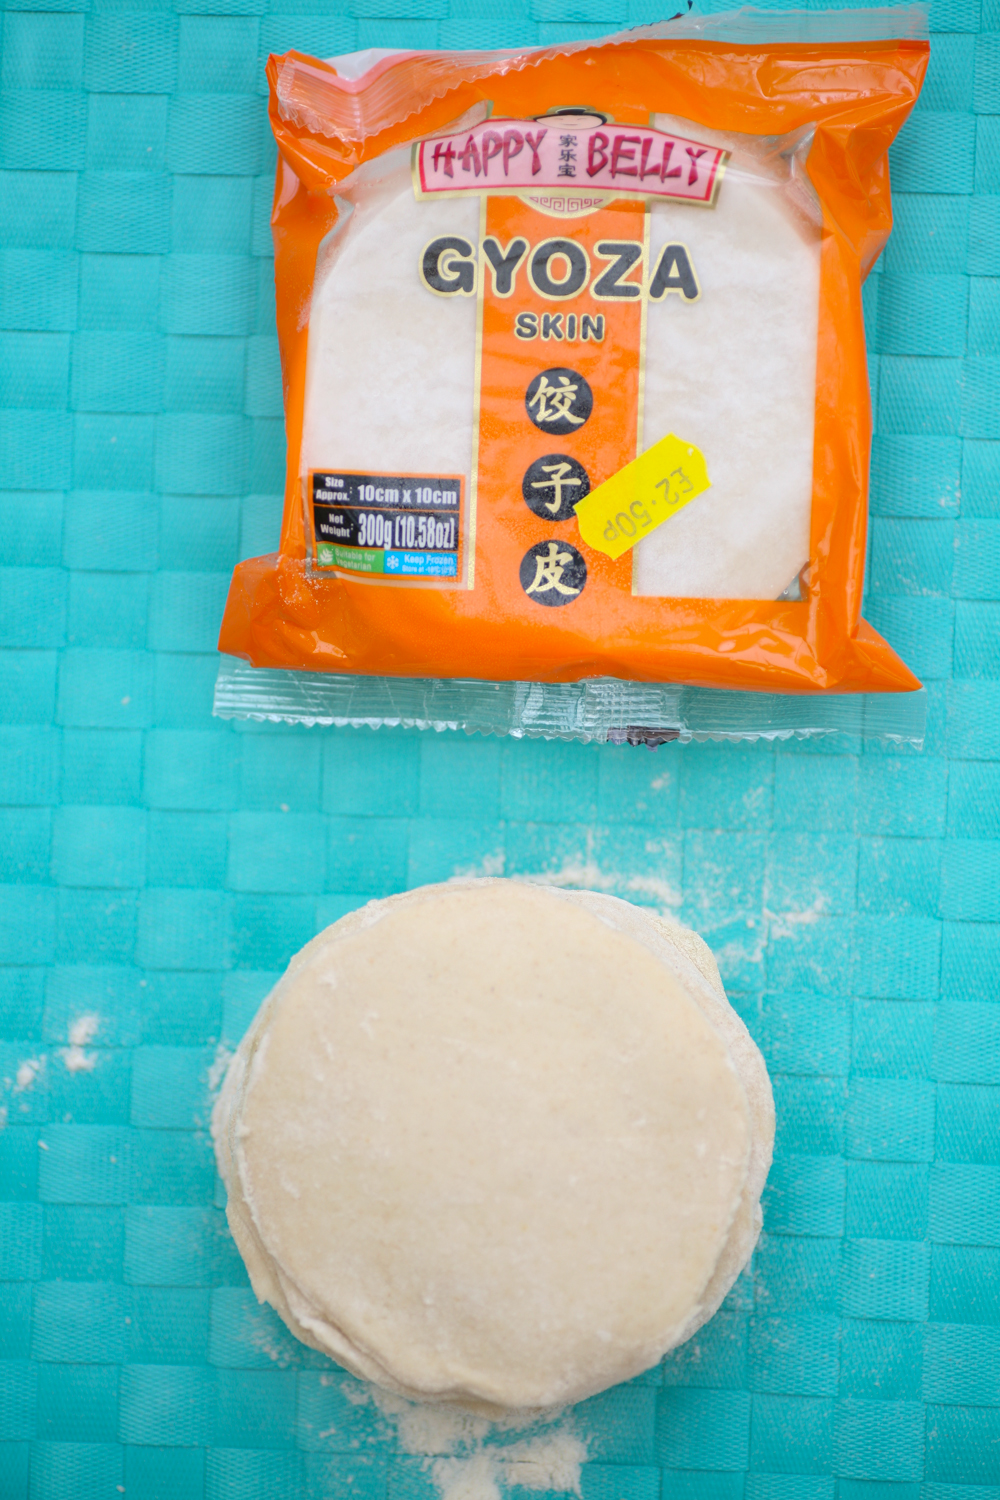
Now the question is to lovingly prepare your own wrappers or to buy some from your local Asian grocers or online. Basically it will come down to time on your part. Making your own takes a little time, but its the perfect activity to do with a mate who comes over for coffee – just rope them in they’ll love the experience or even with the kids. Shop bought is pretty cheap, as you can see for the price sticker I left on above, and are likely to be more uniform in thickness, but I’ll leave it to you to decide which suits your lifestyle.
For those who wish to make their own it is SO simple. Seriously you only need a couple of ingredients and then a bit of kneading.
Homemade Gyoza Wrappers
Makes around 20
210g plain flour, seived
125ml warm water
pinch of salt
1. Stir the salt into the warm water until it completely dissolves.
2. Place the sieved flour into a large bowl and add the warm water. Using a wooden spoon mix the flour and water together and then use your hands to create a ball.
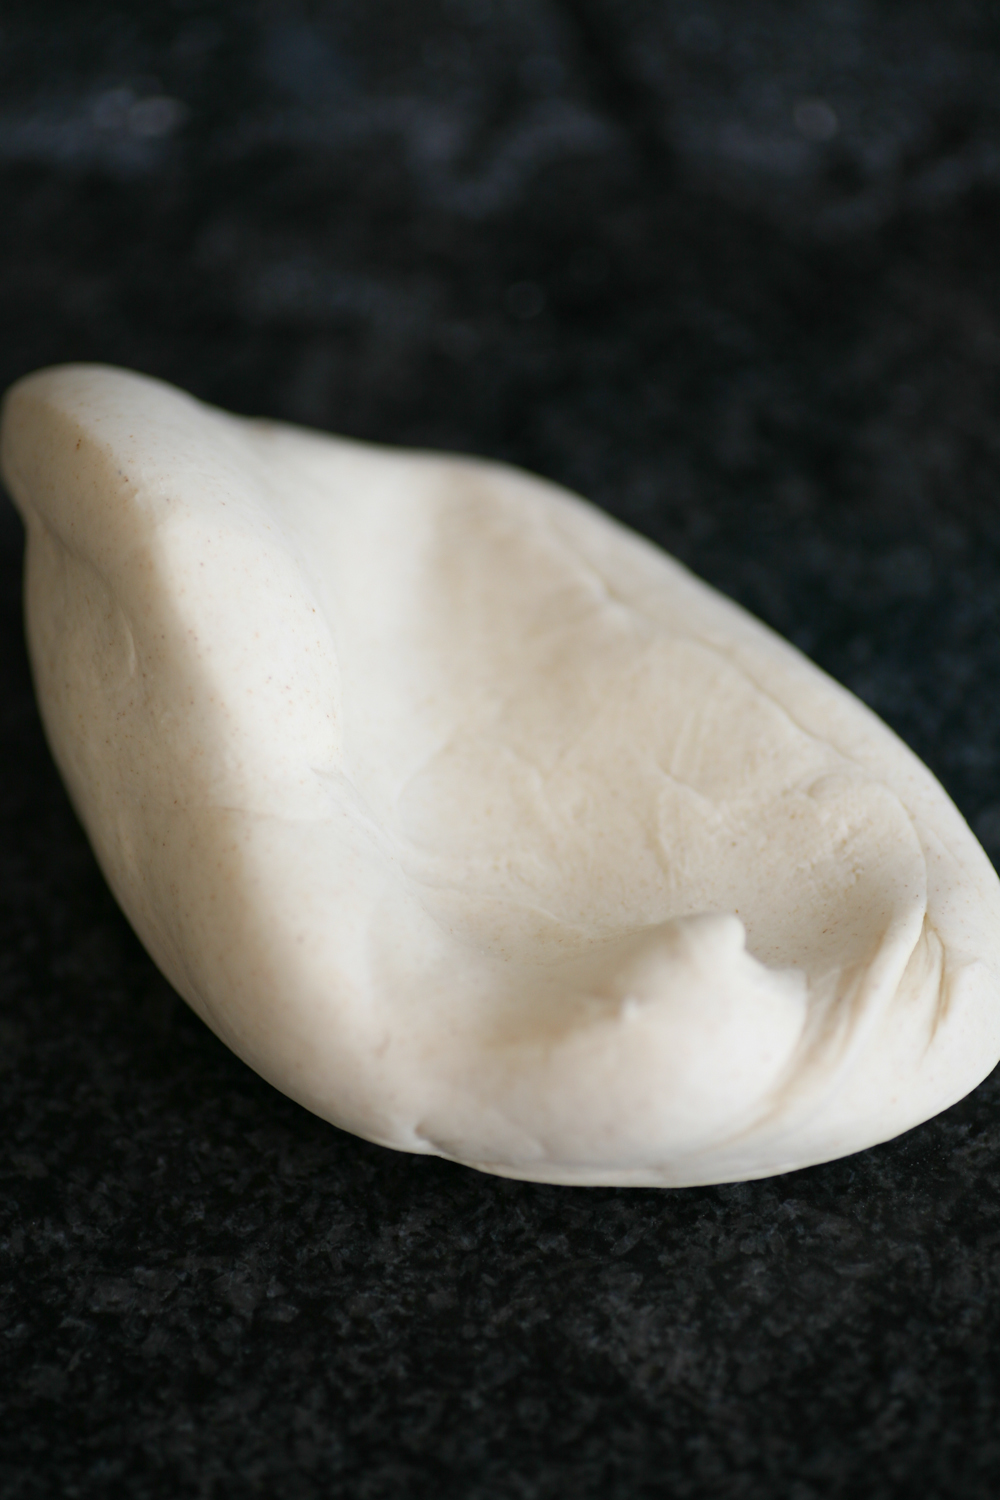
3. Kneed the dough on a cold surface for around 10 minutes, when it will be soft and springy to touch. Sprinkle more flour onto the dough if it is getting too sticky.
4. Wrap in cling film and place in the fridge for 30 mins.
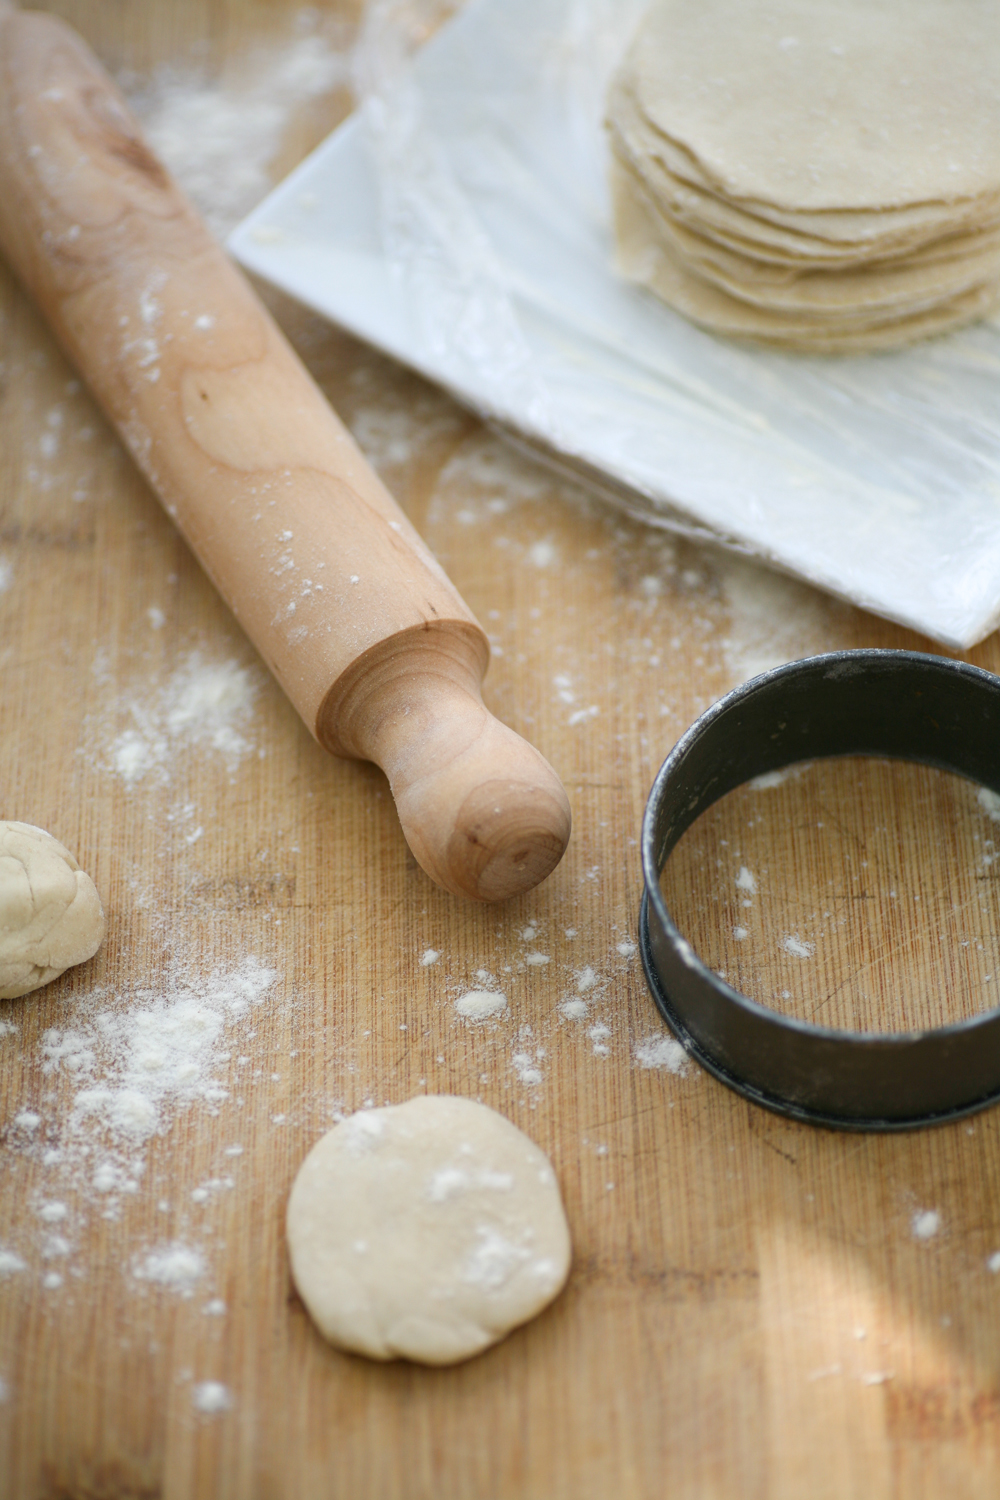
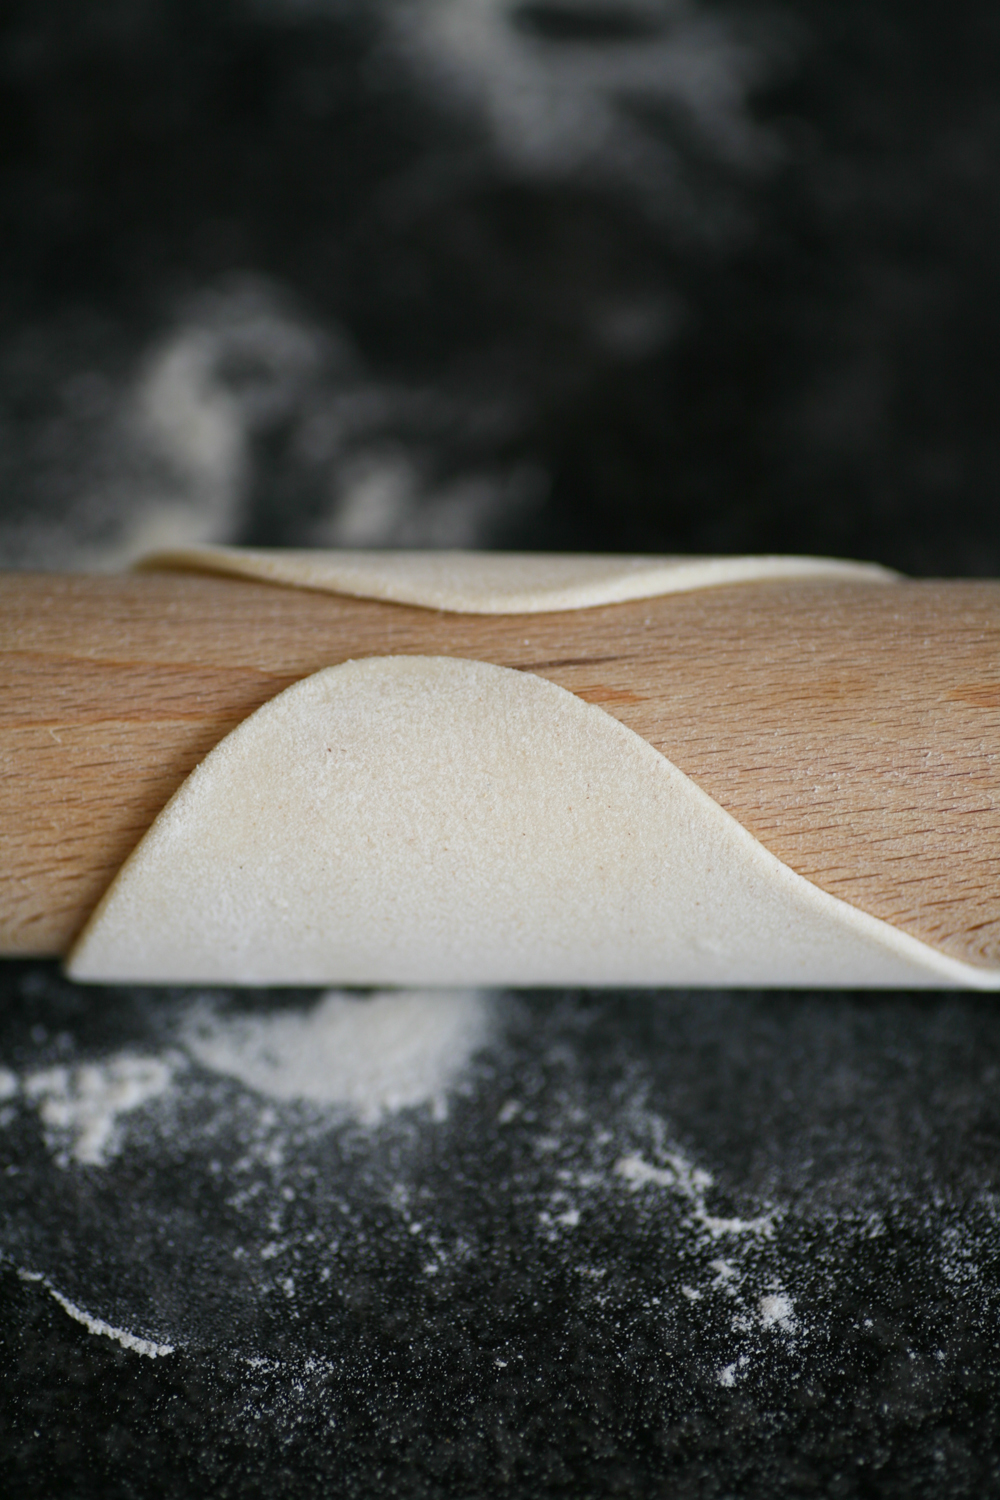
5. Take small balls of the dough – about the size of apricot – and flatten it with your hand. Gently roll the dough into a round shape, turning it after every roll. Using a round cookie cutter (or the bottom of a saucer) cut out a round circle and cover gently with flour and place in a pile.
6. Continue until the dough has been used up. You should make around 20 dough wrappers with the proportions above. Whilst you prepare the filling place a damp cloth over the wrappers so they do not dry out.
So now you have the wrappers ready to go you need to prepare the filling. Whether you want to use chicken, pork mince, prawn, duck or shiitake mushrooms and tofu the rest of the ingredients remain the same.
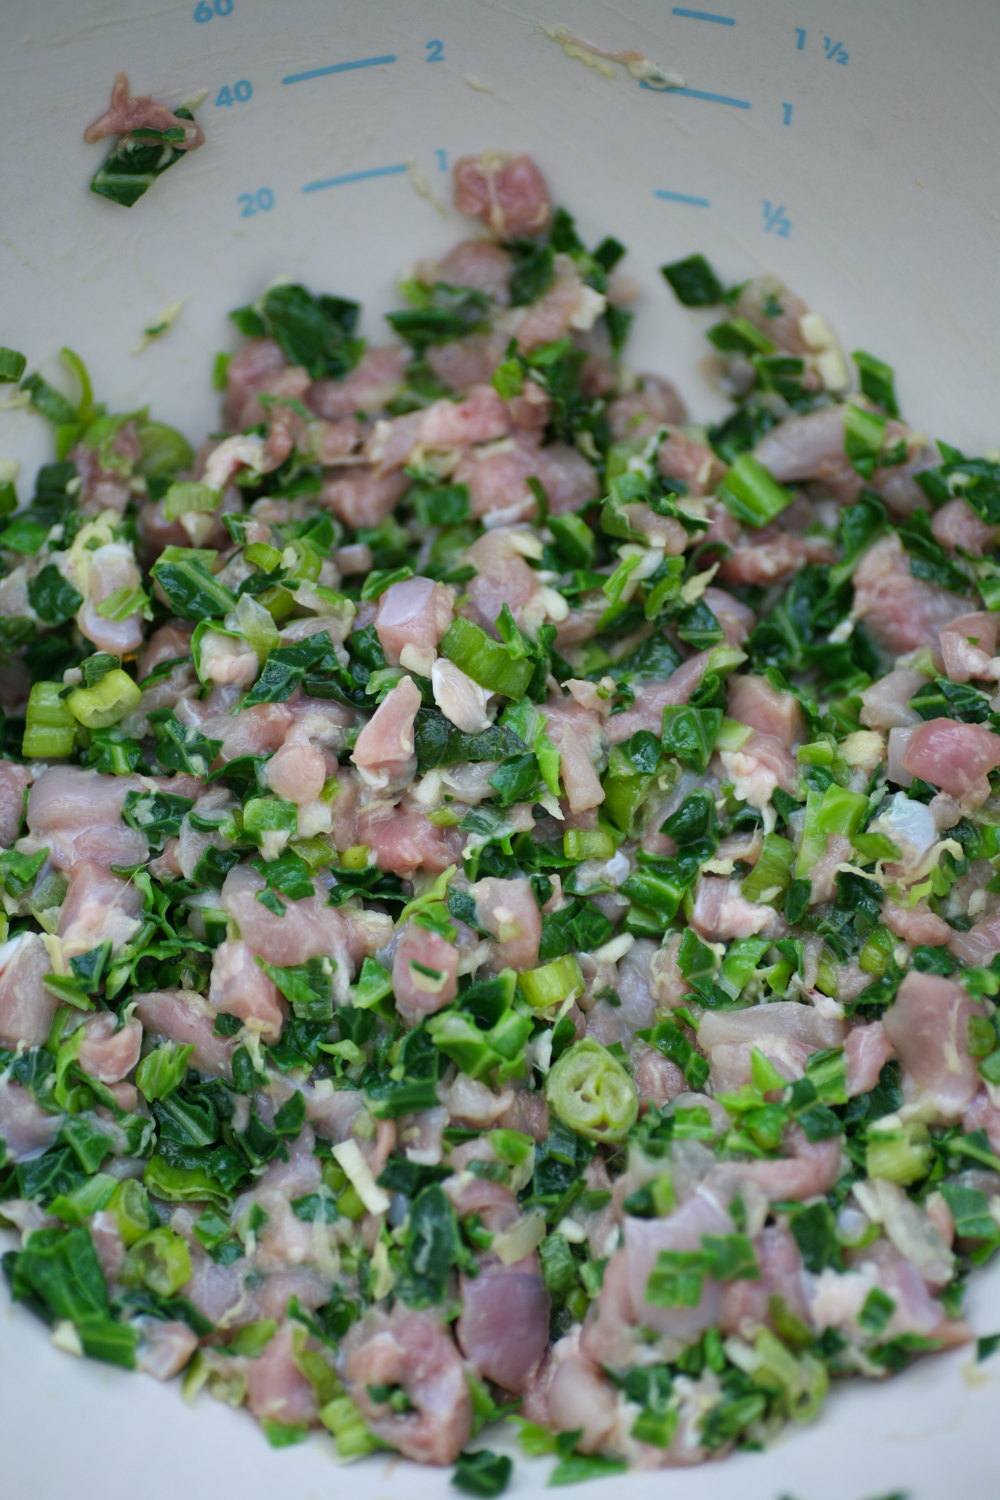
Whilst using Chinese cabbage is the most authentic, use whatever green cabbage you have in your fridge. Place two large leaves in a pan of boiling water for 1 minute and then drain and pat completely dry with kitchen paper. You then want to slice and cut them up as small as you can. You can blitz everything in a blender but I tend to often take the slightly slower version of cutting by hand. Today I used chicken and as I tend to find minced chicken hard to source so I bought boneless chicken thighs and cut up them up into small pieces. I also added spring onions, chopped garlic, finely grated ginger, soy sauce, sesame oil, salt and pepper and hey presto you have your filling. You can get creative and add any other ingredient you think might work – how about carrot, fresh chilli, five spice.
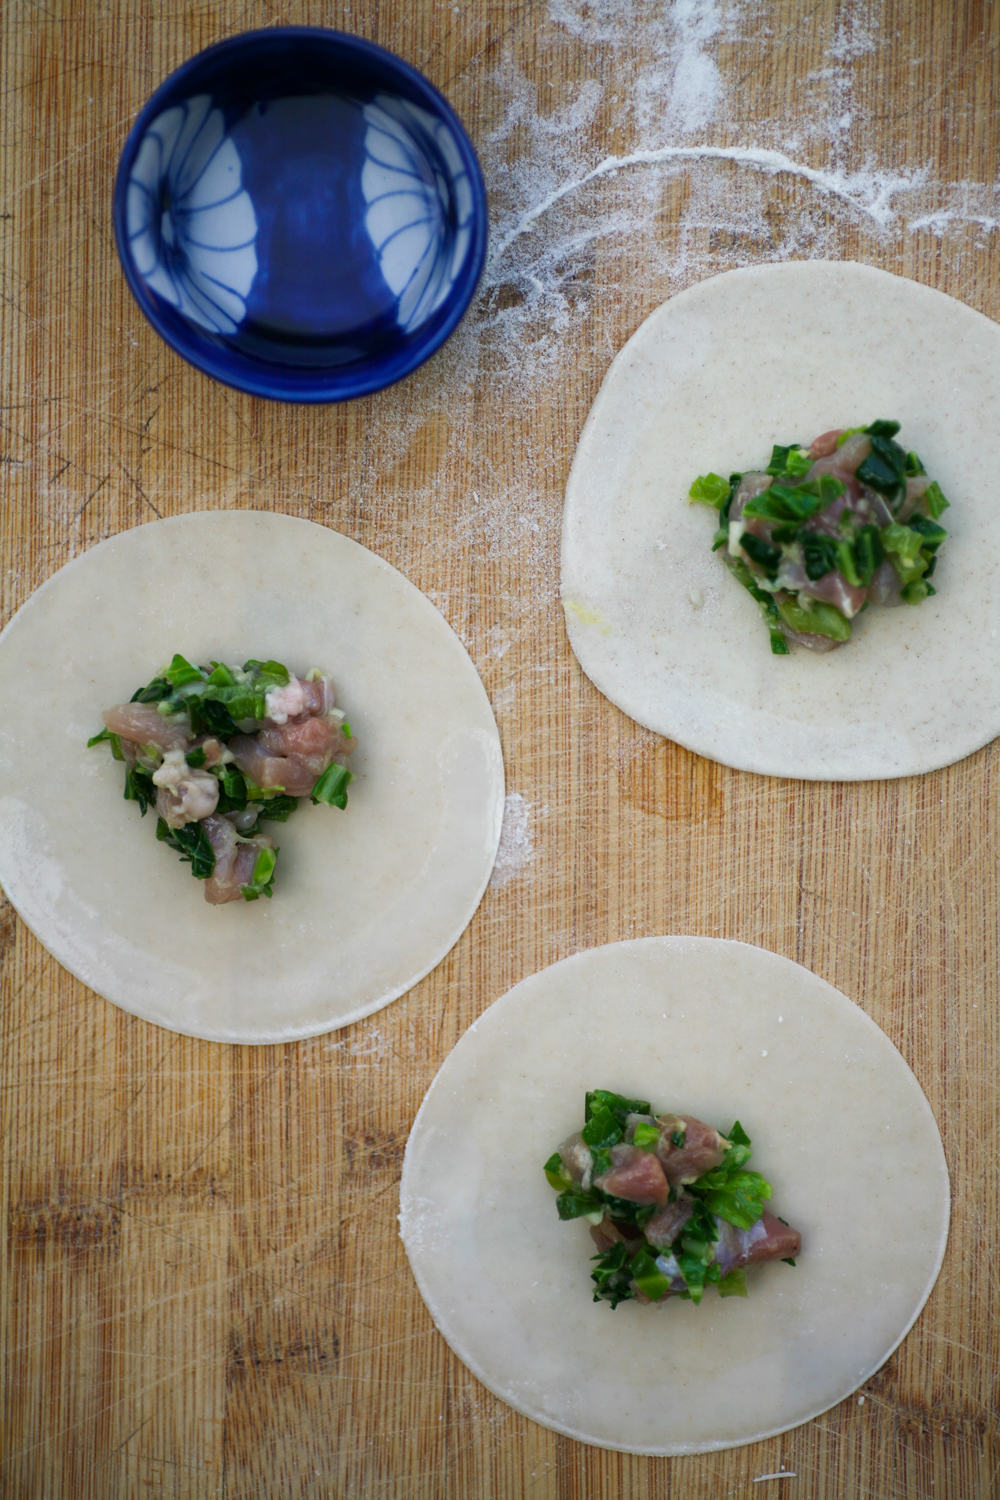
Wrapping the dumplings is rather satisfying and you will begin to get into a rhyme with them. Don’t overfill the gyoza, instead putting a teaspoonful in the centre and then, using your finger tip, wet the low half rim of the circle. You then want to fold over the gyoza in half and then begin to pleat from left to right, making sure the filling is securely inside the parcel. It is definitely a case of the more you do the better you become. My 8 year old is a complete natural and can do multiple pleats across the top. You only pleat one side of the gyoza s0 do not turn over and attempt to do more on the other side.
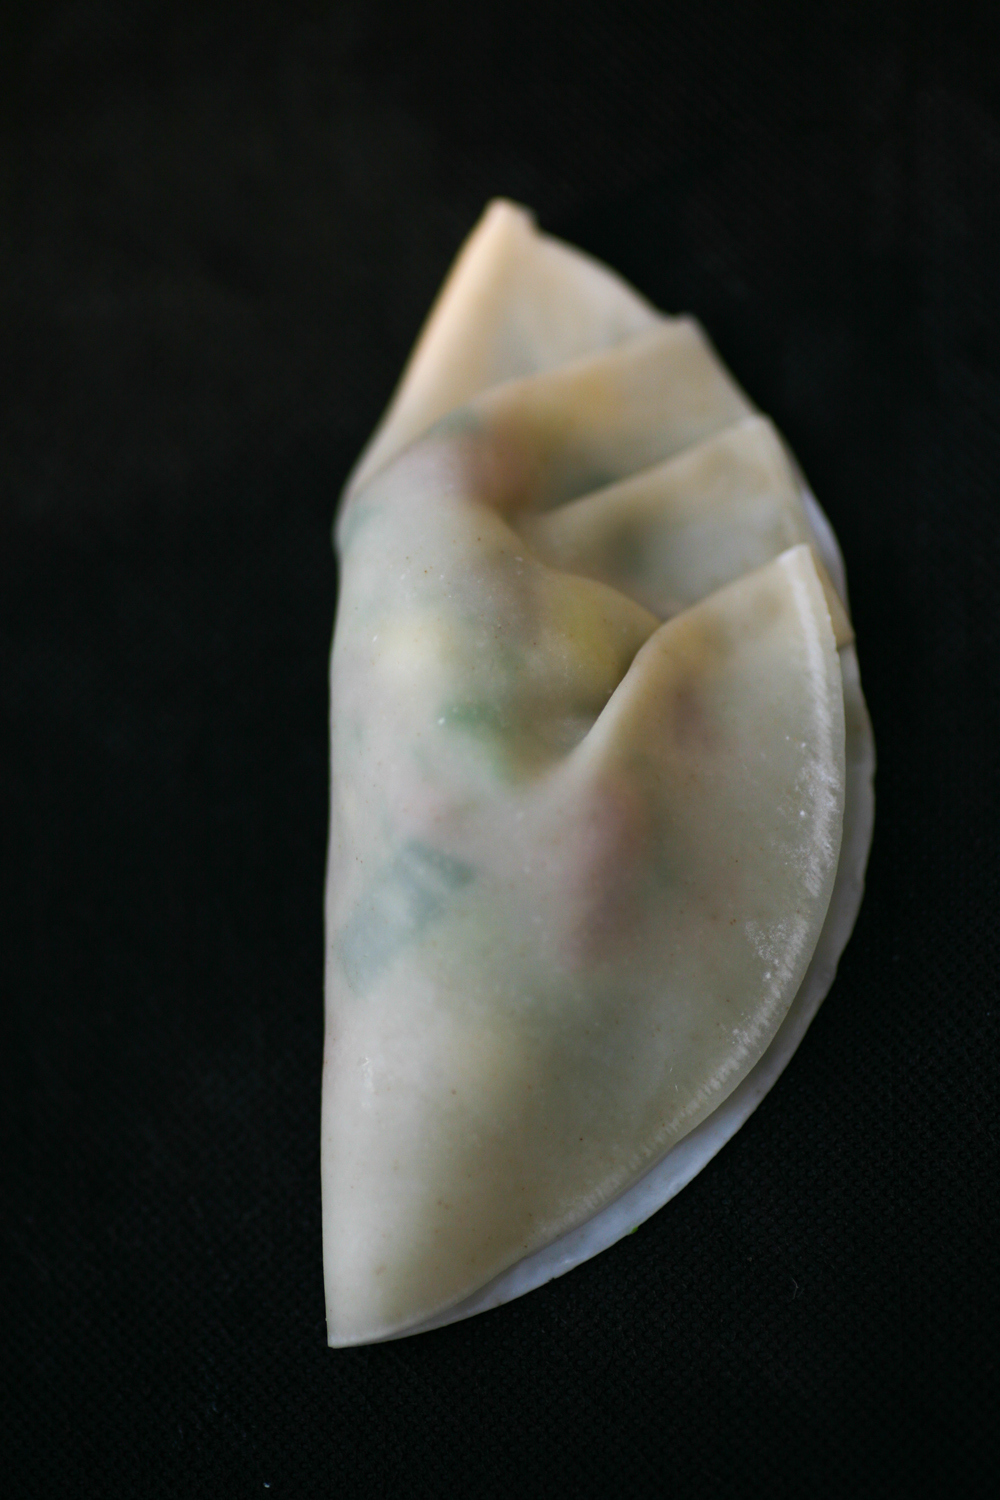
The above photo shows half of the gyoza pleated. I finished doing this row, but did not turn it over to attempt to do the other side. To pleat you simply use your thumb and forefinger to make small pleats going over the last. Make sure you press the top together so that it is firmly stuck together – you don’t want them opening up in the pan.
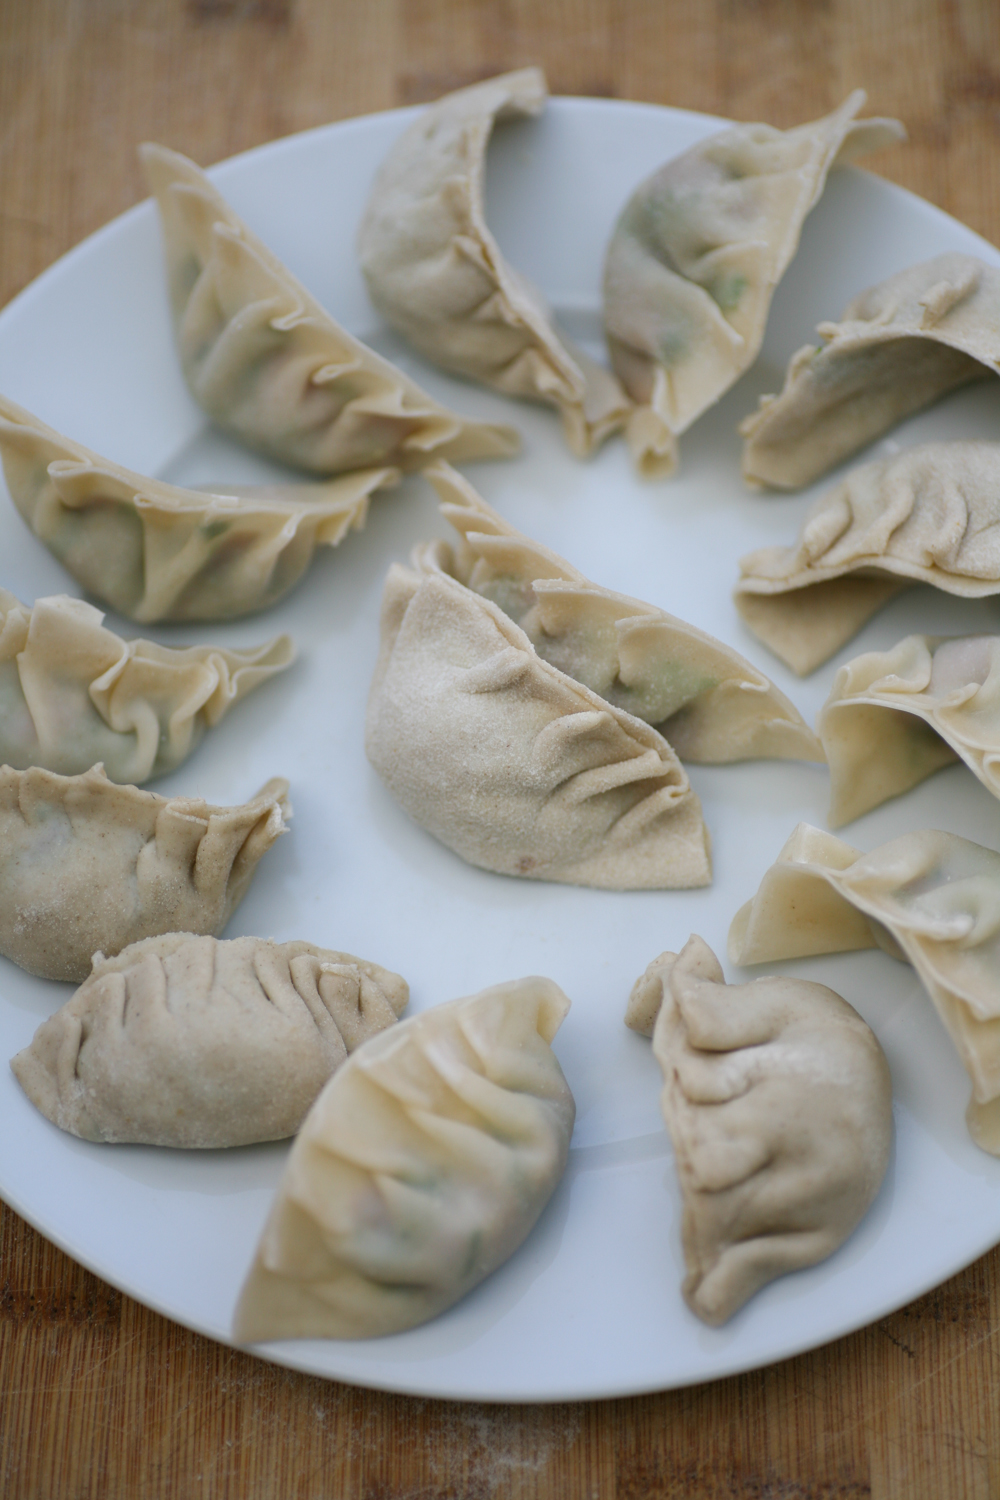
So you can see some are neater than others above. They will still taste delicious even if you haven’t got the perfect symmetrical pleating!
Dumpling Filling
to fill around 20 dumplings
2 large leaves from a green cabbage/Chinese leaf cabbage
2 garlic cloves, finely sliced
20g ginger, peeled and finely grated
3 spring onions, finely sliced into small pieces
1 tsp sesame oil
1 tsp soy sauce
1 tsp mirin rice wine
275g boneless chicken thighs/or chicken mince (or duck, pork mince, tofu and shiitake mushrooms)
100 ml water
************
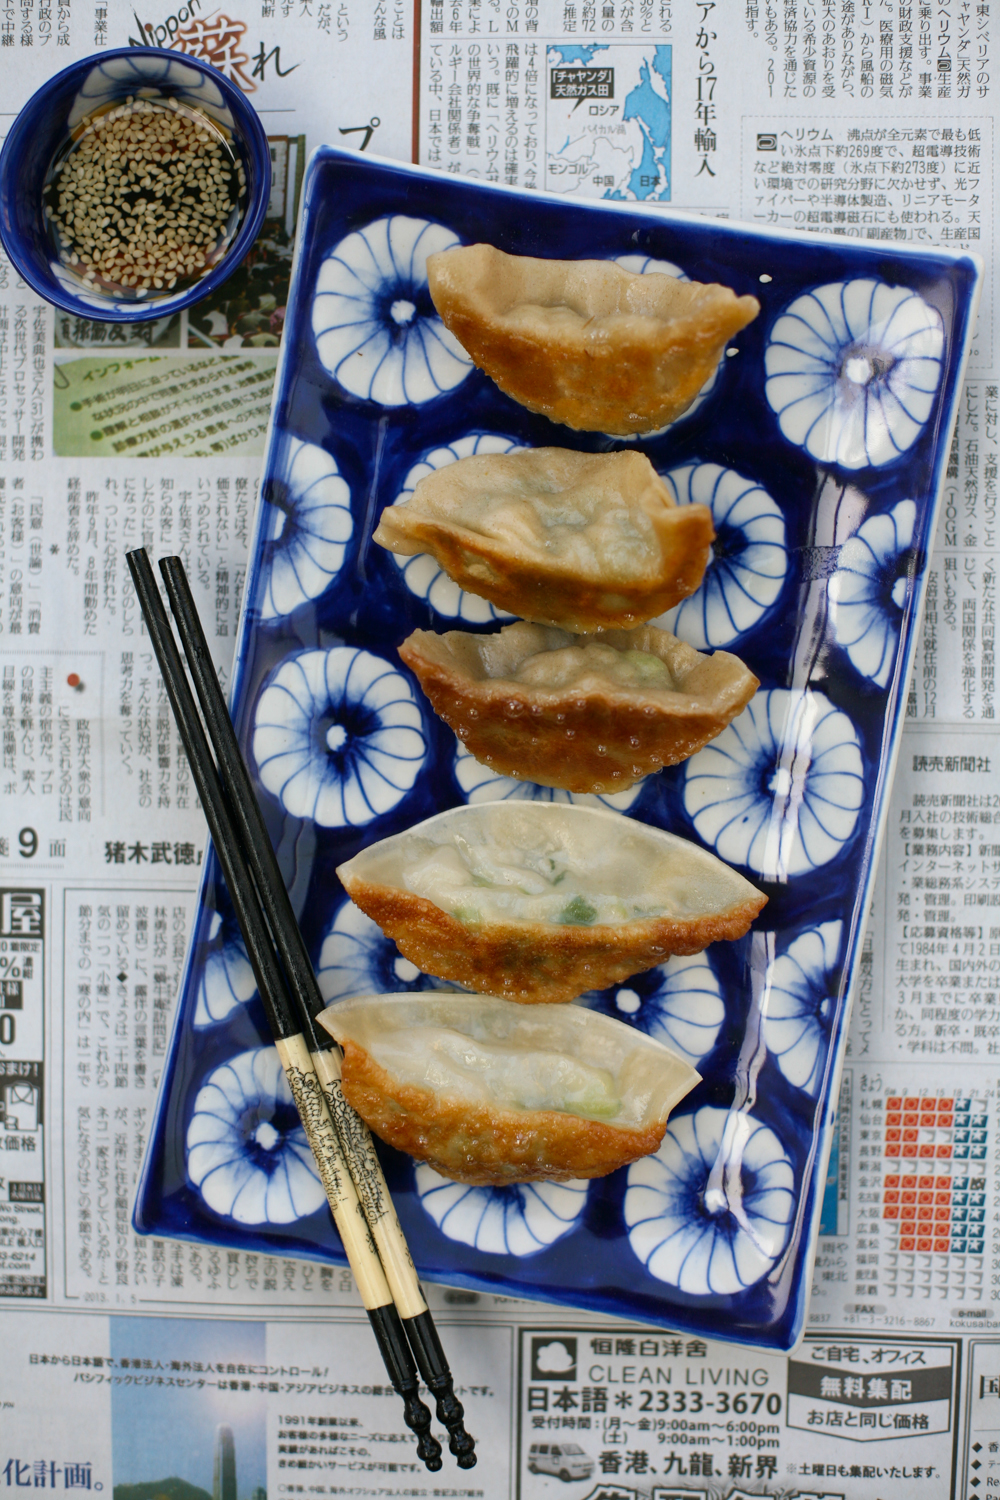
Dumpling Dipping Sauce
3 tsp rice vinegar
6 tsp soy sauce
1 tsp chilli oil (optional)
1 tsp sesame seeds
**********
1. Finely chop all of the ingredients and then bind together using your hands.
2. Place a heaped teaspoon of the ingredients onto one of the wrappers in the centre.
3. Wet the rim of the lower half of the wrapper using your finger.
4. Fold the wrapper in two and then pleat from left to right across the top, making sure to firmly seal the top of the wrappers.
5. Bend the wrapper slightly so that it is in a crescent moon shape and so it can stand up unaided. Place to one side whilst you prepare the rest.
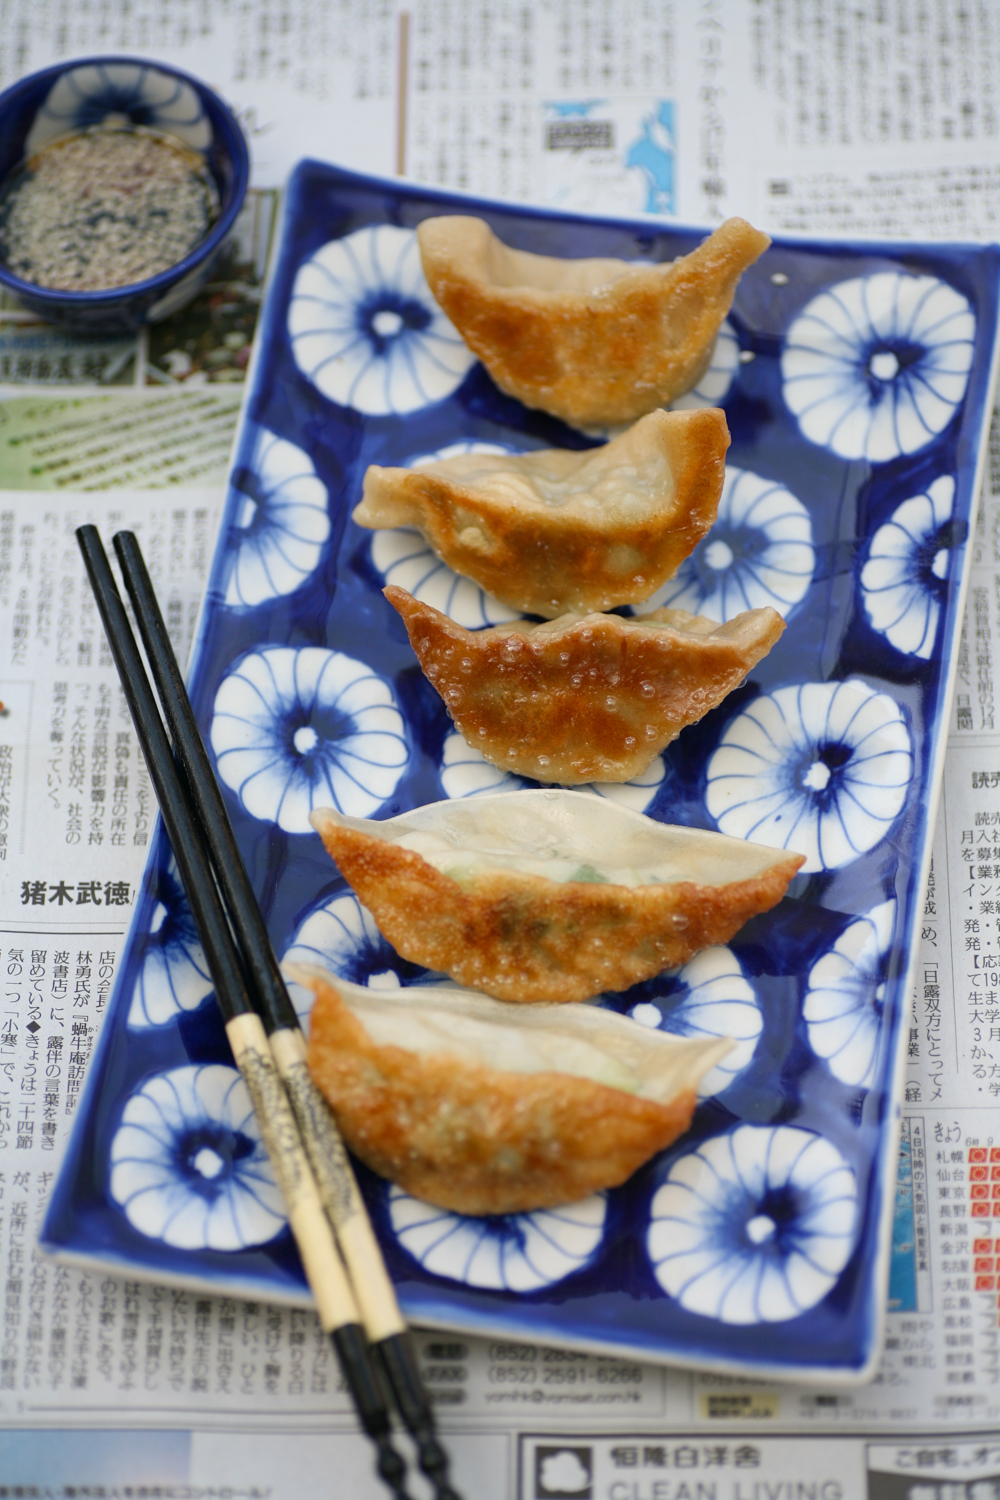
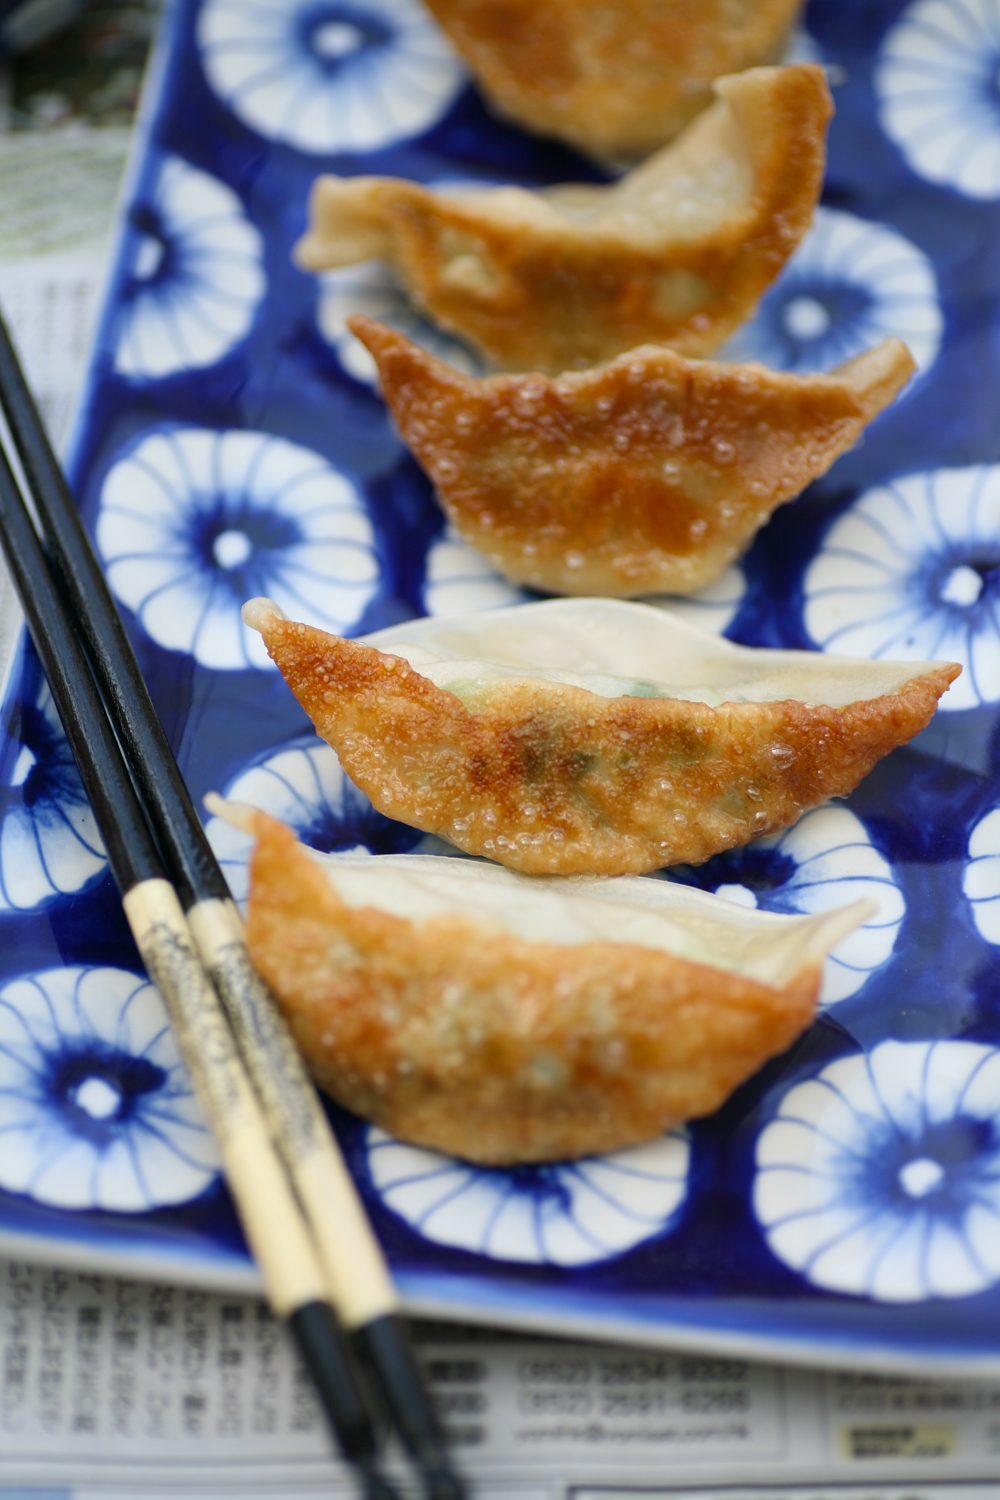
6. Using a large nonstick pan add a tablespoon of sesame oil and when hot add the dumplings so that they are standing up and not sticking to one another. Fry them for 3 minutes, by which time they will have bronzed underneath. If they have not bronzed sufficiently leave them to fry for a little longer.
7. Add 100ml of water to the pan and place a lid on the top. Leave to steam for a further 3-4 minutes so that the water has completely dissolved.
8. Mix the ingredients of the dipping sauce together and then place to one side in a little bowl.
9. Serve immediately with the dipping sauce.