This recipe is for all of you lovely people out there who claim you don’t have time to cook. It is super quick, satisfying and great for cold winter nights. It literally takes no longer than 15 minutes to cook from beginning to end. To be fair it is very similar to this dal of mine although it differs in that it has a tin of tomatoes in it, loads of fresh whole garlic (great for ridding those horrible colds and coughs we pick up in winter), and a sprinkling of cumin powder.

I had a bunch of friends over for lunch the other day and as well as cooking some tasty winter salads had a huge pot of this on the stove. It seemed to go down a treat as there was very little left over once they had gone, another sign that it’s worth giving it a go.
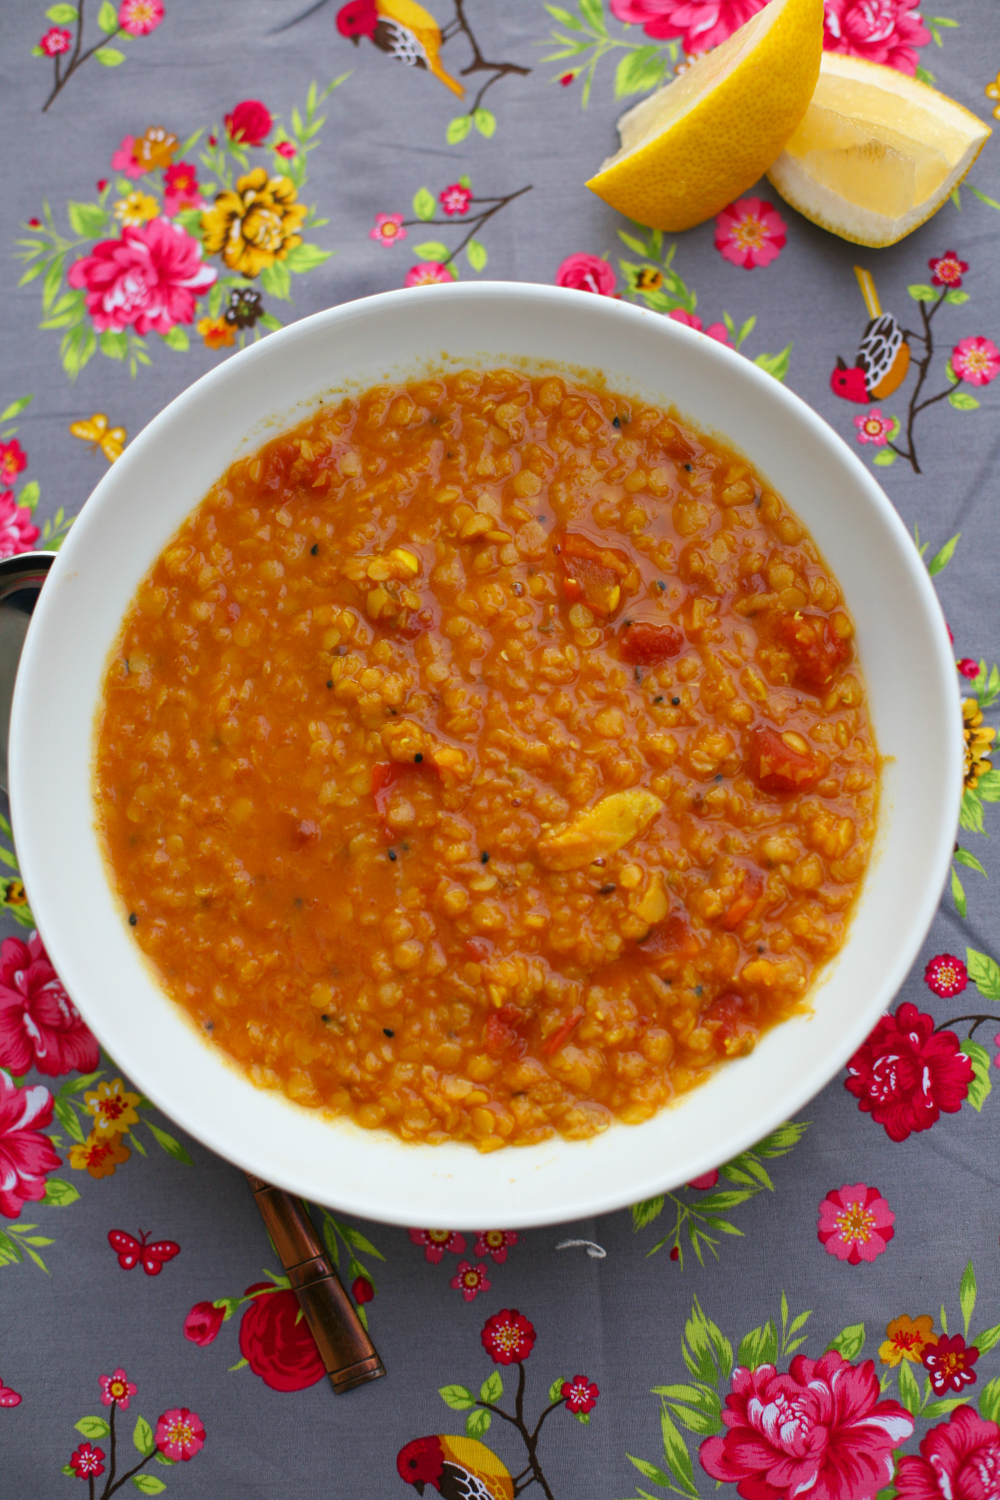
I like to add a splash of lemon juice liberally at the end, but it’s up to you. Like with all dals they can be made more soupy or firmer depending on personal choice. For this dal I like to make it more soupy so that I can spoon it out of a bowl. If you are cooking it with rice and another dish then maybe you want to add less water. I never really measure the water that goes into it. I always go on how it looks, so my advice is to put in enough water so that it covers the dal by half an inch and then keep adding more boiling water once the water has soaked up. It’s a winner and so simple. Give it a go and leave me a comment below.

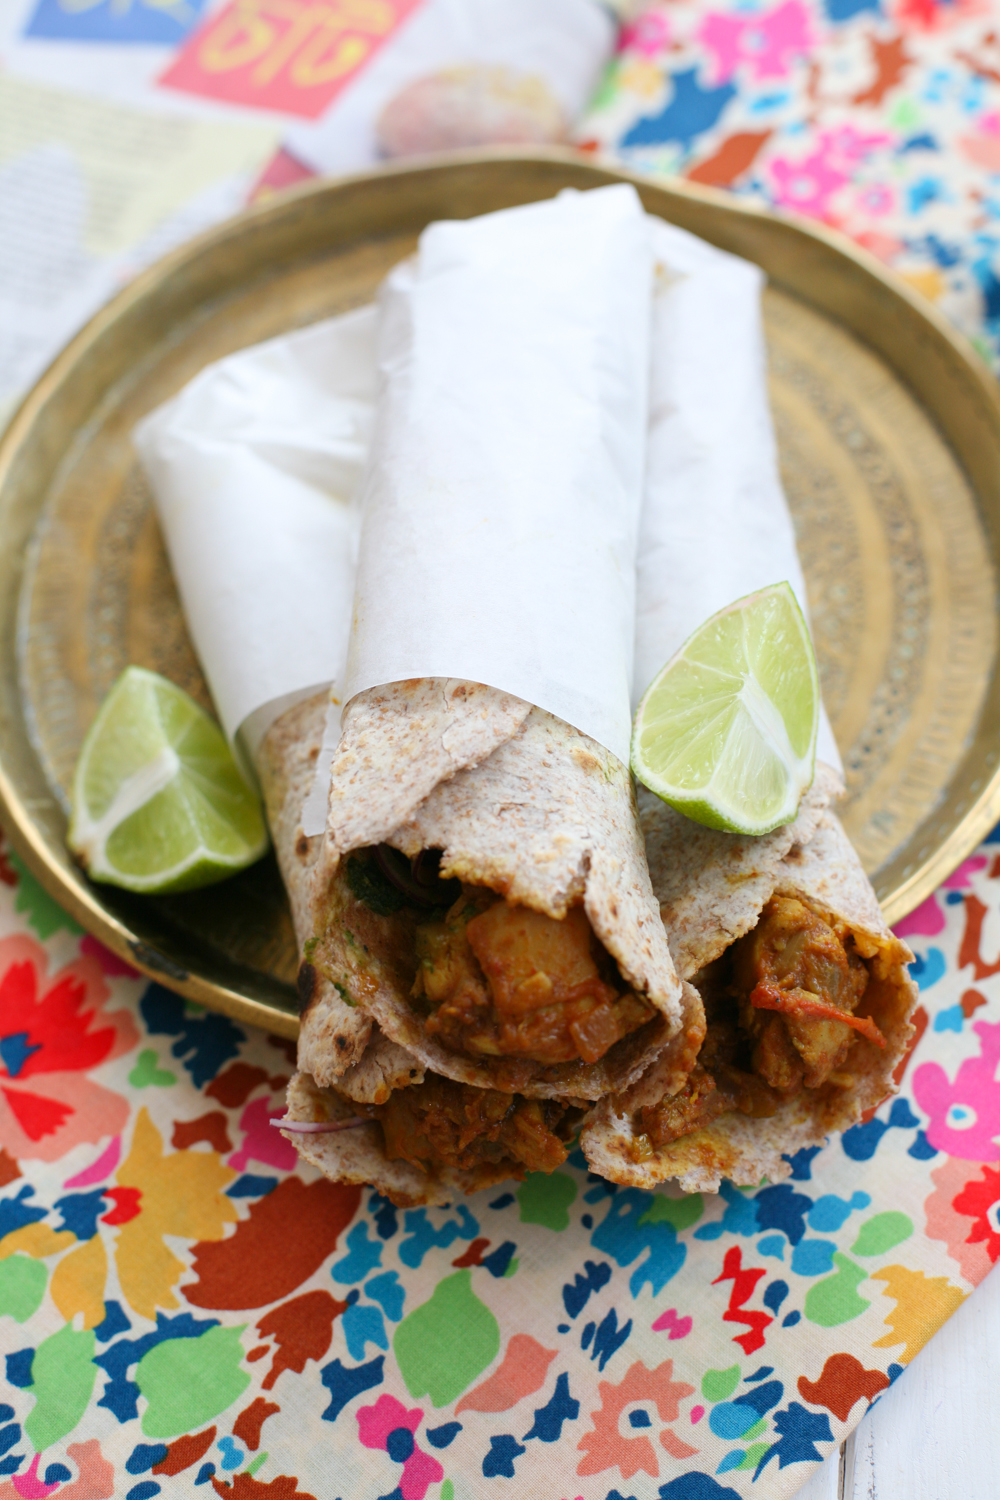
Tomato and Garlic Red Lentil Dal
Serves 4-6 (4 as a main 6 as a side dish)
300g red split lentil
water, enough to cover the red lentil
1 tbsp groundnut oil
5 (or more) garlic cloves, gently crushed but kept whole
1 tsp panch phoron
1 tsp turmeric powder
1/2 tsp cumin powder
1 tsp salt (to taste)
400g tin of tomatoes
1 lemon, quartered – optional to serve
1. In a deep pan place the red lentils and cover with cold water. Gently wash the lentils using your hand and pour out the murky water. Repeat three times.
2. Add boiling water to the red lentils and cover so that all the lentils are submerged by 1/2 inch. You can add more boiling water once this has soaked up if need be. Boil on a gently heat, skimming off any white residue that comes to the surface. Stir at intervals so that all the lentils cook through and turn from orange to a more yellow colour. Add more boiling water if you prefer it to have a more soupy consistency.
3. In a separate pan heat up the oil and then add the panch phoron. Once they start sizzling add the garlic and move around the pan. After a minute add the turmeric and cumin powder. Keep on a low heat, making sure the garlic and spices do not burn.
4. Add a spoonful of the now yellow lentils to the panch phoron and stir into the spices. Pour the contents of this pan into the pan with lentils and stir in thoroughly. Add a little water to the saucepan to make sure the spices pan is now clear of spices.
5. Add salt to taste and the tin of tomatoes and cook on a low heat for 5 minutes, or until the garlic has softened.
Voila. That simple. Enjoy.