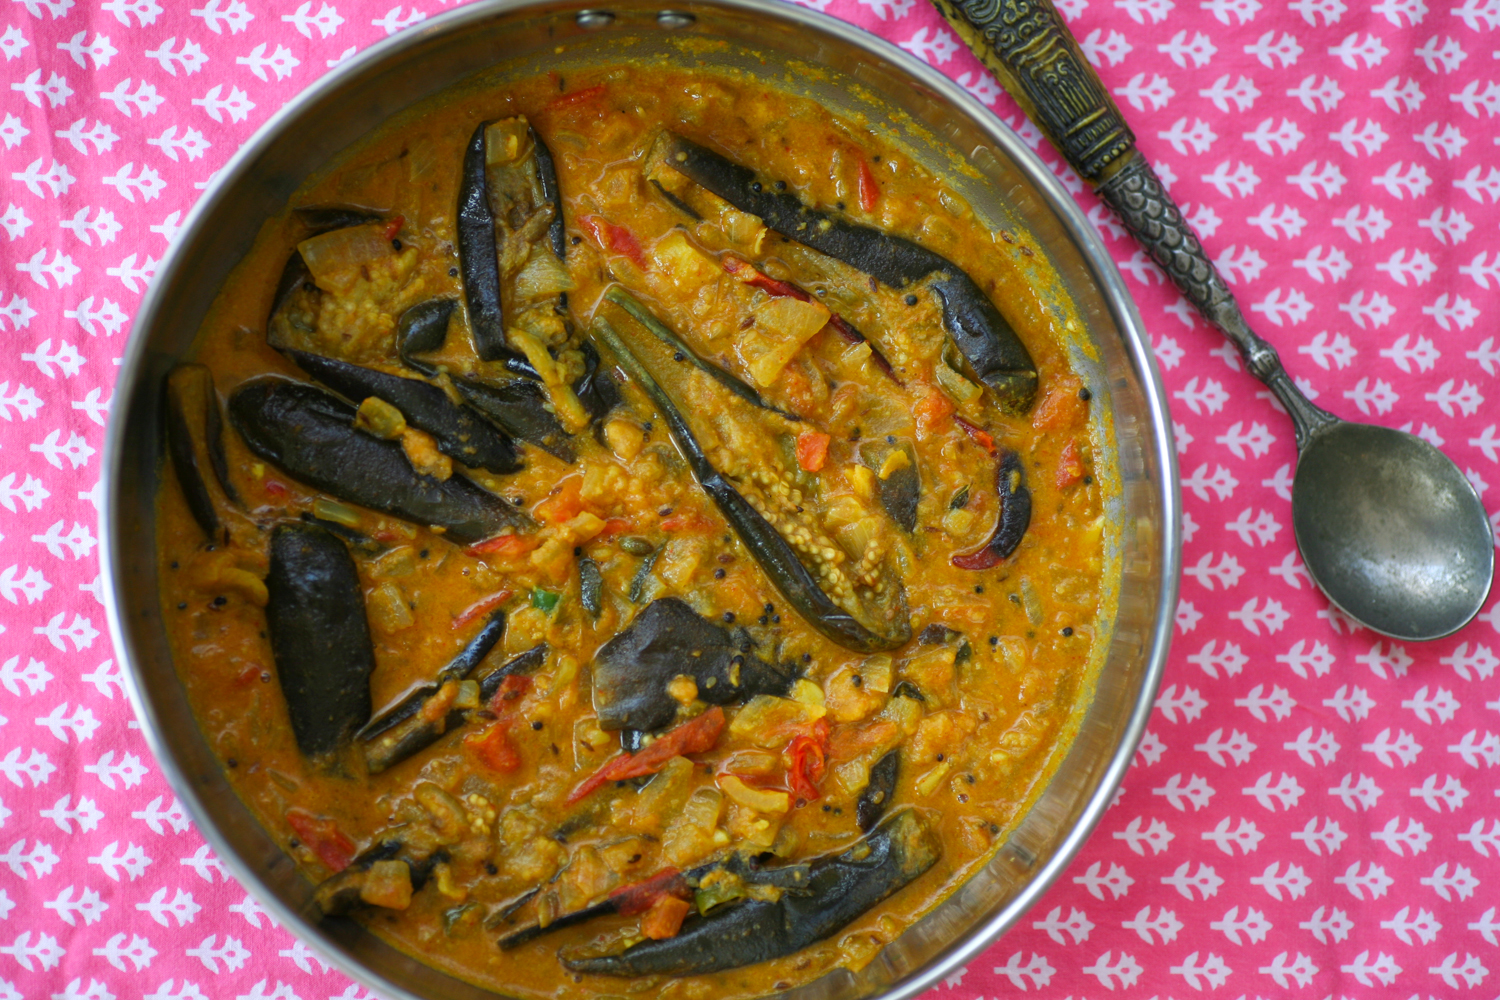
Sometimes a kick-ass curry is what one needs to enliven the senses and to feel blessed to be alive. It also does wonders if you are suffering from a cold or feeling a little run down. This curry, known as Laal Maas – which in Hindi translates as ‘red meat’ – is a traditional Rajasthani dish that is loved, adored and eaten in every Rajasthani household. My version is not ‘blow your brains out’ chilli hot, although it does have more heat than the majority of my Indian curries on my blog. I think if you generally like spice then this will appeal. If you are more of a korma person then I would give laal maas a wide berth.

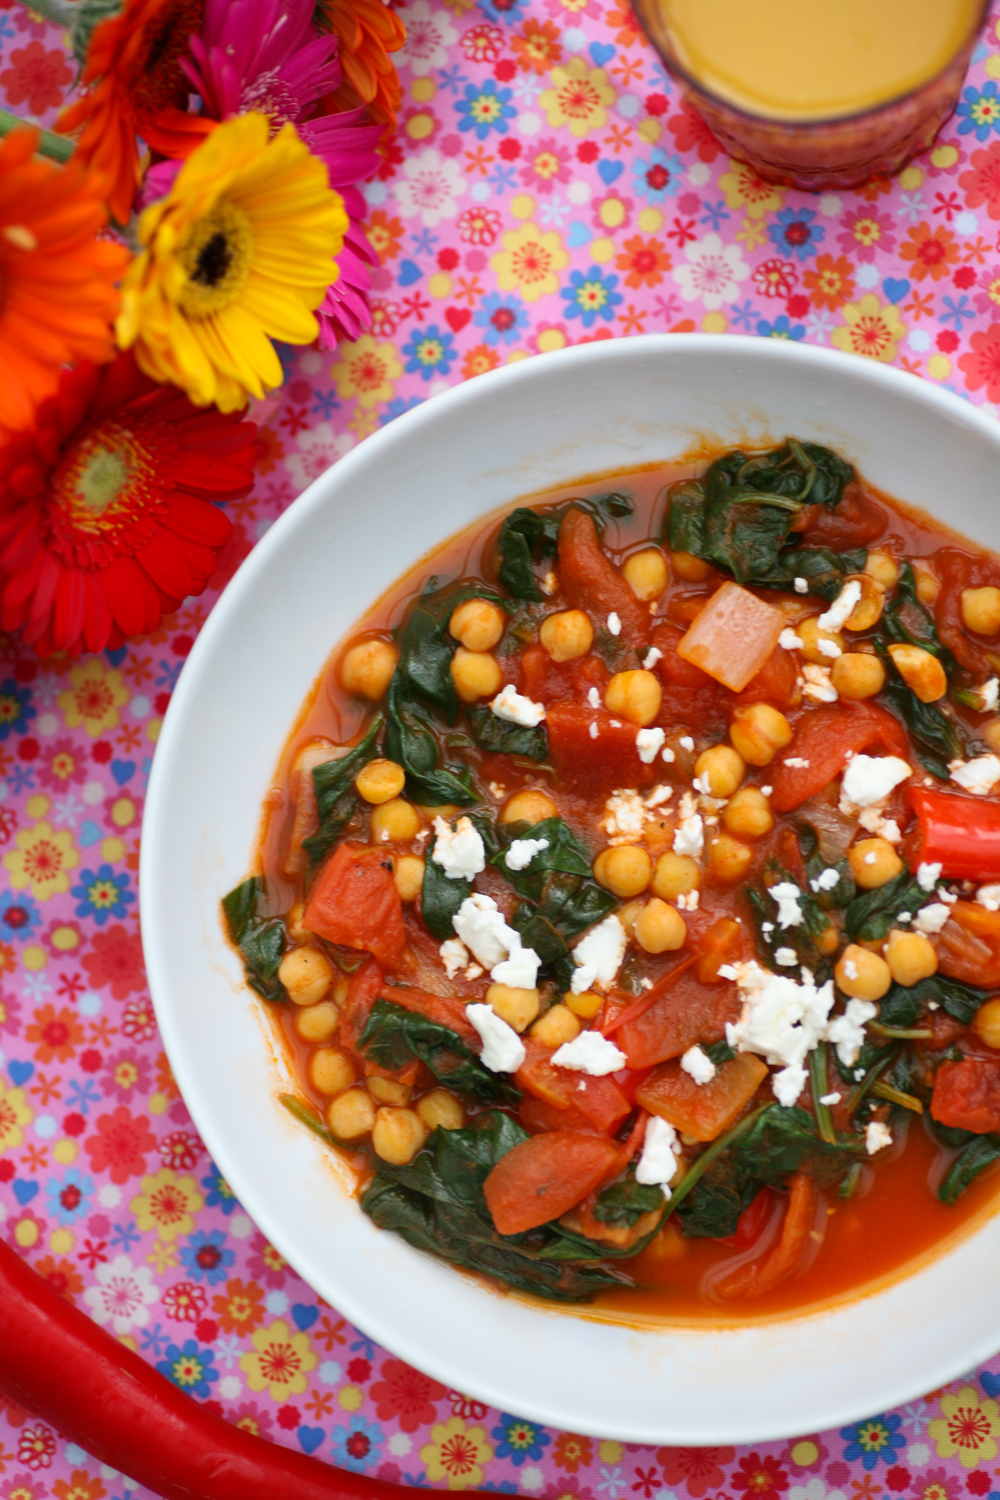
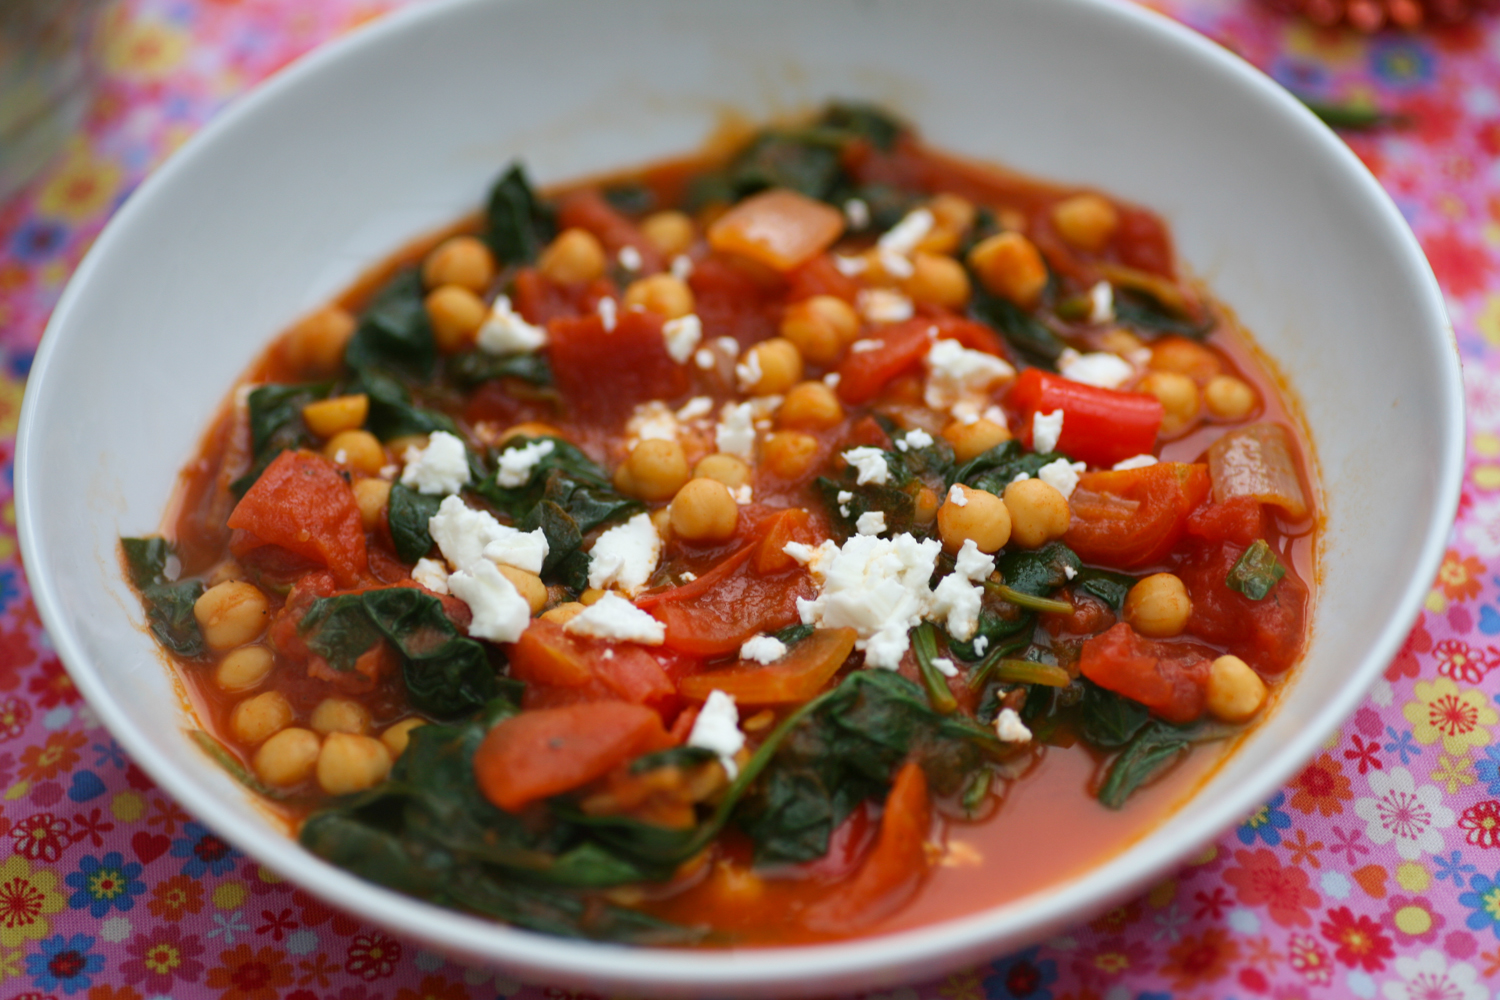
I cooked it earlier in the week when I had a bunch of friends over for supper and not one lamb morsel or spoonful of sauce was left. I served it with an ivy gourd/tindora/gentleman’s toes curry – see recipe here as I felt they would compliment and not overpower one another. I also made some pakora with some homemade coriander chutney and tamarind and date chutney – recipes for all of these I will post soon.
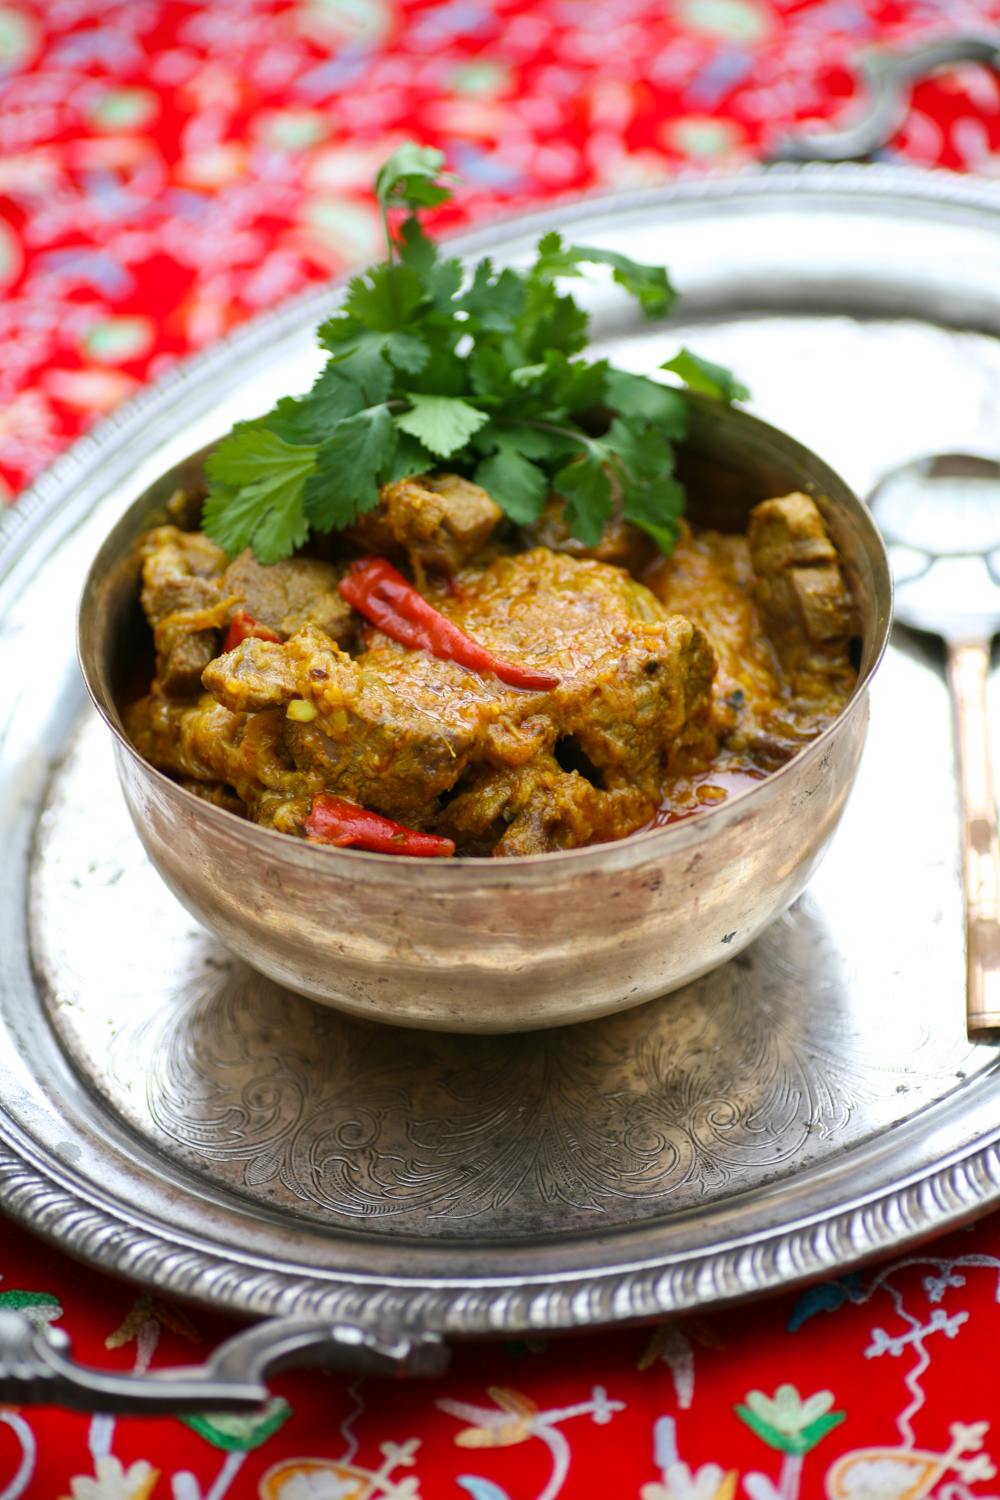
Rajasthani cooking is traditionally a lot spicy than Bengali and this dish clearly demonstrates this. It is not a hot as you may think, largely owning to the Kashmiri chilli powder that is added which gives the curry a deep red colour but not so much heat that it is difficult to eat. The yoghurt also tones the down the heat making it enjoyably palatable. Not one of my guests requested milk to deaden the heat or were perspiring uncontrollably. So give it a go. I like to cook it earlier in the day and then gently reheat before serving. I find that leaving it to rest a while before reheating also calms the heat so don’t stress if you taste a spoonful when it is cooking in the first instance as it will calm down if it is left for a few hours.
***********
Laal Maas – Rajasthani Kick-Ass Lamb Curry
Serves 6
125ml vegetable oil
2 tsp cumin seeds
6 cloves
6 fresh red chillies, storks removed (you can also used dried – see footnote)
1/2 mace blade
6 green cardamom pods, opened
2 black cardamom pods
2 large red onions, thinly sliced
1 tbsp garlic paste
1 tbsp ginger paste
1.2kg lamb, diced
2 tsp Kashmiri chilli powder
1 tsp turmeric powder
2 tsp salt
250g plain yoghurt, whisked
coriander to serve – optional
1. Using a pestle and mortar (or a bowl and the end of a rolling pan if you do not have one), gently bash the green cardamom pods so that they open and some of the seeds come out. Place to one side. If you are making your own ginger and garlic paste I find gently grating them first is the best way to form a paste. Add a drop or two of water to make a more paste like consistency. For this recipe I used a jar of garlic paste and ginger paste for ease and speed.
2. In a large pan or casserole dish add the oil and when it is hot, but on a medium heat, add the cumin seeds and move them around the pan for 30 seconds to allow the flavours to open up.
3. Add the chilli, the green and black cardamom pods, mace blade and cloves and continue to move around the pan for a further minute.
4. Add the sliced onion and cook on a low heat for 6-8 minutes, by which time the onion will begin to brown in colour.
5. Add the garlic and ginger paste and stir in well with the other ingredients and leave to cook for a further 5 minutes.
6. Now add the diced lamb and completely coat in all the ingredients. Add the turmeric, Kashmiri chilli powder and salt and leave to cook gently so the lamb has browned – this will take up to 10 minutes.
7. Place the whisked yoghurt into the pan and fold into the lamb. Cook for a further 5 minutes, before reducing the heat and allowing the lamb to simmer in the sauce for 40 minutes. Continue to stir intermittently.
8. Ideally cook this curry at least a few hours before serving allowing the curry to rest. When you are ready to eat gently reheat and if you like scatter with coriander before serving.
Serve with Basmalti rice or Indian flat bread to mop.
The same curry can be made easily with either chicken or goat.
You can also used dried Kashmiri chillies. Best to soak them in warm water for 10 minutes and then either keep them whole or blitz them to make a coarse paste.
*********