It’s new year’s day and after a wet and overcast walk through Richmond Park, along the Thames to Ham House followed by a mulled wine pit stop at the New Inn in Ham, we made it back to the car as day was turning to night, just in time before the gates to the park closed.

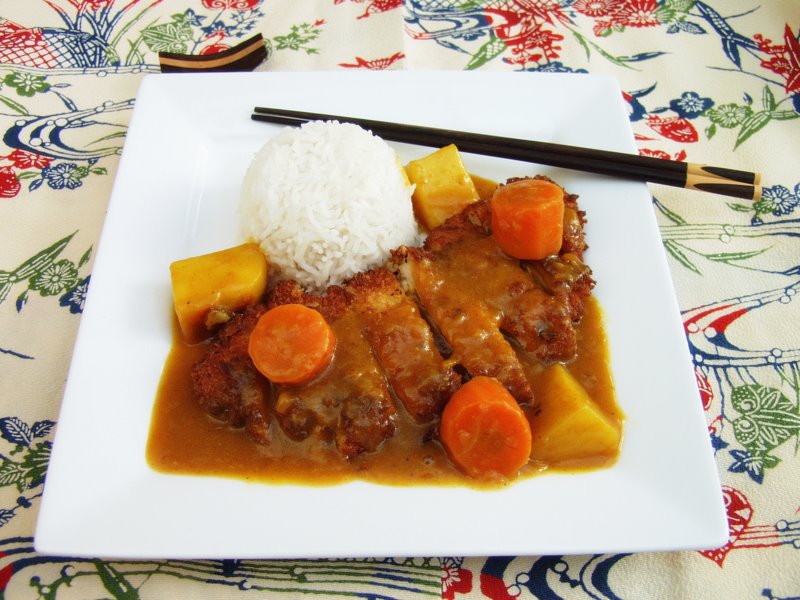
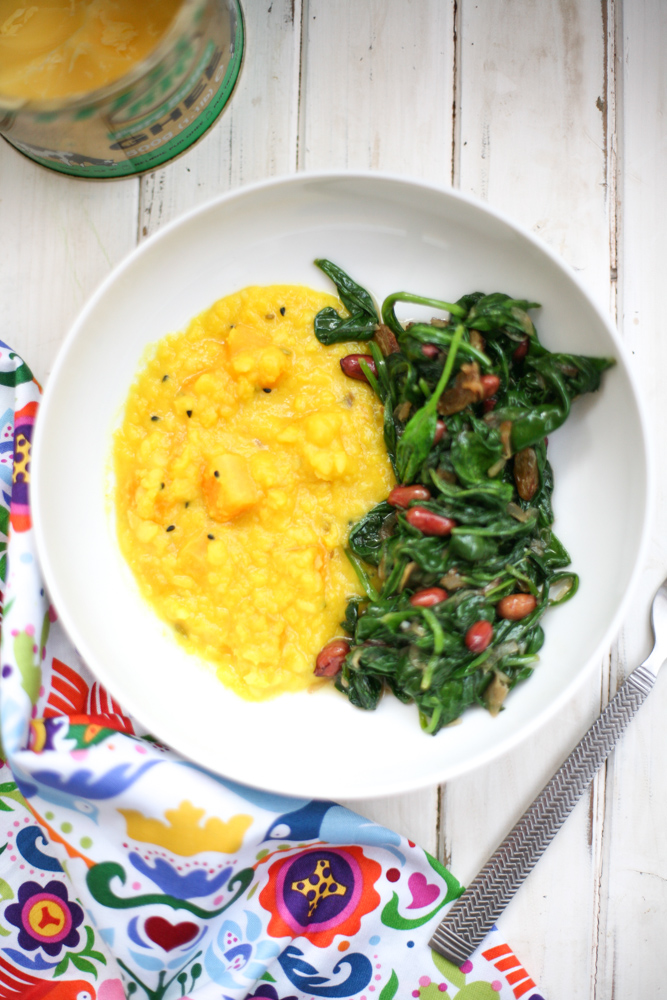
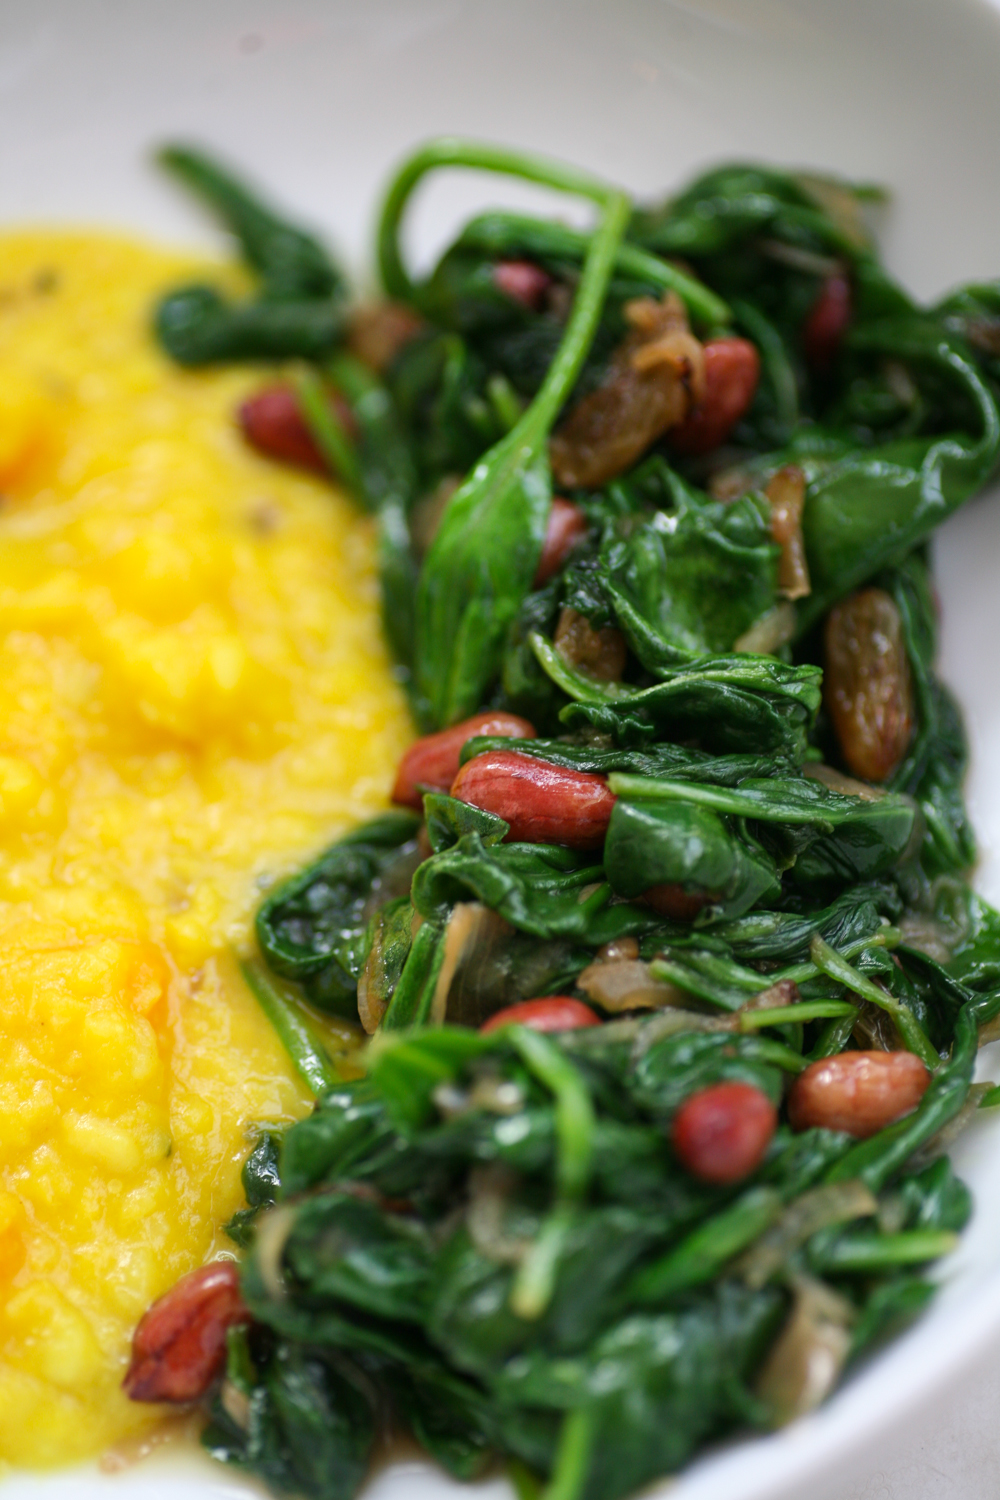
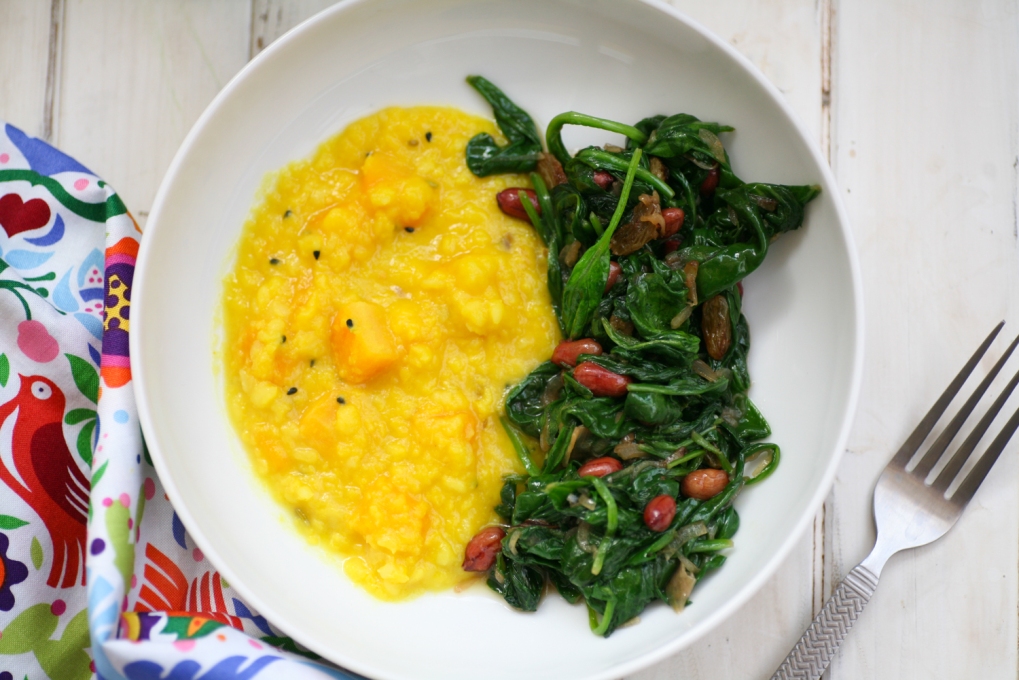
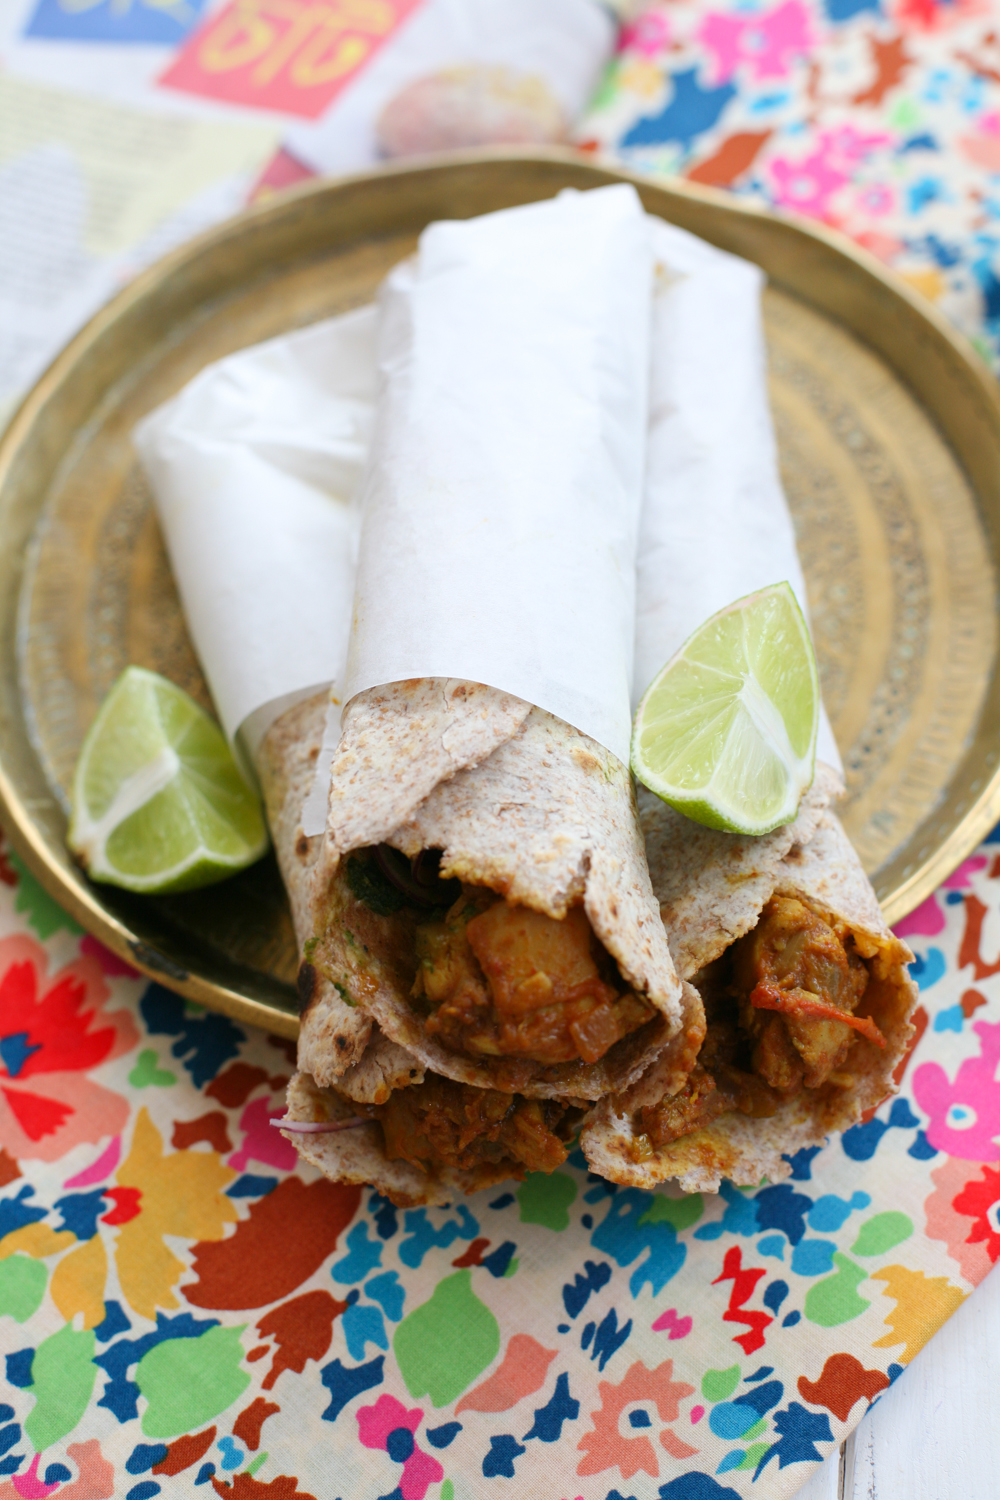
Wet, windswept and with ruddy cheeks we made it home to hot piping bowls of dal that I had made in advance and then gently reheated. It is the queen of comfort food. Nourishing, warming, simple, restorative and importantly an utter joy to eat. It’s the type of food that gives you a great big hug and an inner body glow. There are so many varieties of dal, it can never get boring to eat or make. In India it is eaten every day in some form or rather. I’m a convert and I hope you will become one too once you give some of my dals a go. This one gives red onion centre stage (although I realise it does not show it in the photos I took, trust me they are in there!) and you can reduce the number of chillies depending on your preference. I find that by chopping them in two you can then make sure they do not go into the bowls of children or those who are less keen on eating a chilli. Either way give it a whirl to warm your soul after a windswept walk. Happy New Year to you all, may 2017 be a great one.
Moong Dal
Serves 4
230g yellow mung dal
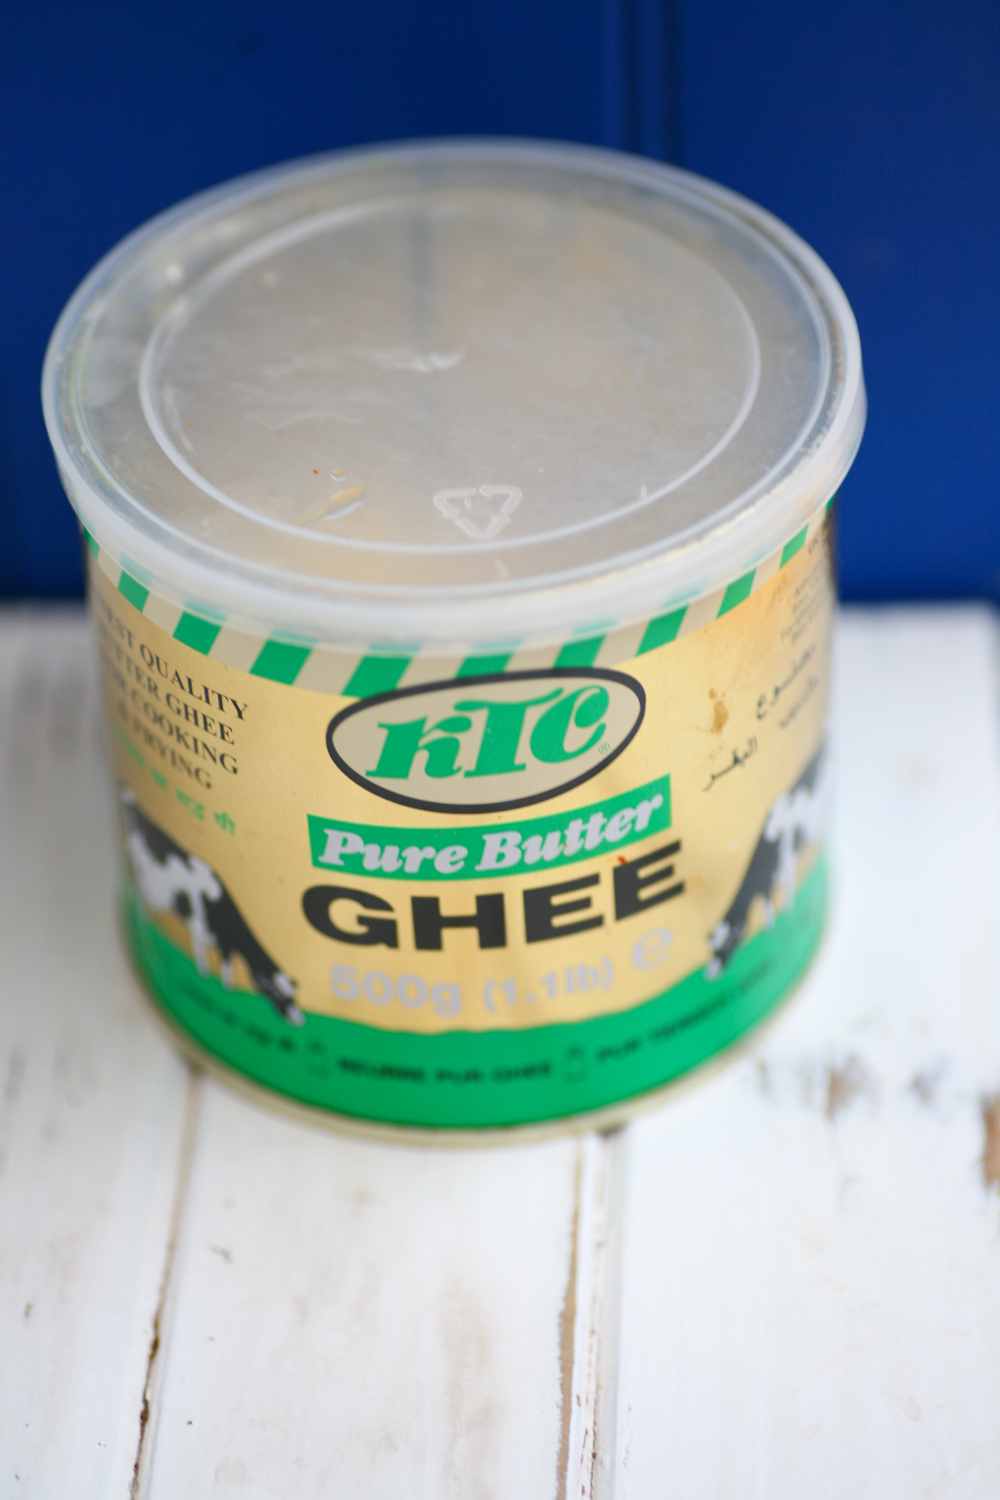
1 tbsp oil/ghee
1 tsp black mustard seeds
1 tsp cumin seeds
1 red onion, thinly sliced
3 garlic cloves, crushed
2 green chillies, chopped in half
1 sprig of fresh curry leaves
1/2 tsp turmeric powder
salt to taste
serve
squeeze of lemon
- In a deep pan add the dal and then cover it with cold water. Using one of your hands rub the dal through your fingers and move it around your pan. Pour the water out of the pan and repeat the process a couple of times.
- Finally cover the dal once again with cold water so that it is about an inch above the dal. Place on a low heat and keep the lid off the pan. You will need to keep adding more water as the dal cooks as it will get soaked up. It is not an exact science so just put a little in at a time so that it does not become too watery.
- Remove the scum that will form at the top of the dal and discard.
- Gently cook the dal for around 45 minutes, by which time it will have nicely softened.
- After the dal has been cooking for about 30 minutes place some oil in a frying pan. Add the cumin and mustard seeds and allow them to begin to splutter before adding the fresh curry leaves and the red onion slices – I find slicing them with a mandolin works best.
- Move around the pan and allow the red onion to soften slightly before adding the garlic and chilli and cook for a further 5 minutes.
- Add the turmeric powder and then add a couple of spoonfuls of the dal to the pan. Move the dal around the frying pan before returning the contents of the frying pan into the pan with the dal.
- Give a good stir and add salt to taste. If you are going to eat the dal later in the day, gently reheat it and add a little more water to loosen it up.
Serve with a squeeze of lemon.