Surprise! I have given my blog a new lease of life by making it a little fresher, with bigger food photographs – to tempt you into making my recipes of course. How do you like it? I’ll probably tweek it here and there as it is not exactly how I want it but it will do for the mean time. It’s also probably at it’s best looked at on a computer as opposed to a mobile or iPad but any device will do. Leave a comment below once you have had a little look around.
Now back to the important stuff…. the recipe. This week I want to tempt you into making this wonderful dish that can be eaten hot or at room temperature, perhaps for a picnic. It requires a little effort in as far as locating the wonderful fregula, but once you have done that making the recipe is a doddle.

So what on earth is fregula I hear you all ask? Well in a nutshell it’s a Sardinian pasta, which is similar to couscous in appearance, and comes in a variety of sizes. It’s made from rubbing semolina and water to create a crumbly texture that is then rolled into balls. It is then sun dried and toasted briefly in the oven.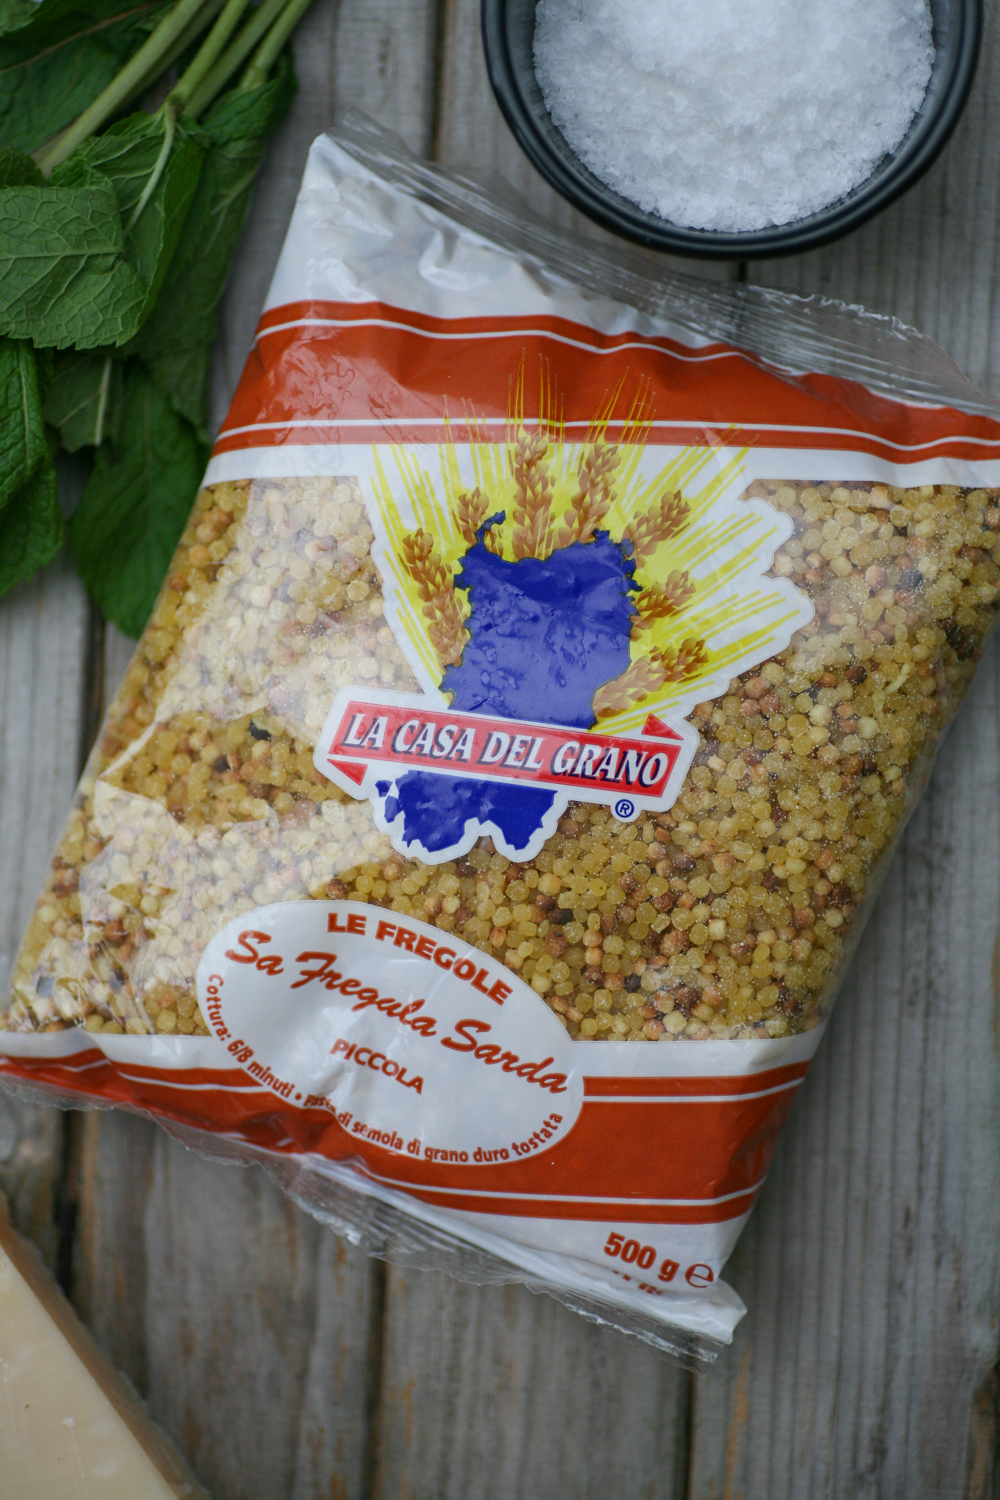
This process allows the fregula to have that ‘al dente’ texture giving it a slightly nutty taste. I am not suggesting you make the fregula from scratch, far from it. You’ll find it most Italian delicatessen and I wouldn’t be surprised if some of the larger supermarkets may well stock it. If they don’t then I am sure they will very soon.

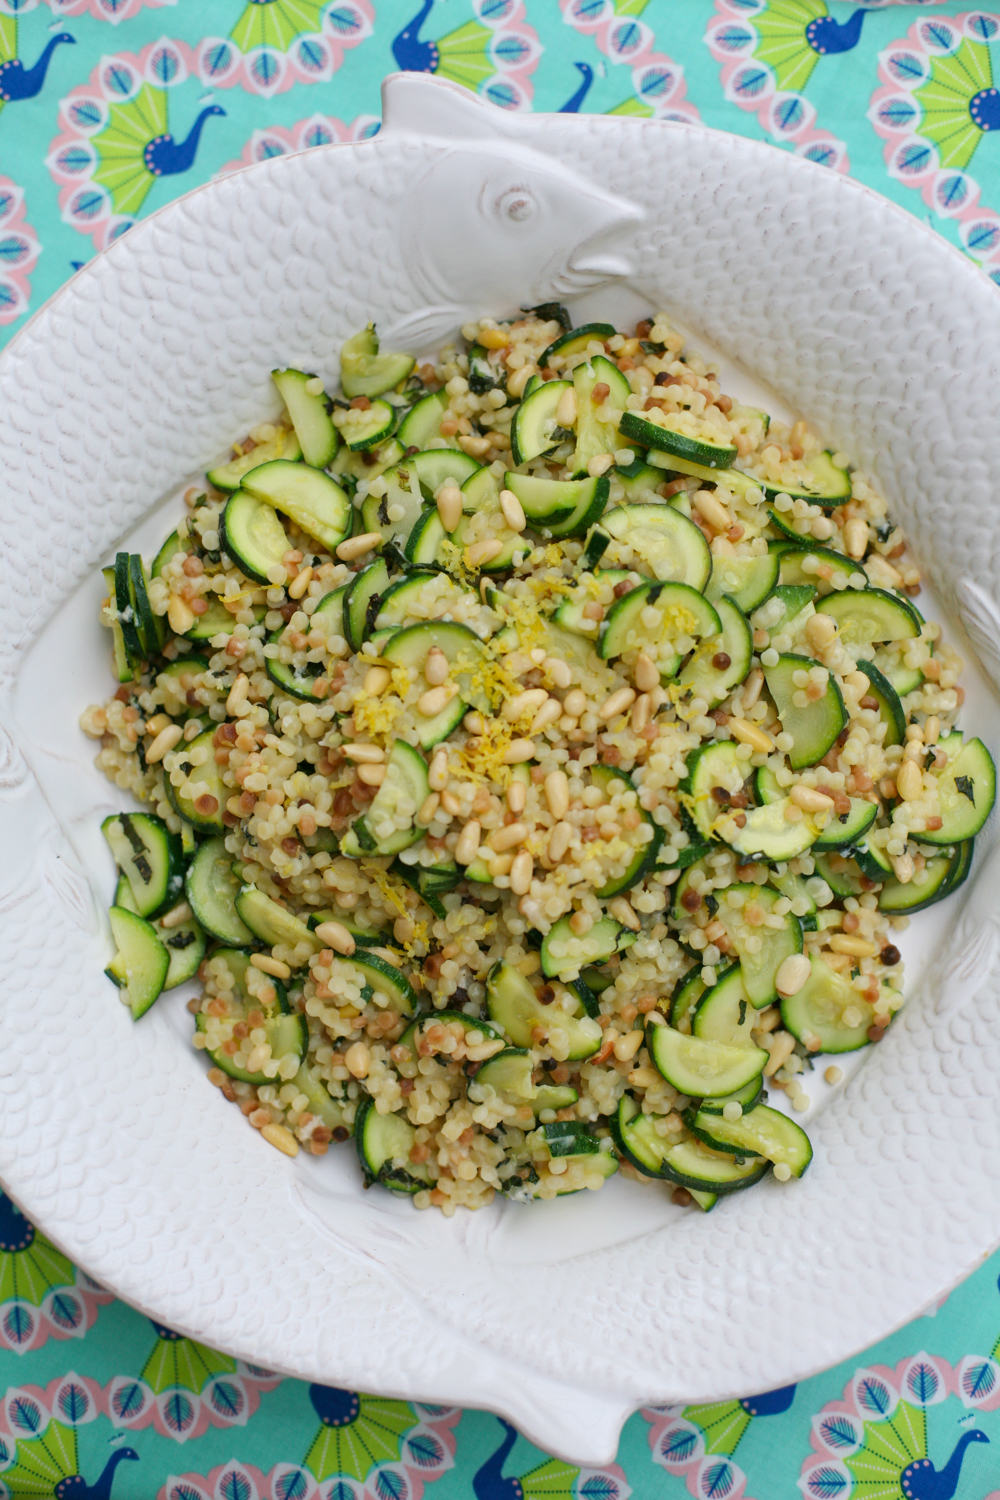
The overall dish is healthy, takes under quarter of an hour to prep and cook and is really delicious. The flavours are fresh and cleansing, coming from the mint and lemon and this combined with nutty fregula and pine nuts, umami parmesan (check out my article on umami here) and the bright green courgette. It’s a winning recipe if you are entertaining and want no fuss with cooking as it can all be prepped before guests arrive, aside from the boiling of the fregula and courgettes.
For those who like shell fish I will be doing another fregula recipe again in the next few weeks – that leaves you more than enough time to hunt down a packet from your local Italian deli.
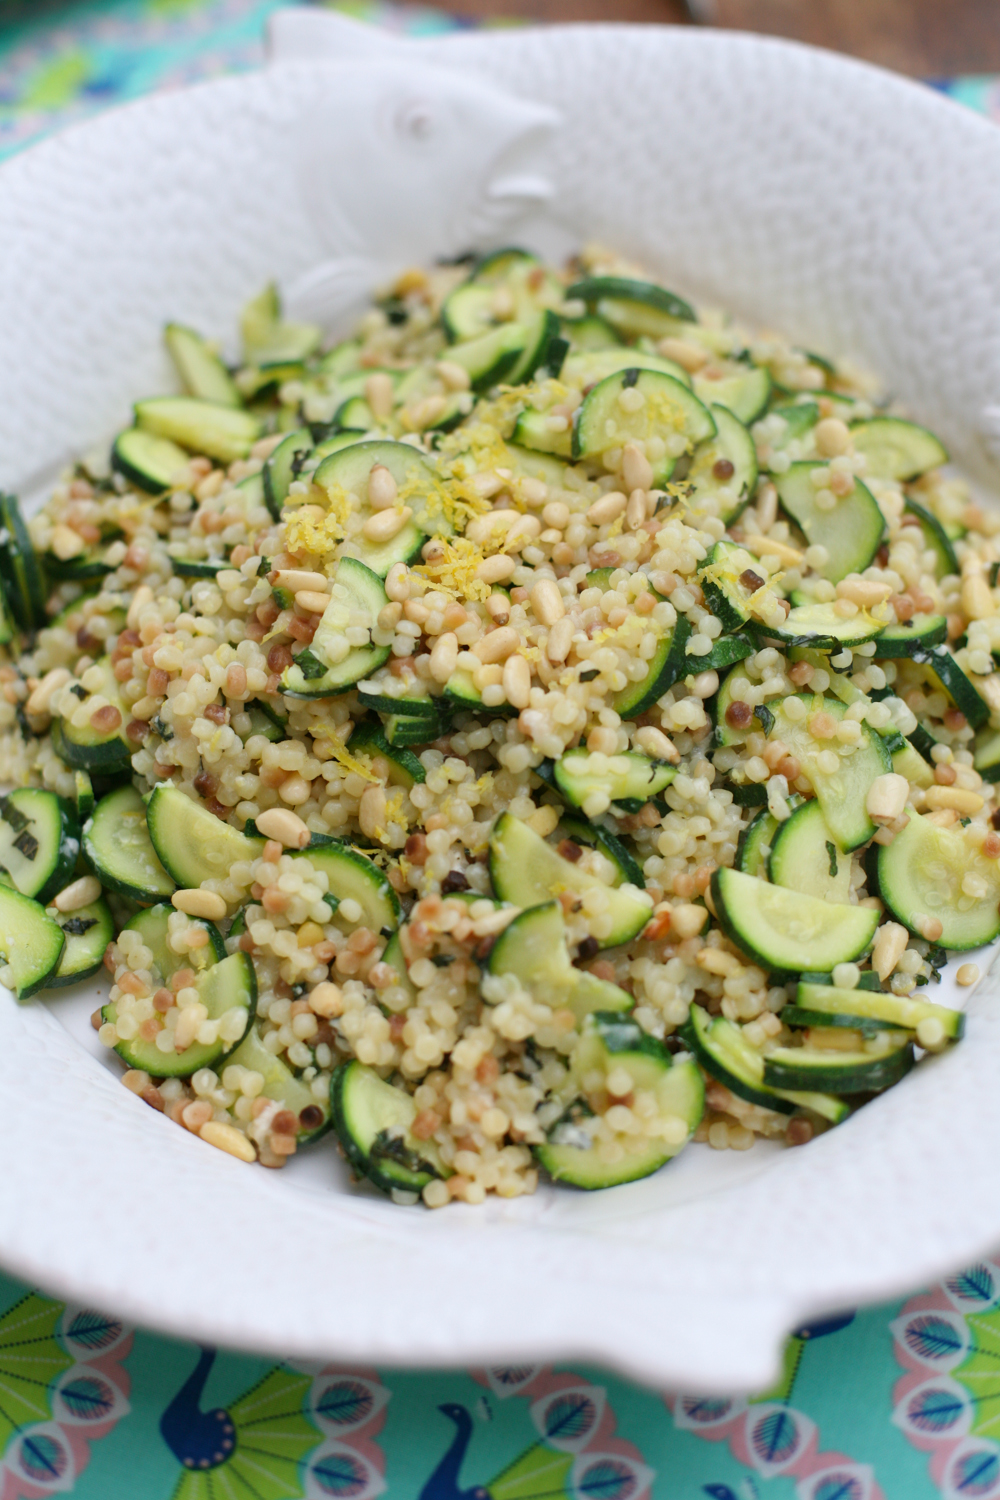
Sardinian Fregula with Courgette, Mint, Lemon, Parmesan and Pine Nuts
Serves 3
225g fregula (75g per person)
3 courgettes, cut into thin half moons (1 courgette per person)
1 lemon, juice and zest (to taste)
4 stems of fresh mint leaves, finely chopped
60g parmesan
1 large handful of pine nuts
salt and pepper
1. Place the fregula in boiling water so that it is completely covered for 12 minutes.
2. Prepare all the other ingredients, whilst you wait for the fregula to cook. After 12 minutes add the half moon courgettes, adding more boiling water if necessary, and cook for 2 more minutes.
3. Drain the courgettes and fregole and place in a large mixing bowl.
4. Add half the lemon juice and zest, most of the parmesan, the mint leaves, pine nuts and season with salt and pepper. Taste and add more lemon juice and zest to taste.
5. Serve in one large bowl/platter and allow everyone to serve themselves.
Sprinkle with the remaining parmesan.