Lamb Keema an alternative to Spaghetti Bolognese

A British staple is good old spaghetti bolognese – we all grew up eating it and many regard it as the ultimate comfort food. These days I rather gravitate towards the Indian twist on the bolognese known as ‘lamb keema masala’. My girls adore it too and I personally like to eat it with some hot Indian flat bread. It has onions and garlic in it, like bolognese, but how it differs is the range of fragrant spices that go into it: cloves, cardamom, coriander, cumin, garam masala and ginger. I like to dice a large potato and throw that in too and it soaks up all the glorious flavours.

So how about this giving my keema a go next time you think of cooking a mince dish? It’s versatile, very easy to prepare and tastes really delicious. Bolognese with a twist. I hope you agree.

Lamb Keema Masala

Serves 4

800g minced lamb

2 tbs vegetable oil

1  red onions, chopped

4 garlic cloves, chopped

2 fresh green chilli, finely chopped

5cm ginger, grated

6 black peppercorns,  roughly ground

5 cloves, whole or ground

5 cardamom pods, whole or ground

1 bay

2 tsp ground coriander

1 tsp ground cumin

1/2 tsp garam masala

1 tsp ground turmeric

2 tsp ground almonds

1 heaped tsp of tomato puree

1 tsp salt

1 large potato, peeled and chopped into bite sized pieces

2 handfuls of peas, optional

handful of fresh coriander to garnish

1. Warm the oil in a pan and then add the onion and garlic. When it begins to darken after 3-5 minutes add the ginger, green chillies black peppercorns, cloves, cardamom and bay leaf and gently fry all the ingredients for another couple of minutes.

2. Add the ground mince and chopped potato and stir into the onion, garlic and spices. Allow the lamb to brown, but use the back of a wooden spoon to break up the mince and make sure it does not clump together.

3. Now add the ground coriander, cumin, turmeric and garam masala, along with the ground almonds and tomato puree. Don’t forget to add a little salt. If you are adding peas add them at this stage.  You can add a little water – around 100ml will do – to moisten it all.

3. Gently simmer, with a lid on for 20 minutes, stirring intermittently. Check that the potatoes have softened.

4.  You can cook it earlier in the day and reheat it when you are ready to eat.

Note: You may find you need to add a very little boiling water when reheating it. 

5. Garnish with fresh coriander when serving.


It’s great with boiled rice or Indian flat bread.


Homemade Naan Bread, The Black Forest and The Knights Templar

img_4575-2

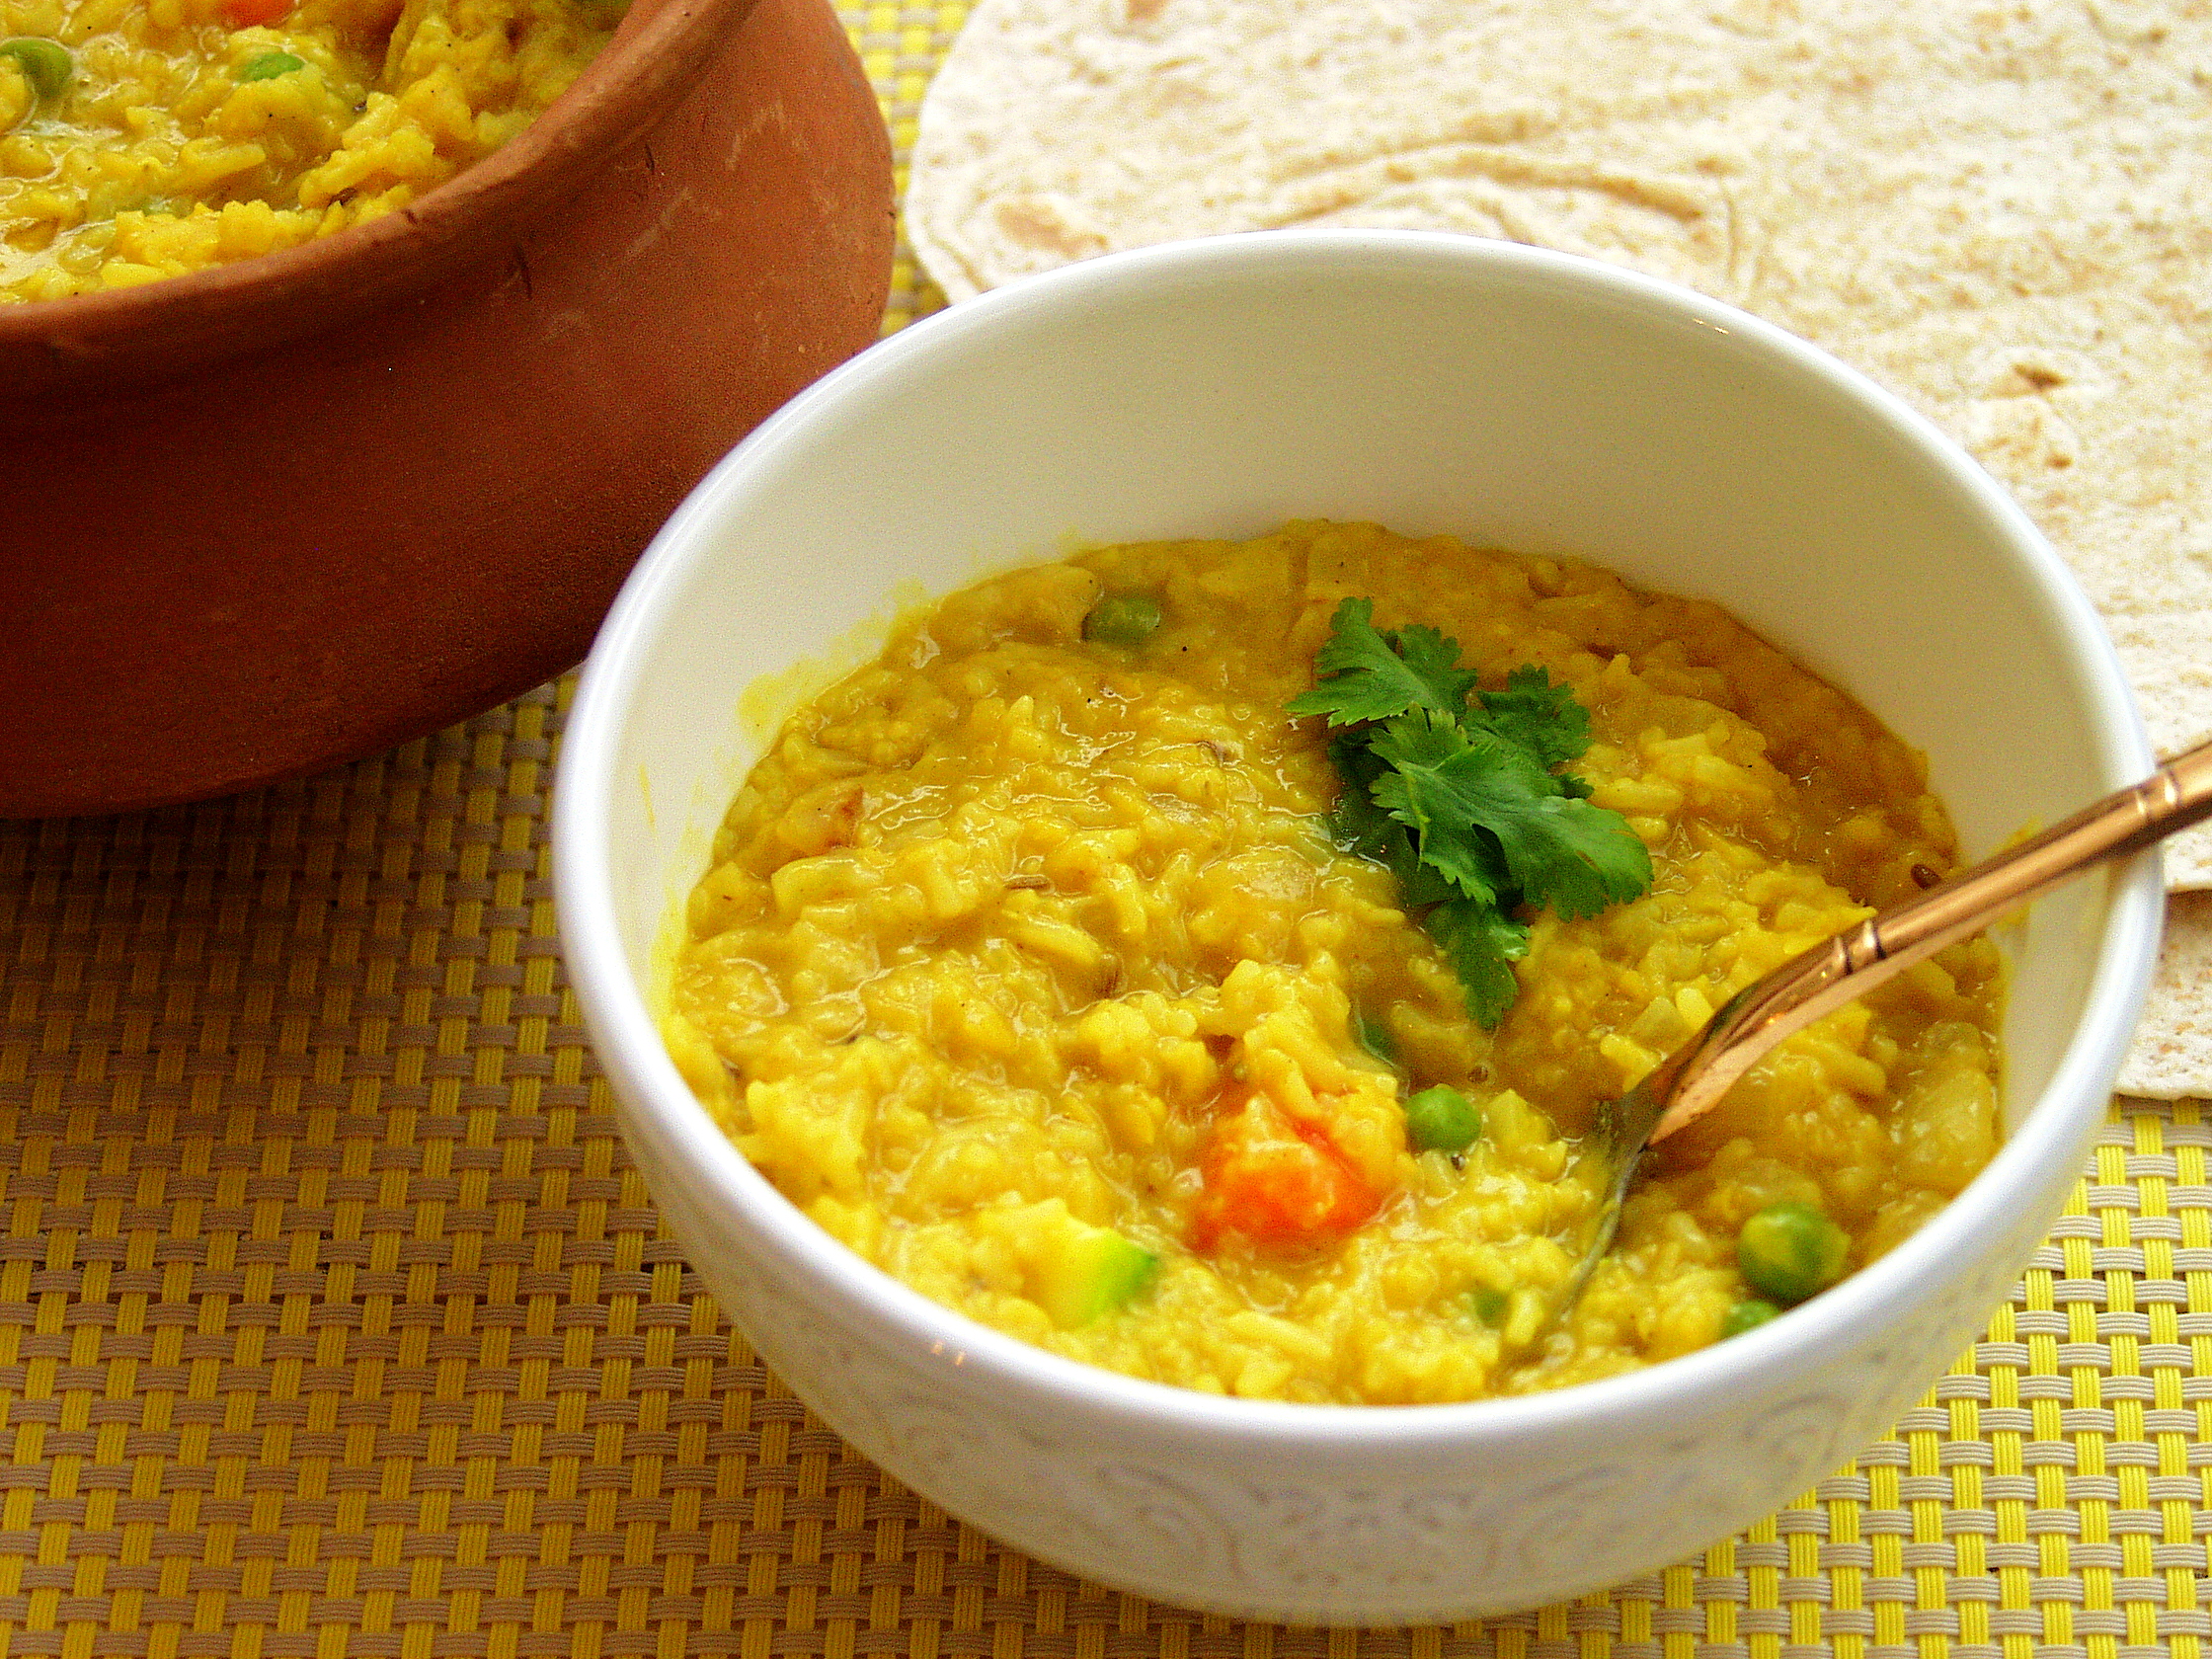
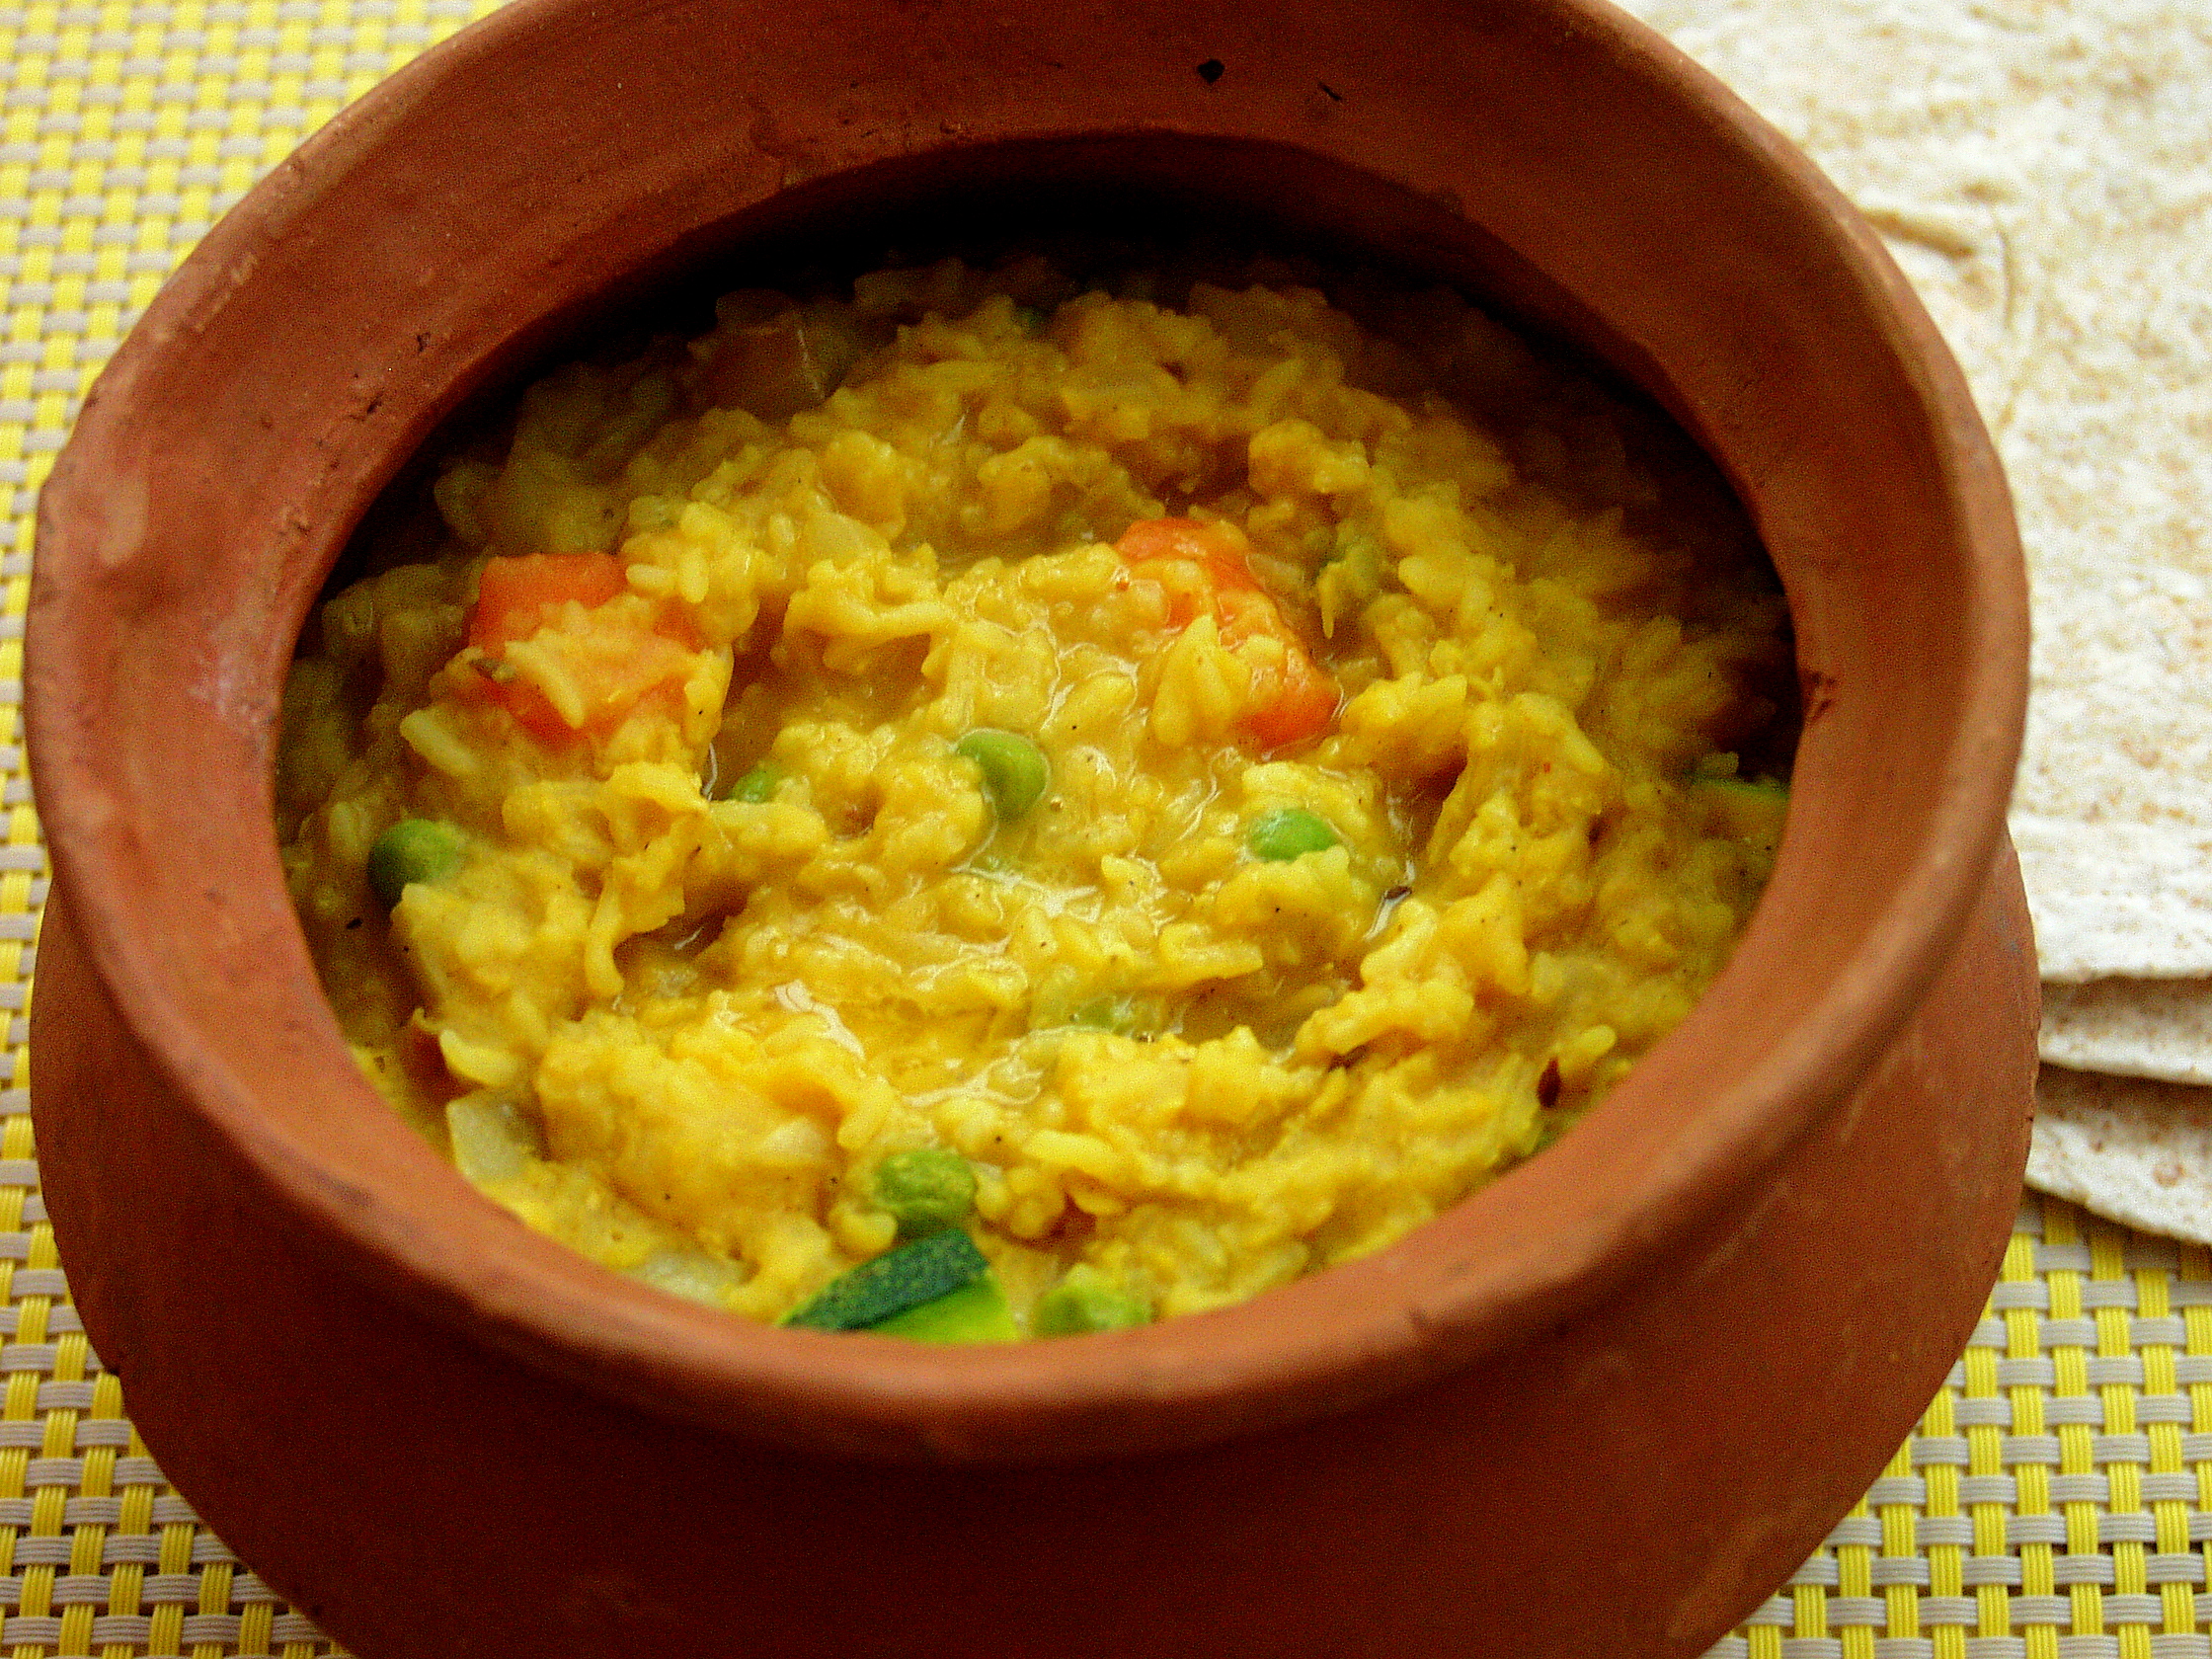
Soft pillowy naan bread dunked into a bowl of dal has got to be THE ultimate comfort food. As those who have been reading my blog for sometime will know, whenever I return from holiday the first thing I cook is some dal. It’s quick, easy and you can determine the amount of fresh chilli that you put in it. There are so many dals you can make, but I often opt for  – red split lentil dal. You can add whatever vegetable you have to hand – tomatoes, peas, carrots – but I would advise not adding more than 2 max.img_4536-3

I had spent a week in the glorious Black Forest in the south west corner of Germany. Wifi is hit and miss – hence the lack of a blog post last week, apologies – so it allows you to unwind properly and relax in this beautiful part of the country. img_4524-3


The top of the hills were covered in snow, but down in the valleys the pastures were green, which gave us the option of walks in the meadows and through the forests or skiing at higher altitudes.

img_4525-3

We were blessed with clear blue skies and warming winter sun. A stunning combination.

img_4541-3

Whilst our days were spent out and about in the fresh air, our evenings were spent sitting by the roaring fires eating the local produce of venison, wild boar, cheese, breads, wine, an interesting salad leaf that can only be found in the Black Forest around February (name escapes me, but it was a cross between rocket and watercress) and Black Forest gateaux – naturally.

img_4540-3


We drove from London, staying over for a couple of nights in Strasbourg on the way, admiring it’s impressive cathedral and quaint streets. In many ways in reminded me of Bruges or nearby Colmar – definitely worth a detour if you haven’t been.

img_4367-3


Strasbourg is easy to explore on foot and has a number of museums and art galleries in close proximity. A boat trip on the waterways is also a must and helps you get your bearings.

img_4362-3


To break up our homeward journey we stayed in Laon, in the region of Picardy. If medieval history is of interest to you then this place is an absolute must. We stayed in one of the old canon’s houses (there were  84 canons at one time living in Laon – it was the largest chapter in France in the 12th and 13th centuries) up in the attic with a view of the cathedral. Our airbnb host was a charming and well travelled French man who was keen to show us his eleventh century frescos and ruins in his cellar. The cellar stretched under the whole of his house and when we had seen what we thought was the extent of it, he revealed another doorway with steps leading further down to another level. We proceeded to explore this level and then found further steps leading to another level. It was a cavern within a cavern within a cavern.  It was without doubt the most incredibly historical cellar we have ever been in and an archaeologist/historians dream. Over the ages new floors were simply added – we could make out the old stables on one level. Apparently there are many passageways linking up the canon’s houses surrounding the cathedral. I imagine many of them are filled in or perhaps not yet discovered by their occupants living many metres above.

img_4542-3

The Knights Templar spent much time both in Laon and the surrounding area. They built this magnificent church (above) modelled on the Church of the Holy Sepulchre in Jerusalem in 1140. Unfortunately we only managed to spend a few minutes here before we were ushered out as it was closing time, so the museum that stands beside it will have to wait for a future visit.

img_4546-3

The Cathedral itself is worth a visit and in fact it was what initially drew us to this hill top city a couple of years ago, as we could see it’s towers from miles away. Laon is only 80 miles north east of Paris and only a couple of hours from Calais so  it’s a good place to stopover before catching the Euro tunnel home.

img_4564

Anyway enough of my travels and back to the matter at hand….naan bread. Believe it or not they are really easy to cook yourself. Making the dough is pretty straight forward and then you need to let it rest, in a warm part of your house, for 1-2 hours to let it increase in size.

img_4568-2

Then it is simply a case of rolling out the naan into small, thin, oval shapes. You can add nigella (black onion seeds) or sesame seeds on the top or keep them plain. Sometimes I like to add a couple of teaspoons of garlic paste to make garlic naan. You can be as inventive as you like in all honesty.

img_4569-2

I tend to cook mine in a frying pan – do not add any oil – but you can also cook them under the grill if you prefer, but be watchful as they bronze quickly.

img_4570-2

It takes no more than a minute or so to cook them and then I add some melted butter on top. Equally if you prefer you can add some melted ghee or even milk.

img_4573-2

My girls (and husband) love them both with a meal or an after school snack. Serve them warm and eat straight away. A wonderful treat and perfect for chilly February weather.


Homemade Naan Bread

makes around 9-10 naan bread

400g plain flour

2 tbsp rapeseed oil

5g dried yeast

1 tsp salt

1 tsp sugar

1 tsp baking powder

1 egg beaten

100g full fat plain yoghurt

100ml warm full fat milk

1 tbsp butter, melted

 optional: nigella/sesame seeds/fresh coriander as a topping

If you want to make garlic naan add a couple of tsp of garlic paste at the beginning and mix into the dough.

  1. In a large mixing bowl add the flour and then make a hole in the centre and pour in the oil, dried yeast, salt, sugar, baking powder and beaten egg.
  2. Mix gently using your hands and once it has become quite crumbly add the yoghurt and then continue to mix together.
  3. Now gradually add in the warm milk until all the mixture comes together.
  4. Remove from the bowl and place a little plain flour on a cold surface.
  5. Kneed the dough for 5 minutes until it become soft and pliable.
  6. Return to the bowl and cover with cling film and leave in a warm room for over an hour so that it can increase in size.
  7. When it is ready, split the dough into even balls and begin to roll them out thinly in oval shapes.  You may need a sprinkling of extra flour at this stage to prevent it from sticking to the surface. Pierce gently with a fork. If adding nigella/sesame seeds lay a few on the top and gently roll them into the top of the naan.
  8. Heat a non-stick frying pan. When it is properly hot add a naan bread and leave for around 20 seconds before turning over and leaving for a further 20 seconds. Turn once more for a few more seconds – or longer if it is not bronzing sufficiently.
  9. Remove from the pan and add a little melted butter to the top. Keep under a warm tea towel whilst you work on the remaining naan. As the naan’s I make are quite small I can often manage two in a pan at a time.

img_4572-2


Tuscan White Bean Soup

img_3651

Many years ago we arrived in Tuscany at the dead of night to our rented farmhouse, which was nestled on its own down a very long track. We were tired and hungry and when we stumbled in we found a note scribbled on a piece of paper alluding to some supper on the stove. Wandering over to the hob we found a white bean soup waiting for us. It was hearty and warming with garlic and tomato undertones. I suppose it wasn’t dissimilar to a grown-ups version of baked beans.

img_3652

It was exactly the kind of comfort food we craved after a day of travelling. I never managed to get the exact recipe but have tried to replicate it as best I could ever since. I think this version works pretty well. I tend to always opt for white beans in a glass jar – this variety works for me and I pick it up at a local middle eastern grocers near me. Sometimes I add rosemary and other times not.

img_3654

Bay leaves though are essential and add a lovely flavour to the soup. I also prefer to use fresh tomatoes, but if you are out, tinned will suffice. The trick is to put it on a low heat for 30-40 minutes if you can. You want the garlic to be completely soft and the liquid to have reduced a fair amount.

img_3653

With all the excess that December will bring I thought this soup was a good one to throw into the mix.

Tuscan White Bean Soup 

serves 4-6

2 tbsp olive oil

9 whole garlic cloves, peeled

2 bay leaves

650g fresh tomatoes, diced

2x400g jar of white beans

1 tsp tomato puree (optional)

300ml vegetable stock

salt and pepper to taste

  1. Heat the olive oil in a pan and add the garlic cloves. Move around the pan for 30 seconds before adding the bay leaves and then add the fresh tomatoes.
  2. Allow the tomatoes to soften for a few minutes before adding the white beans.
  3. Add the vegetable stock, salt and pepper and leave on a low flame with the lid on, stirring from time to time.
  4. Remove the lid half way through cooking to allow the liquid to thicken. You can add more liquid if you prefer it more soupy. I tend to like mine thickish but still of soup consistency.
  5. When the garlic’s are soft and the liquid has been absorbed a little, turn off the heat and allow to rest.

This is great eaten the following day as well when the flavours have relaxed into one another.


Bengali Khichuri – perfect for convalescing and detoxing

OLYMPUS DIGITAL CAMERA

If you are feeling a little under the weather, have the winter blues or just fancy some good old Indian comfort food, then read on, this post is especially for YOU>>>>>>>

Khichuri is a traditional Ayurvedic Indian dish, consisting of rice and lentils, that is given to those who are convalescing, detoxing  or fasting, it’s also really popular during puja time. Whilst it can be eaten in its pure form of rice and lentils (no onions or garlic), most khichuri that I have eaten consists of a vegetable or two thrown in as well. It’s the perfect dish to prepare if you need to use up any vegetables before they go off.  The Anglo-Indian dish of ‘kedgeree’ was inspired from khichuri and although it tastes very different the consistency is similar.

My eldest daughter (Big A) has been poorly recently and this is what I prepared for her as it is both nourishing and easy to digest.

There is no set rule on which lentil you need to use or vegetable for that matter. I tend to opt for red split lentils as they are the quickest to cook and need no soaking, although mung beans are also good to use (they do need soaking) as they are known for their ability to remove toxins from the body. My version includes carrot, courgette and and peas. Other vegetables would work equally well so if you have squash, marrow, cauliflower, pumpkin, green beans in the fridge (garden) pop one or two of them in and it will taste divine.

I have not included chilli in this dish as I was feeding it to my daughter, however, if you need a chilli buzz yourself just pop it in (whole or chopped) during  number 2 on the steps below.

OLYMPUS DIGITAL CAMERA

Bengali Khichuri

Serves 2-4

100g red split lentils

100g white rice (if using brown it will take twice as long!)

900ml boiling water

1 carrot, peeled and diced

1 large handful of fresh/frozen peas

1/2 courgette, partly peeled and diced

1 tsp of fresh ginger, finely grated

1 tsp garlic paste

4 green cardamom pods

1 tsp cumin seeds

1/2 white onion, finely chopped

1/4 tsp of garam masala powder

1/2 tsp turmeric

pinch of asafoetida/hing

1 tsp salt

freshly ground pepper

1 tbsp ghee/butter/or a splash of oil

fresh coriander to garnish

1. Rinse the rice and red spilt lentils a couple of times in cold water so as to get rid of any impurities and than place in a large saucepan with 900ml of boiling water and the chopped carrots and simmer gently for 15 minutes.

2. Meanwhile place the ghee/butter/oil in a saucepan and gently fry the onion. After 5-7 minutes add the cumin seeds, ginger and garlic and mix into the onions. Following this add the turmeric, garam masala, asafoetida and stir once again. Take a spoonful of the boiled rice and lentils and mix into the saucepan ingredients and then return it back into the main rice and lentil saucepan.

3. Stir all the ingredients together and add the courgettes and peas (or any other greens you need to finish up). Simmer for a further 5-7 minutes and add salt and freshly ground pepper to taste. You may find you need to add a little more water, but just enough to make sure that the rice and lentils do not stick to the bottom of the pan. It is not meant to be the same consistency as a soupy dal.

4. Serve into bowls with a sprinkling of fresh coriander.

OLYMPUS DIGITAL CAMERA


Chicken Noodle Soup – fuel for the festive season


I don’t know about you, but if your household is anything like mine, we ALWAYS end up with a little bit of chicken leftover after a sunday roast. The amount though is not enough to have a full on meal again, but there is enough to make a meal from it………………if you get my drift.

One dish which is great for leftover chicken (or by all means buy a couple of chicken breasts and create if from scratch) is ‘chicken noodle soup’, which accompanied with a fresh baguette to dunk in the juice, certainly hits the spot. Its a great Monday night supper and takes no time to prepare and is a feast for all the family to enjoy and share.

As November fades away and Advent waits eagerly in the wings, I am sure that some good old fashioned comfort food like chicken noodle soup will help us all get through those Christmas engagements that we eagerly accepted. It’s only when we have our diaries in front of us that it begins to dawn on us that perhaps we should have accepted less and had a night in. So, one and all, let us prepare our bodies, minds and spirits for the great social quest that lies before us: the month of December.

Do you have a favourite comfort recipe that warms your cockles and boosts your immune system?

Let the good times roll.

Chicken Noodle Soup

Serves 4-6

100g carrots, peeled and cut into small cubes

1 large onion, chopped finely

1 tsp of crushed garlic

2 celery stalks, chopped finely

glug of olive oil

1 tsp of rock salt

fresh black pepper

fresh sage

fresh parsley

2 tsp dried herbes de Provence

2 bay leaves

half a lemon

1 tsp of vegetable bouillon

1 left-over chicken/2 chicken breasts, chopped into bite sized portions/strips

handful of dried spaghetti or linguine

fresh baguette for dunking

1. Remove all the leftover meat from the chicken and cut into small bite sized mouthfuls and place to one side. Put the remaining carcass in a casserole pot and add the herbes de provence and bay leaves and cover with boiling water.  Simmer gently for 30 minutes and then strain off the liquid. This will become the basis for your soup. Discard the remains of the chicken. If you do not have a leftover chicken to make stock I find bouillon vegetable stock works wonders.

2. Using the same casserole pan, add a glug of olive oil – basically enough so that it pretty much covers the bottom of your pan. Add the onion and let them sweat on a low heat, stirring occasionally. After 5 minutes, add the garlic, carrots and celery stalks and continue to stir. ONLY if you are using fresh boneless chicken breasts – add them at this stage. Place the lid on the casserole pot so that the vegetables really get to sweat. After 3-4 minutes, add a couple of torn sage leaves, rock salt and a good amount of fresh black pepper.

3. Add the chicken stock, which should be between 3-4 pints. Put in a small amount at a time and continue to add until you have the consistency that you like for your soup. Please note, however, that when you add the dried pasta it will soak up a fair amount of the stock, so you need to put in a little more than you think. You will not need more than 4 pints though altogether. Even though I made fresh stock I often like to add a little vegetable bouillon (stock cube), to give it an extra boost. Apologies to you purists out there!

4. Break a handful of dried spaghetti/linguine into the pot. Keep the lengths around 3cm in length. Add half a lemon, squeeze it as you add it to the soup. Stir the soup and gently simmer for 10 minutes or until the pasta is cooked. In the final few minutes add the chicken to the soup and mix all the ingredients together.

5. Serve piping hot in bowls with a scattering of freshly chopped parsley and a baguette for dunking.