My latest addiction is spinach.
I know I know how crazy do I sound? I’ve always liked it mind you, but of late it’s gone up a notch or two. It’s probably my body screaming at me that ‘I NEED MORE IRON‘.
I’m happy to eat it in all its incarnations for breakfast, lunch or dinner. It’s super versatile and is cooked quicker than the time it takes to get your bowl/plate and cutlery together.
Recently I visit a local eatery called ‘The Little Taperia‘ in Tooting in the strip, which is fast becoming increasingly hip and cool. Sitting next to Soho House’s ‘Chicken Shop’ and virtually opposite the newly established the ‘Trafalgar Arms’, ‘The Little Taperia’ offers Spanish tapas at it’s best; I could literally eat the whole menu. It was packed on my visit with a wonderful buzz to the place. The decor (love the floor tiles) and general vibe was conducive to a relaxed, memorable evening, so if you have not yet been I urge you to get down there and experience it for yourself.
Back to the spinach. You are probably wondering where spinach and ‘The Little Taperia’ fit together. Well it was there that I ate a delicious spinach dish that inspired me to create my own version of the dish for you today. They used pine nuts and I can’t recall if they added raisins but I’m thinking they did as the dish had a subtle sweetness, which I don’t think was coming from the onions alone – but may well have been. Needless to say the dish was utterly delicious and I think the one that I have created for you equally hits the spot.
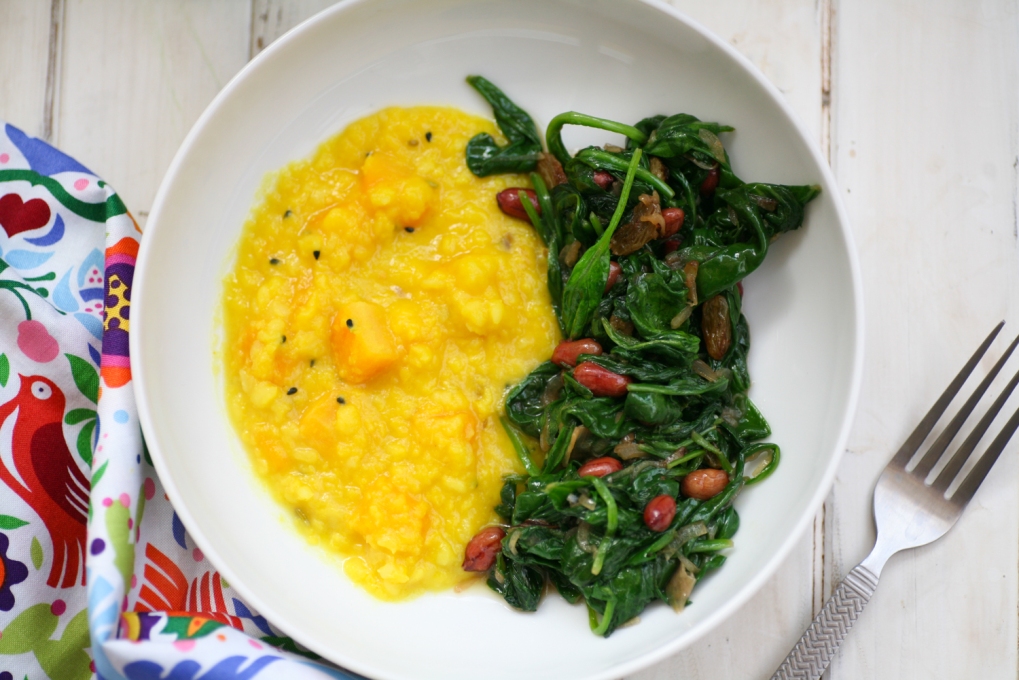
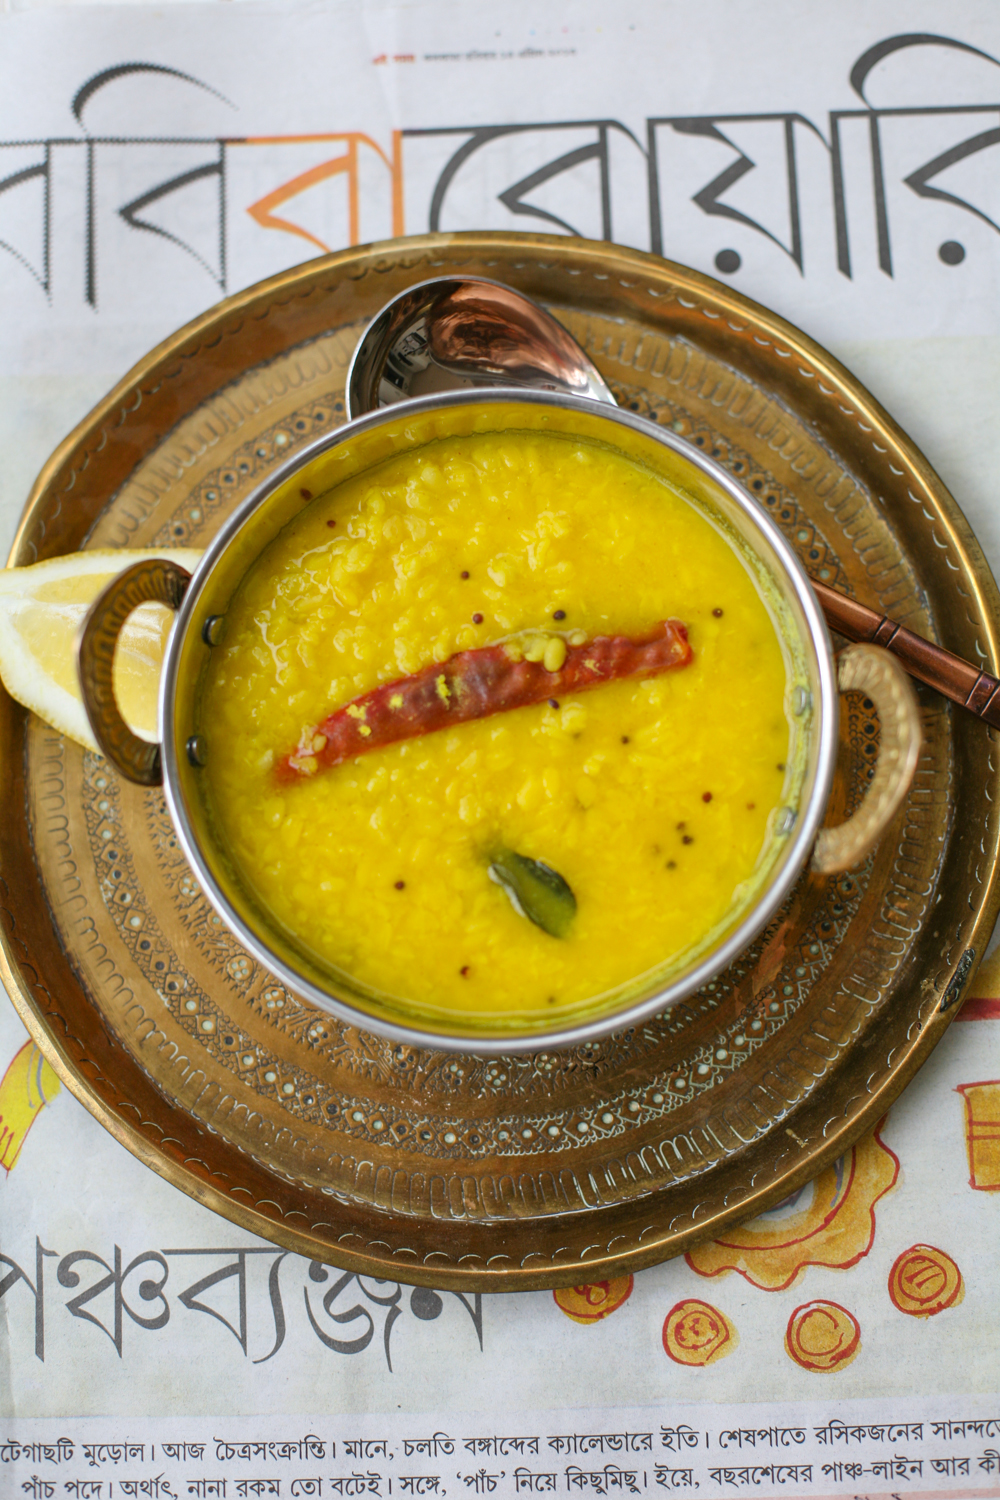
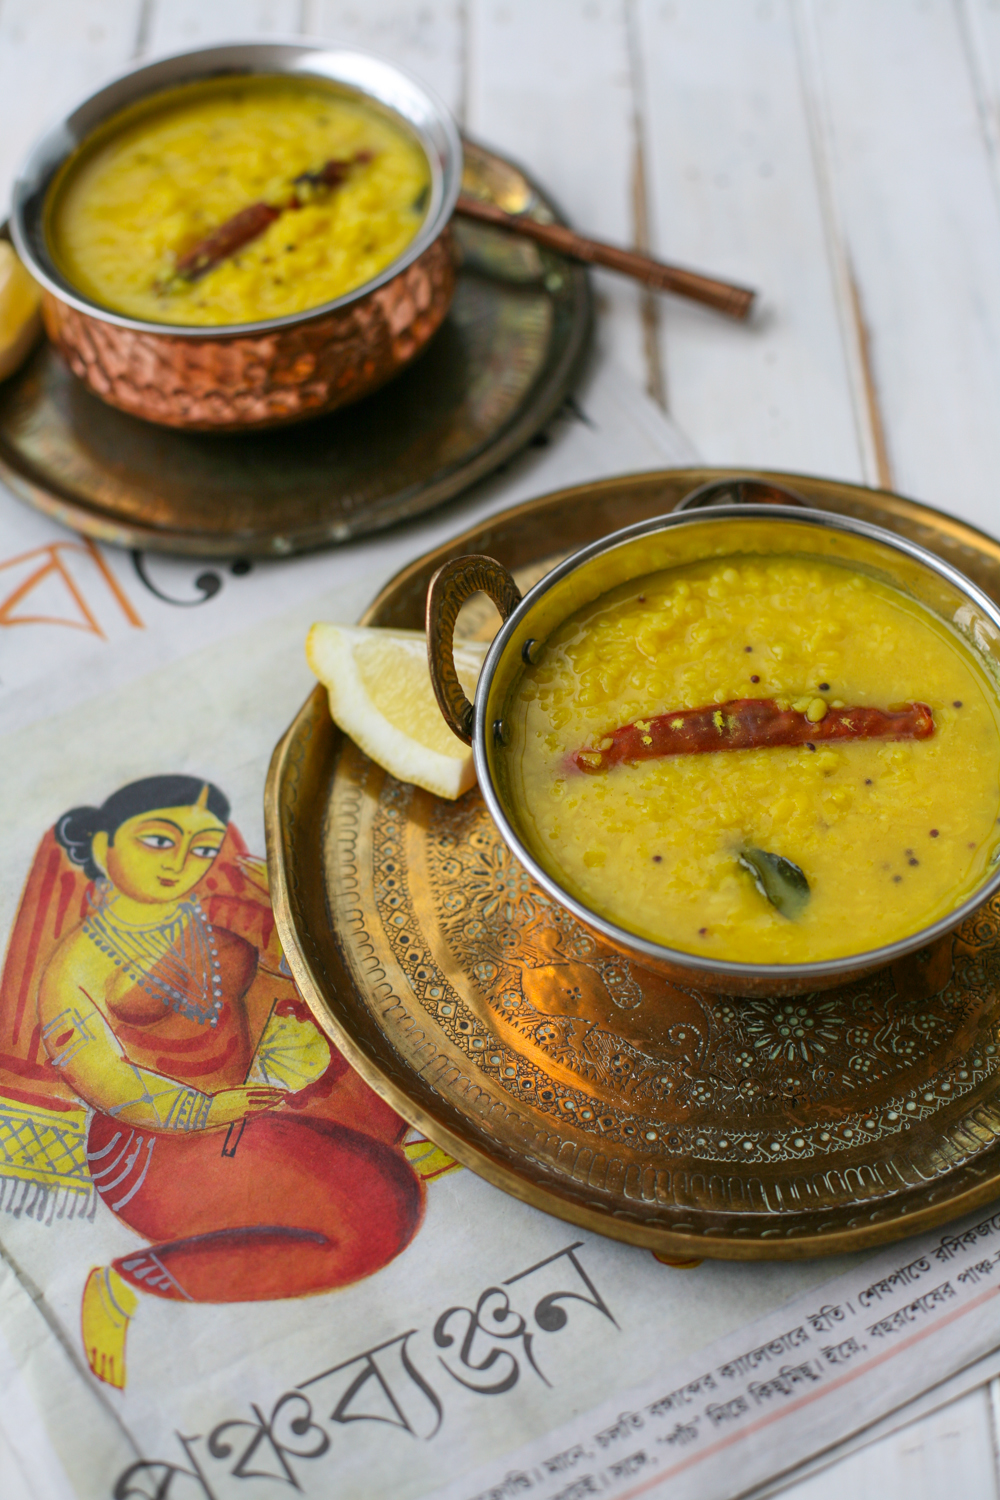
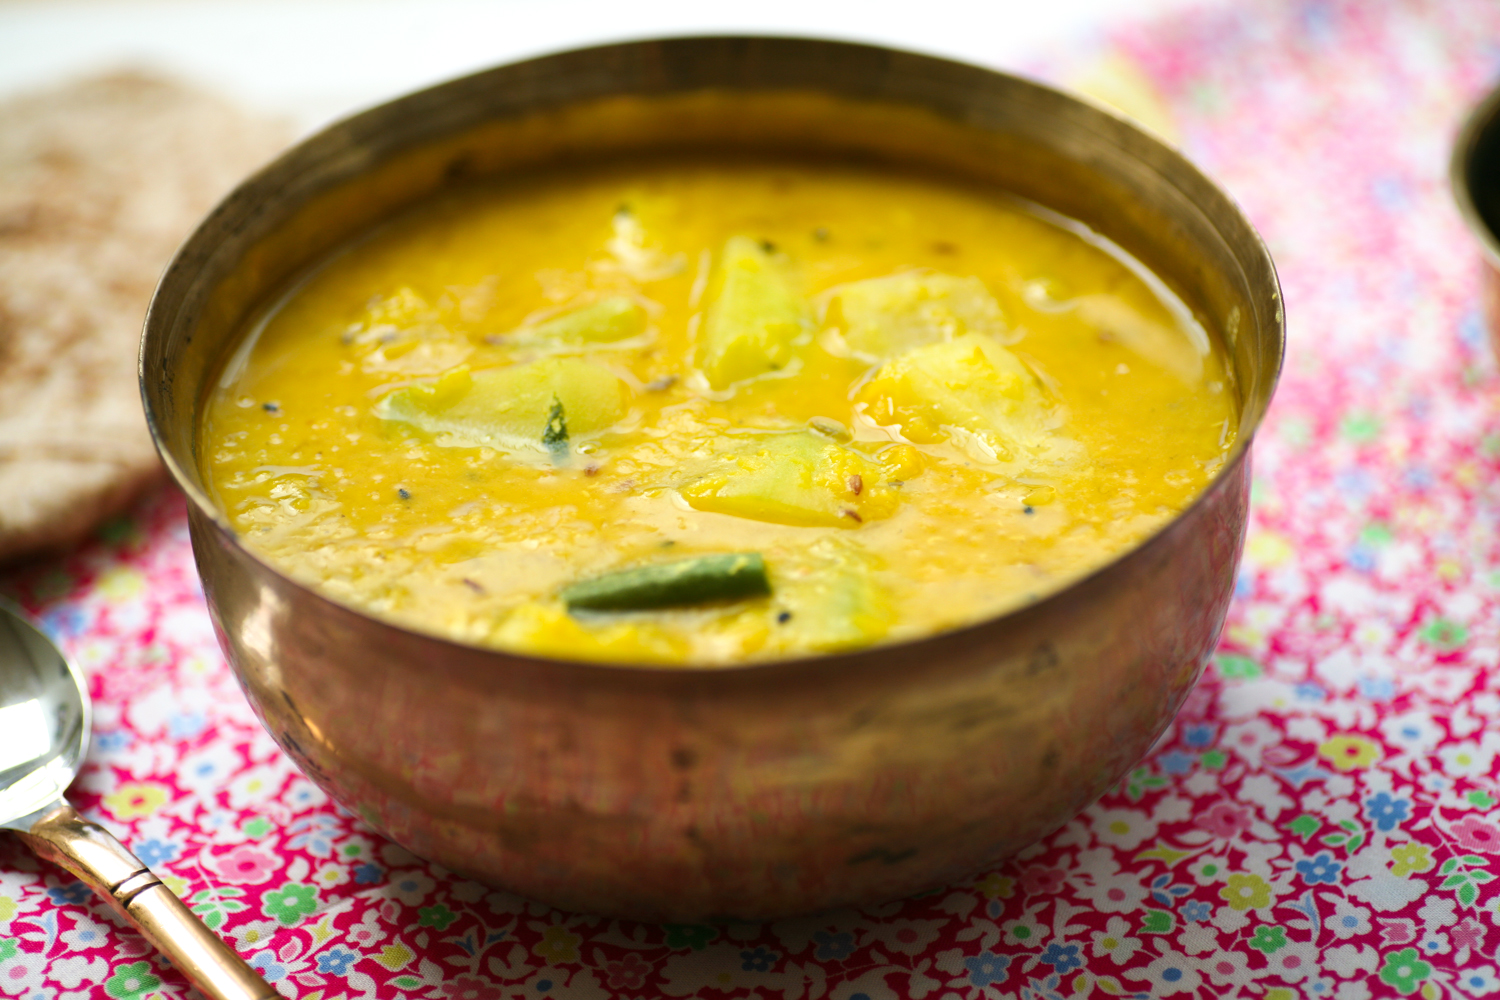
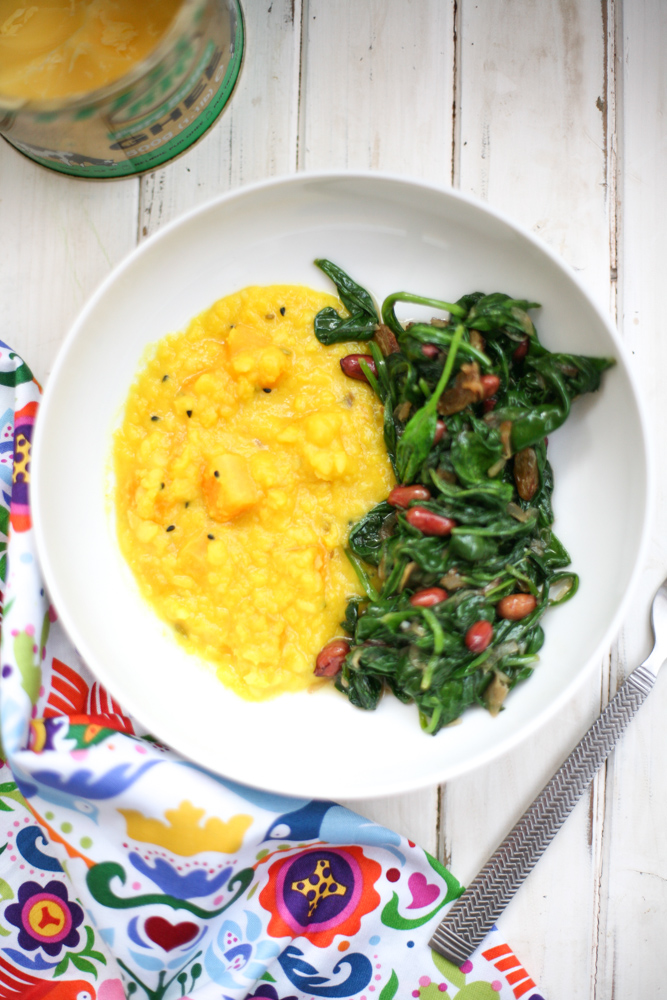
I’ve eaten it on a few occasions since and this time I accompanied it with my Indian dal with butternut squash. I don’t actually have that recipe up on my blog but a very similar one using marrow can be found here.
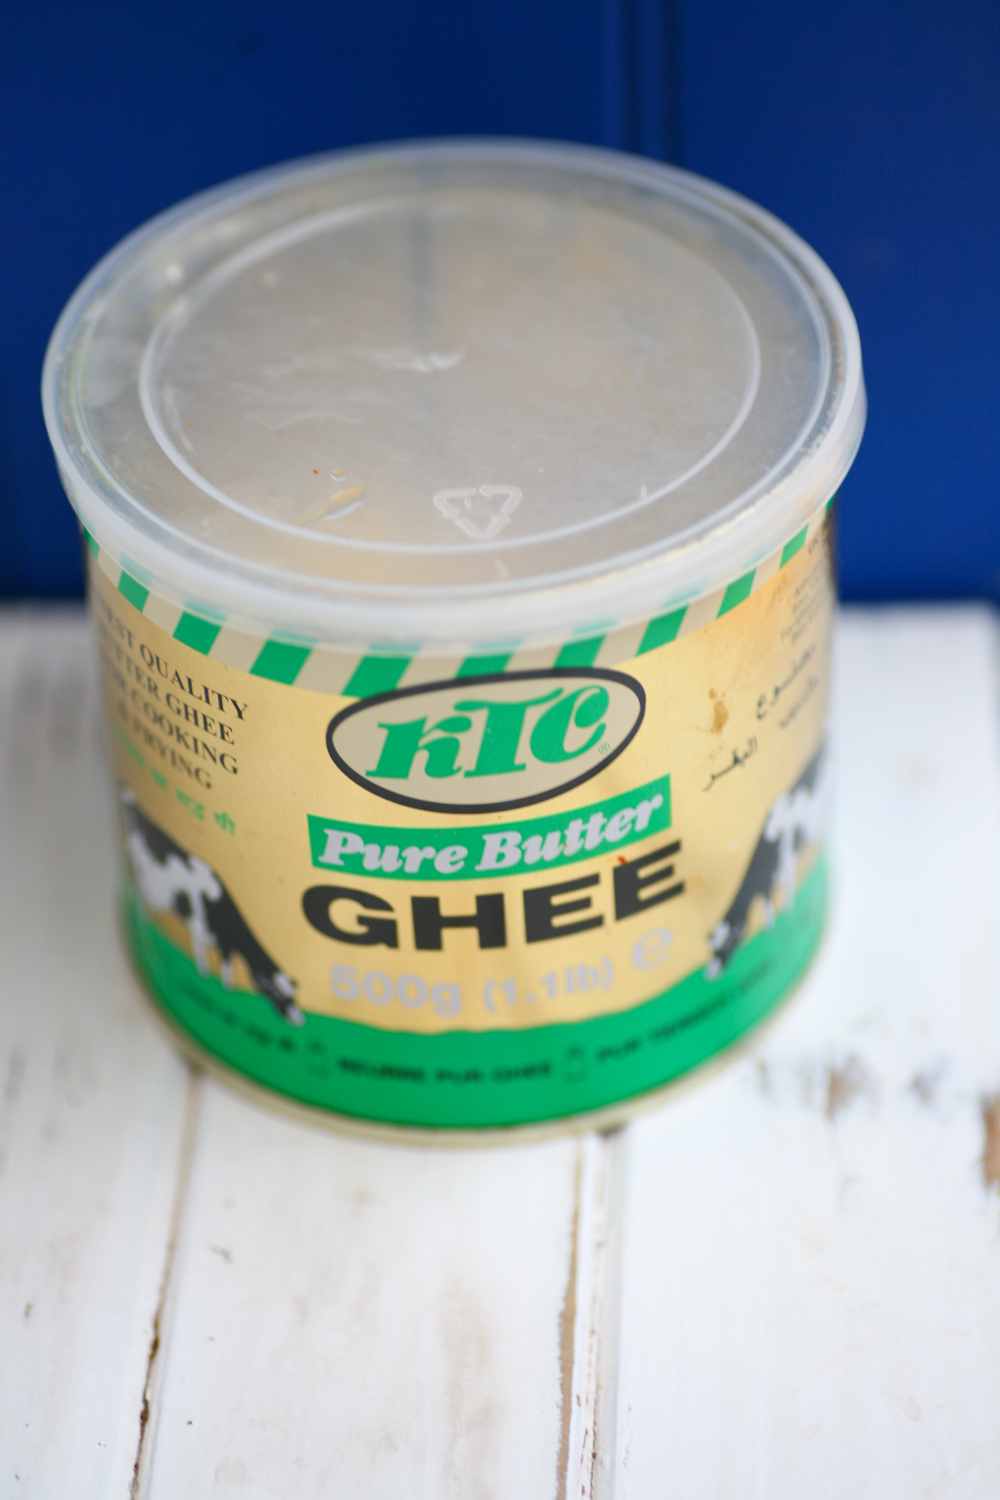
I add a dollop of ghee – clarified butter – on the top but if you are off diary or watching your waist line then just omit that part.
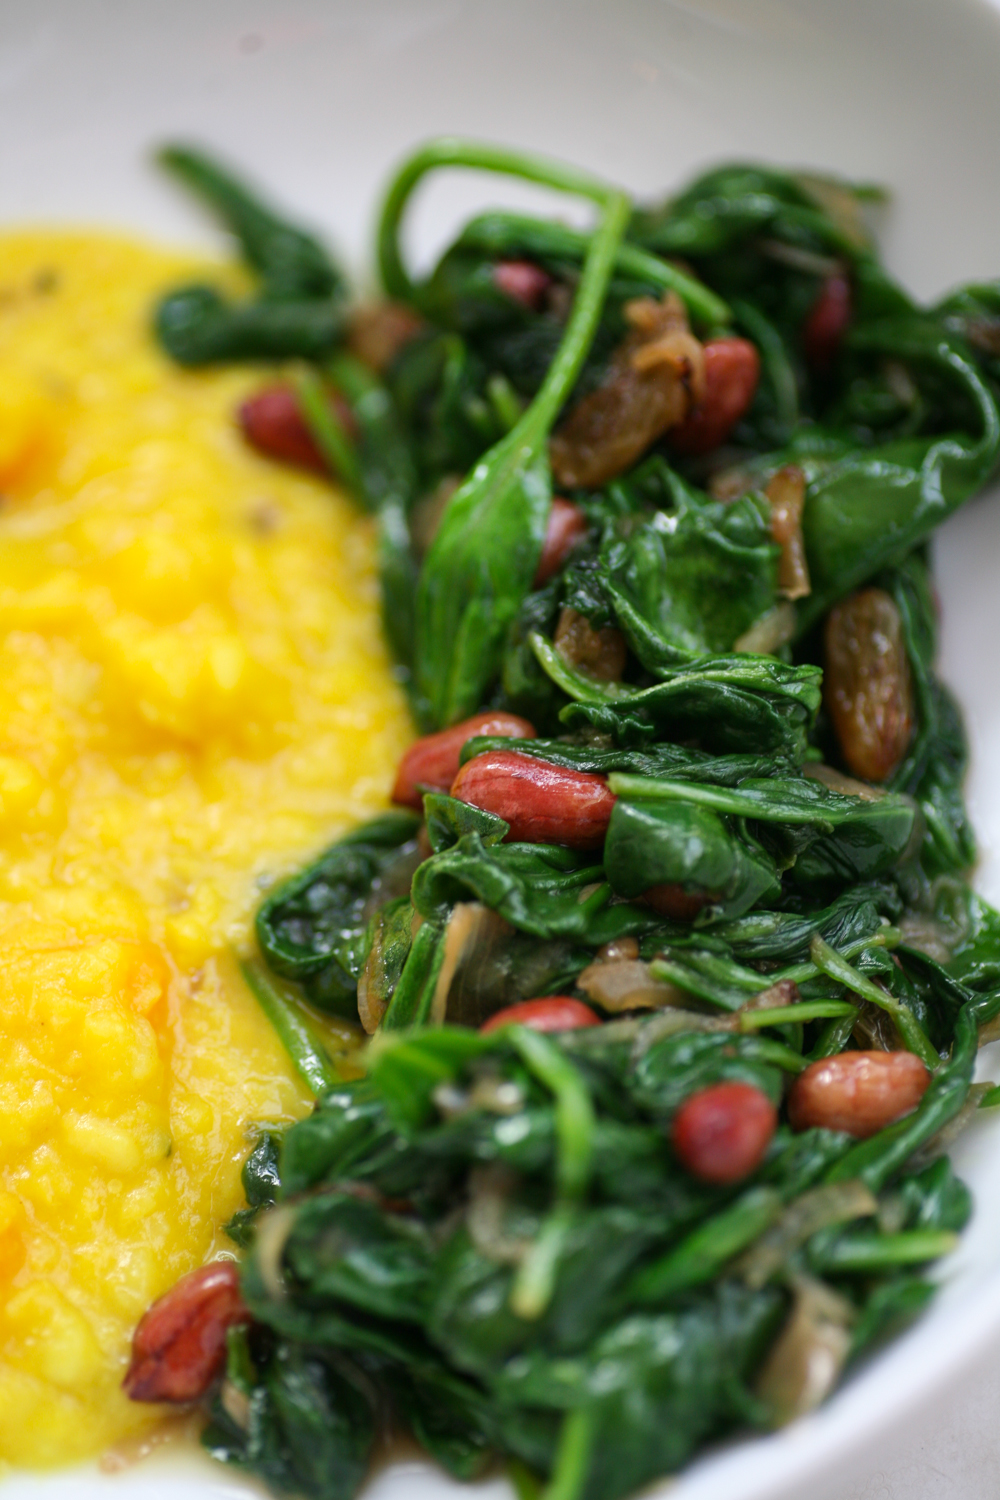
Spinach with Shallots, Green Raisins and Red Peanuts
2 tbsp light olive oil
2 banana shallots, finely sliced
pinch of salt
35g red peanuts (works out to be a handful)
35g green raisins (works out to be a handful)
240g fresh spinach
1 tbsp ghee
- Heat a pan with the oil and when it is medium hot add the banana shallots and pinch of salt and leave to soften and begin to bronze, which will take around 5 minutes.
- Add the green raisins and red peanuts and move around the pan. After a minute add the spinach.
- Place a lid the pan so that the spinach wilts. After a minute give a stir and then add the ghee. Let it melt and then serve immediately.
It is perfect with meat or fish but in this instance I ate it with some of my butternut squash dal, which was hit the spot for a delicious vegetarian supper. My butternut squash dal is similar to my marrow dal but uses butternut squash instead of marrow. Check it out here.