Brown Lentil, Smoked Sweet Paprika and Parsley Soup

Continuing on the theme of lasts weeks post I wanted to show you a recipe that incorporates garlic confit.

So who has made it yet? Be honest!

Basically garlic confit is great in soups, stews, broths and pastas. It adds warmth, flavour and many delicious notes to a dish.

You will wonder how on earth you survived without it until now.

The soup I wanted to show you I’ve made a few times since my discovery of garlic confit. It takes minutes to prepare and is addictively delicious. The brown lentils I use are the ones in glass jars, as I just think they taste a whole lot better. If you can only find the tinned ones then absolutely use those – it will still taste great.

I love soups whatever the weather but I know that it is not customary to eat hot soups in hot weather here in the UK. In India it is quite different and hot soups are eaten even in 35 degrees heat. This recipe does have autumnal tones and I think that it will appeal to a wide audience as the days get cooler – at least I hope so.

Brown Lentil, Smoked Sweet Paprika and Parsley Soup

Serves 4-6

3 tbsp oil from the garlic confit

8 confit garlic cloves

1 small white onion, finely chopped

2 medium tomatoes, finely chopped

1/2 tsp smoked sweet paprika

400g brown lentils

1 tbsp tomato puree

800ml of stock – vegetable or chicken

salt to taste

2 tbsp fresh flat leaf parsley chopped

juice of half a lemon


  1. In a large deep pan – I love to use my Le Creuset pot – add the garlic confit oil, along with 8 garlic confit cloves. Allow to heat up and then add onion and allow to soften.
  2. Add the tomatoes and smoked sweet paprika to the onion and garlic confit.
  3. When the tomatoes have softened, add the brown lentils and the tomato puree followed by the stock.
  4. Allow to come to the boil and then simmer gently for 10 minutes. Add salt to taste and then add the fresh flat leaf parsley and lemon juice.
  5. Serve immediately with some crusty bread.


The Tastiest Spiced Chickpea Curry Ever

IMG_1186

The humble chickpea can provide the most satisfying of meals if it is mixed with a little magic, and in this case spices. The final note of adding chaat masala raises the game of this dish into one bursting with flavour that is both salty and sour. For those who have not come across chaat masala before it’s a spice mix that is commonly used in India, Pakistan and Bangladesh and normally includes many of the following: mango powder, black salt, asafoetida, pomegranate seeds, nutmeg, mint leaf, chilli powder, black pepper, salt, cumin, coriander and dried ginger. You can pick up sachet’s or packets at your local Asian grocers or any of the large supermarkets.  If you are feeling really adventurous you could make your own. Have a look at this lovely lady showing you how to do so .


Like many of the dishes on my blog this is very straightforward, filling, nutritious, tasty and kind on the wallet. My eldest daughter loves it (she just avoids swallowing the green chillies that I simply cut in half so are easy to spot) and my youngest….well she tells me she prefers ‘English’ food. I asked her like what and she answered ‘Like udon noodles, chicken, spring onions and soy sauce’. Oh dear!

IMG_1182

If you are UK based chances are that you’ll be on half term next week – if you have children that is. This dish ticks so many boxes and is perfect for an adult, or more sophisticated child eater. Next time your are in the shopping aisles of your local supermarket – think Chaat Masala, seriously you won’t regret it. A little bit of searching will reward you royally.

You heard it here first.

IMG_1174

 Spiced Chickpea Curry

2 tbsp groundnut/rapeseed oil

10 fresh curry leaves

1/2 red onion, finely chopped

1 tsp salt

2 tsp garlic paste

1 tsp ginger paste

2 small green chillies

1 tsp cumin powder

3 medium sized tomatoes, diced

500g chickpeas (tinned is fine)

1 tbsp yoghurt

1 tbsp tomato puree

150ml juice from chickpea tin/boiling water

125g fresh spinach

1 tsp chat masala

1/2 lemon, juice only

handful of fresh coriander to serve

1. Gently heat the oil in a deep frying pan and then add the curry leaves. After 20 seconds add the onion and salt and lower the heat to allow the onions to soften and not burn. After 5 minutes add the garlic and ginger paste along with the green chillies and stir into the existing ingredients.

2. Add the cumin powder and then add the fresh tomatoes and allow them to soften slightly before adding the chickpeas.

3. Add the yoghurt and tomato puree and stir into the chickpeas.

4. Add the chickpea juice and/or boiling water and leave until the liquid has reduced. This will take around 10-15 minutes.

5. Stir in the spinach, which will wilt almost immediately.

6. Take the pan off the heat and add the chaat masala and lemon juice and stir into the curry. Add a little fresh coriander on the top of each serving.

Relax, sit back and enjoy a very satisfying bowl of chickpea curry.

SaveSave


Tomato and Garlic Red Lentil Dal

IMG_0701


This recipe is for all of you lovely people out there who claim you don’t have time to cook. It is super quick, satisfying and great for cold winter nights. It literally takes no longer than 15 minutes to cook from beginning to end. To be fair it is very similar to this dal of mine although it differs in that it has a tin of tomatoes in it, loads of fresh whole garlic (great for ridding those horrible colds and coughs we pick up in winter), and a sprinkling of cumin powder.

IMG_0702

I had a bunch of friends over for lunch the other day and as well as cooking some tasty winter salads had a huge pot of this on the stove. It seemed to go down a treat as there was very little left over once they had gone, another sign that it’s worth giving it a go.

IMG_0700

I like to add a splash of lemon juice liberally at the end, but it’s up to you. Like with all dals they can be made more soupy or firmer depending on personal choice. For this dal I like to make it more soupy so that I can spoon it out of a bowl. If you are cooking it with rice and another dish then maybe you want to add less water. I never really measure the water that goes into it. I always go on how it looks, so my advice is to put in enough water so that it covers the dal by half an inch and then keep adding more boiling water once  the water has soaked up. It’s a winner and so simple. Give it a go and leave me a comment below.

IMG_0697


Tomato and Garlic Red Lentil Dal

Serves 4-6 (4 as a main 6 as a side dish)

300g red split lentil

water, enough to cover the red lentil

1 tbsp groundnut oil

5 (or more) garlic cloves, gently crushed but kept whole

1 tsp panch phoron

1 tsp turmeric powder

1/2 tsp cumin powder

1 tsp salt (to taste)

400g tin of tomatoes

1 lemon, quartered – optional to serve

1. In a deep pan place the red lentils and cover with cold water. Gently wash the lentils using your hand and pour out the murky water. Repeat three times.

2. Add boiling water to the red lentils and cover so that all the lentils are submerged by 1/2 inch. You can add more boiling water once this has soaked up if need be. Boil on a gently heat, skimming off any white residue that comes to the surface. Stir at intervals so that all the lentils cook through and turn from orange to a more yellow colour. Add more boiling water if you prefer it to have a more soupy consistency.

3. In a separate pan heat up the oil and then add the panch phoron. Once they start sizzling add the garlic and move around the pan. After a minute add the turmeric and cumin powder. Keep on a low heat, making sure the garlic and spices do not burn.

4. Add a spoonful of the now yellow lentils to the panch phoron and stir into the spices. Pour the contents of this pan into the pan with lentils and stir in thoroughly. Add a little water to the saucepan to make sure the spices pan is now clear of spices.

5. Add salt to taste and the tin of tomatoes and cook on a low heat for 5 minutes, or until the garlic has softened.

Voila. That simple. Enjoy.


Mung Bean, Date and Avocado Salad with a Soy Miso Dressing

IMG_9473


Long, lazy summer days await. Relaxing long lunches with friends in the sun/shade. You don’t want to be spending hours in the kitchen preparing food, so I hope that this summer salad ticks all the boxes. It’s easy of assemble, tasty and not at all complicated.

IMG_9423

Mung beans are a fabulous little pulse that are really versatile. As well as salads they work really well cooked with Indian spices and in dals. They do require soaking so you have to be a little prepared. I tend to soak overnight and then boil them for around 40 minutes, the following day.

I like the variety of colour and texture in this salad. From the crunchiness of the carrot, to the smoothness of the avocado, to the sweetness of the dates. The dressing brings it all together, giving it a slightly Asian twist.


IMG_9485

Mung Bean, Date and Avocado Salad with a Soy Miso Dressing

Serves 4-6

500g mung beans

1 carrot, chopped into small cubes

1/2 a red onion, finely chopped

150g cherry tomatoes, quartered

1 avocado, chopped into cubes

10 dates, chopped

*********

Soy Miso Dressing

2 tbsp sesame oil

1 tbsp soy sauce

1/2 tsp chilli flakes

1 tbsp honey

1 tsp sweet miso – I use this one

1 lime – juice only

1. Place the mung beans in a large bowl and cover with cold water. Leave overnight or for at least 5 hours

2. After the mung beans have soaked, strain the water and then place them in a pan and boil them in water for 40 minutes, by which time they will have softened.

3. Finely chop all the ingredients to make the salad and toss gently together in a large mixing bow along with the cook and strained mung beans. Note: it is advisable not to prepare the avocado until you are almost ready to eat as they will begin to discolour.

4. Mix all the ingredients of the dressing together and pour over the salad. Mix with some salad tongs and serve immediately.

IMG_9462


Dried Ginger and Lentil Spiced Chicken Balti and the Curry For Change Campaign

IMG_9027

For the month of June folks, I’m going to share recipes that include some of the ingredients that were kindly sent to me by Natco foods as part of the ‘Curry for Change campaign’ competition. As part of the competition, food bloggers had to use at least 3 ingredients to come up with an original curry that would be easy to replicate at home by YOU.  Check out the varied array of goodies they sent me. My mind was working in overdrive to come up with a curry that would appeal from a taste and ease perspective.

I’m curious as to what you would have created using some of the ingredients below…..leave a comment for us all to see.

IMG_8956 But first let me take a few steps back to explain what ‘Curry for Change Campaign’ is all about and how you too can get involved.

In short, the campaign is about raising awareness of families who suffer from hunger across the world and how by cooking or eating a curry can help support a wonderful charity called ‘Find Your Feet’. The charity helps rural communities in Asia and Africa by giving them the knowledge and skills to become self sufficient and feed their families and communities. Rather than just offering handouts the charity gives the communities knowledge, understanding and education that allows them to bring themselves out of poverty and hunger. You can read more about the charity – here.

IMG_9032

You are probably wondering how eating or cooking a curry is going to actually help these communities?

Well a number of well-known Indian restaurants across the capital, in June, have thrown themselves into the campaign by creating a number of special dishes to help raise money for the cause. For those of you who are keen cooks, however, you can sign up for a Curry for Change event pack http://www.curryforchange.org.uk  for you to host a spicy night in with friends. All your friends need to do is to donate what they would spend on a typical Indian take-out. The pack includes spices from Natco Foods, cooking tips and recipes from the campaign ambassadors. On top of that you will also have my recipes over the month to give you more ideas on what to cook as well as my extensive list of recipes in my recipe library.

IMG_9013

So what are you waiting for? Do leave comments below and let us know how you get on. Spread the word on this exciting campaign. I’ll be giving you details of who won the competition in my next post ;o)….so watch this space.

Dried Ginger and Lentil Spiced Chicken Balti

5 tbsp vegetable oil

10g dried ginger

1 tbsp shredded coconut

500g chicken breast, cut into bite sized pieces

1 tsp turmeric

1 white onion, finely chopped

1 tsp garlic paste

2 tsp salt

1x 4 inch piece of cassia bark, broken in two

2 green chillies, stalk removed but kept whole

1 tsp Kashmiri chilli powder

6 large tomatoes (900g), finely chopped

400g boiling water

100g yellow split peas

*******

to make the Tarka

1 tsp cumin seeds

2 dried red chillies

10 fresh curry leaves (or dried if you can’t get hold of fresh)

Ingredients in bold were part of the Natco hamper sent to me.

1) Heat a large deep pan with 1 tablespoon of oil. When it is hot add the dried ginger and move around the pan for under a minute. Remove the ginger and place in a spice grinder/blender along with the shredded coconut.

2) In a bowl add the chicken pieces, turmeric powder, the ground dried ginger and shredded coconut as well as one tablespoon of vegetable oil. Stir well so that all the chicken pieces are coated. Leave to rest whilst you prepare the rest of the dish.

3)  In the same large deep pan that you heated the dried ginger, add 3 further tablespoons of vegetable oil. When it is hot add the onion and gently fry it until it begins to brown in colour. Add the garlic paste, salt, Kashmiri chilli powder and cassia bark and stir for a few minutes.

4) Add the spiced chicken pieces to the pan and stir into all the other ingredients. Place a lid on the pan and allow the chicken to whiten and begin to bronze in places. Stir at intervals. This will take around 10 minutes.

5) Add the chopped tomatoes and the boiling water, which will allow the yellow split peas to cook easily. Continue to cook the curry on a medium heat for 20 minutes with the lid on. Then remove the lid and simmer for a further 10 minutes.

6) In a separate small pan heat one tablespoon of vegetable oil and when it is hot add the cumin seeds, dried red chilli and curry leaves –  this will be the tarka. The cumin seeds will begin to sizzle almost immediately. Move the ingredients around the pan for one minute and then pour into the main pan when ready to serve.

Serve with either plain rice, naan, paratha or puri.

Note: If you prefer less of a sauce keep the lid off the pan for a little longer, which will allow the sauce to thicken and reduce.

    IMG_9039  


Moroccan Giant Couscous Salad and a Mung Bean, Carrot and Feta Salad

IMG_8380

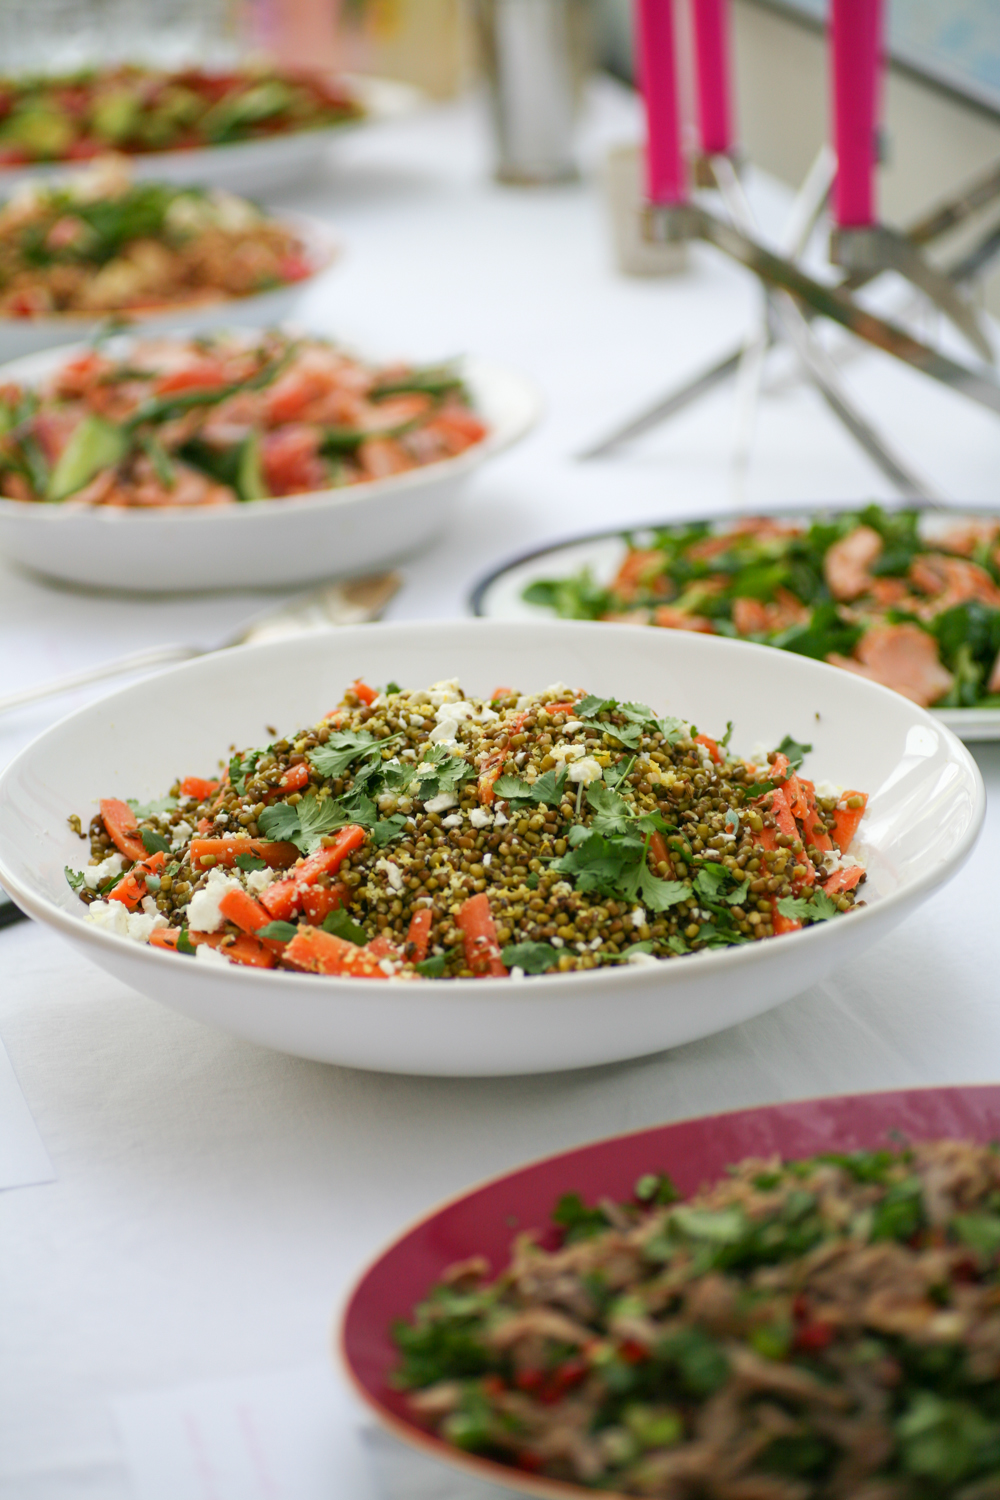
I had a few girlfriends over for lunch this week and thought it might be helpful to give you the low down on some of the things I prepared which allowed me to have a stress free time. Planning ahead is absolutely essential. There is nothing worse than having to fret over food last minute when all you really want to be doing is catching up with everyone. I tend to opt for large healthy salads and then prepare a hot soup of some sorts to warm the belly and soul.

IMG_8373

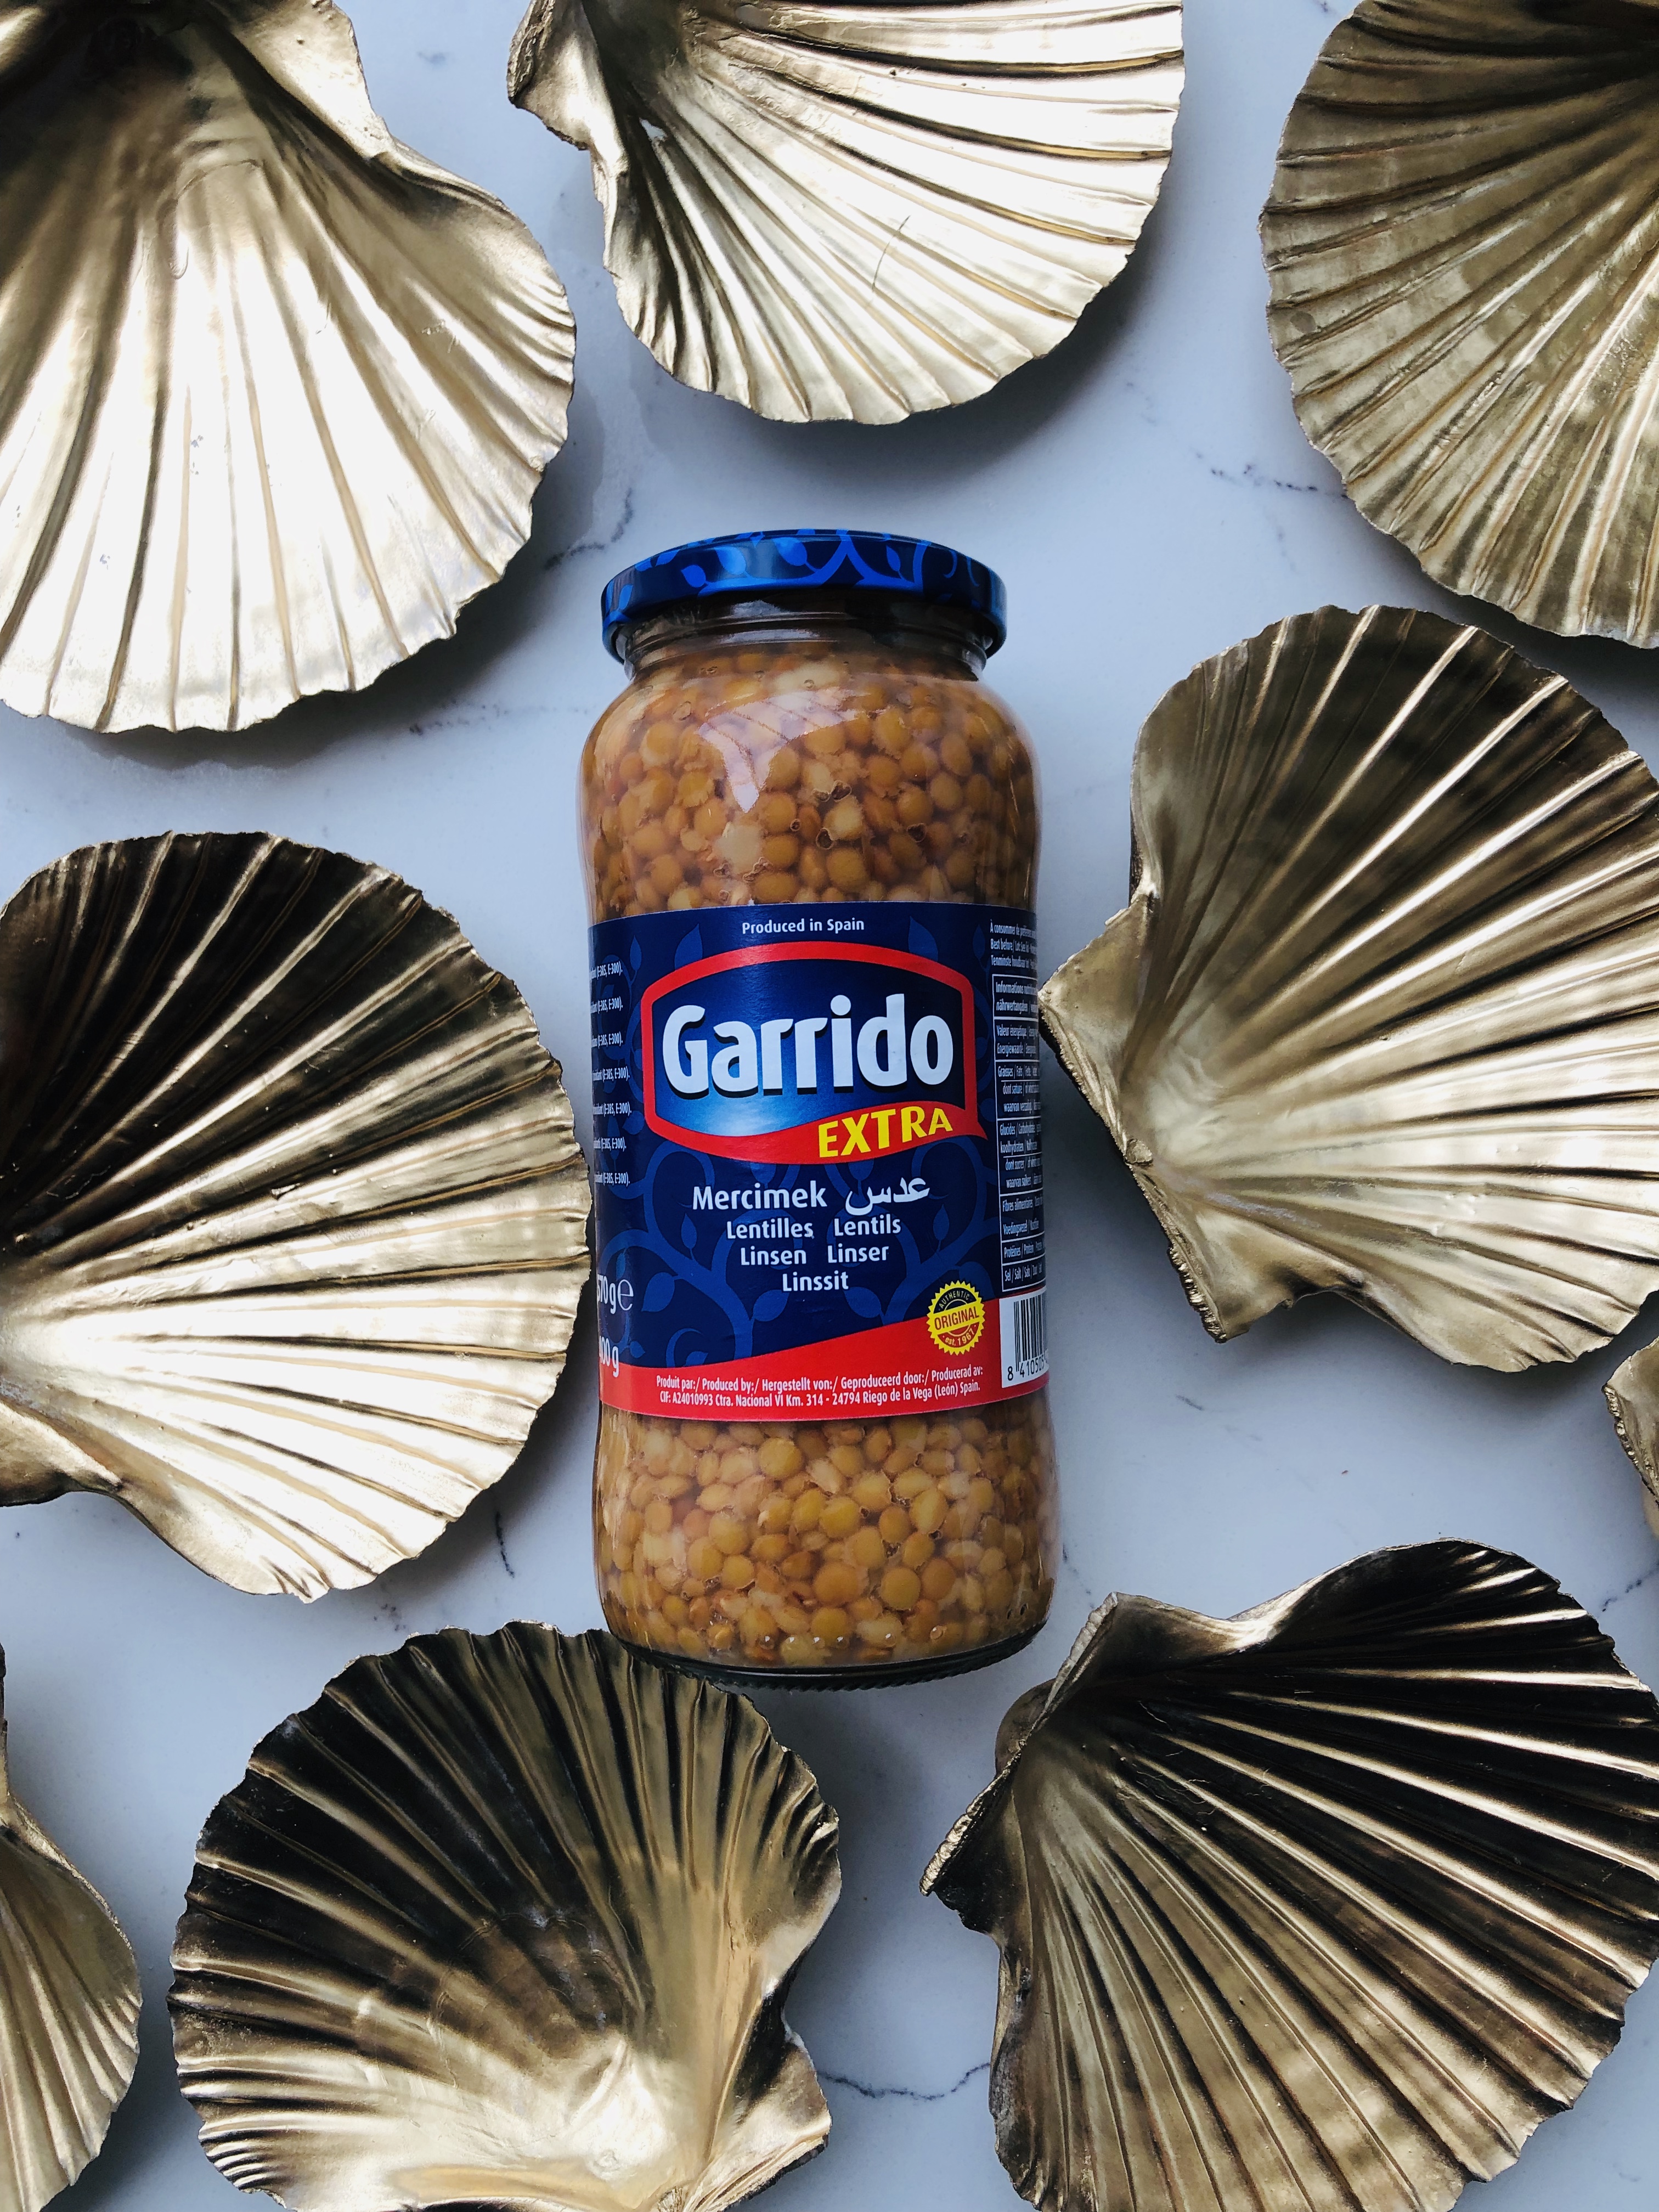
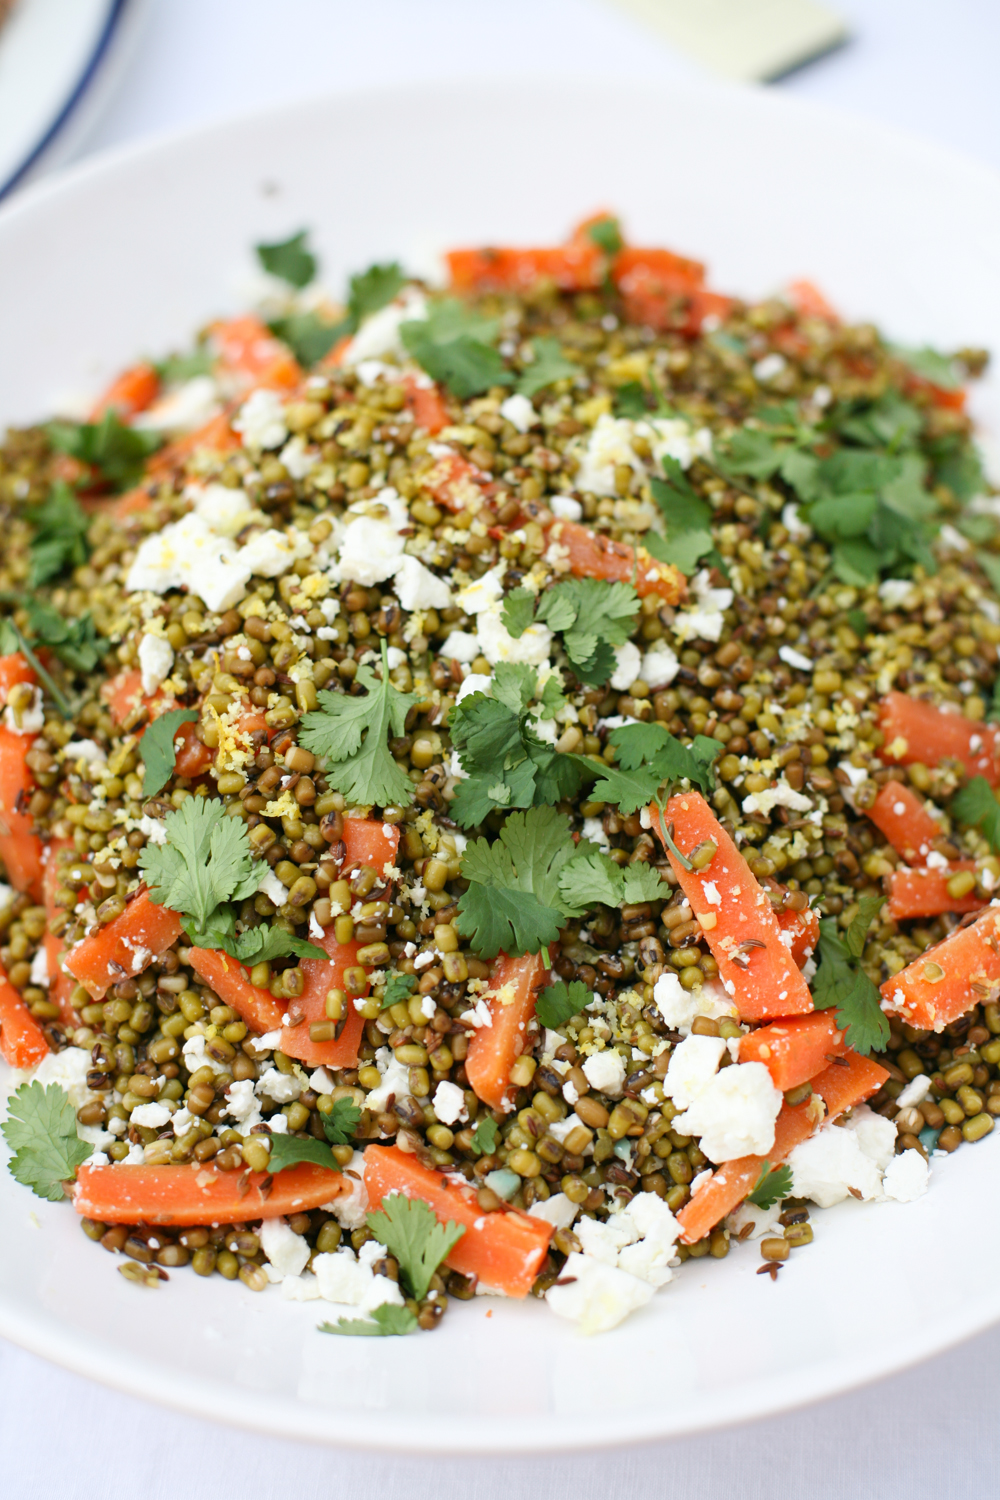
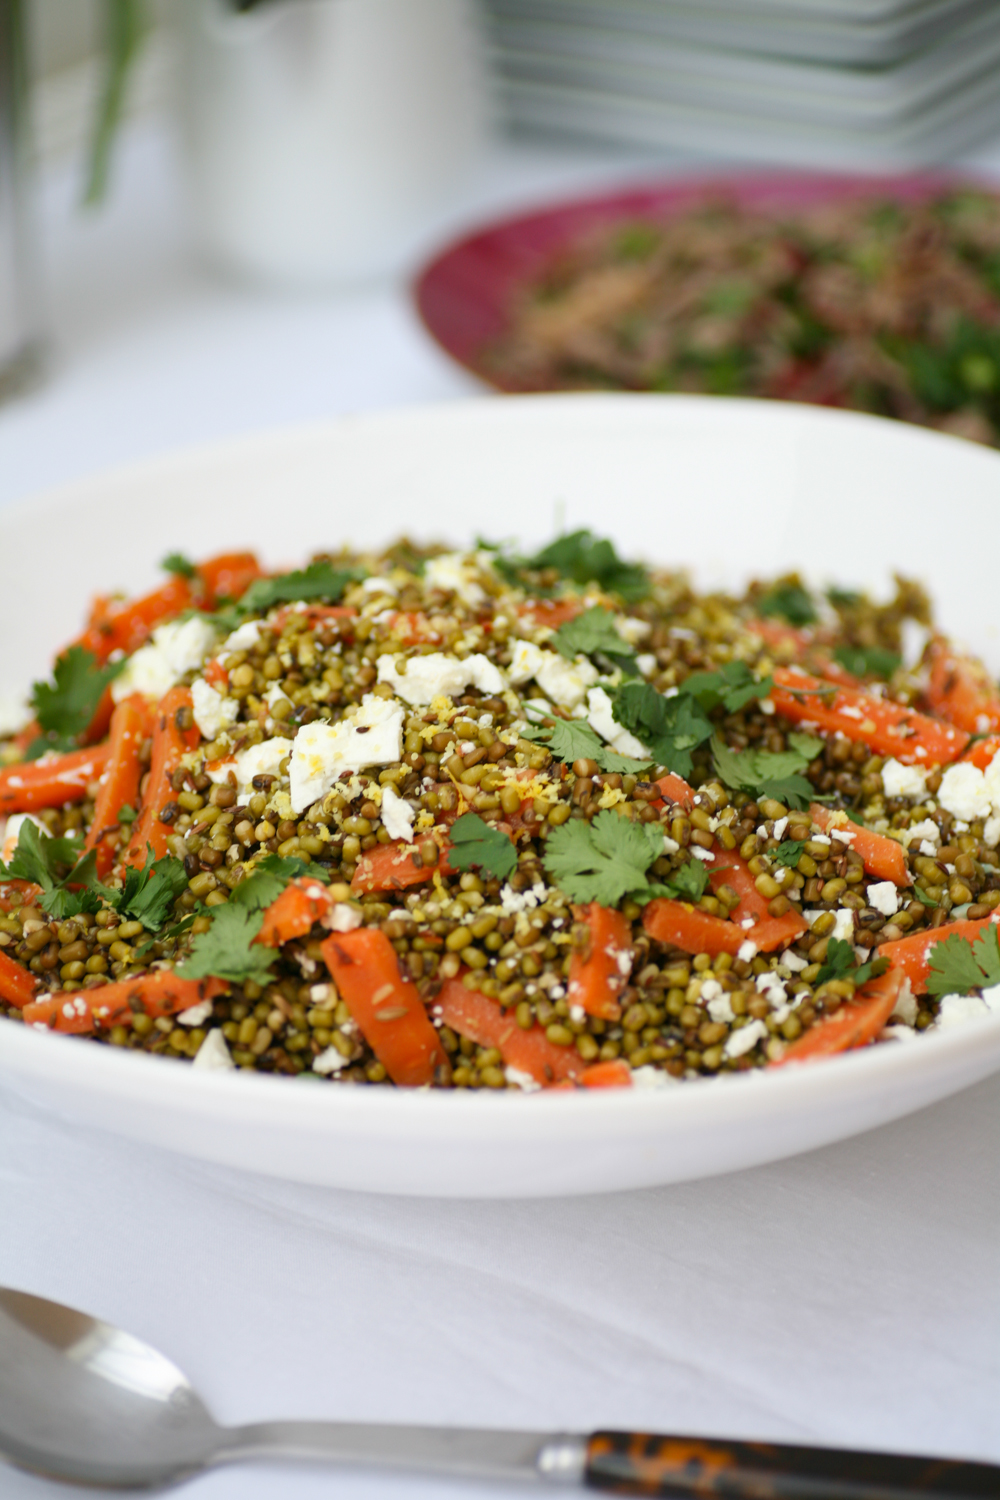
So first up was a mung bean, carrot and feta salad with cumin, caraway and fennel seeds. It requires some forward planning in that you need to soak the lentils overnight, but other than that it is very straightforward and ticks all the boxes for healthiness and importantly tastiness.

IMG_8388

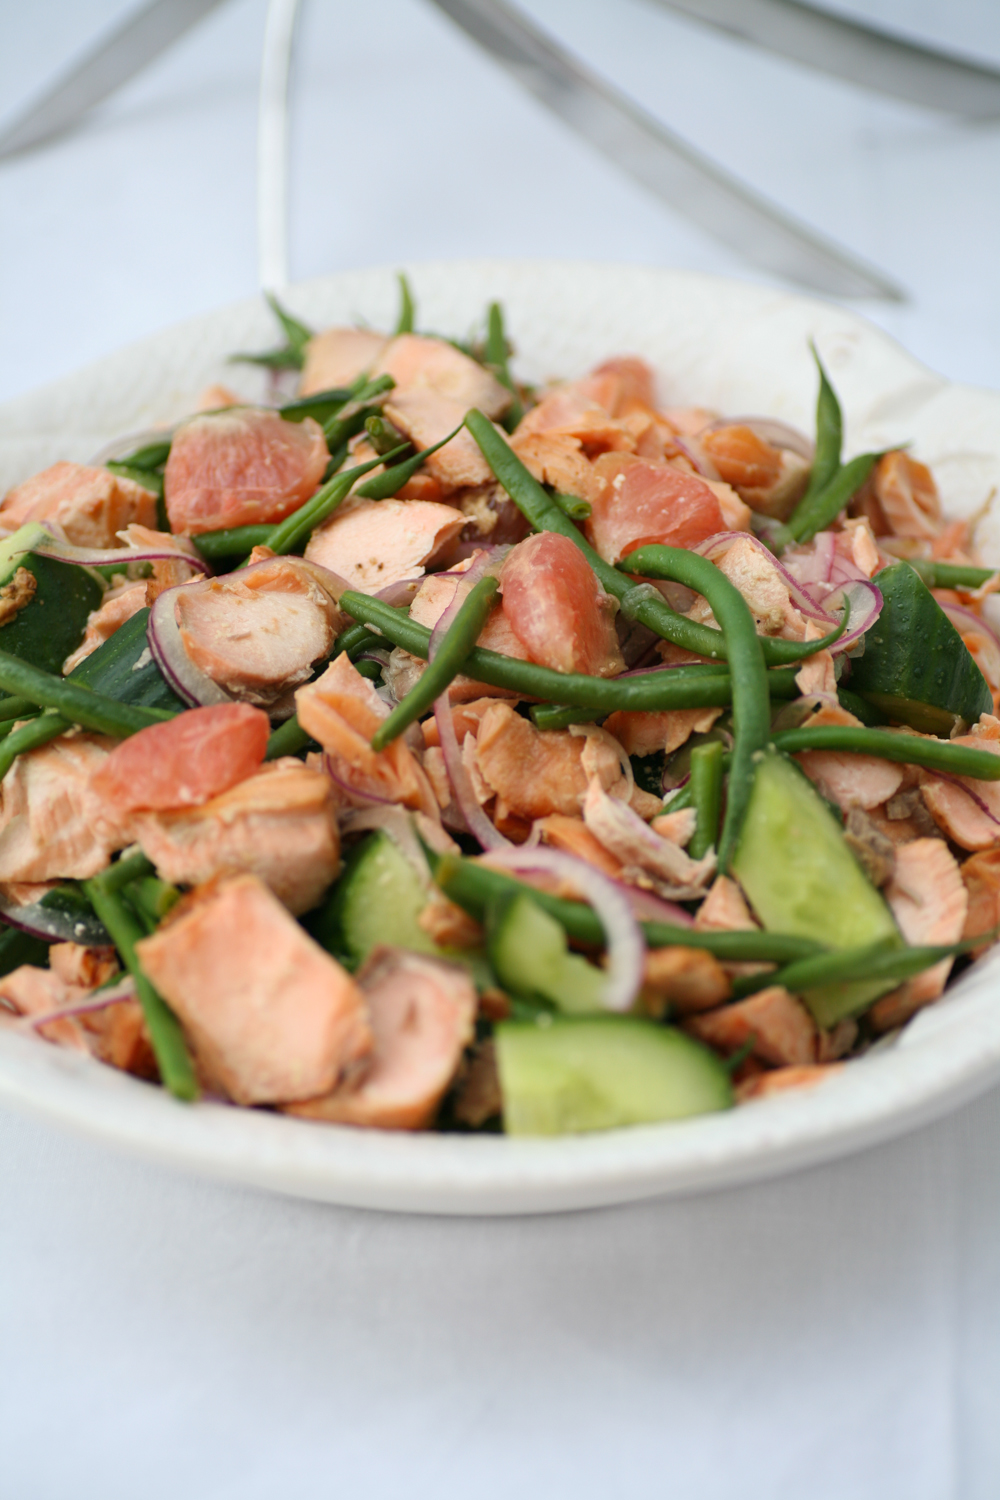
Then I prepared my Vietnamese inspired salmon, cucumber, red onion and grapefruit salad with a mirin lime dressing. I posted it on my blog about a year ago. Check out the recipe here.

IMG_8390

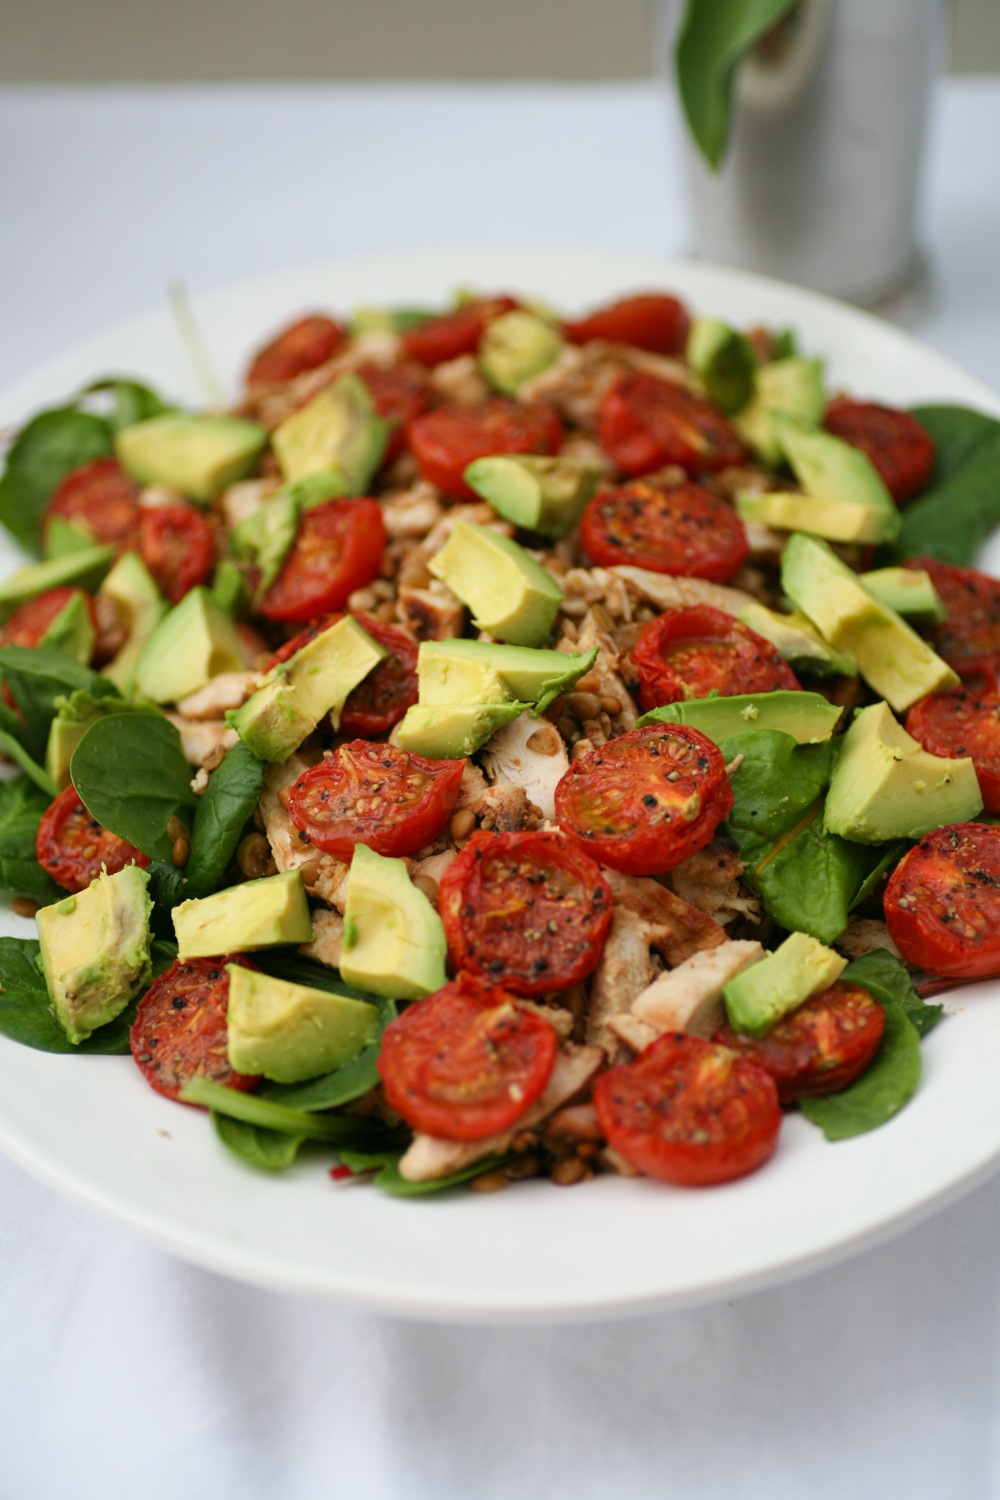
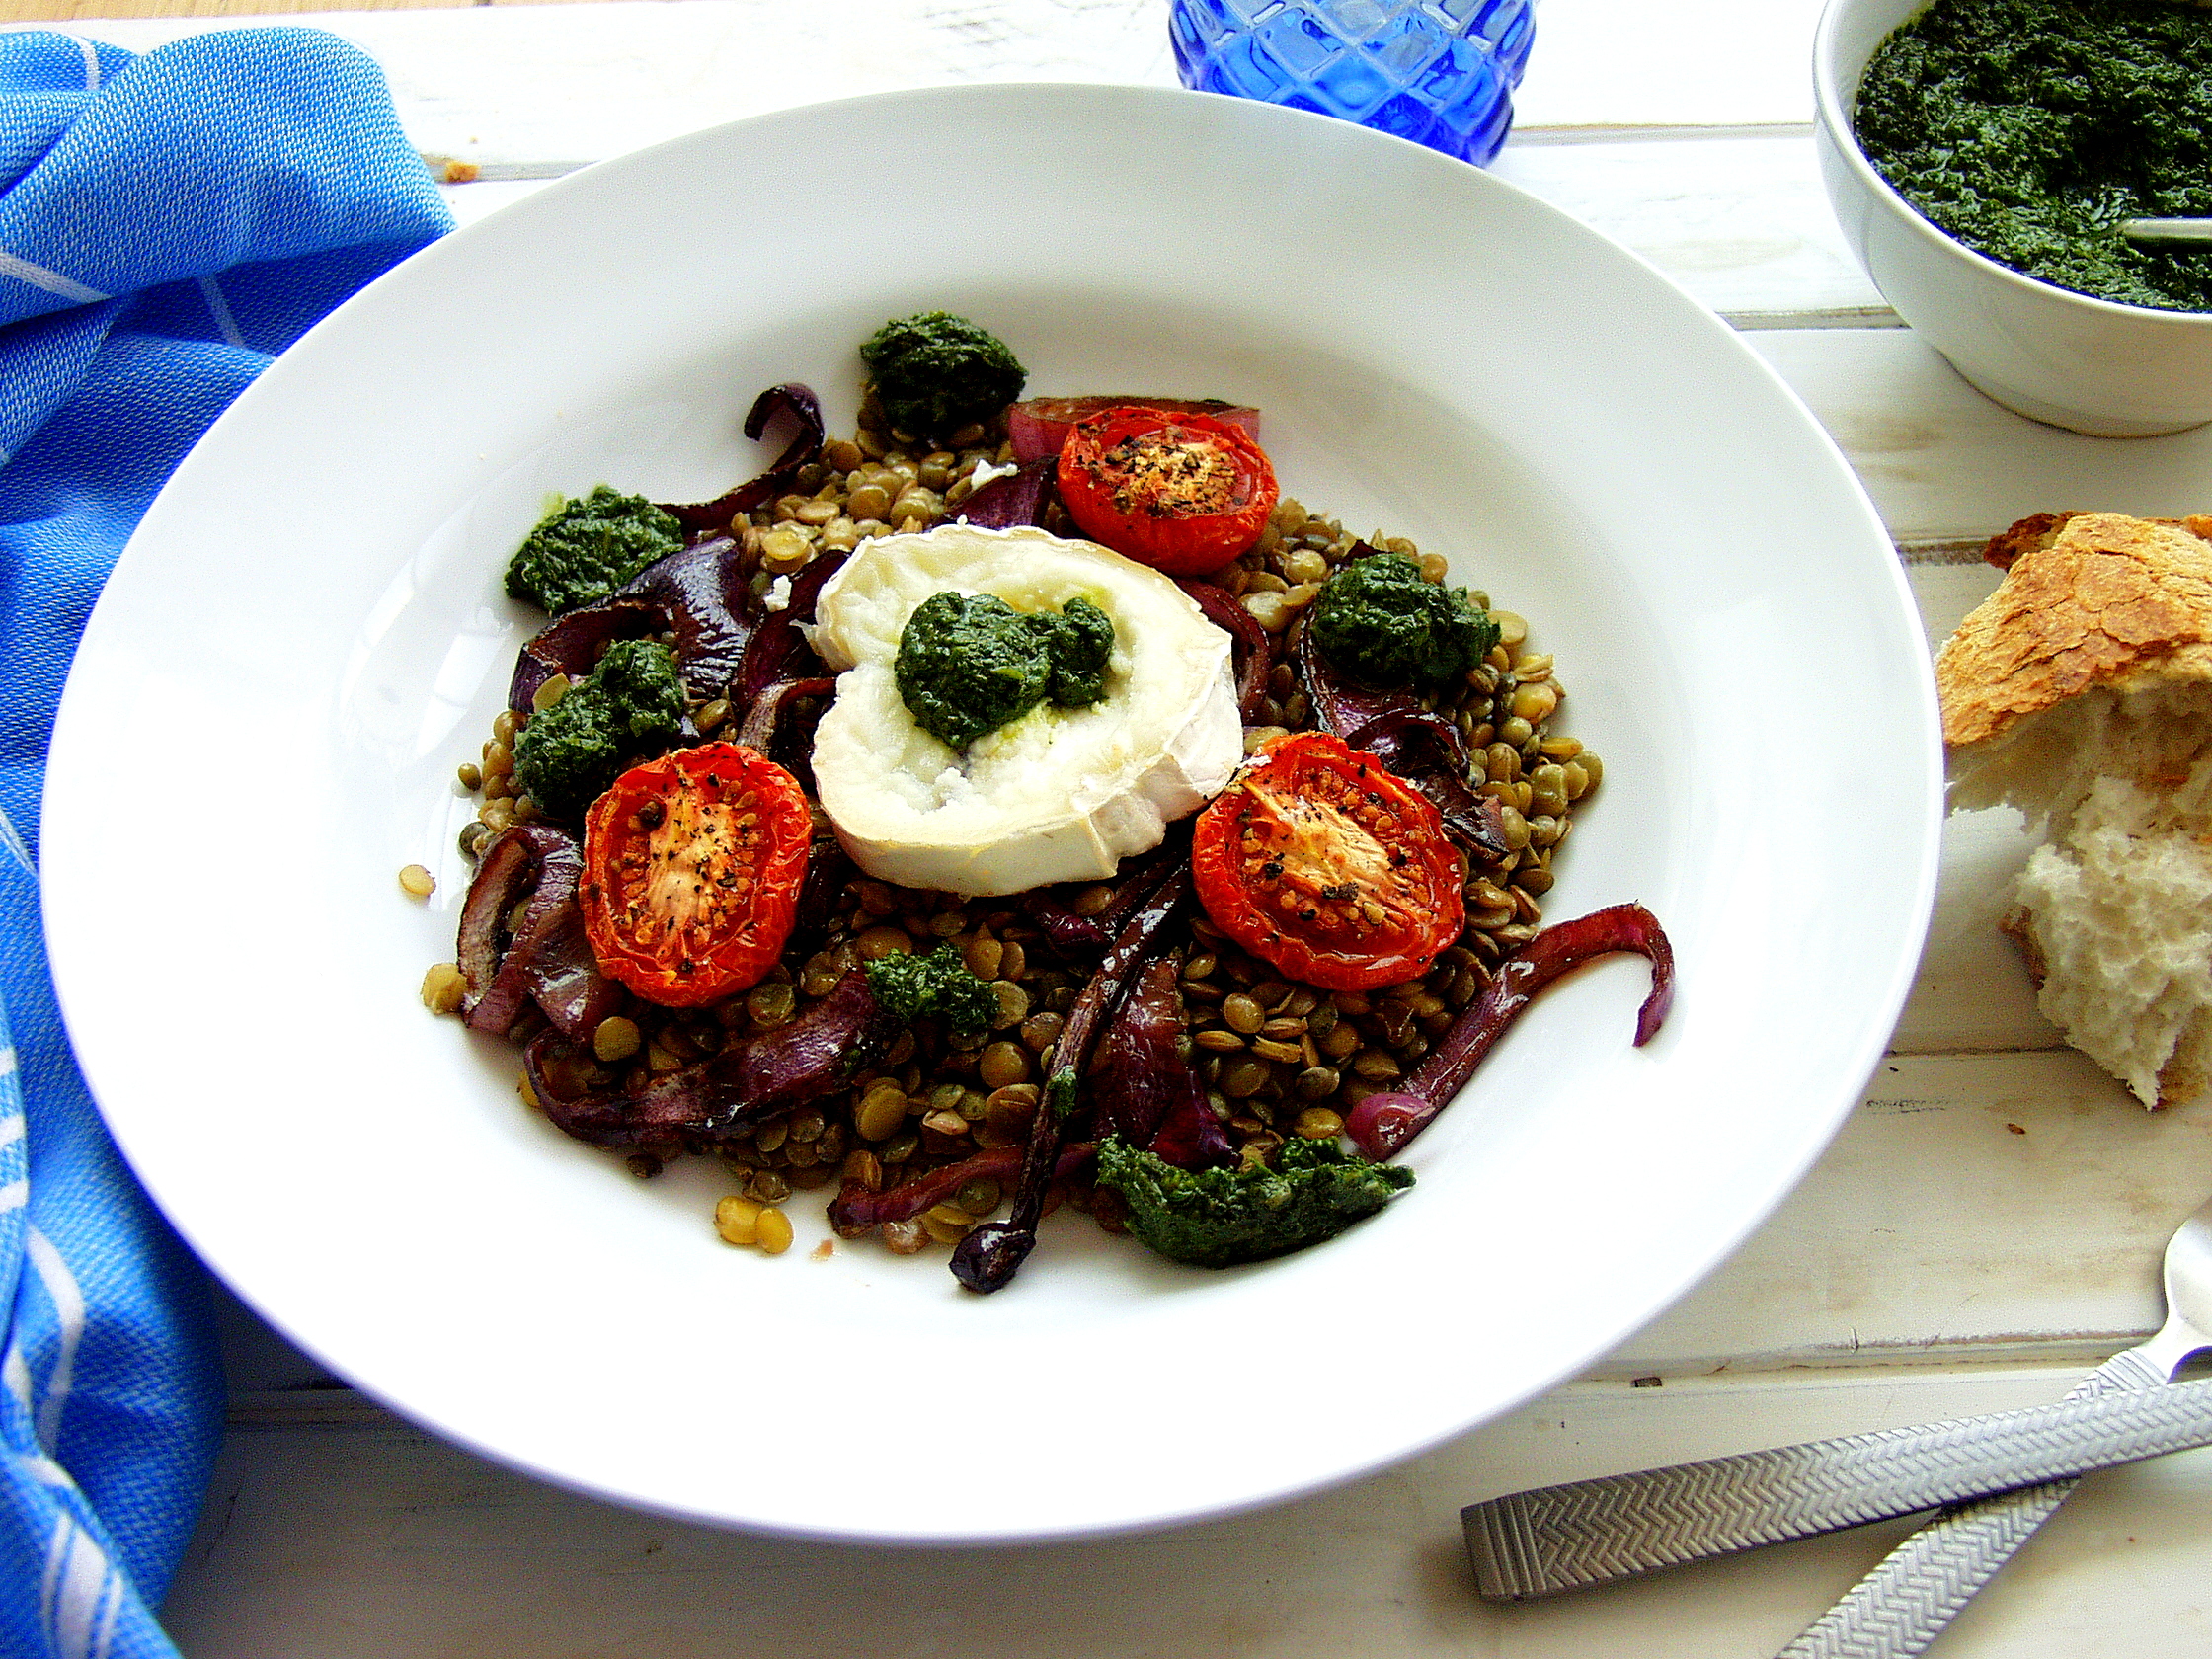
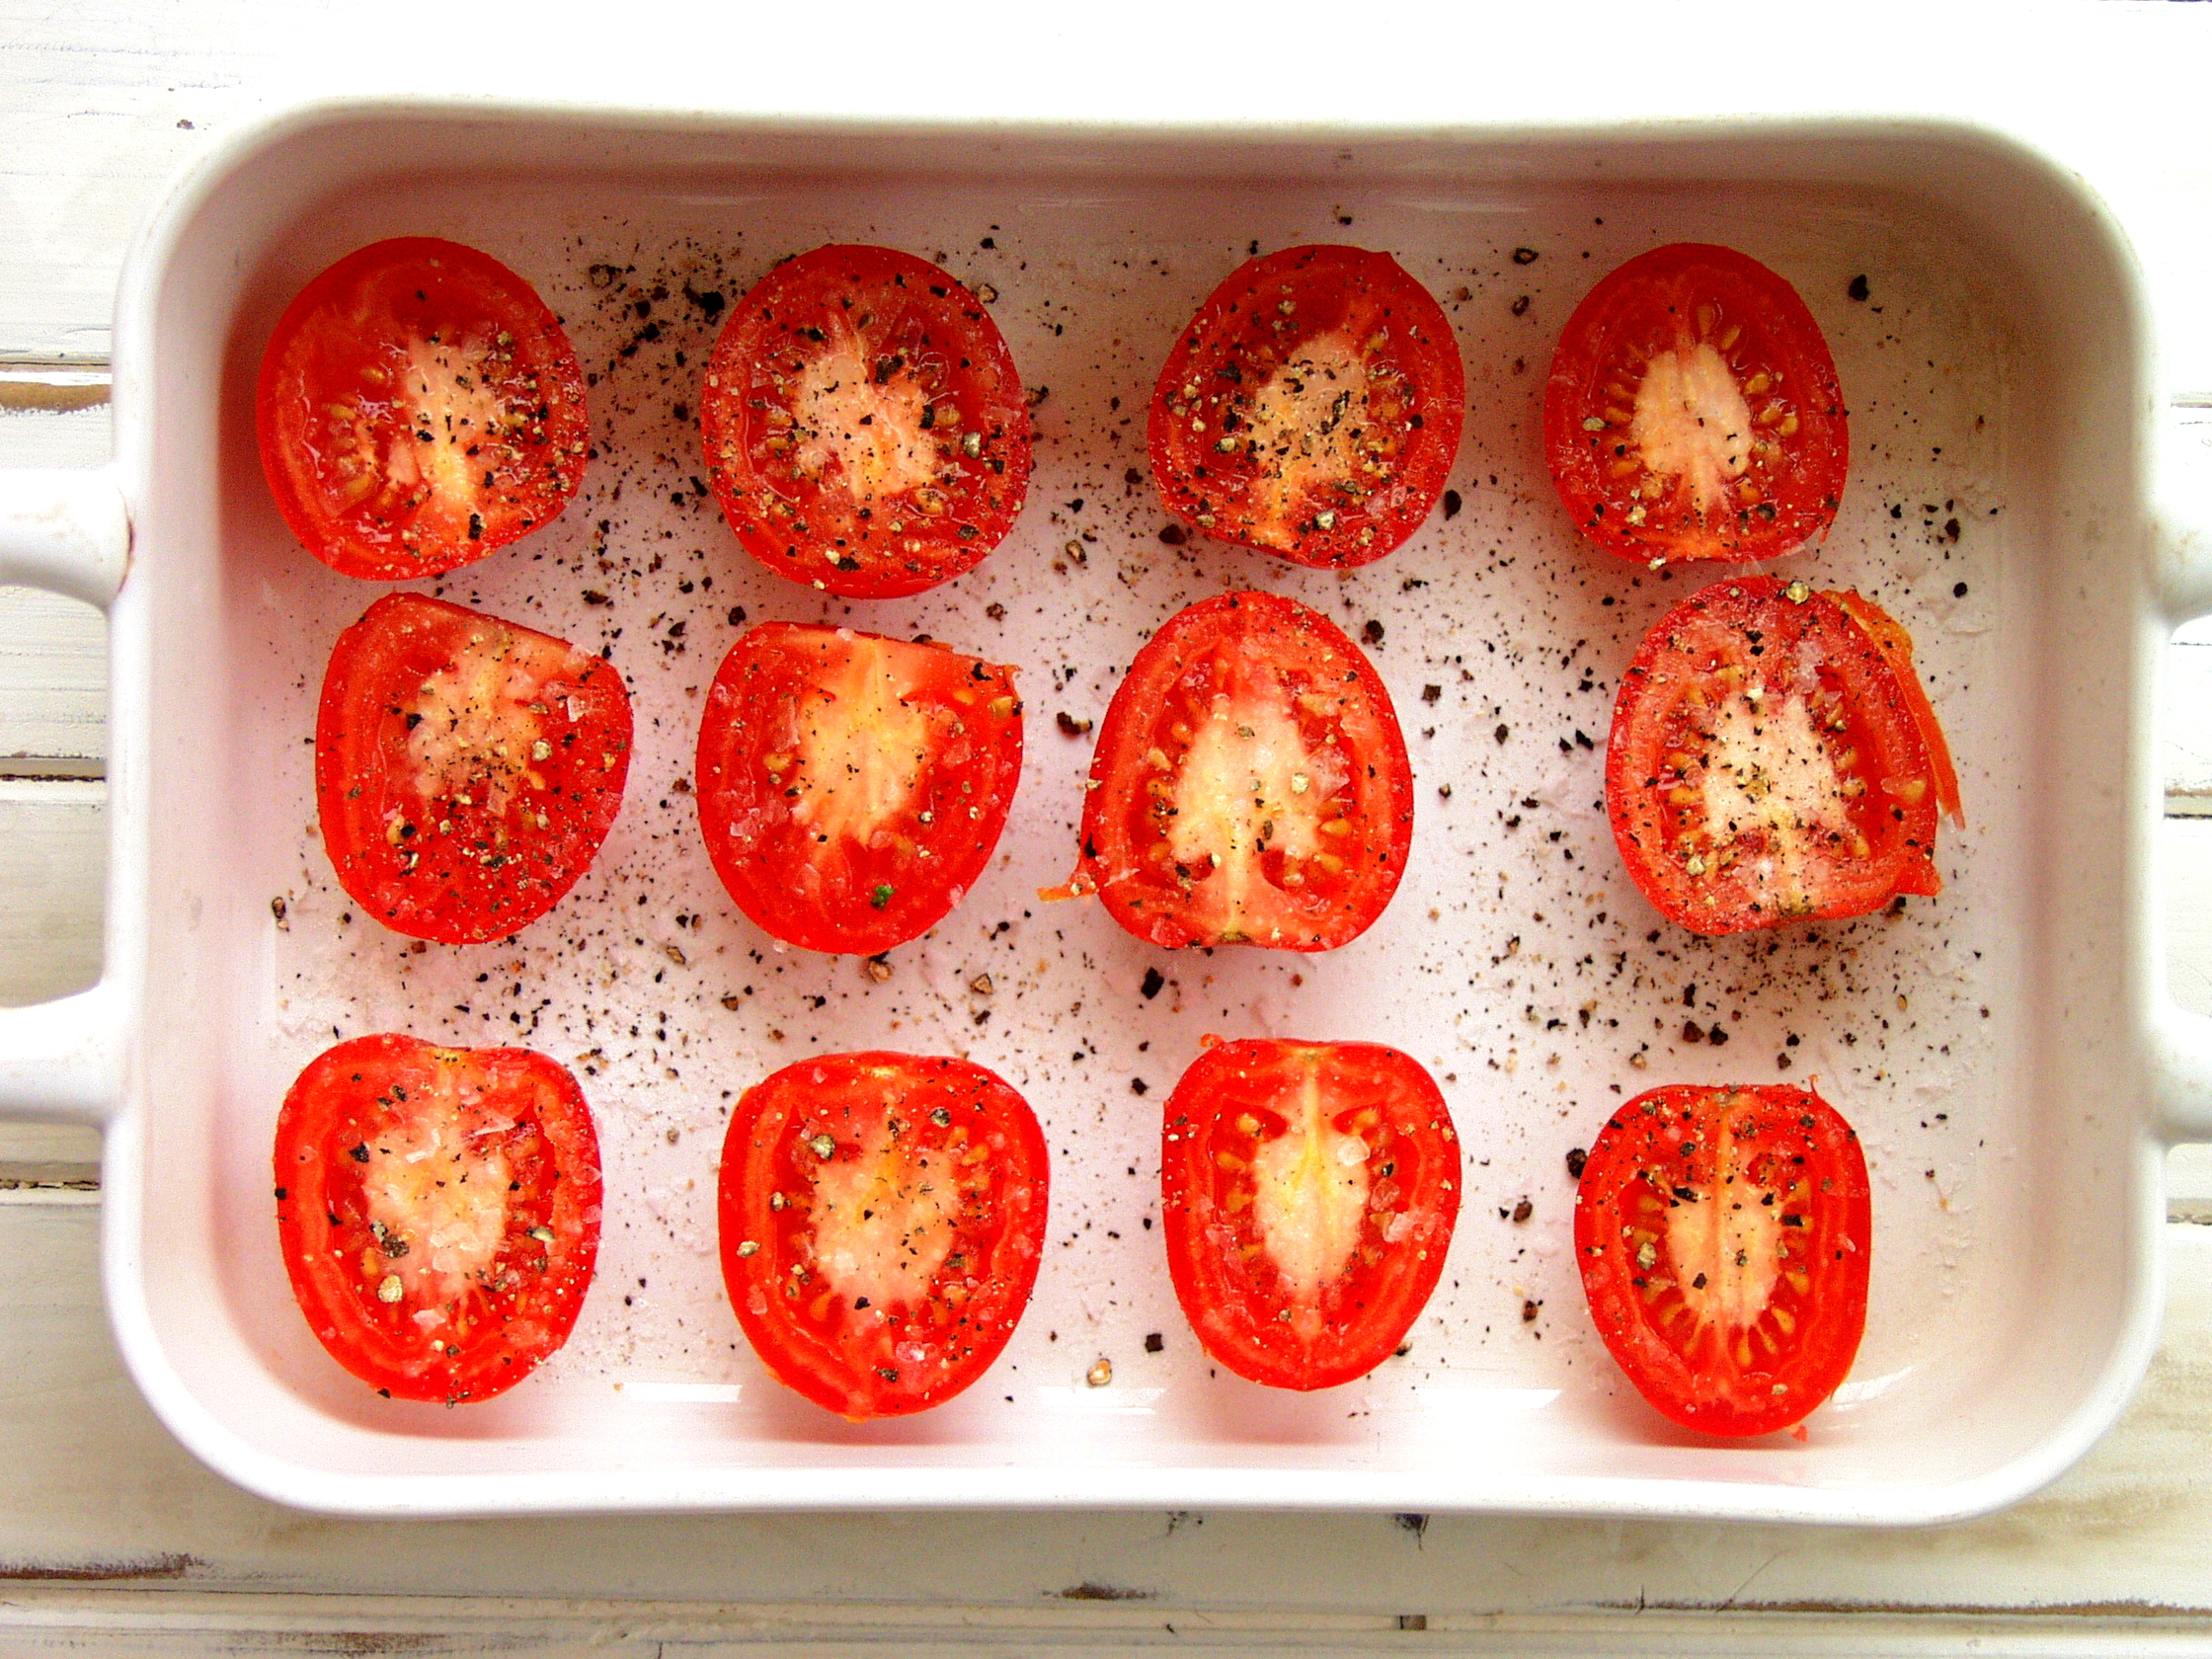
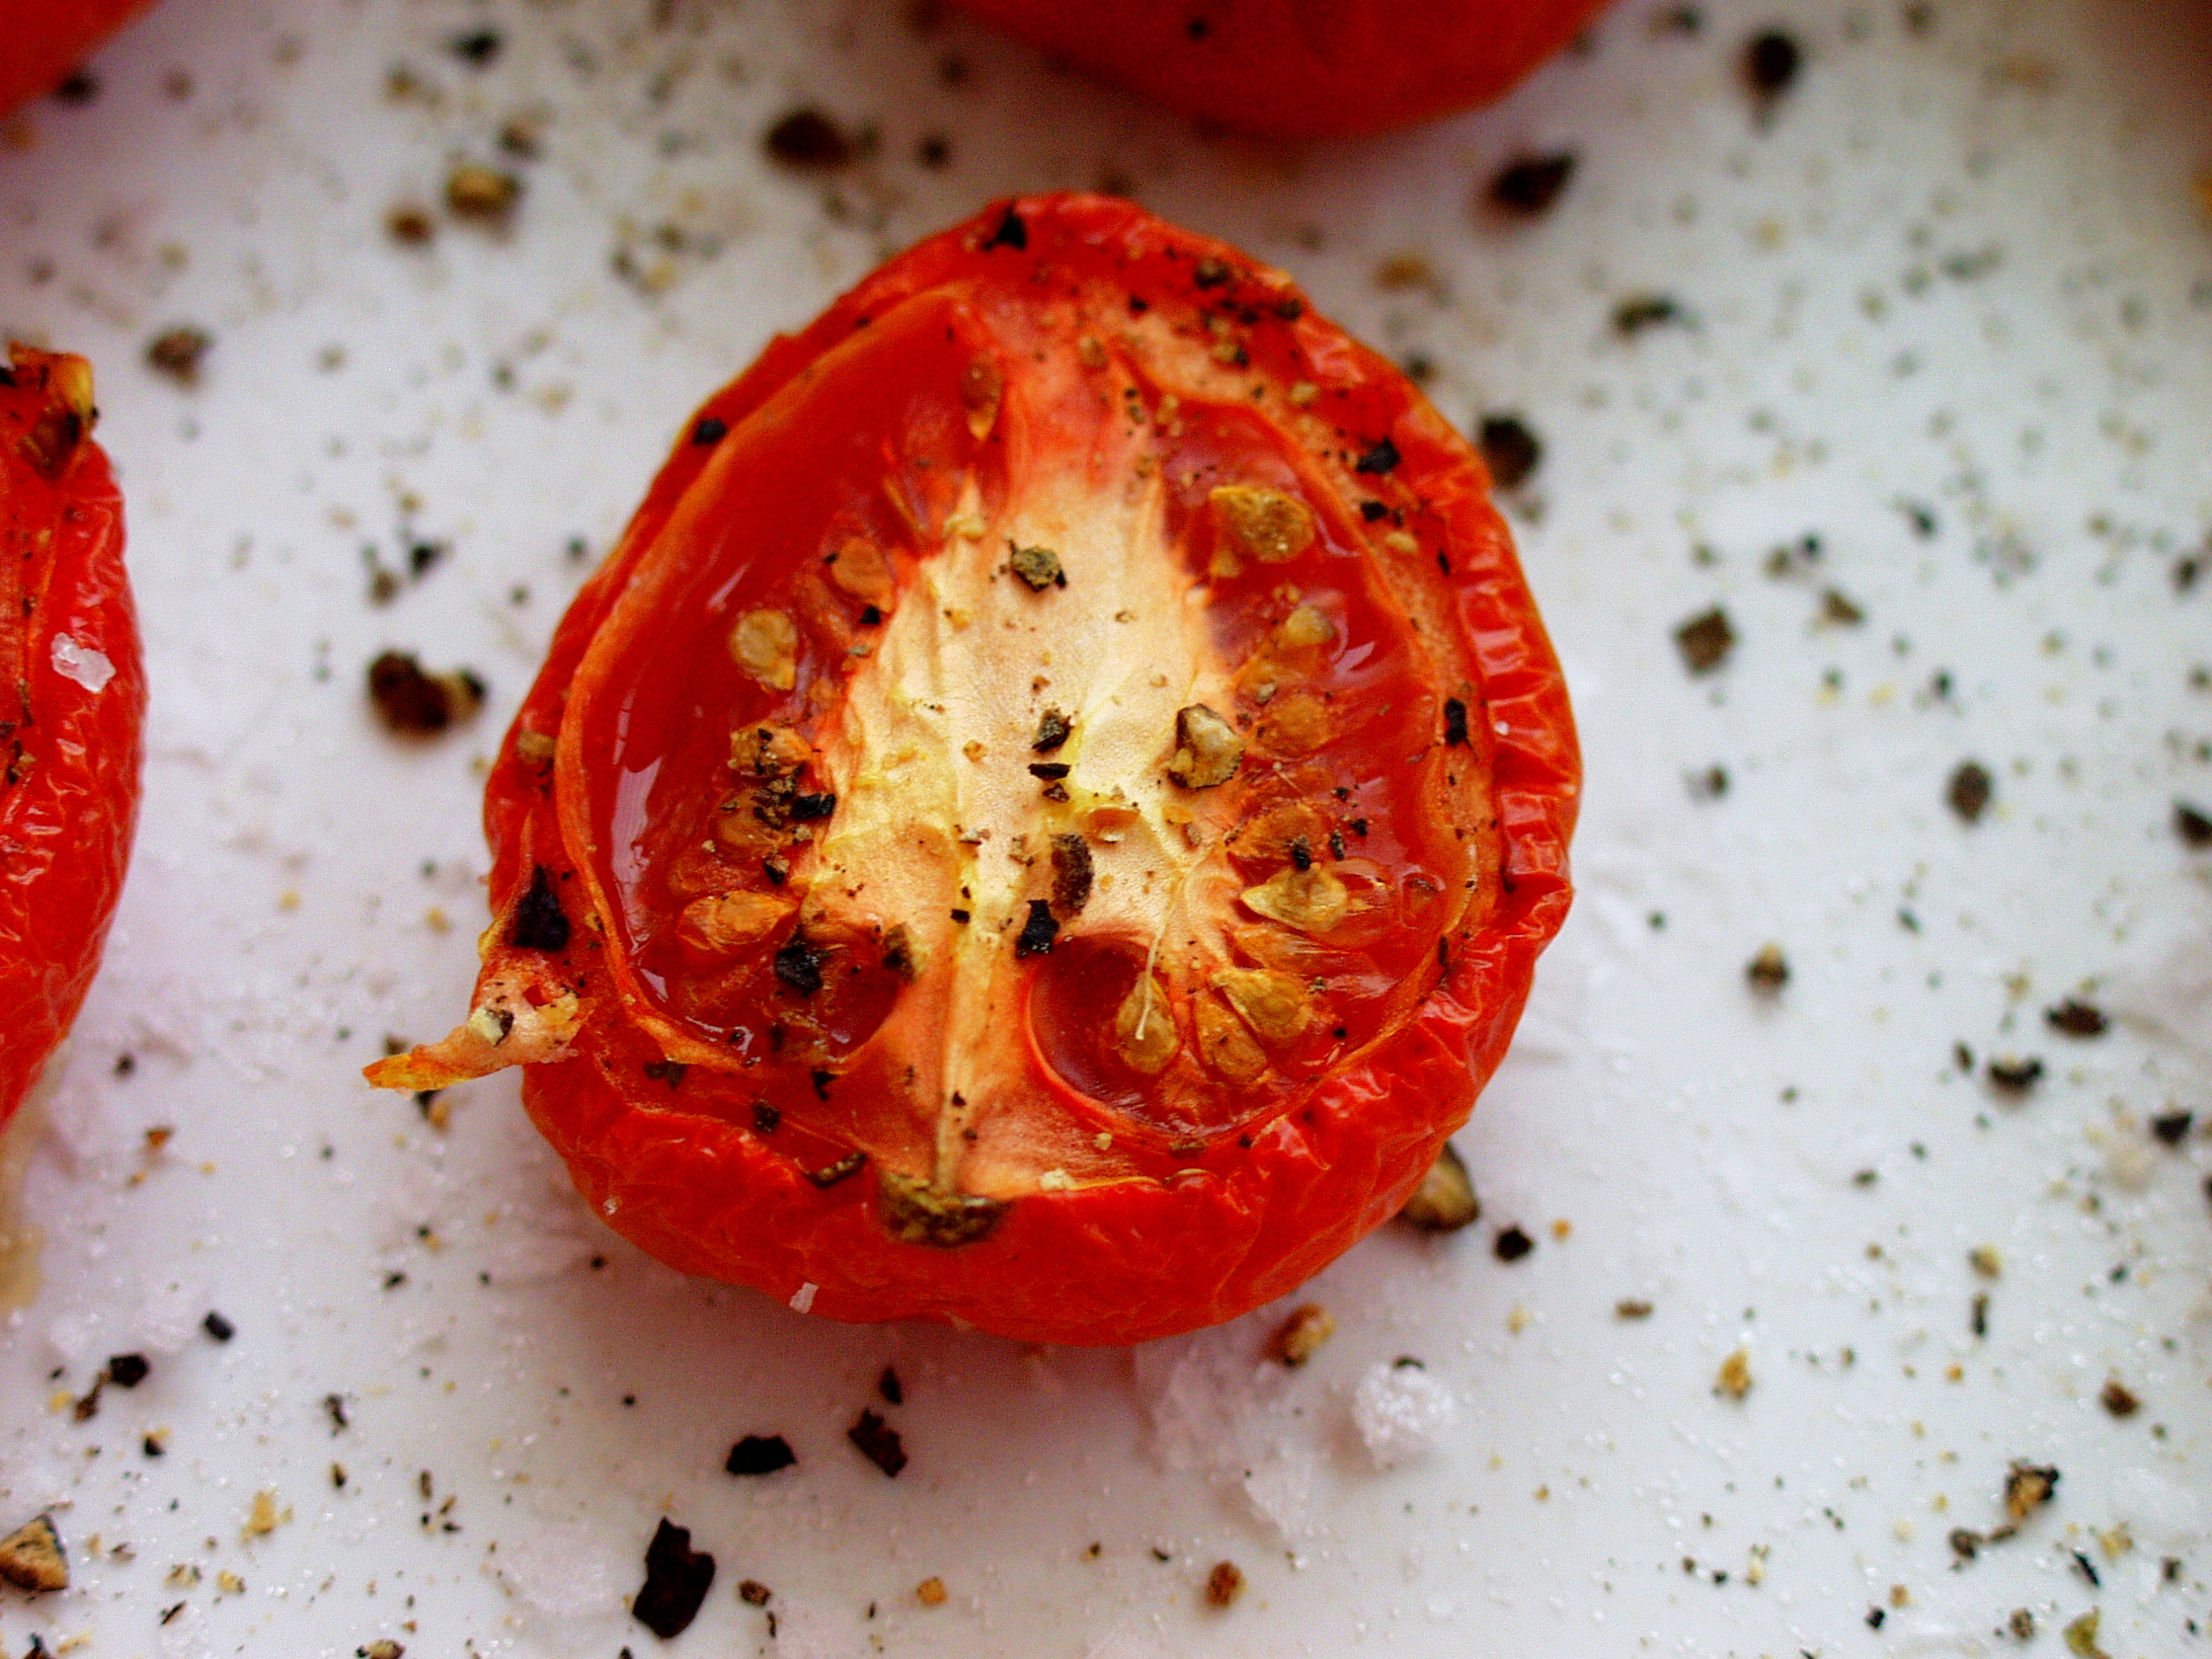
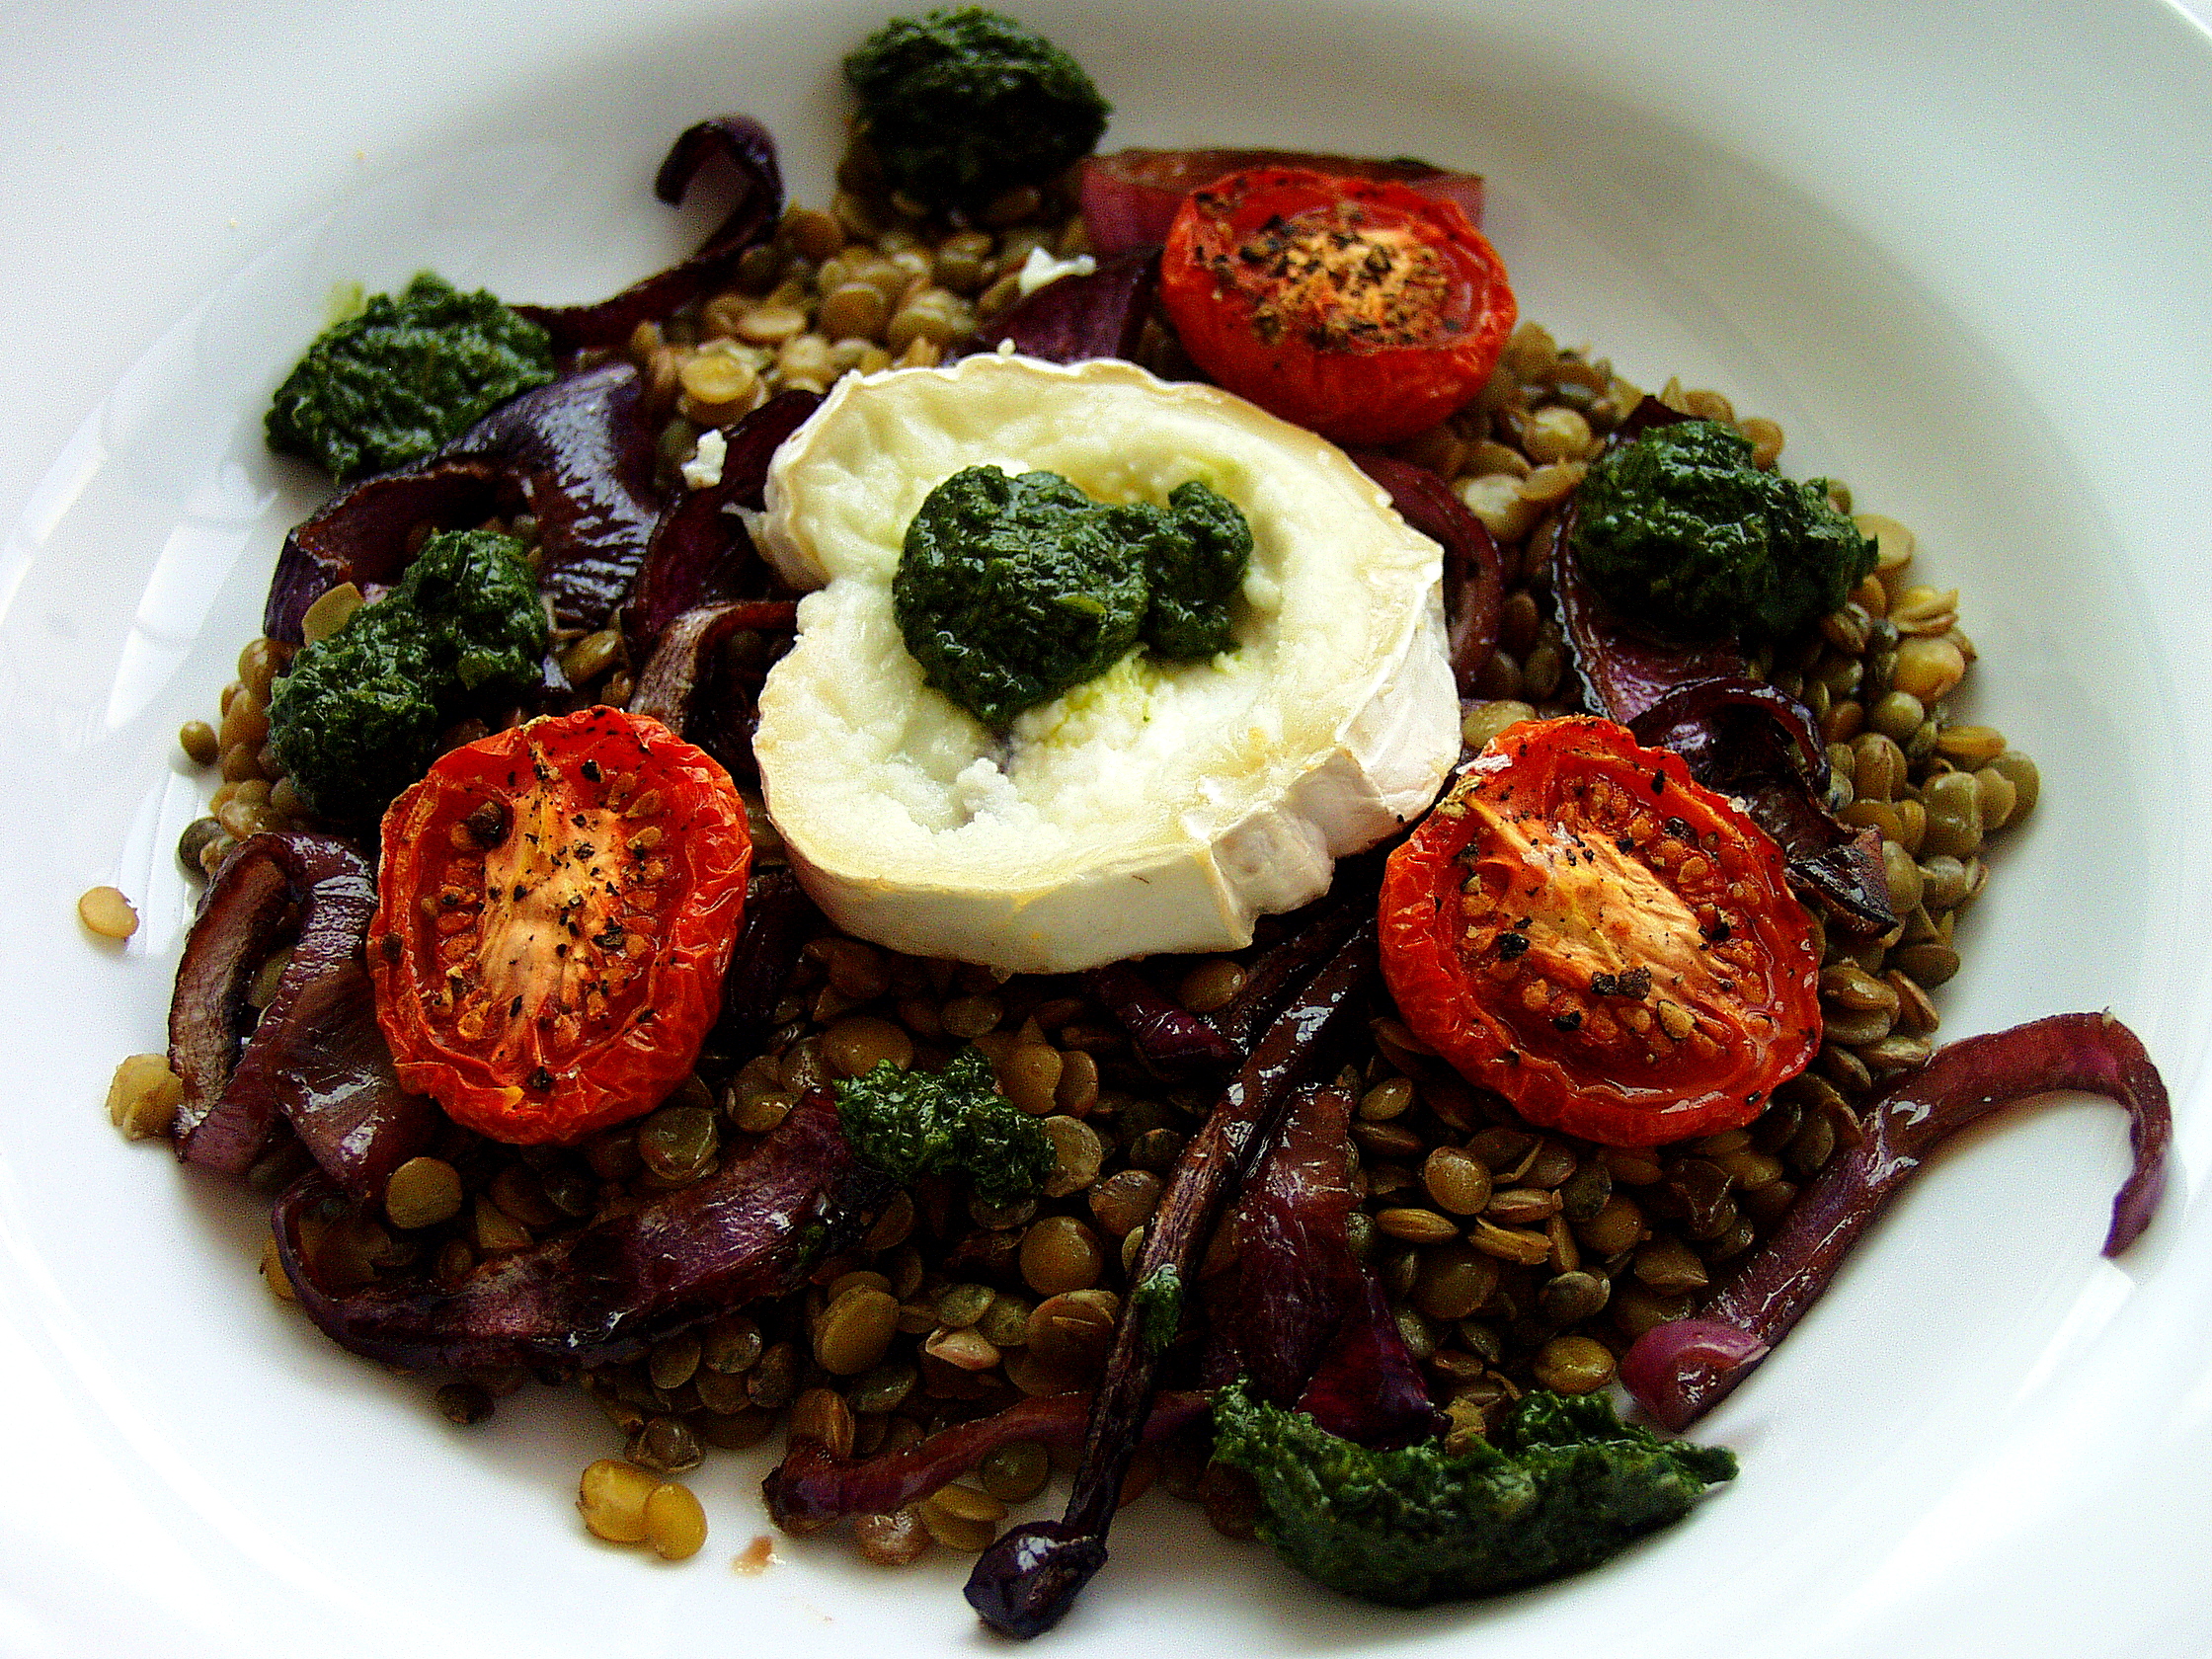
Then I made one of my absolute favourite salads – a miso soy chicken with spinach, lentils, slow baked tomatoes, green  (you can use puy, beluga whatever takes your fancy) lentils and pine nuts. Recipe here. I opted to make my own slow baked tomatoes – you can find a recipe for them at the bottom of the post if you click here. Very easy to prepare and taste so delicious.

IMG_8389

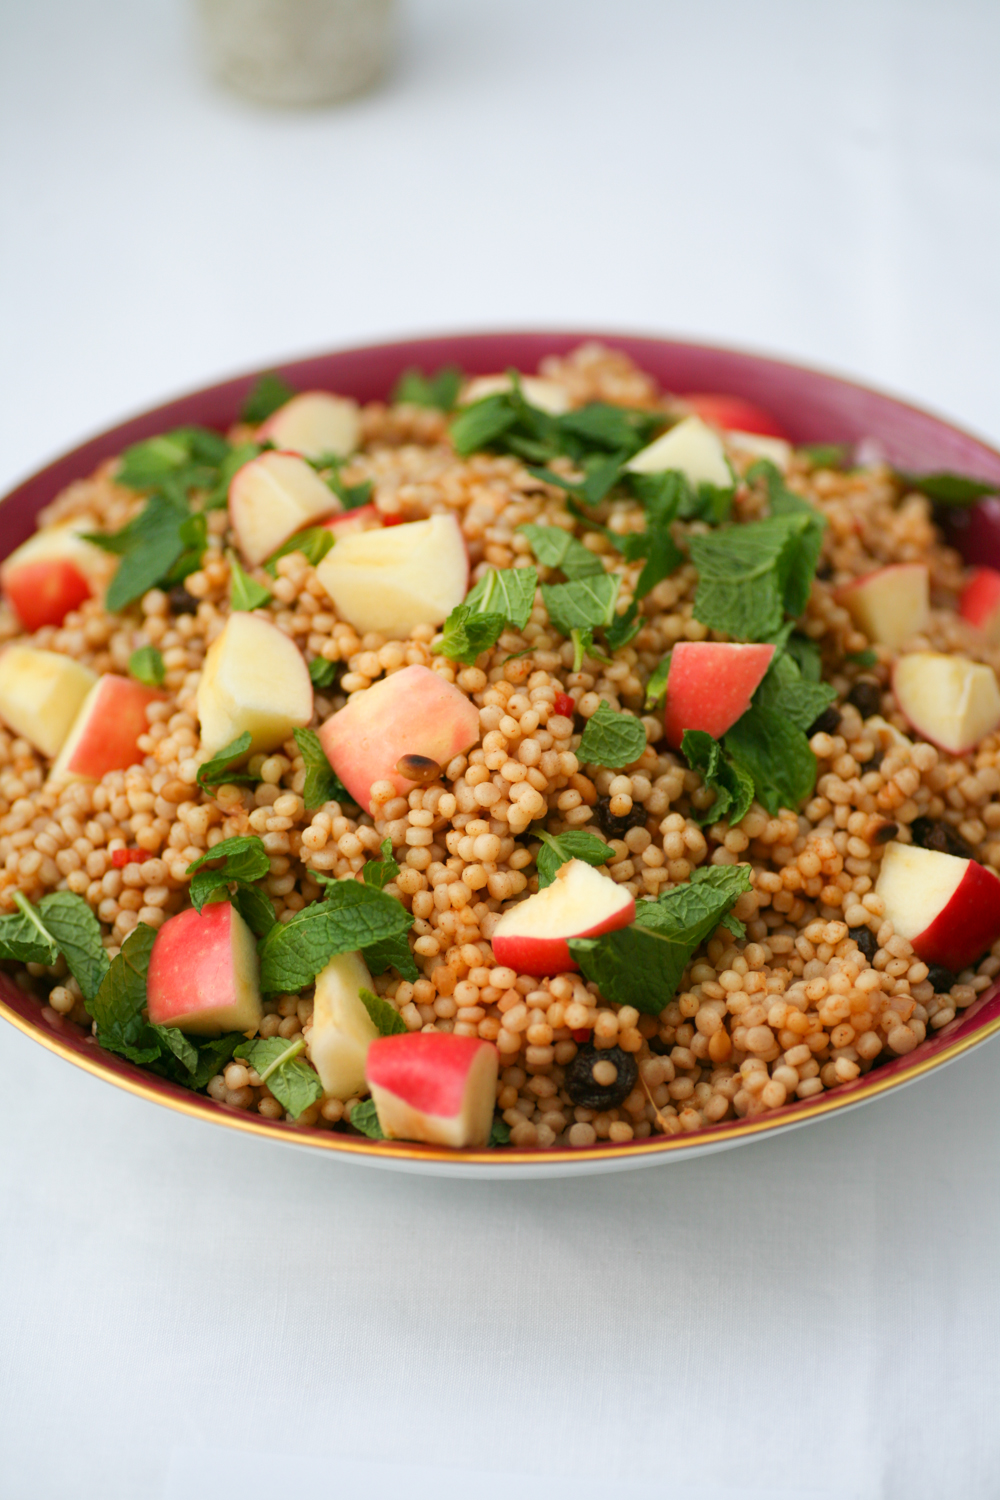
To balance out the flavours, palate and colours I then prepared a Moroccan influenced salad of giant couscous, Moroccan spices, sultanas, pine nuts, fresh mint and pink lady apples. Recipe below.

IMG_8387

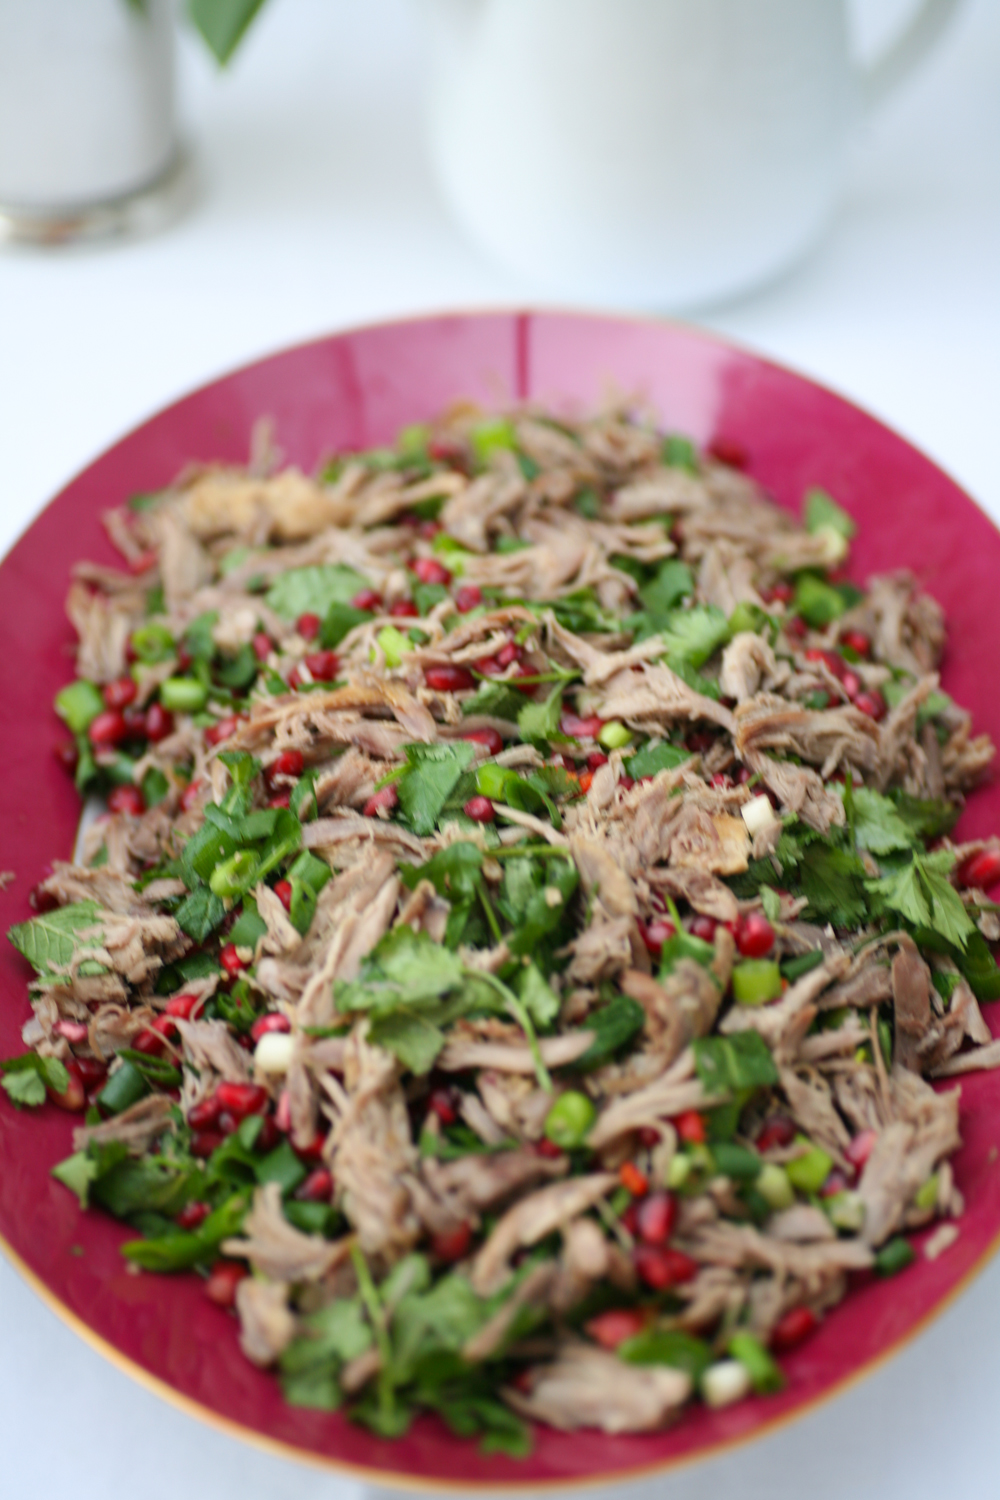
Excuse the rather hazy shot of the final ‘salad’, but I opted for shredded duck with pomegranate, spring onions, mint and coriander with a raspberry vinegar dressing. I posted the recipe here on my blog a while ago.

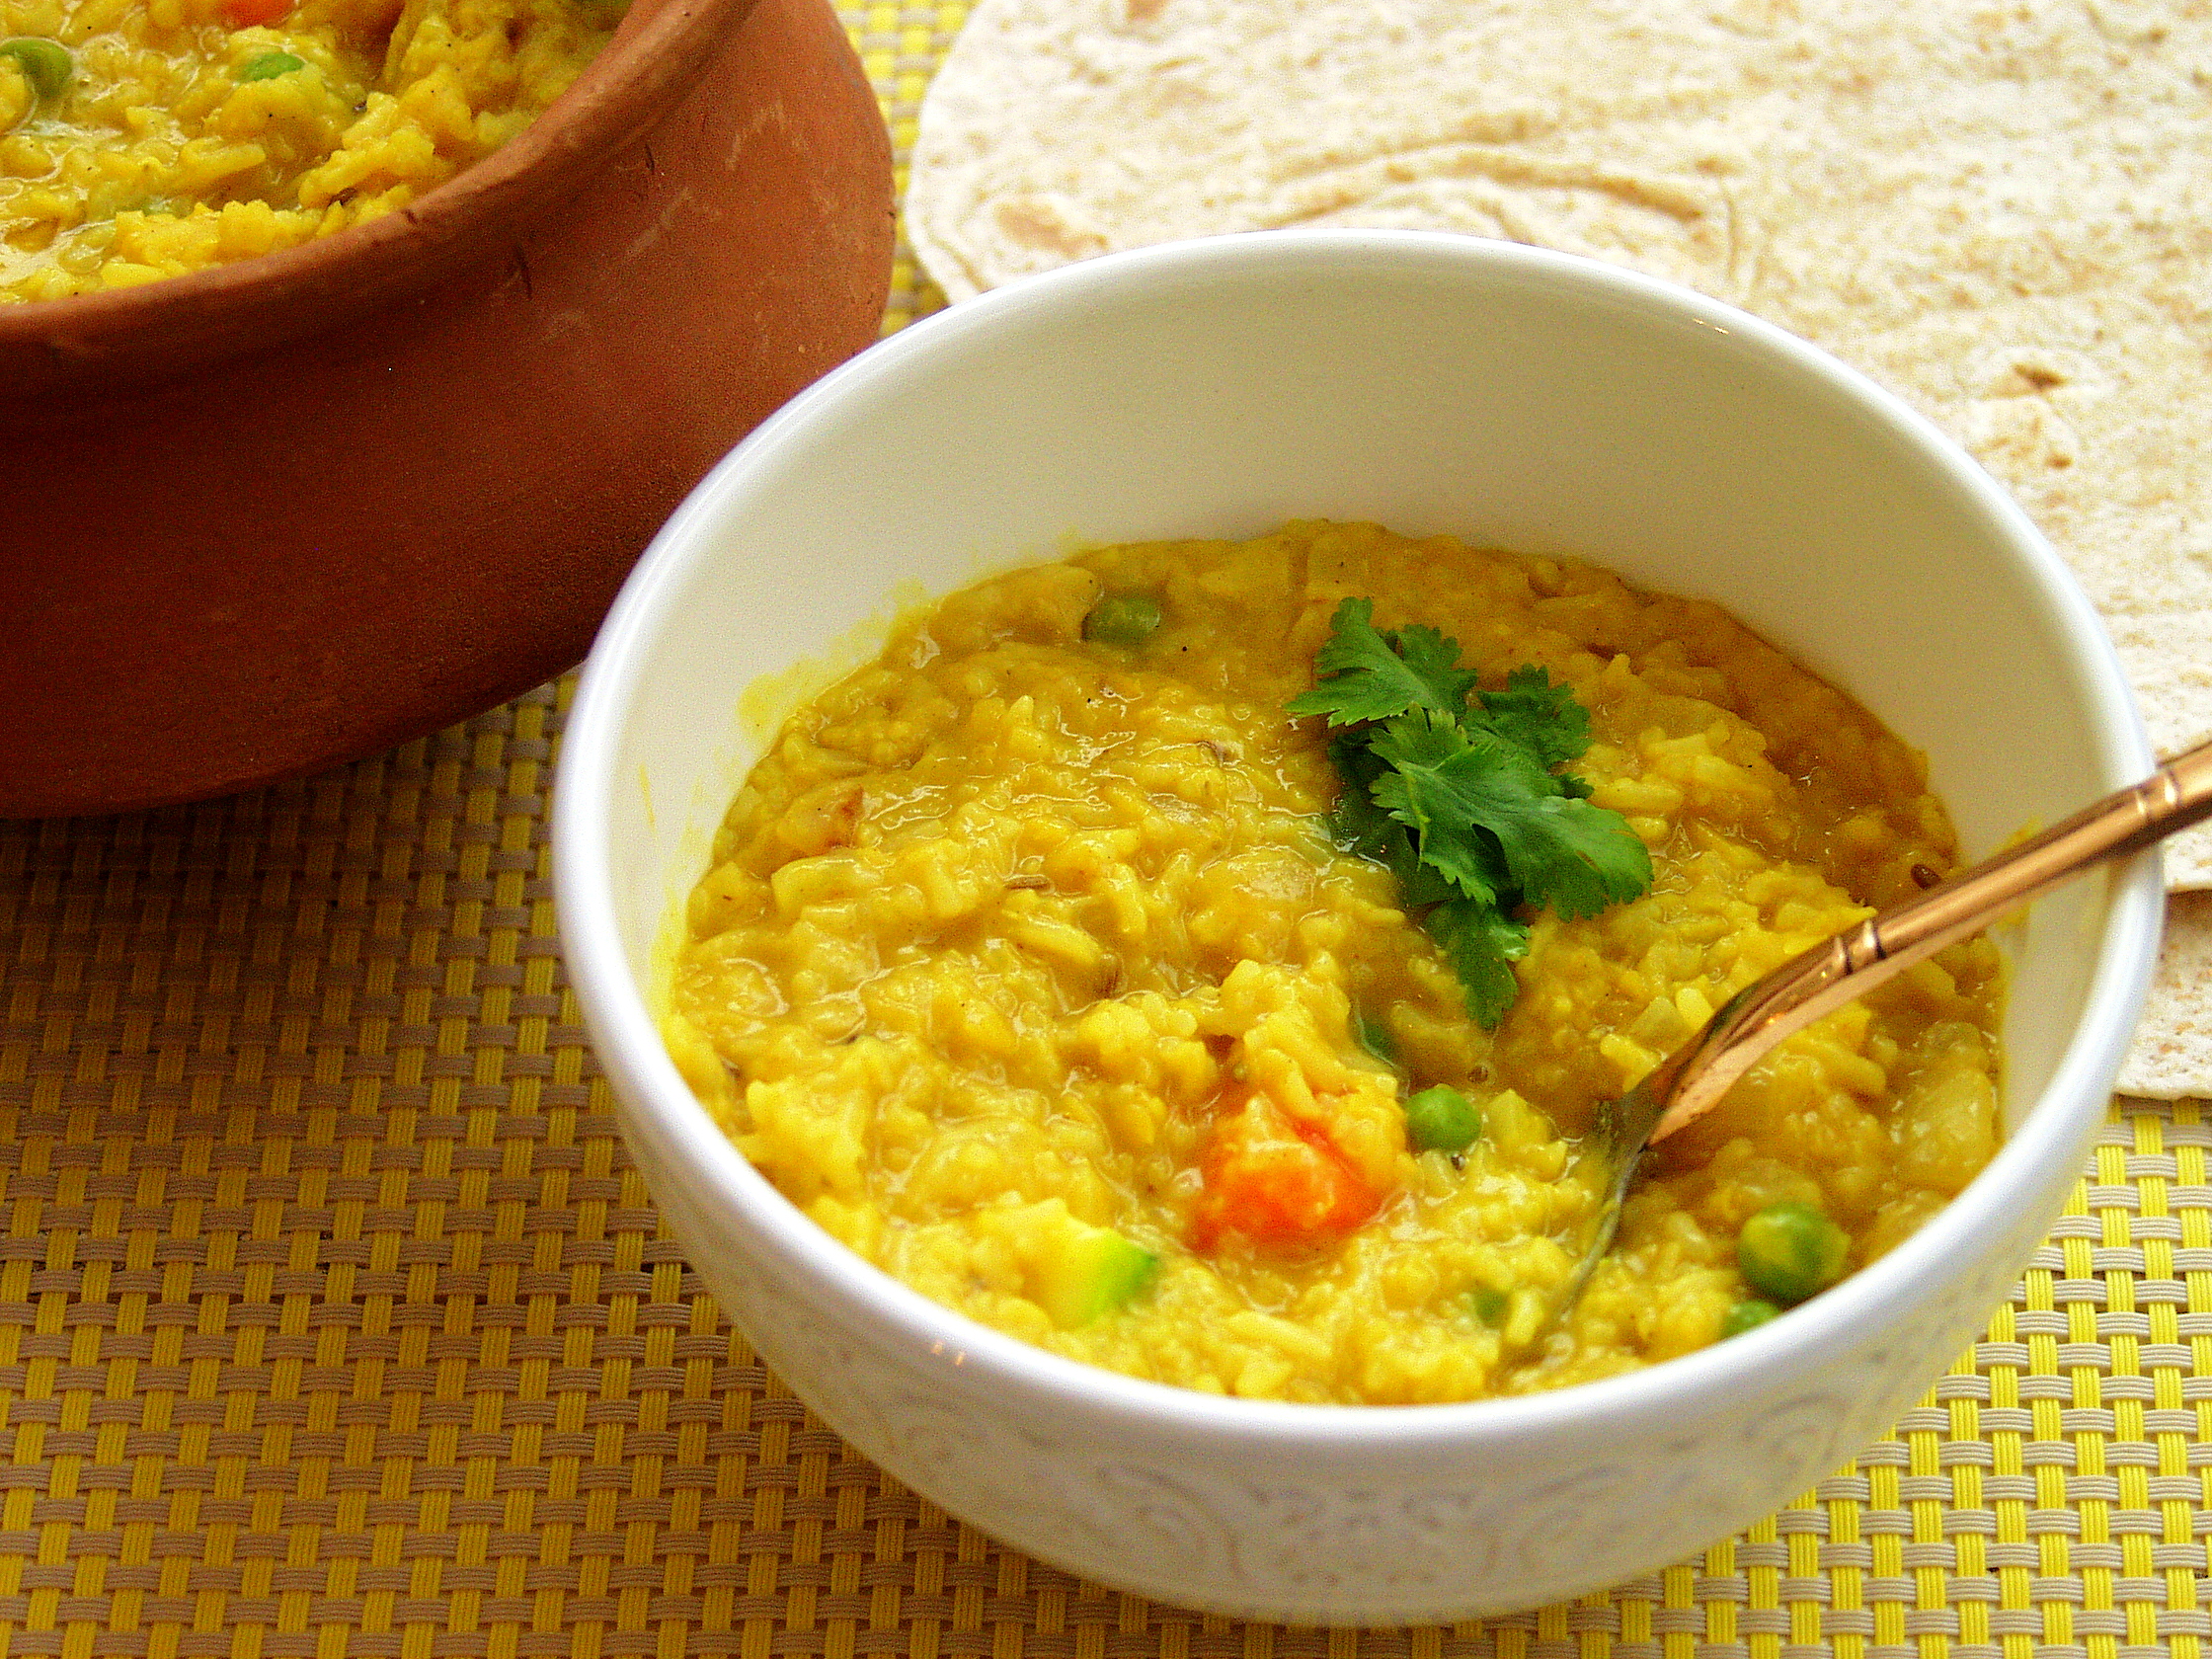
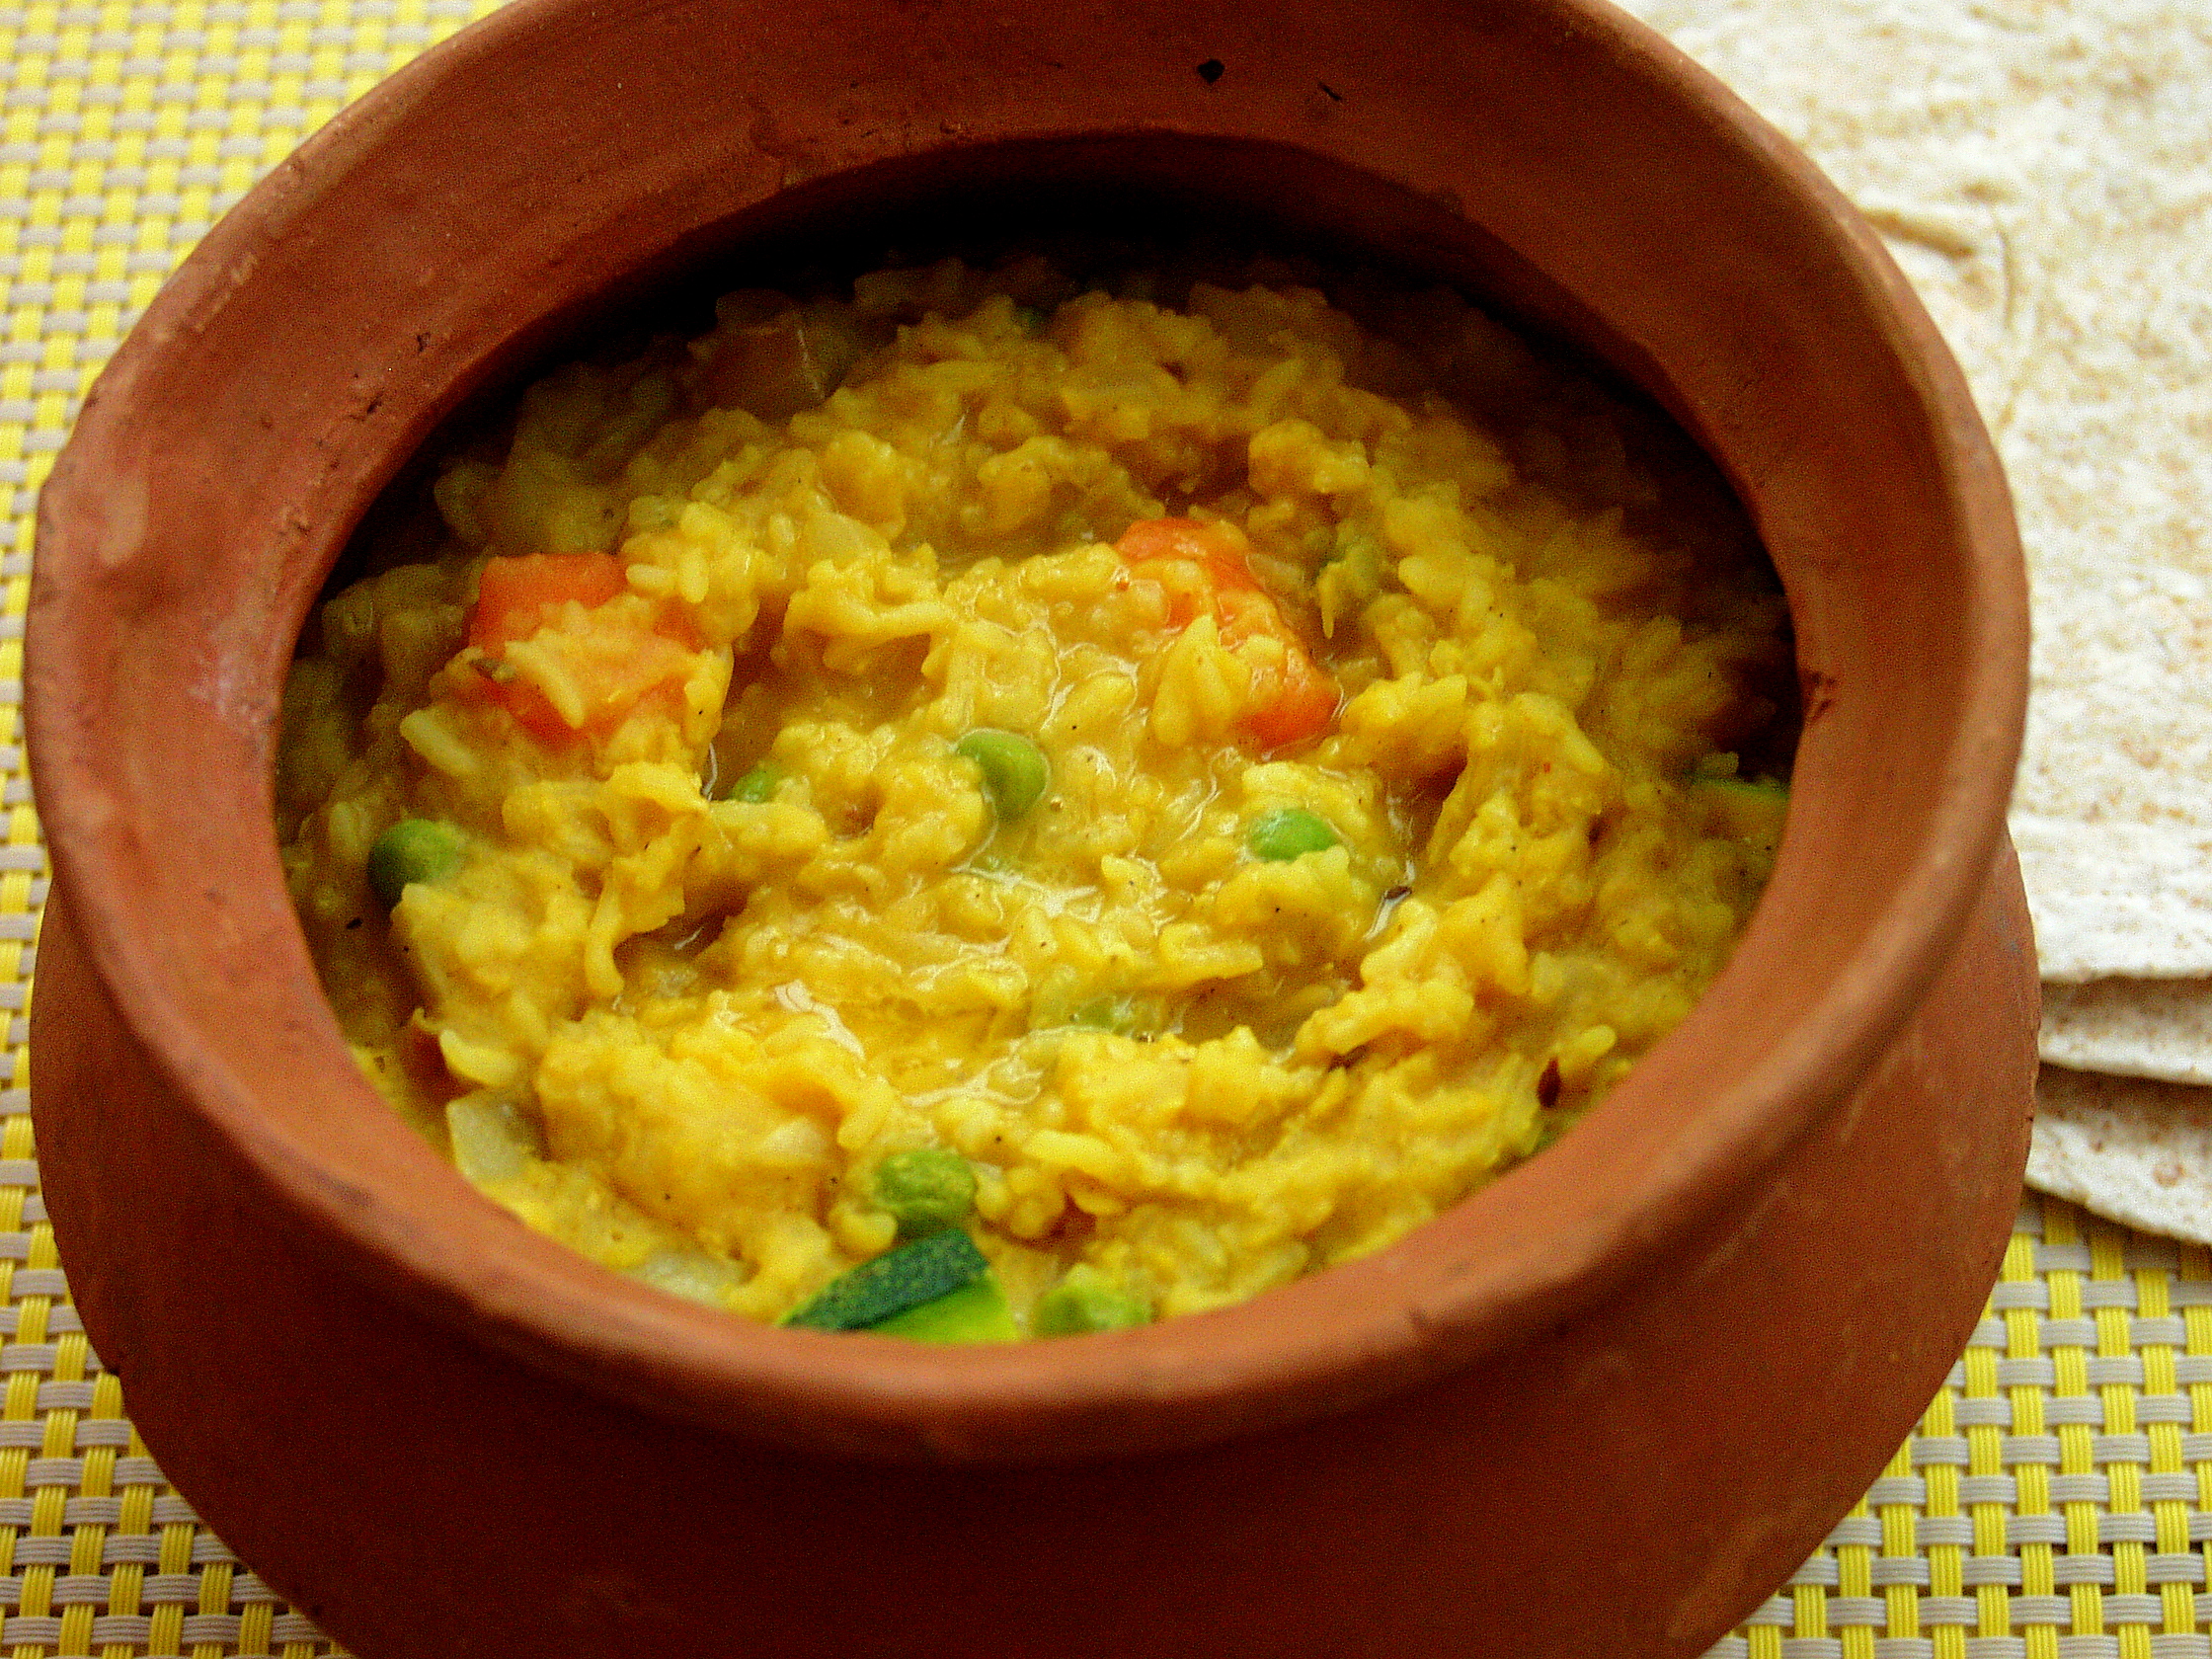
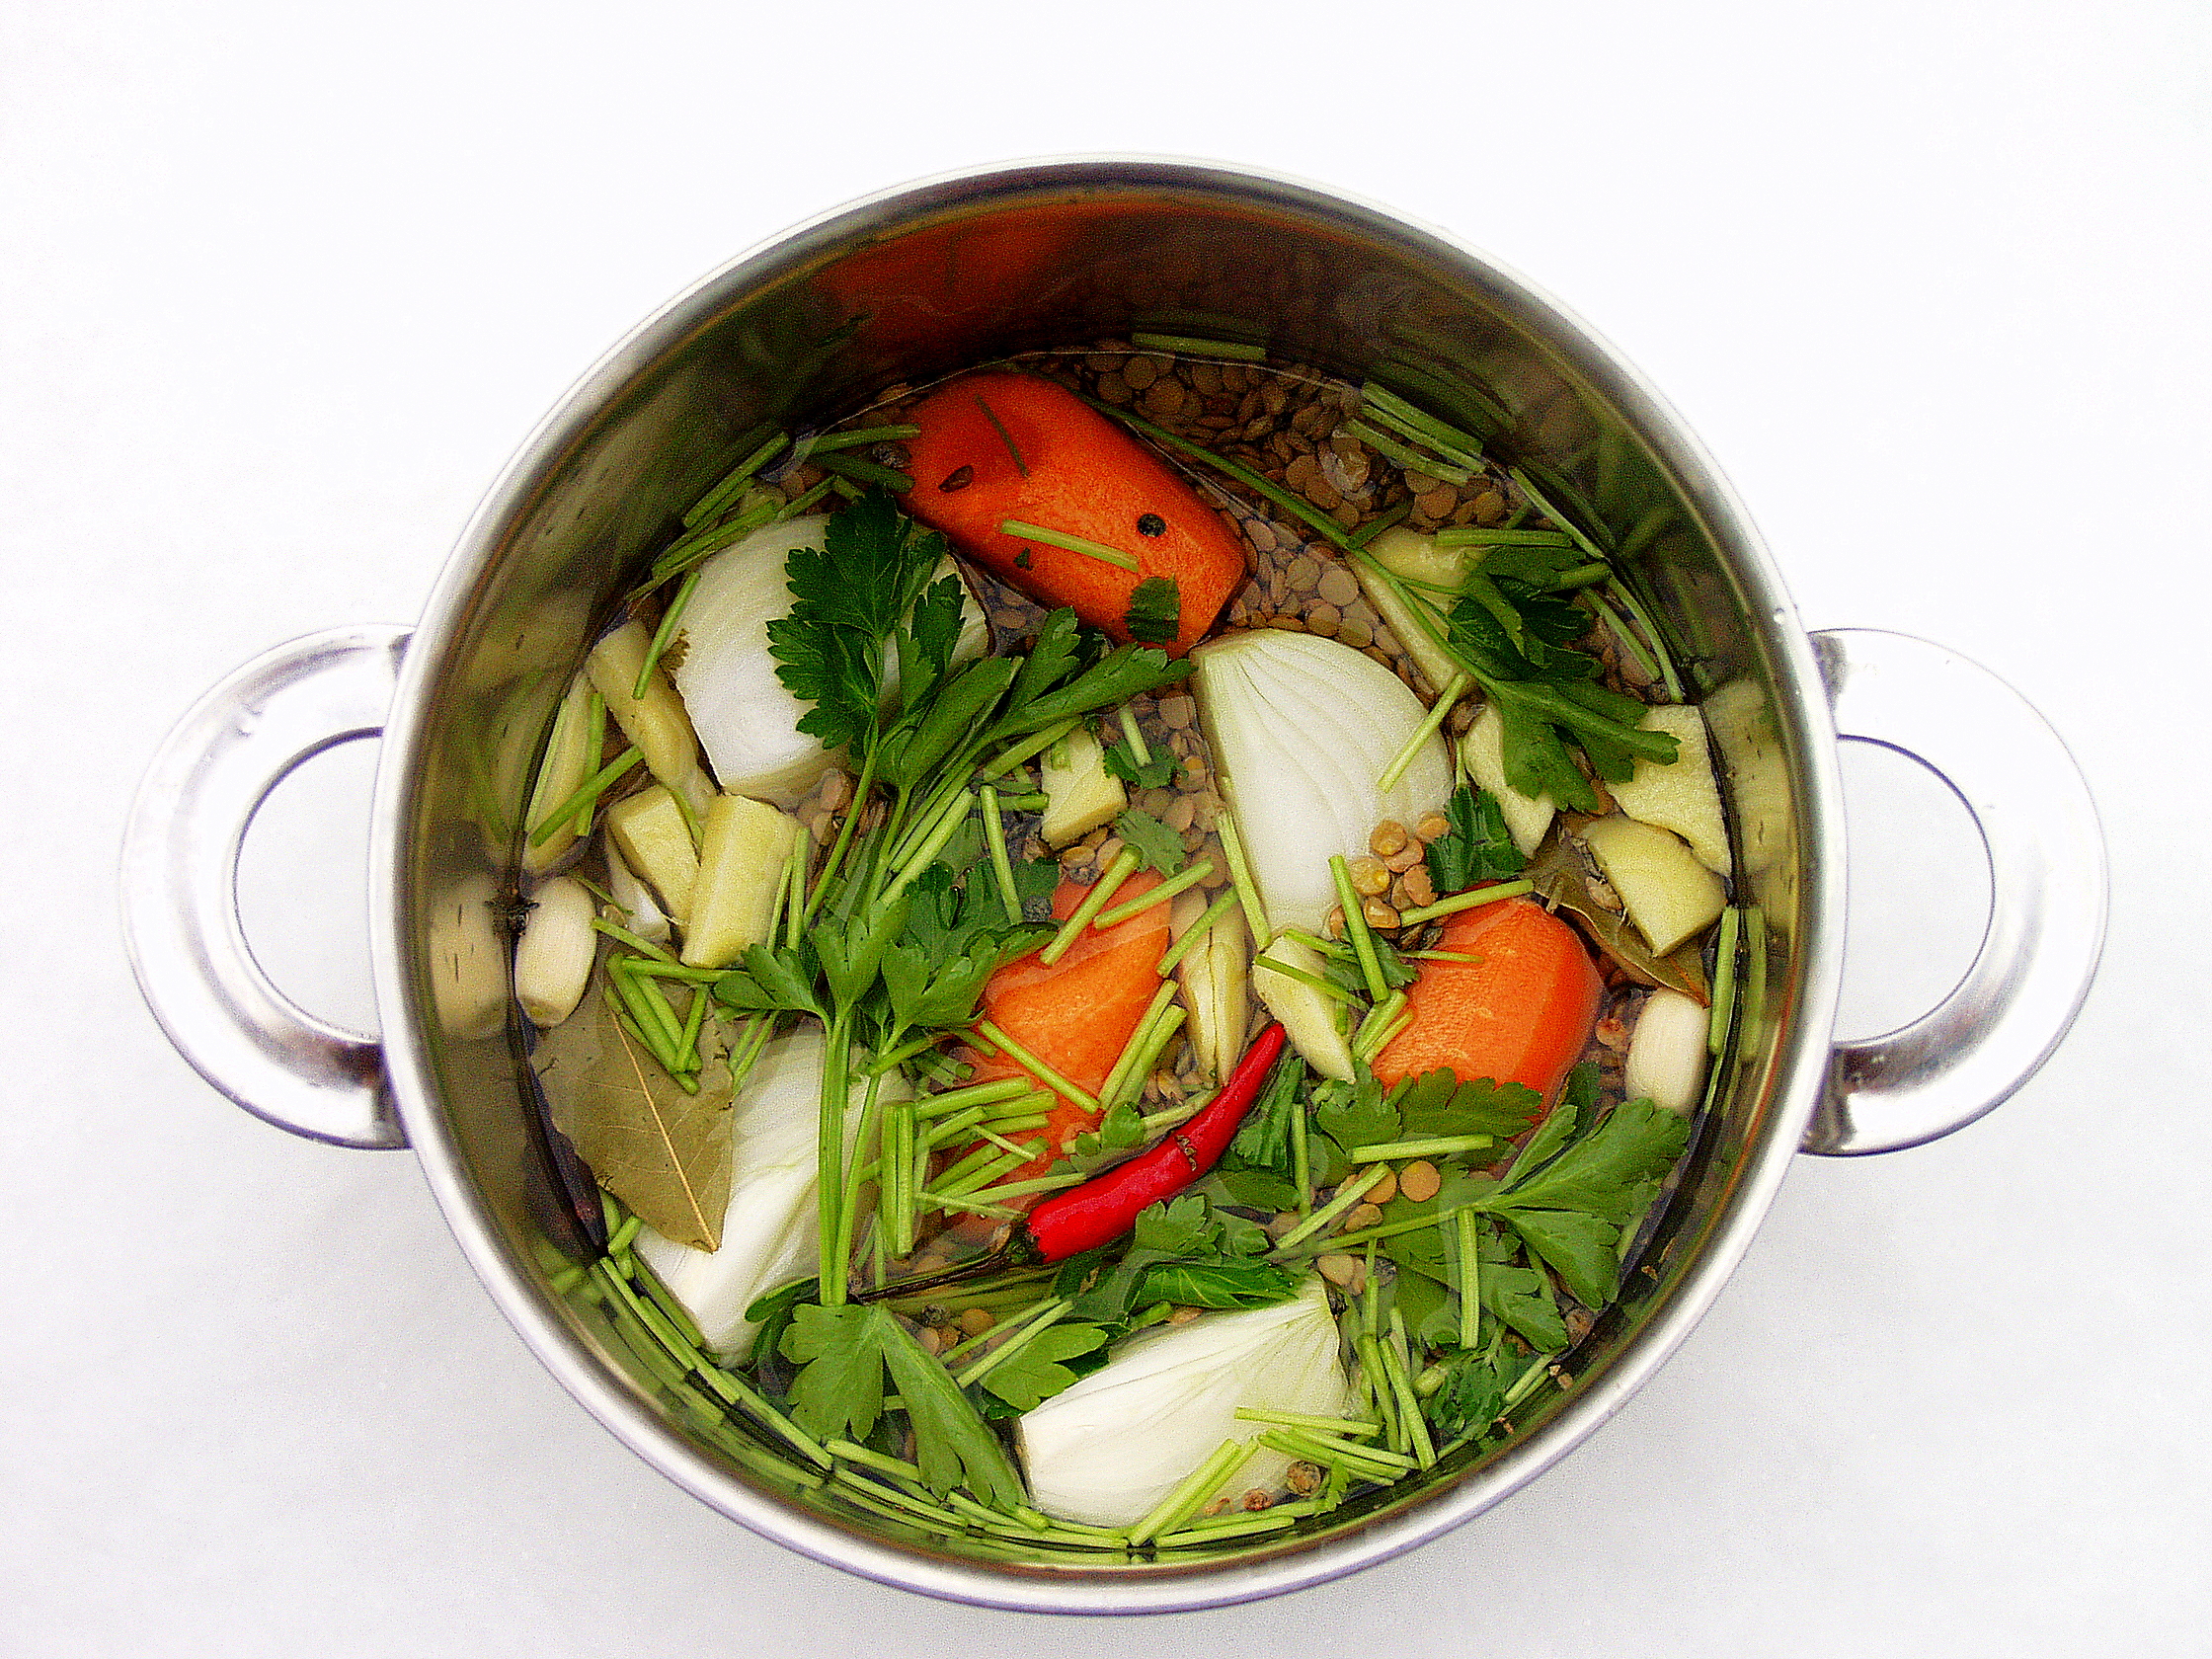
The hot soup that I prepared I completely forgot to take a photo of – so I will do a separate blog post on that another time – but it was a red lentil (I am slightly obsessed by these delicious little beauties), coconut milk and smoked paprika with a chilli oil and fresh coriander sprinkled on top.

Needless to say I cooked far too much of everything so will be eating tasty leftovers for the next few days!

IMG_8386

I’ll leave you with a pretty flower shot. I am so pleased that finally some of the wonderfully colourful and sweet smelling flowers are beginning to grace our florists.

Until next week folks…..

Moroccan Giant Couscous Salad

Serves 4-6

Inspired by a similar recipe from Red Magazine online

300g giant couscous

1 tbsp butter

50g sultanas

1 tsp smoked paprika

1/2 tsp cinnamon powder

1/2 cumin powder

2 shallots, finely chopped

1 garlic, finely grated/chopped

2 tbsp toasted pine nuts

handful of fresh mint, chopped

zest of a lemon

1 red chilli, finely chopped (half if you prefer it less hot)

2 pink lady apples, diced and cored

1. Place the couscous in a pan and completely cover with boiling water. Simmer gently for 6-8 minutes so that the couscous is soft. Strain and run under the cold tap. Shake off the water as much as you can. Place to one side.

2. Using the same pan melt the butter and then add the sultanas so that they are completely coated in the melted butter.  Now add the ground cinnamon, cumin and smoked paprika and simmer for one minute and then place to one side.

3. Dice and core the apple (if serving at a later stage hold off on cutting up the apple until almost ready to serve as it will begin to bronze), deseed the chilli and finely chop. Finely chop the shallots and grate the ginger and garlic cloves.

4. In a mixing bowl add the couscous, the sultanas with all the spices and butter juice and mix together. Now add the shallots, ginger and garlic and continue to fold into the couscous.

5. Scatter the apple on top along with the mint and lemon zest and serve.

Leftovers can easily be stored in the fridge for a couple of days.

*******************

Mung Bean, Carrot and Feta Salad with Cumin, Caraway and Fennel Seeds

Adapted from Yotam Ottolenghi’s recipe in ‘The Guardian’

Serves 4-6

300g dried green mung beans

1 tbsp chilli oil (or olive if you prefer to have less of a kick)

1 tbsp olive oil

1 tsp cumin seeds

1 tsp fennel seeds

1 tsp caraway seeds

2 tbsp white wine vinegar

2 garlic cloves, peeled and finely chopped

1/2 tsp dried chilli flakes

3 good sized carrots cut in to batons

1 tsp salt

1/2 tsp sugar

150g feta, crumbled (not finely)

handful of freshly chopped coriander

1. Soak the dried mung beans overnight in water that completely covers them.

2. The following day, rinse them a couple of times in cold water and then place them in a pan and cover with boiling water. Simmer gently for 25-30 minutes to soften them but so they still retain a bit of a bite.

3. Drain and rinse through cold water and set to one side in a large bowl.

4. In a small pan add the chilli oil (or olive see above) and when hot add the seeds and allow them to start popping, which will take no longer than 30 seconds. Stir a couple of times and then transfer the seeds and oil into the large bowl with the drained mung beans.

5. Add the white wine vinegar, garlic, chilli flakes and stir in together.

6. In a separate large shallow pan lay the carrot batons and almost cover with cold water. Add one further spoonful of olive oil along with the sugar and salt. Simmer on a high heat for 7 minutes by which time the carrots will have soften and the water will have drastically reduced – drain any excess. The sugar will allow the carrots to slightly caramelise.

7. Add the carrots to the mung beans and stir in gently. Add more salt if necessary. Transfer to a serving platter and crumble with feta.

Again this stores well in the fridge for a couple of days.

IMG_8394


Bengali Khichuri – perfect for convalescing and detoxing

OLYMPUS DIGITAL CAMERA

If you are feeling a little under the weather, have the winter blues or just fancy some good old Indian comfort food, then read on, this post is especially for YOU>>>>>>>

Khichuri is a traditional Ayurvedic Indian dish, consisting of rice and lentils, that is given to those who are convalescing, detoxing  or fasting, it’s also really popular during puja time. Whilst it can be eaten in its pure form of rice and lentils (no onions or garlic), most khichuri that I have eaten consists of a vegetable or two thrown in as well. It’s the perfect dish to prepare if you need to use up any vegetables before they go off.  The Anglo-Indian dish of ‘kedgeree’ was inspired from khichuri and although it tastes very different the consistency is similar.

My eldest daughter (Big A) has been poorly recently and this is what I prepared for her as it is both nourishing and easy to digest.

There is no set rule on which lentil you need to use or vegetable for that matter. I tend to opt for red split lentils as they are the quickest to cook and need no soaking, although mung beans are also good to use (they do need soaking) as they are known for their ability to remove toxins from the body. My version includes carrot, courgette and and peas. Other vegetables would work equally well so if you have squash, marrow, cauliflower, pumpkin, green beans in the fridge (garden) pop one or two of them in and it will taste divine.

I have not included chilli in this dish as I was feeding it to my daughter, however, if you need a chilli buzz yourself just pop it in (whole or chopped) during  number 2 on the steps below.

OLYMPUS DIGITAL CAMERA

Bengali Khichuri

Serves 2-4

100g red split lentils

100g white rice (if using brown it will take twice as long!)

900ml boiling water

1 carrot, peeled and diced

1 large handful of fresh/frozen peas

1/2 courgette, partly peeled and diced

1 tsp of fresh ginger, finely grated

1 tsp garlic paste

4 green cardamom pods

1 tsp cumin seeds

1/2 white onion, finely chopped

1/4 tsp of garam masala powder

1/2 tsp turmeric

pinch of asafoetida/hing

1 tsp salt

freshly ground pepper

1 tbsp ghee/butter/or a splash of oil

fresh coriander to garnish

1. Rinse the rice and red spilt lentils a couple of times in cold water so as to get rid of any impurities and than place in a large saucepan with 900ml of boiling water and the chopped carrots and simmer gently for 15 minutes.

2. Meanwhile place the ghee/butter/oil in a saucepan and gently fry the onion. After 5-7 minutes add the cumin seeds, ginger and garlic and mix into the onions. Following this add the turmeric, garam masala, asafoetida and stir once again. Take a spoonful of the boiled rice and lentils and mix into the saucepan ingredients and then return it back into the main rice and lentil saucepan.

3. Stir all the ingredients together and add the courgettes and peas (or any other greens you need to finish up). Simmer for a further 5-7 minutes and add salt and freshly ground pepper to taste. You may find you need to add a little more water, but just enough to make sure that the rice and lentils do not stick to the bottom of the pan. It is not meant to be the same consistency as a soupy dal.

4. Serve into bowls with a sprinkling of fresh coriander.

OLYMPUS DIGITAL CAMERA


Wintery Warm Lentil and Goats Cheese Salad with a Fresh Basil dressing

OLYMPUS DIGITAL CAMERA

We’ve been having some glorious flurries of snow here in the UK, which has been rather exciting for us all. A blanket of snow makes London look magical and the silent, crisp air entices you outside to enjoy what nature has to offer. Whilst it is bitterly cold, returning to the warmth after some jollities in the fresh air is a welcome respite and I for one like nothing more than getting stuck into some cooking and baking. Big A and Little Z set about baking some biscuits, in fact lots of biscuits – I’ll blog this recipe once I have completely perfected it for you. Eating some warming, comforting food is totally necessary in this weather and lentils are the perfect food to tuck into.

The recipe today is great for the winter months, but can also be a fantastic dish in the spring and summer months eaten at room temperature and simply crumble the goats cheese instead of warming it. So if you are reading this in a hotter climate, fear not, you too can also cook the dish and be equally satisfied.

The trick though with this ‘salad’ is in the timing.  So if you are going to eat it warm please read the following.

1) A few hours before you intend to eat the salad place the tomatoes sliced in the oven and cover with caster sugar, salt and freshly ground black pepper. Put them on a low heat (100 degrees centigrade or less even) to gently slow roast away. You want the tomatoes to shrivel up at the sides and the slow roasting will give them an incredible depth of flavour. Seriously off the charts kind of taste. 

2) Place the sliced red onion rings on a baking tray covered in balsamic vinegar, caster sugar, olive oil, fresh thyme, salt and pepper and roast in the oven (180 degrees centigrade) for 25 minutes. If you do not have a separate oven to do this – as the tomatoes will need a lower heat – cook the onions first and then just heat them up in the low heat oven when the tomatoes are cooking to re-warm them.

3) Wash the lentils thoroughly then add cold water to cover them along with all the ingredients (listed below) and gently let them boil away for around 20 minutes. It is really important not to over cook them as they will become soft and soggy. You want to have them so that they still keep their shape.

4) Blend up the basil oil while the above is cooking away.

5) Plate up and whilst you are doing this place the goats cheese in a warm oven for a minute or two to warm it up then place on top of the lentils and drizzle with basil oil.

Whilst the ingredients length looks rather long…..please do not be put off as it really takes no time at all – bar the slow roasting of the tomatoes, which need to be cooked slowly over time. Everything, except warming the goats cheese in the oven, can be done ahead of time and then simply warmed up for a few minutes in the oven prior to serving.

Wintery Warm Lentil and Goats Cheese Salad with a Fresh Basil Dressing

adapted from Skye Gyngell’s recipe in her book ‘A Year in My Kitchen’

Serves 4-6

roasted tomatoes

6 plum tomatoes, halved

1 tbsp caster sugar

1 tbsp rock salt

liberally ground black pepper

———————————-

roasted red onions

5 red onions, sliced into circles

75g caster sugar

3 tbsp olive oil

3 tbsp balsamic vinegar

handful of fresh thyme

salt and pepper

————————————-

flavoursome lentils

400g lentils (I used a combination of green and small darkish green lentils but puy is also good!)

1 white onion, peeled and quartered

handful of fresh flat leaf parsley

2 garlic cloves, peeled

1 carrot, peeled and cut into three parts

2 inch piece of fresh ginger, peeled and cut into a few pieces

1 red chilli, kept whole

2 bay leaves

1 tbsp of fresh coriander stalks

———–

2 tbsp tamari (or soy sauce)

2 tbsp sherry vinegar

1 tbsp sesame oil

—————————————

basil oil

2 bunches of fresh basil

150ml extra virgin olive oil

1 garlic clove, peeled

salt and pepper

————————————

fresh goats cheese

6 slices of fresh goats cheese

—————

1) In the order of the above. Place the halved tomatoes into an oven proof dish and scatter with caster sugar, salt and pepper and place in the oven at a low temperature – 100 degrees centigrade works well – for up to 2 hours.

before slow roasting

OLYMPUS DIGITAL CAMERA

slow roasted to perfection!

OLYMPUS DIGITAL CAMERA

2) Slice the onions into circles and scatter in a roasting tin along with the balsamic vinegar, caster sugar,olive oil, salt, pepper and thyme and mix together well with your hands. Place in an oven at 180 degrees centigrade for 25 minutes.

before roasting

OLYMPUS DIGITAL CAMERA

3) Wash the lentils and then cover with cold water. Add the carrot, red chilli, onion, garlic, ginger, fresh parsley, bay leaves, coriander stalks and bring to the boil and then gently simmer for 20 minutes (or what is advised on the packet). Be careful not to over cook the lentils. 

lentils ready for the boil

OLYMPUS DIGITAL CAMERA

4) Place the fresh basil in a food mixer and blend. Slowly add the olive oil to the chopped basil and add salt and pepper to taste. If you prefer to have more of an oily basil then just add a little more olive oil. I rather like to have it so that you can add little dollops to the plate. (see below)

OLYMPUS DIGITAL CAMERA

5) Drain the lentils and remove the added ingredients as their job to flavour the lentils is now complete. When the lentils are still hot add the tamari, sherry vinegar and sesame oil and mix together.

6) Slice the goats cheese and place on an oven proof dish and place in the oven for a minute or two.

7) Plate up the lentils and add a generous helping of roasted onions, tomatoes and the goats cheese in the middle on the top with some dollops or drizzle of fresh basil oil and leave the rest in a separate bowl for guests to help themselves to more as they see fit.

8) Tuck in and enjoy along with some fresh bread on the side. It is absolutely heavenly. I know I often say that but seriously all the above effort is SO worth it.

Aside from the roasting of the tomatoes, this dish took me 30 mins to cook and plate up.


Garlic Roasted Butternut Squash, Lentil and Feta Salad

Butternut squash are one of those wonderful fresh ingredients that you can buy and store for a reasonable amount of time. I haven’t tested their longevity as such, but I know that they are fine for at least a month. (Any other educated guesses then let me know?)

If you can get past the fact that peeling them can be a bit labourous at times, you are treated to a sweet tasting, vibrant and versatile vegetable that generally passes muster with most people. It’s generally not one of those vegetables that people are known to turn their noses up at, unlike perhaps this, so it’s a great vegetable to feed the whole family. It’s bright, vivid colour is clealy a mood enhancer and with all this terrible weather we have been having lately, I welcolme it wholeheartedly into my cooking.  

I love all manner of lentils and pulses and cook with them most days in some capacity. This dish I cook in bulk and then eat over a few days. It stores well in the fridge, although I tend to keep the feta seperate until ready to serve, as I find it tends to crumble if I mix it in too early with the other ingredients. As with all my recipes if you are feeding it to your young children I omit the chilli.

The dish has some wonderful flavours going on, that combined together works really well. I sometimes add pomegranate seeds and had planned to put them in, but somehow managed to forget this time around. So if you fancy throwing in another bright colour to make the dish even more cheery and summery then add some pomegranate seeds.


 Garlic Roasted Butternut Squash, Lentil and Feta Salad

Serves 6

250g lentils

8 garlic cloves, chopped

1 butternut squash, peeled and cubed

3 tbsp olive oil

1 red chilli, finely chopped and deseeded

200g feta

1 small red onion, finely sliced

handful of fresh parsley

2 tbsp pomegranate seeds (optional)

2 tbsp red wine vinegar

2 tbsp sherry vinegar

1 tsp sugar

1. Preheat an oven to 180 degrees.

2. Peel a small/medium sized butternut squash and cut into bite sized cubes. Place on a baking/roasting tray along with the chopped garlic cloves. Using your hands cover the cubes and garlic with olive oil.

3. Place in the oven and leave to cook for 40 minutes.

4. Rinse the lentils in cold water to give them a good clean and then place them in a pan with cold water so that they are well covered and leave on a medium heat for 20-25 minutes (see packet for details). They should be nicely softened by this stage. Drain and leave to cool.

5. Finely slice a small red onion and red chilli (de-seeded if you prefer it less hot) and cut the feta cheese into small cubes.

6. In a small bowl mix the red wine vinegar, sherry vinegar and sugar and season to taste.

7. Gently mix all the ingredients, aside from the feta, together in a bowl first. Serve sprinked with feta cubes and a generous portion of chopped flat leaf parsley.

Serve at room temperature.

As the feta is so naturally salty you will probably find that you do not need to season with extra salt.