How have you all been? I’ve been rather busy in the lockdown whirl and my blog has been taken a bit of a backseat recently. I wanted to rectify that with my fabulous speedy white beans recipe that is jammed packed full of flavour, takes about 15 minutes to whip together, is nutritious and super reasonable. Whilst everything is pretty readily available, there is one little caveat and that is Mexican arbol chillies. I often have a ready supply of Mexican chillies as they are great in so many dishes, adding a deep smokey and piquant edge to a dish. I often put an order into Mextrade who have a great selection of Mexican goods. Do go check them out.

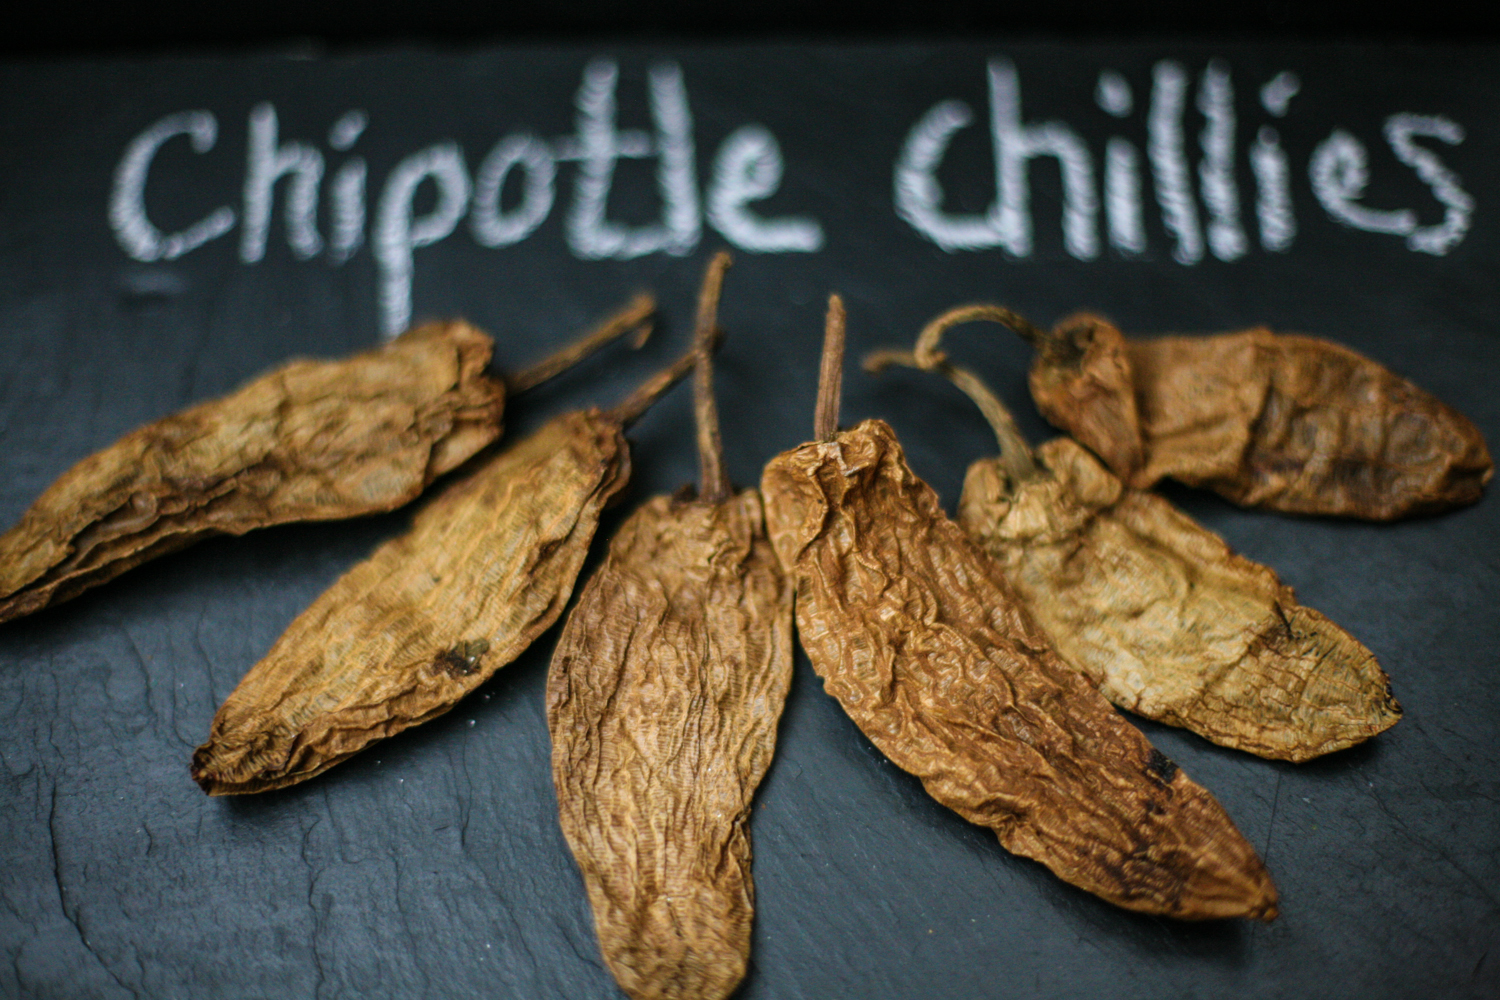
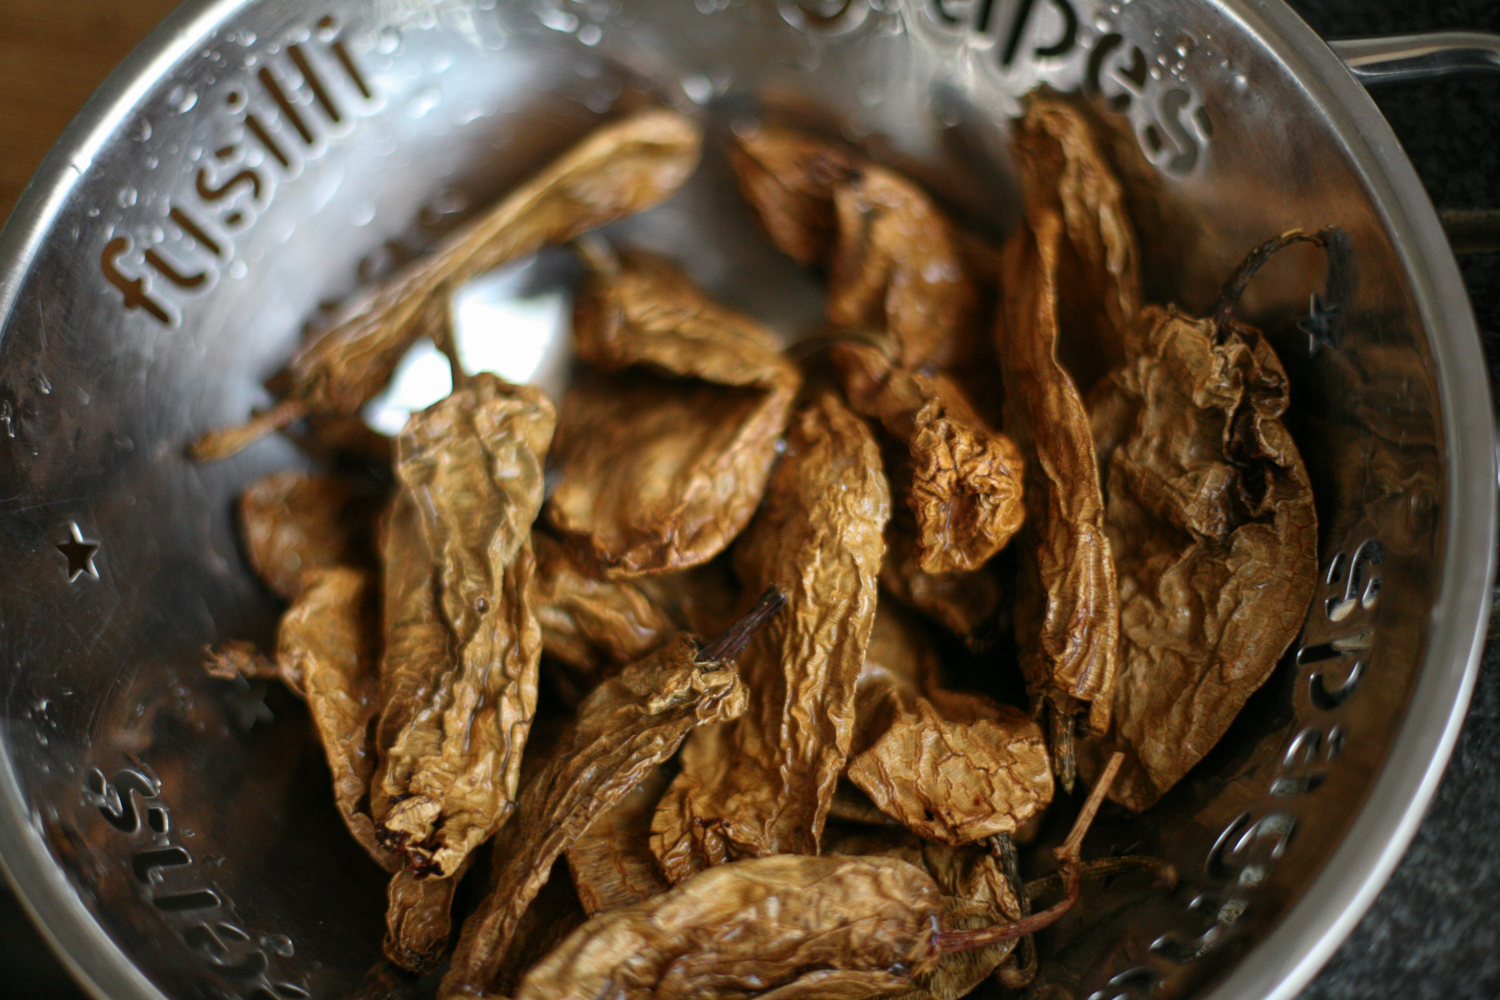
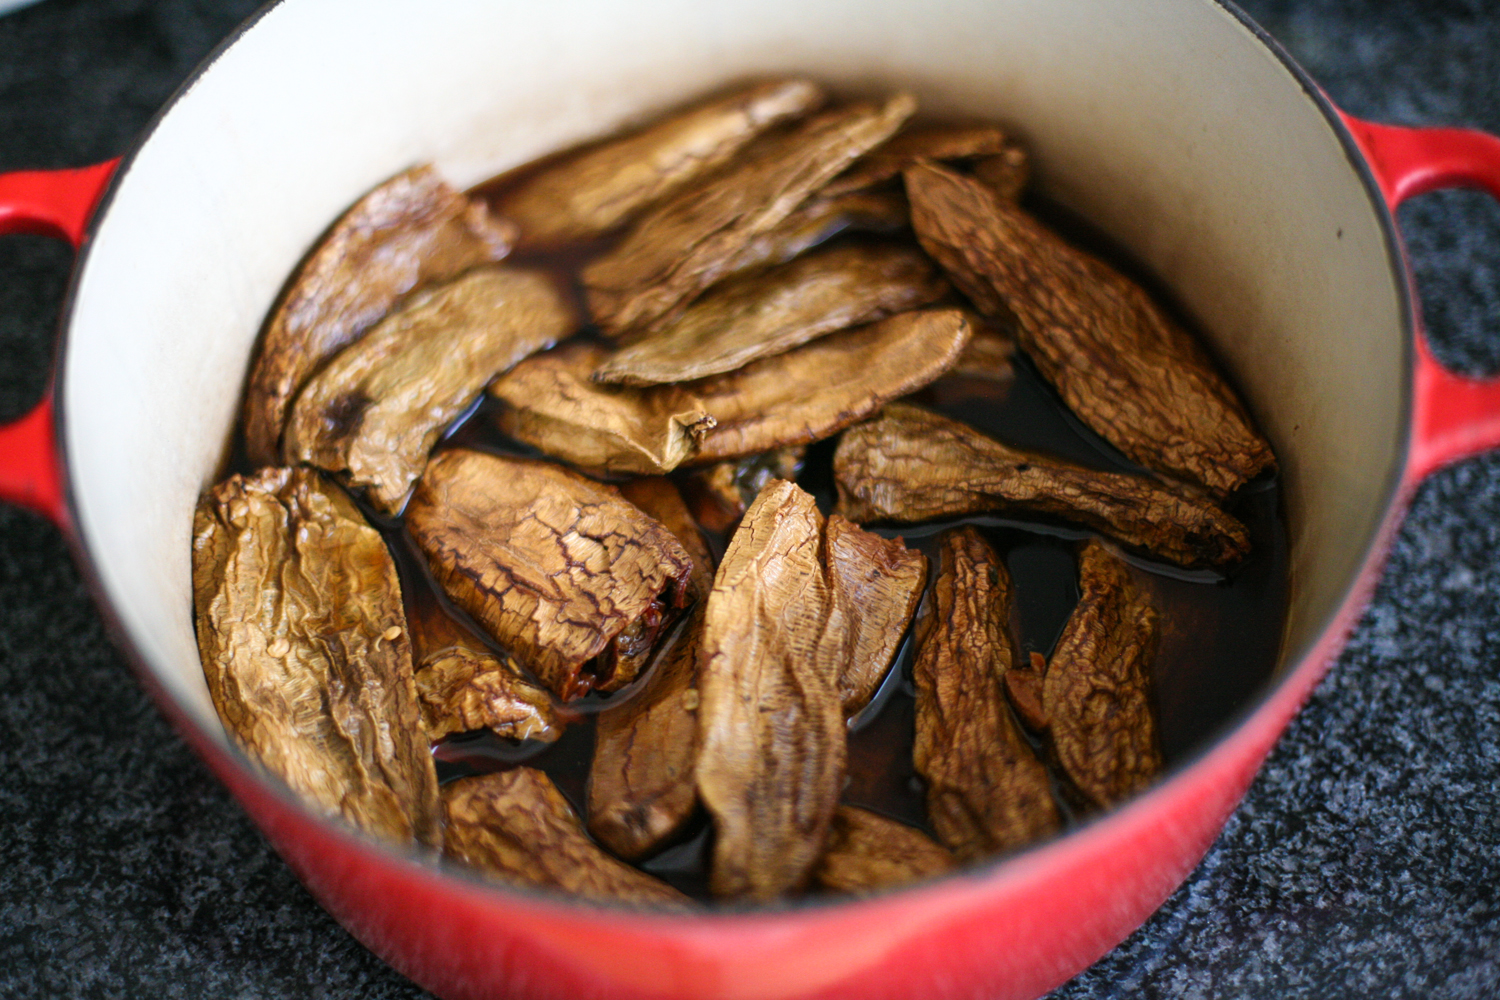
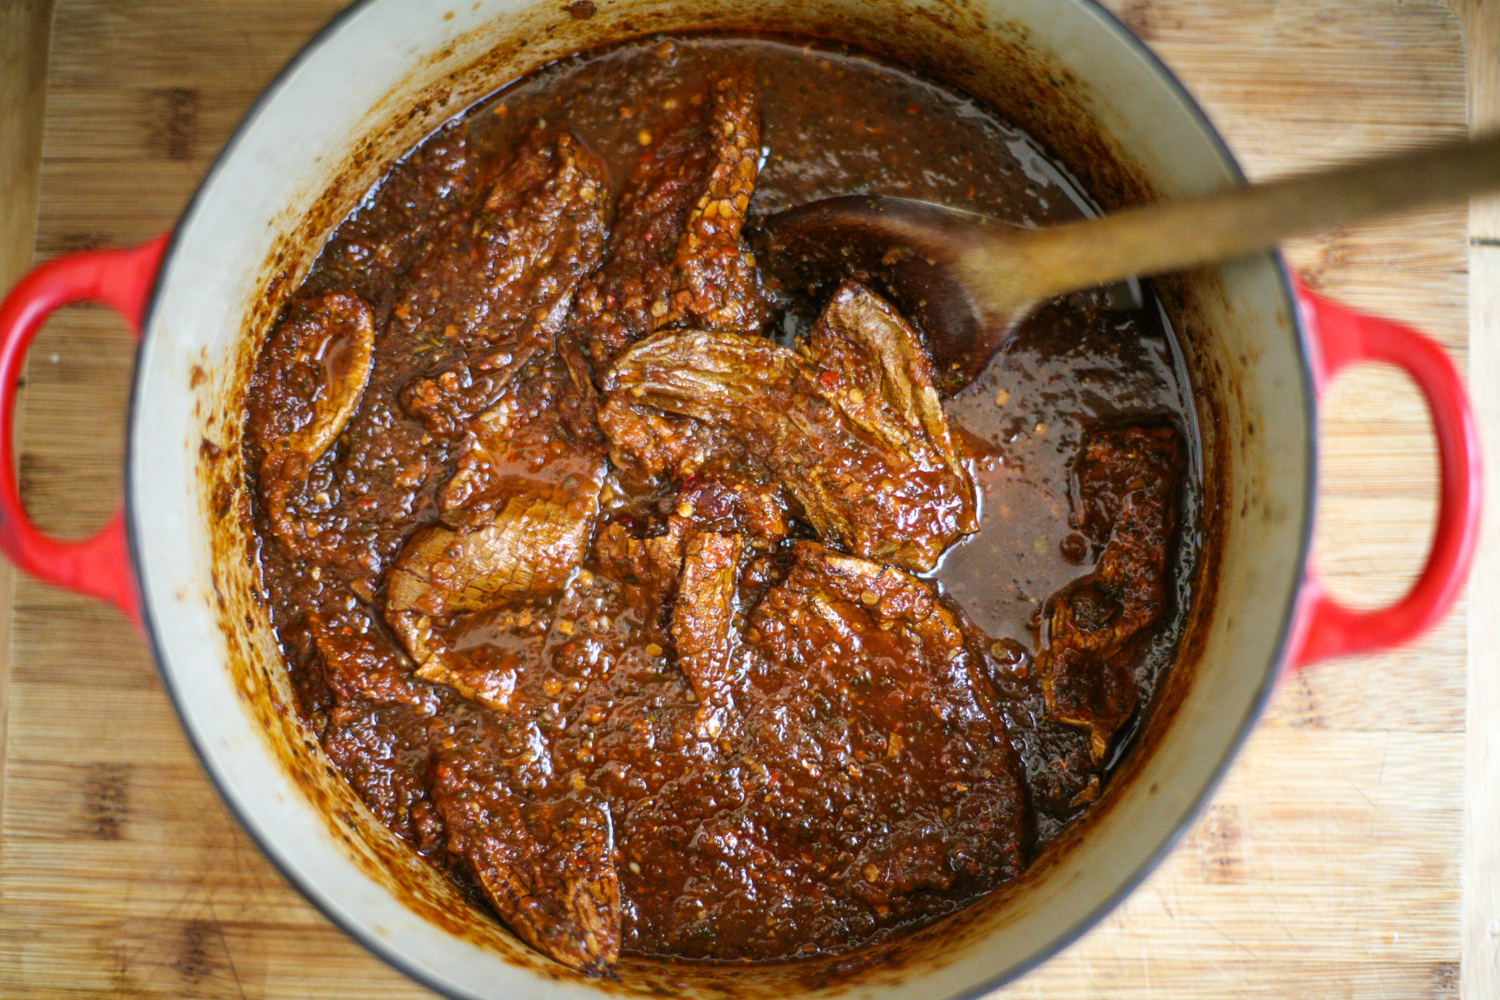
The chilli arbol are often referred to a ‘birds beak chilli’ or a ‘rat’s tail chilli’ and look similar to a slightly larger dried Thai red chilli. They are fiery and hot so you only need a couple in this dish. I soak them first in a bowl of boiling water for 10 minutes before finely chopping them for this recipe. You can decide whether you want to keep the seeds in or not. Of course use any chilli you have to hand, but I like the smokiness that this Mexican chilli brings to the dish. One of my other favourite Mexican chillies is a chipotle, and they are perhaps easy to come by in supermarkets, so opt for that if you can’t find the arbol, although I would only add a couple as they are a lot larger to the arbol, although less fiery hot.

The other key ingredient here is the white beans. I am a huge believer that the white beans in the jars taste so much better than the tinned. The beans themselves are haricot beans and I always pick up jars of them when I see them. You can find them all over the place from Spanish and Italian delis to Turkish and Asian grocers so do look out for them.
This recipes is a great, speedy lunch or filling supper option and tone down or up the Mexican chillies depending on your audience. To serve I added a few Gosh Falefel on the side, which I am a huge fan of, although it is more than filling without them.
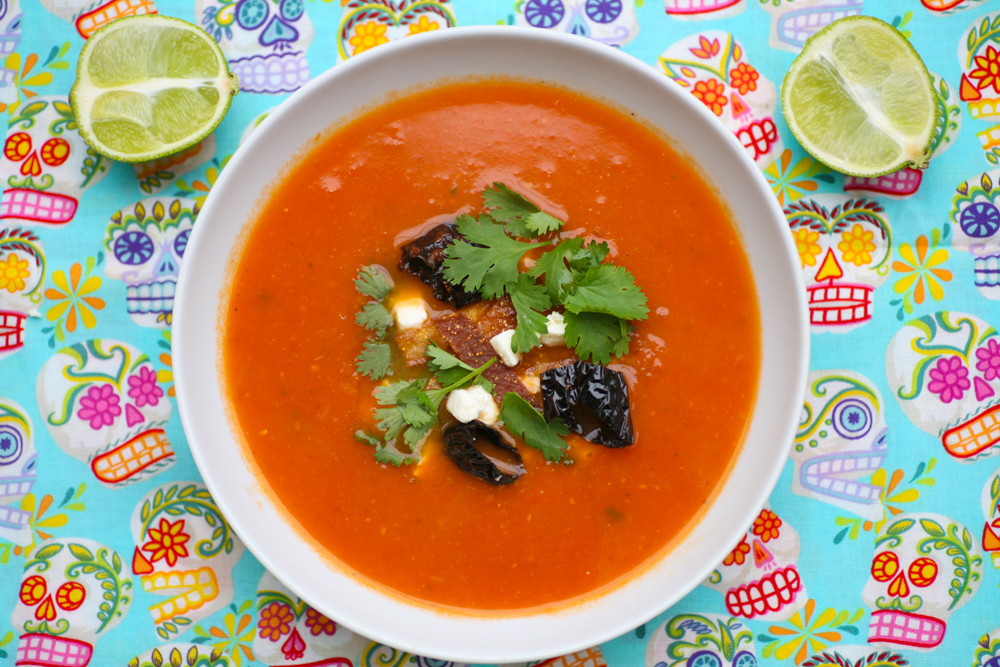
Mexican White Beans with Courgette and Tomato
serves 4
3 Mexican chilli arbol, soaked for 10 mins in boiling water and then finely chopped
2 tbsp olive oil
1 red onion, finely diced or sliced
1/2 tsp salt
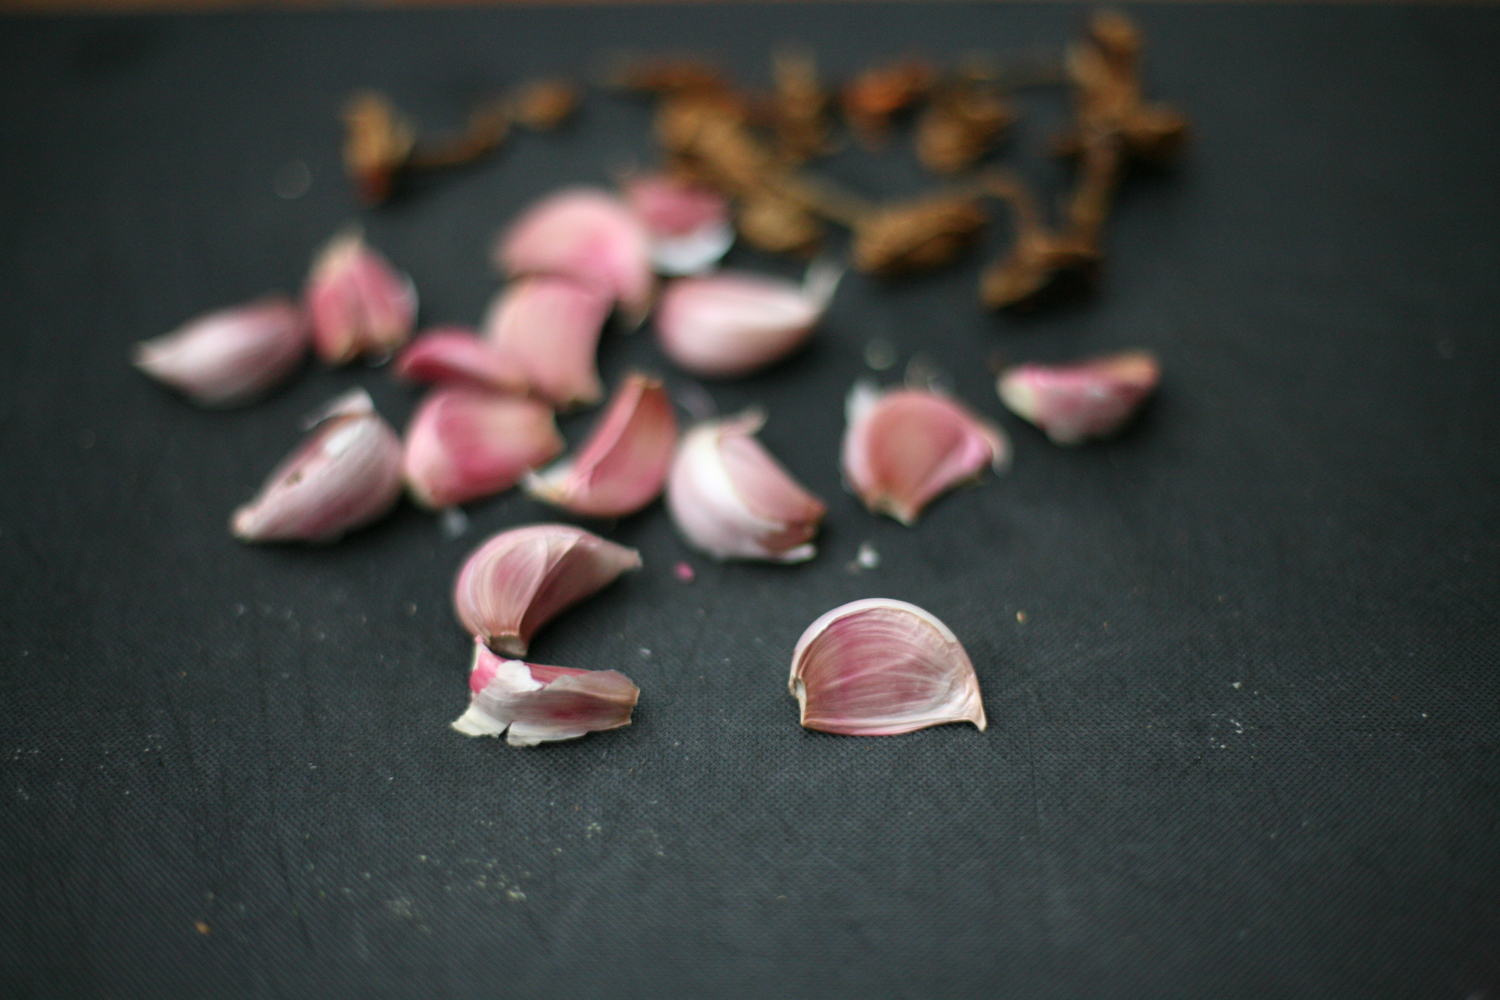
2 large cloves of garlic, roughly chopped
2 bay leaves
1 courgettes, peeled and diced
pinch of freshly ground black pepper
5 medium tomatoes, finely chopped
1x vegetable stock cube + 100ml boiling water
1x 570g jar of white haricot beans, drained
1 tsp Worcestershire sauce
200ml boiling water
- First cover the chilli arbol in boiling water and leave to soak for 10 minutes.
- Next heat the oil in a large, wide pan and then add the onions and salt. Allow to soften for 5 minutes before adding the garlic and bay leaves.
- Remove the chillies from the water and remove the stalks and finely chop. Remove the seeds if you like it less hot.
- Add them to the pan and then add the courgettes, black pepper. Allow the courgette to begin to bronze before adding the freshly chopped tomatoes. Allow to simmer gently.
- Now add the vegetable stock and boiling water and place a lid on the pan and increase the heat for a couple of minutes.
- Now add the white beans and Worcestershire sauce. Simmer for a further few minutes and add more water to loosen if required. If you require the sauce to thicken then place a lid on the pan and increase the heat for a couple of minutes.
- Check the seasoning and add a little more salt if required.
- Ladle into bowls and serve.