As those who have been following my blog for some time will know, I ADORE Vietnamese food. It is fragrant, spiced but not hot spicy like Thai food. It is also very versatile and is equally loved by young and old alike. As such, my Bo Kho – Vietnamese Beef Stew – is a great meal to serve the whole family.

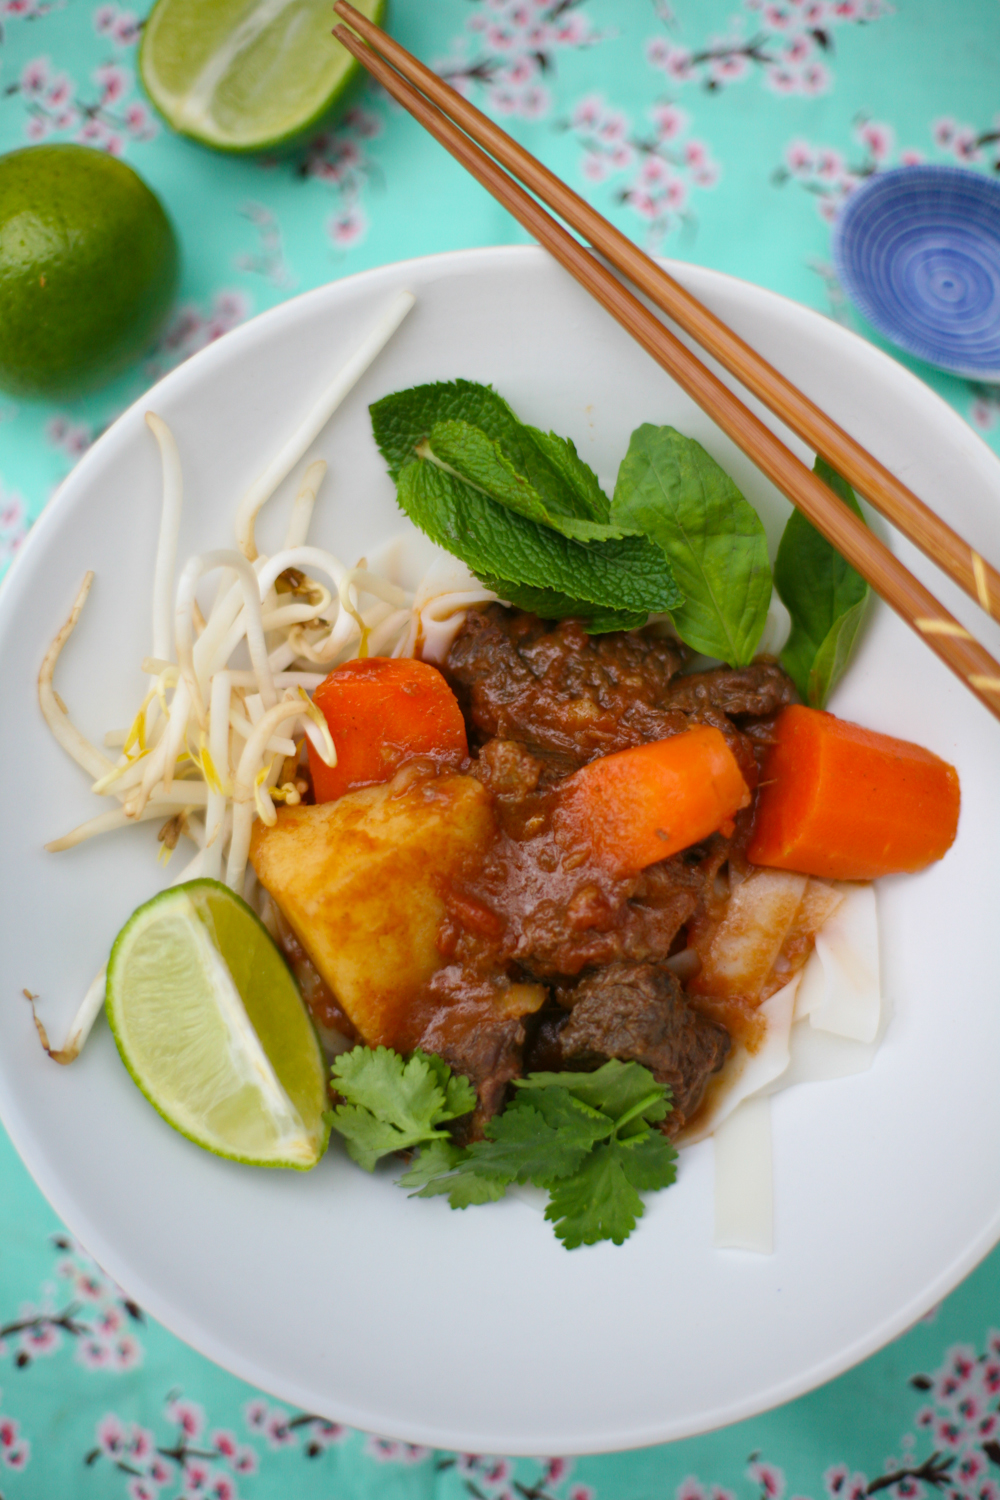
It reminds me of the stew my grandmother made the whole time when I was a child, albeit without the spices and fresh herbs, although she may have added fresh thyme. The potatoes and carrots in the stew make it satisfyingly filling and I love the taste of the fresh herbs and crunchy beansprouts. Texture, taste and zing.

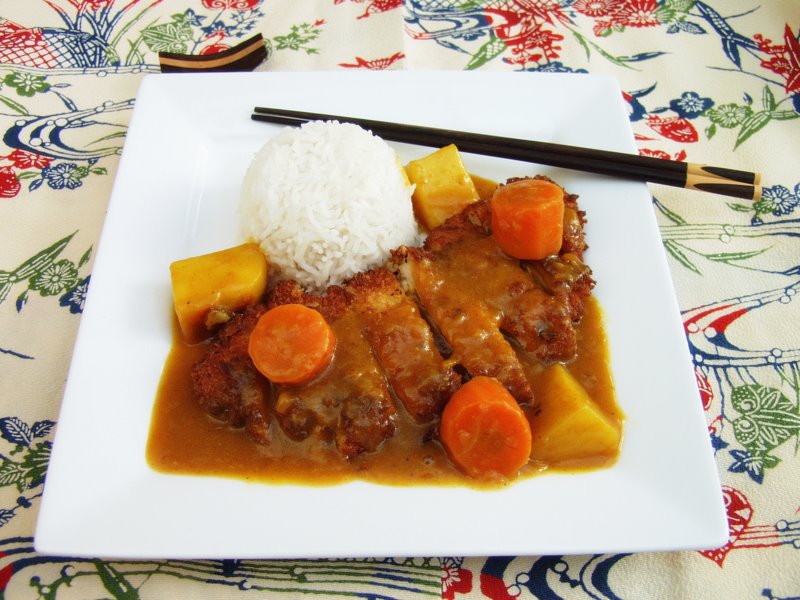
It’s comforting and equally enjoyable on a hot summers eve or a chilly autumn day or, in the case of us Brits, a rather chilly June day (come on sunshine you can come back now!). My girls love it as well as adult guests. I often choose to eat mine with flat rice noodles – medium or thick, but it would work equally well with steamed rice.
Vietnamese Beef Stew – Bo Kho
serves 4-6
2 tbsp ground nut oil
1 large white onion, finely chopped
1 tsp salt
1.2kg stewing/braising beef, cut into 1.5 inch cubes
1 can of chopped tomatoes/400g fresh tomatoes chopped
1.5 tsp Chinese five spice powder
3 tbsp fish sauce
1.5 tsp brown sugar
3 star anise
1/2 tsp paprika
2 tbsp ginger paste/minced fresh ginger
1 tbsp garlic paste
1 bay leaf
2 lemongrass, halved and stalks removed, gently bashed
300ml coconut water (not cream or milk)
100ml beef stock
2 large carrots, cut into into 1 inch pieces on the diagonal
2 medium/large sized potatoes, cut into 4/6 pieces
300g medium or thick rice noodles
large handful of fresh mint leaves
large handful of fresh coriander leaves
large handful of fresh Thai basil leaves
100g beansprouts
2 fresh limes, quartered
large handful of fried shallots
1 fresh red chilli, finely sliced – optional
- In a large cast-iron pan gently heat the oil and when it is hot, but on a low heat, add the onion and salt and allow the onion to soften for 5 minutes.
- In batches, brown the beef and then add the tinned or fresh tomatoes and gently simmer for a further 5 minutes.
- Add star anise, Chinese five spice, lemongrass, ginger, garlic, paprika, fish sauce, bay leaf, brown sugar and move around the pan before adding the coconut water and beef stock. Gently simmer for 45 minutes on a low heat.
- Add the carrots and potatoes and cook gently for a further 30-45 minutes, until soft but not falling apart.
- In a separate pan heat some water and when boiling add the rice noodles and allow to simmer for 5 minutes. Drain and then run under cold water until ready to use.
- If you are making the fried shallots, thinly slice a couple of banana shallots and allow to crisp up in vegetable oil. They take a few minutes and will burn easily so do not walk away from the pan when crisping them.
To serve:
In deep bowls add a handful of rice noodles to each bowl. If the noodles are stuck together run them under some water to loosen them up. Add the beef and a couple of ladles of the gravy to each bowl. Add the fresh herbs, beansprouts, quartered lime, crispy shallots, fresh chilli (if using) and serve immediately. Equally you could let guests add their own fresh herbs, beansprouts and shallots by placing them in the centre of the table to help themselves.