Luiz Hara has been on my culinary radar for a couple of years now. Word has it that he runs THE most exquisite supper clubs from his town house in Islington focusing primarily on Japanese, Nikkei and French cuisine. I’ve been procrastinating for far too long so I will definitely get my skates on in 2016 and give Luiz’s supper clubs a go. He is also the man behind the successful food blog, ‘The London Foodie’, which focuses on food, wine and travel. Most recently however he has published his very first cookbook called ‘Nikkei Cuisine – Japanese Food the South American Way’. It sounds intriguing right?

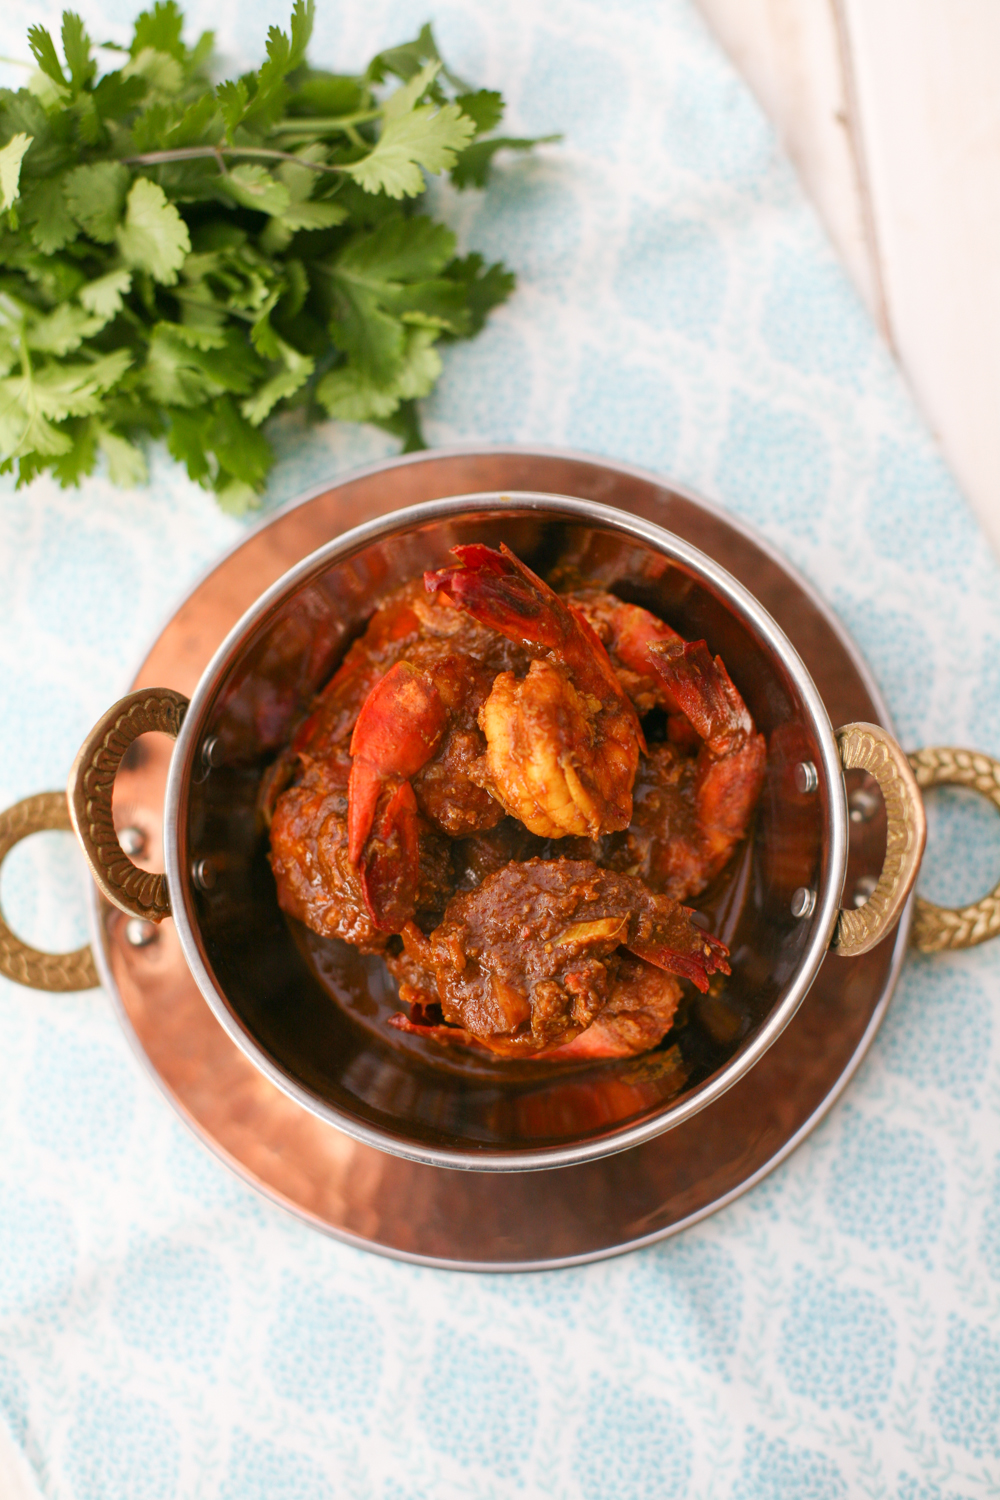
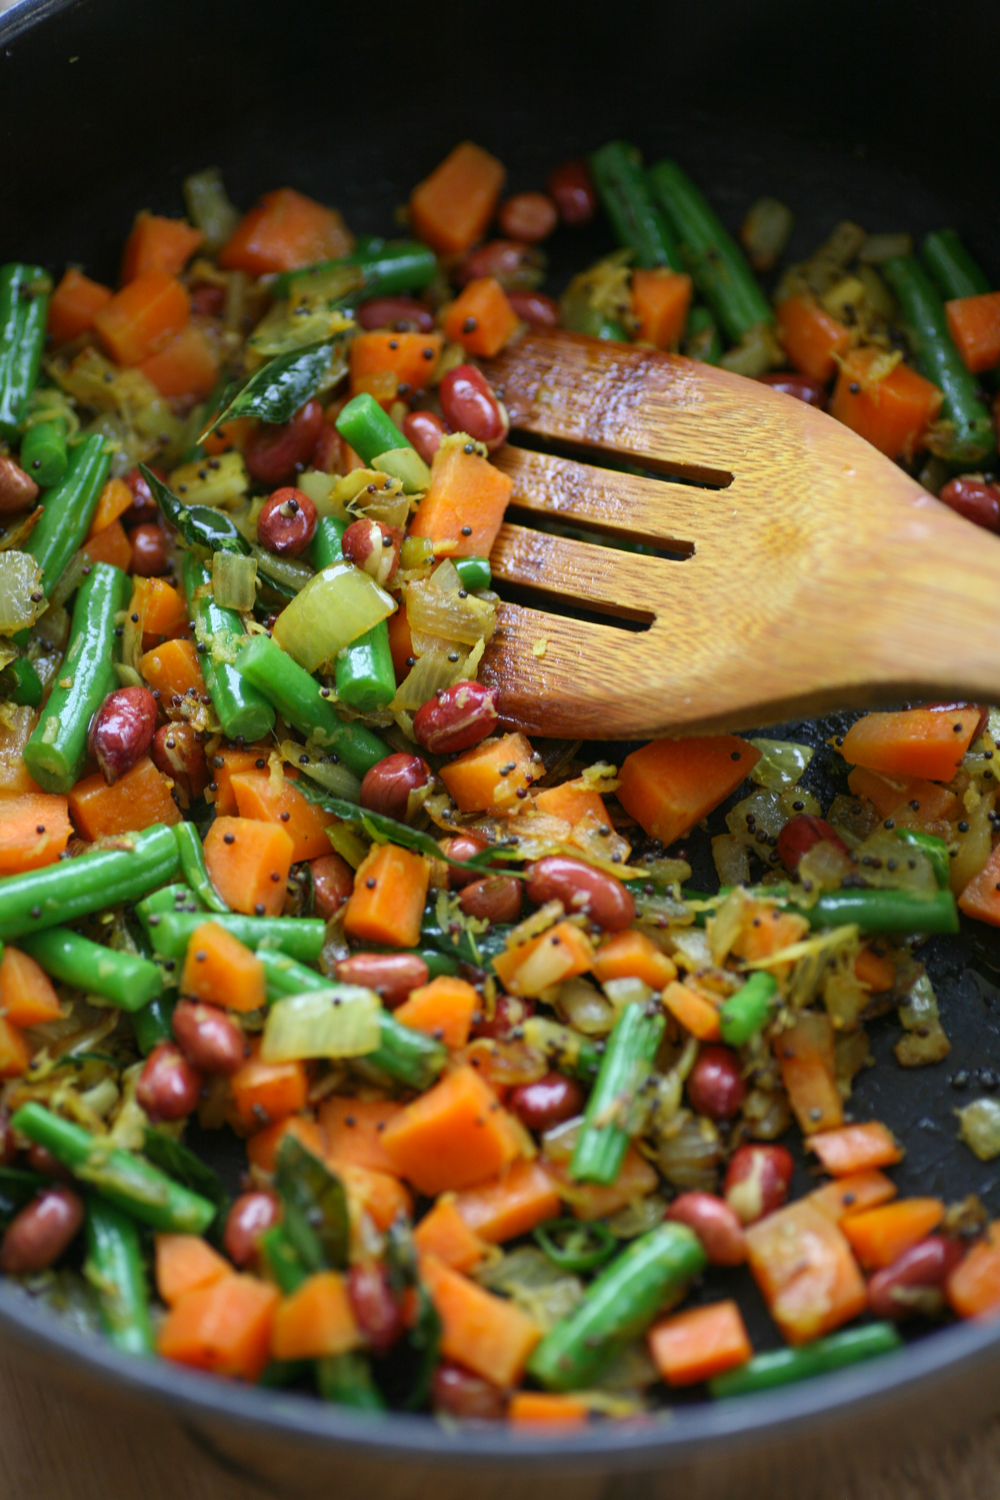
‘Above Image from Nikkei Cuisine: Japanese Food the South American Way by Luiz Hara. Photography by Lisa Linder. Published by Jacqui Small (£25).’
Nikkei cuisine is the cooking of the Japanese diaspora. Japanese immigrants often found themselves in countries that had very different cooking techniques and ingredients to what they were used to. They had to adapt to their new surroundings but at the same time wanted to continue using Japanese techniques and traditions. The resulting cuisine is called Nikkei. To say ‘fusion’ would be wrong and Luiz goes to great lengths in his introduction to explain Nikkei cuisine and how it is a very distinct cuisine in its own right. He explains “Nikkei cuisine is a byproduct of migration and adaption, created over 100 years ago in South America. It was a cuisine created out of necessity”.

Outside Japan the highest contentration of Japanese live in South America, namely Brazil and Peru. It was in Brazil that Luiz’s family finally settled and became part of the Nikkei community. The cuisine has been part of his family history and is certainly no food fad. Luiz himself moved to London for university after which he worked in Finance in the city. Much like myself he created his blog ‘The London Foodie’ as a creative outpost for this food thoughts and exploration. It was love of food and cuisine that they led him to quit his day job and embark on a new chapter in food. He trained at Le Cordon Bleu, where he graduated with the Grande Diplome in 2012. It was following his training and some time spent in Japan learning from the masters, that he then opened up his own home to friends and strangers by hosting his supper club. As well as continuing to this day with his supper club, he teaches cooking and writes in many national and overseas publications on the topic of food and travel.

Which brings us to the book itself. To say that it is a feast for the eyes as well as the belly is a massive understatement. It’s colourful, bold and exciting. It’s the type of book that is perfect for confident homecooks or for those who like to be pushed in their abilities. I recall some people grumbling over the ingredients lists of the hallowed books from the Ottolenghi empire, but for me this was a revelation and not something that phased me in the slightest. Luiz’s book must be treated with the same respect. Yes, it requires a bit of thought and forward planning, but with the help of some wonderful Oriental supermarkets in the UK and online, it is not too difficult to create the dishes. Luiz even lists a ‘directory of suppliers’ in the back of the book to help you if you are unsure where to buy certain ingredients. He also lists all the ingredients you may be unfamiliar with and gives an overview about each one.


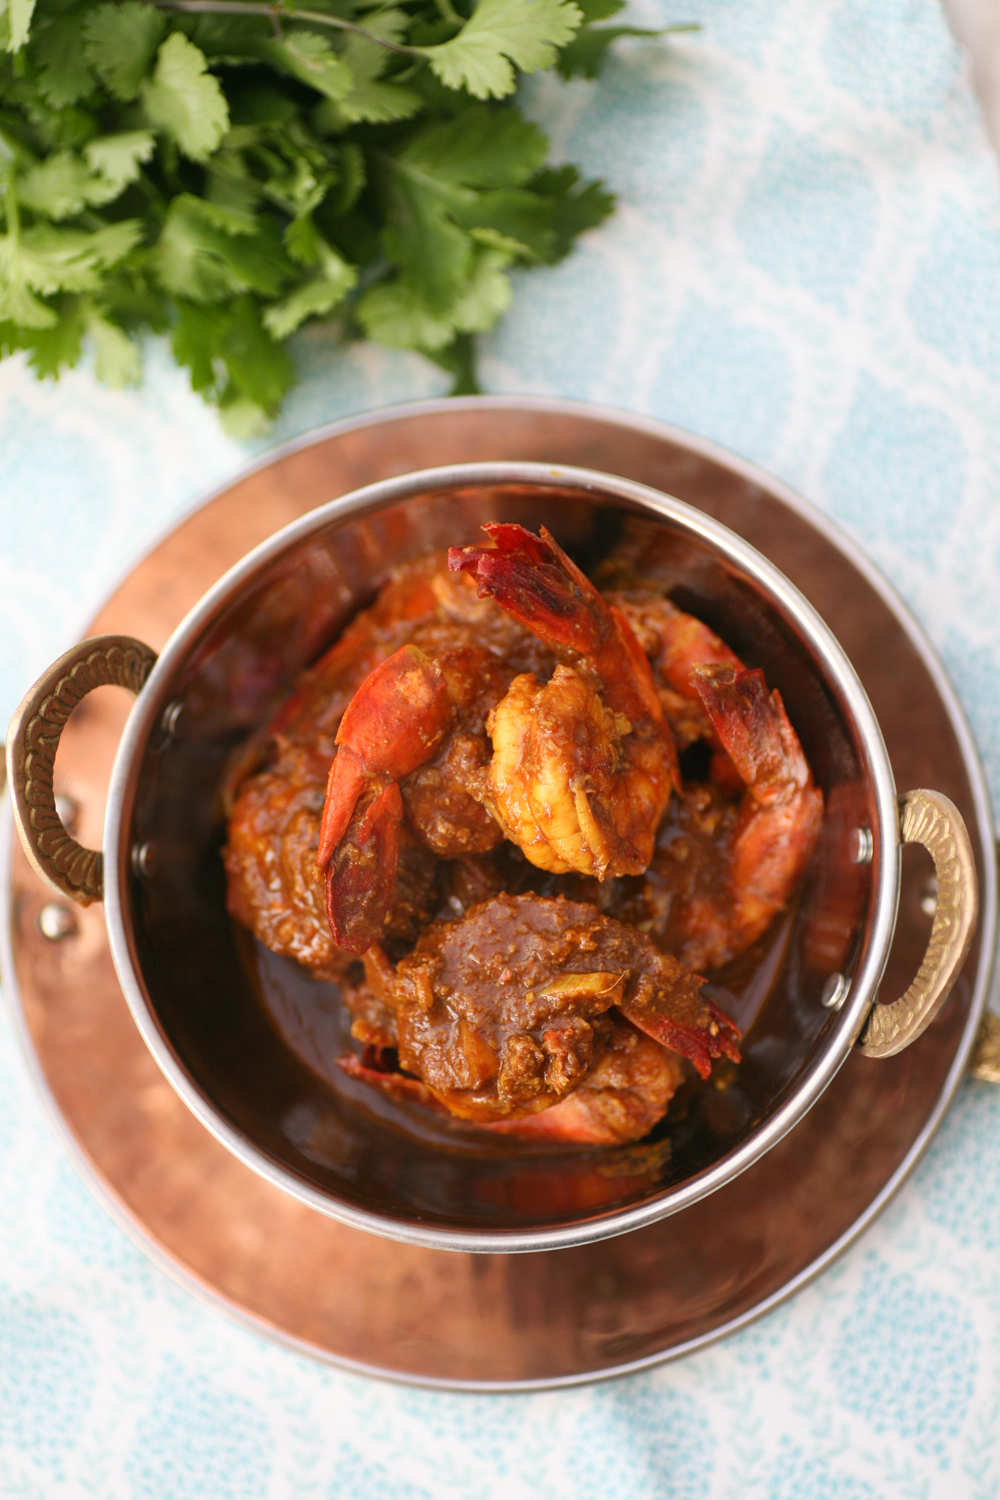
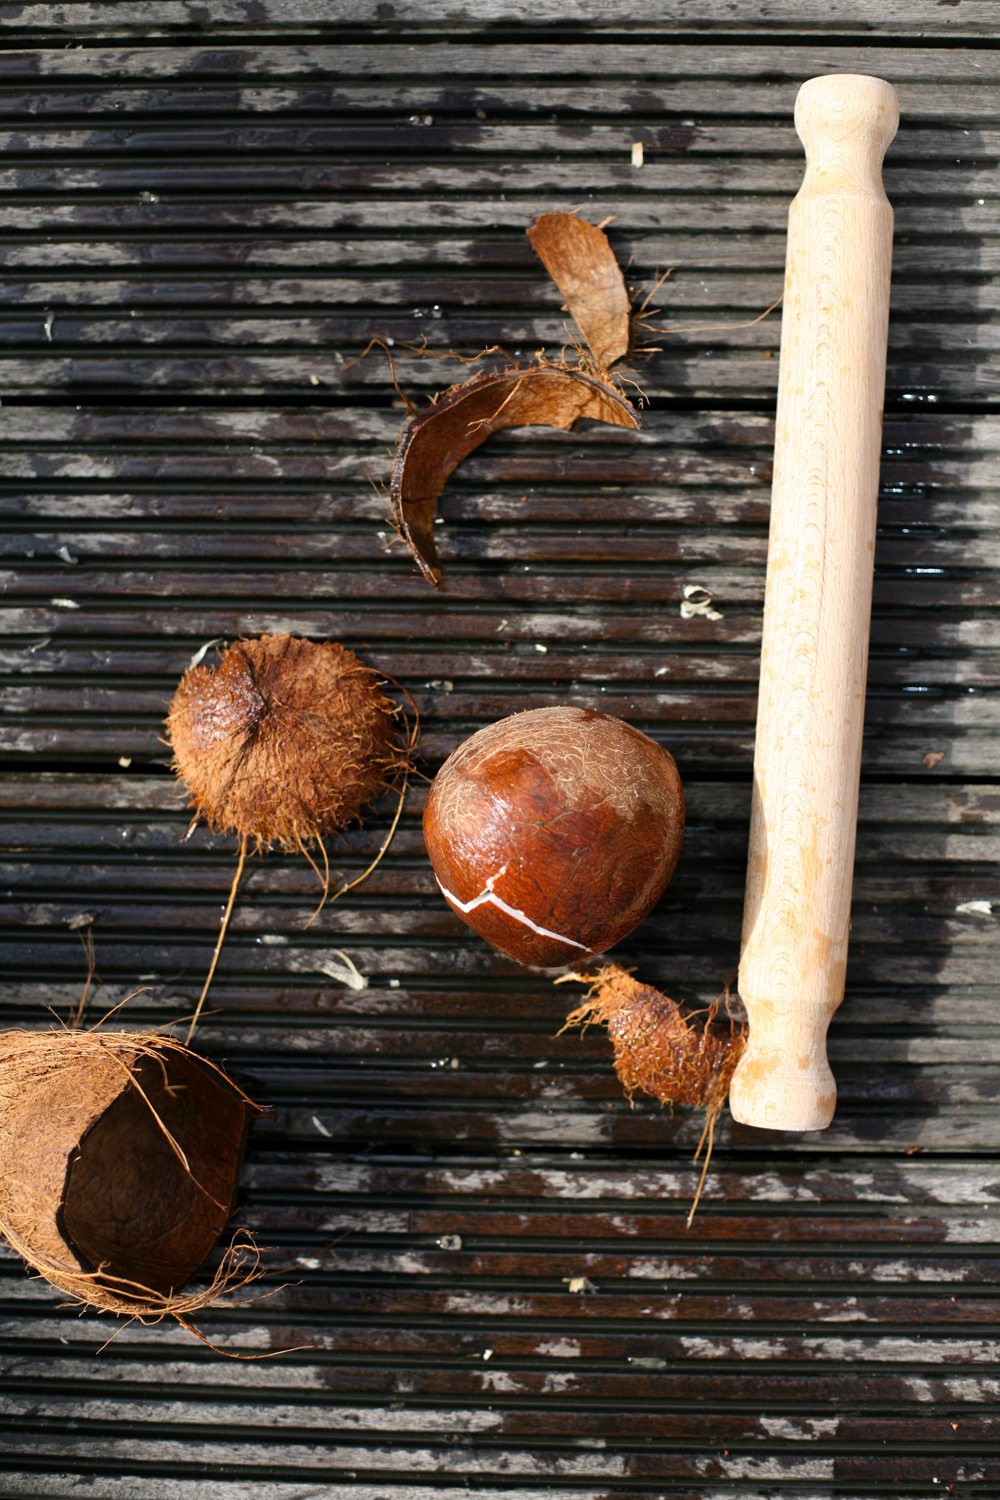
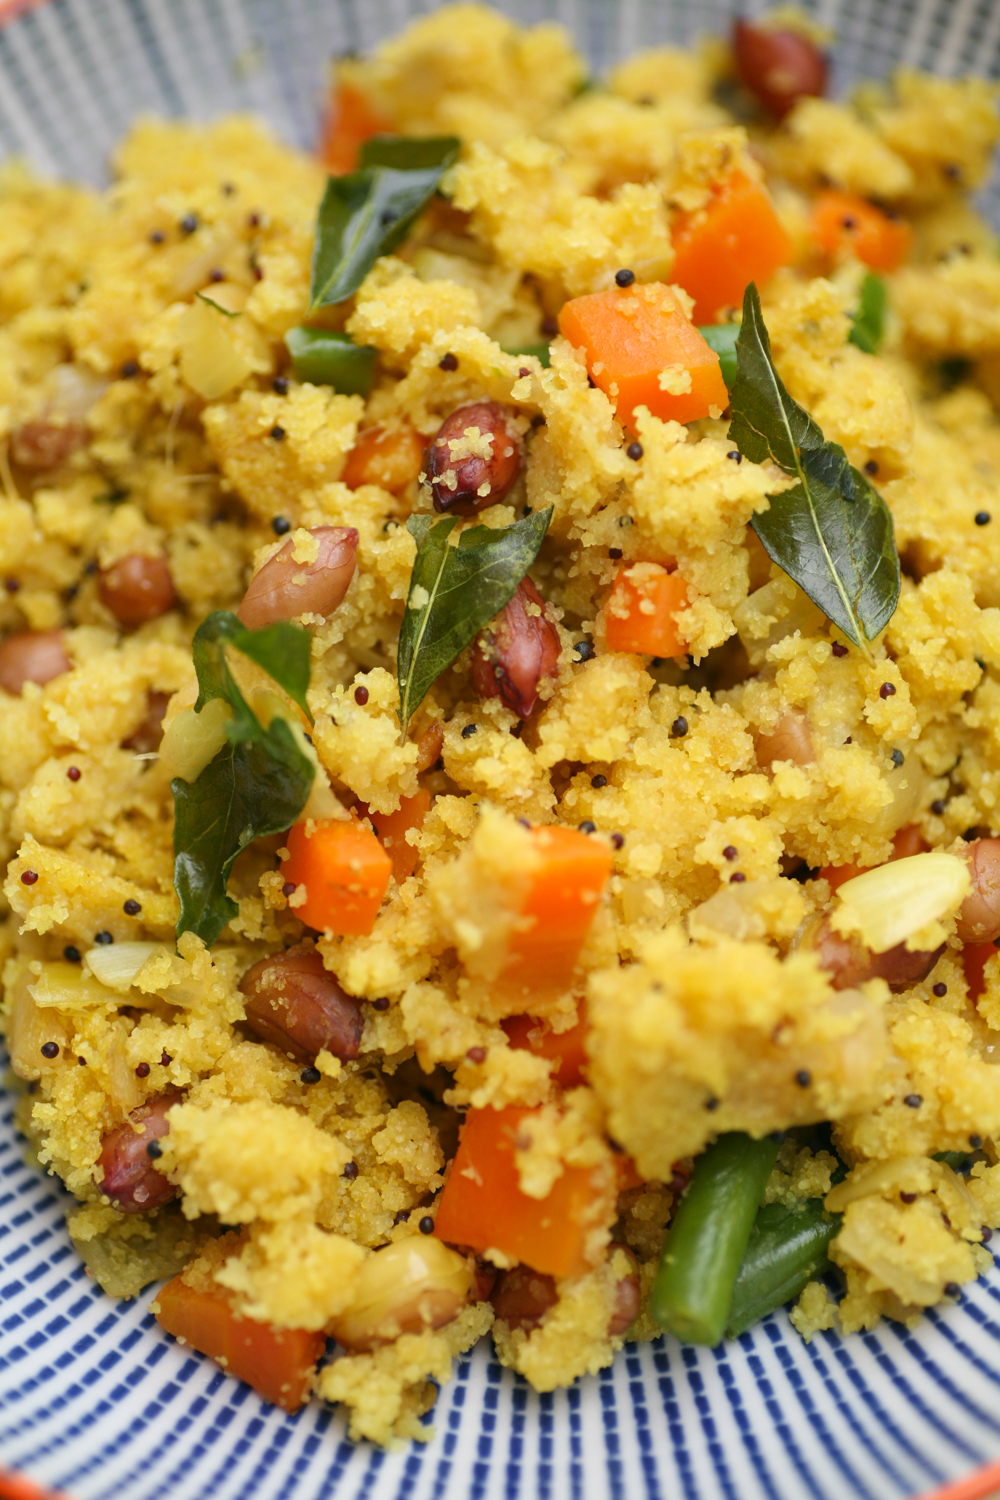
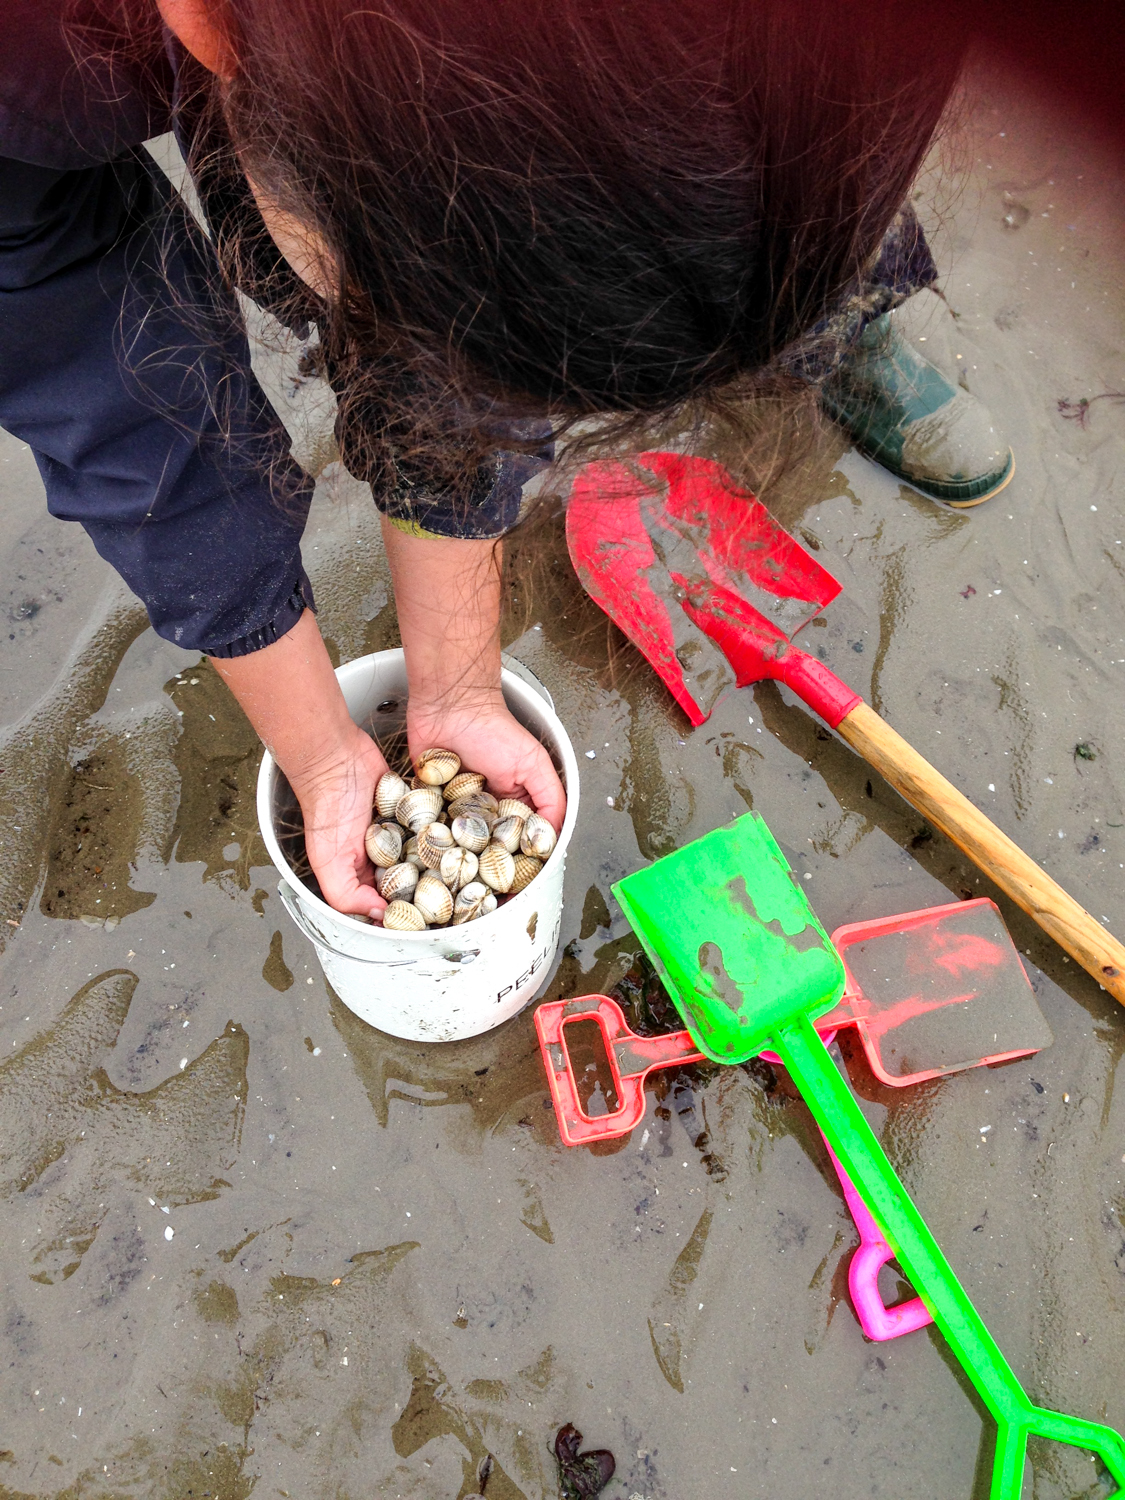
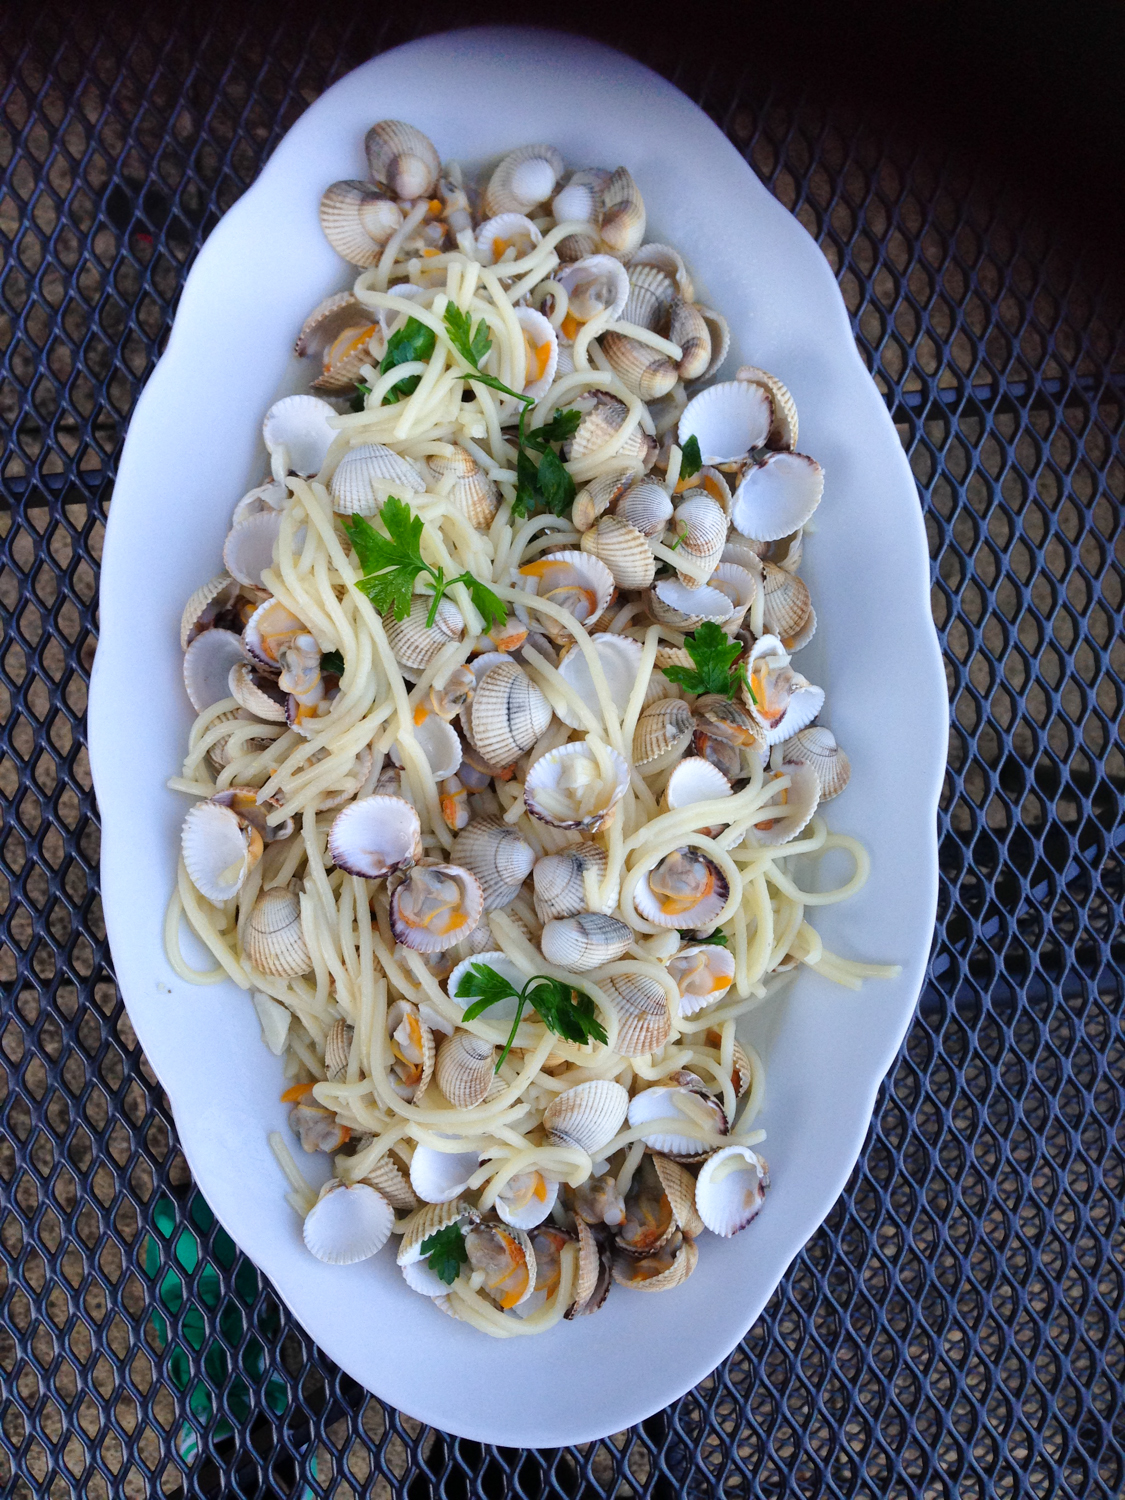
‘Above Images from Nikkei Cuisine: Japanese Food the South American Way by Luiz Hara. Photography by Lisa Linder. Published by Jacqui Small (£25).’
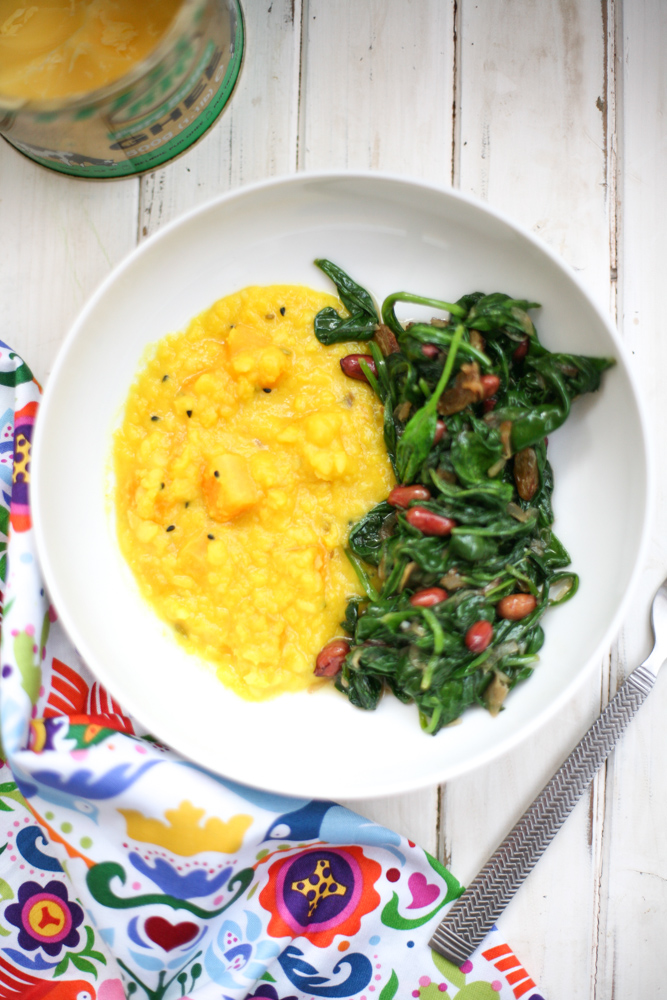
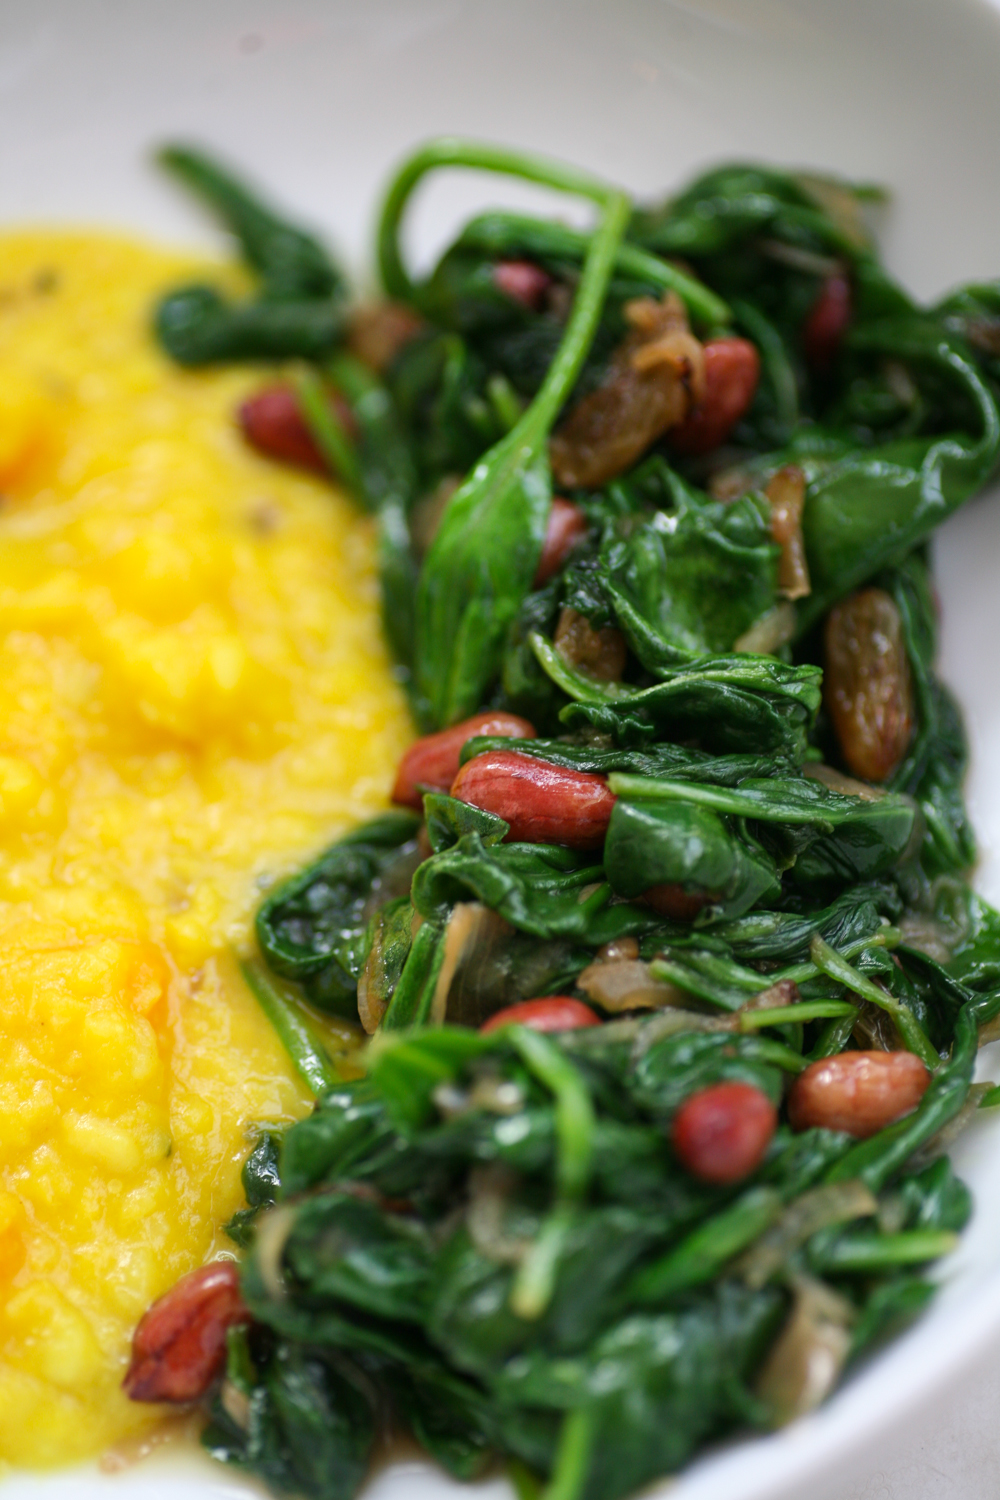
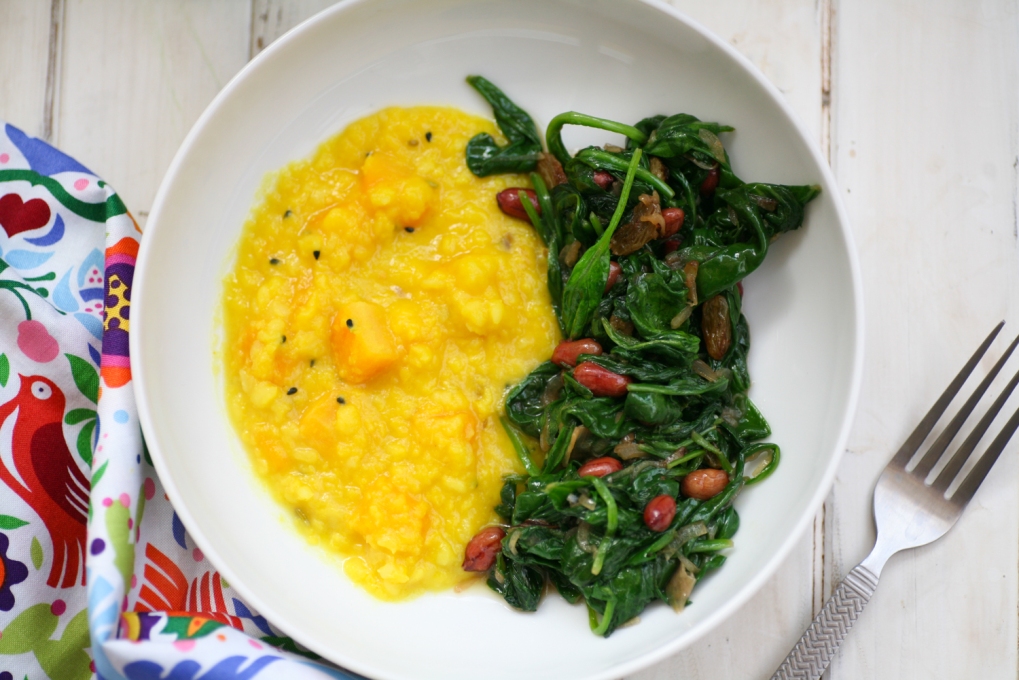
The sound of the dishes coupled with the stunning photographs in the book (see above photos) really inspire you to try cooking these yourself. How about duck breast robata with pickled pearl onions and sancho pepper vinaigrette or salmon and passion fruit tiradito with crispy butternut squash and espelette pepper or Nikkei hotpot of pork belly, cod and seafood? Mouthwatering hey. Word of warning, never read this book if you are feeling hungry as it will make matters a whole lot worse believe me.
I decided to trial one of his recipes. Deciding which to go for was a hard job as they all looked so good. In the end I chose the ‘Aubergine, Pork and Rice Noodle Salad’ as most of the ingredients I had in my kitchen – I’m also partial to little pork mince from time to time. I kept pretty to close to his recipe with the few alterations being:
- The amount of pork I used. He said 300g and I used the whole pack of 500g. Unless you go to the butcher, most packets of pork mince in the UK are 500g, hence I decided to use the lot.
- I also used vegetable bouillon instead of Asian chicken stock. I went to Korea Foods and when I asked for Asian chicken stock the guy showed me what looked like a regular chicken stock but with Chinese writing all over it. This was probably the Asian chicken stock that Luiz was referring to but the packet was so large I decided that I would replicate it with my regular vegetable stock.
- I would recommend you suggest cooking the aubergine for nearer 7 minutes as opposed to 5-6 as you want to make sure that the aubergine is properly soft inside.
- For speed I opted for ginger paste instead of fresh ginger!
- I used reduced salt soy sauce.
The recipe was really very straightforward and I would most definitely cook it again. Flavoursome, with great balances of salty and sweet with only a hint of chilli.

Aubergine, Pork & Rice Noodle Salad
Serves 4
for the pork soboro:
2 tbsp sesame oil
500g pork mince
50ml sake
50ml mirin
100ml reduced salt soy sauce
2tsp ginger paste
2 tsp caster sugar
****
for the dressing:
1/2 tsp of vegetable stock powder (Asian chicken stock if you have it)
4 tbsp boiling water
1 tbsp rice vinegar
1 tbsp sesame oil
1 tbsp caster sugar
2 tbsp soy sauce
2 tsp finely chopped red chilli
2 tsp ginger paste
****
100g dried rice vermicelli noodles
1 tbsp finely chopped fresh coriander leaves
sunflower oil for deep frying
2 aubergines
2 tsp toasted white sesame seeds
a sprinkle of shichimi pepper
- First start by making the pork soboro. Place the sesame oil in a pan and when it is hot add the pork mince and allow to brown in colour (this will take around 5 minutes) before adding all the rest of the ingredients in the list for the pork soboro. Cook on a medium heat for around 20 minutes or until all the liquid has evaporated. Leave to cool on one side.
- Cook the dried rice vermicelli noodles according to the packet and when cooked through, drain allowing cold water to run through the noodles. Add the fresh coriander to the noodles and place to one side.
- Next you need to make the dressing by adding all the ingredients together in a mixing jug. Place to one side.
- Using a pan bigger enough to hold both aubergines gently heat up some sunflower oil. You want to fill the pan up to half way with the sunflower oil. Clean the aubergines and make a few delicate incisions into each aubergine to prevent them from bursting in the pan. Gently place the aubergine into the hot oil.
- Gently turn the aubergines over every minute and allow them to cook for 7 minutes.
- Get a large bowl of cold water (pop in some ice if you have any). When the aubergines have cooked for 7 minutes, plunge them into the iced cold water. They will immediately shrivel up.
- Once the aubergines have cooled, peel their skin. It will come away really easily.
- Now cut the aubergine lengthways so that you have 4 pieces. Take one aubergine section and cut it lengthways on the diagonal. Place both sections onto a serving plate.
- Place a portion of the noodles across the centre of the aubergine on the diagonal. Layer the pork soboro on top and finish off with some of the dressing, sesame seeds and shichimi pepper.
Luiz suggests eating it at room temperature, which I did. All the elements of the dish can be prepared in advance, which is always a bonus if you are entertaining.
Please don’t be put off by the lengthy ingredient list. From start to finish this dish will not take longer to prepare than 30 minutes. It really is very tasty indeed.