

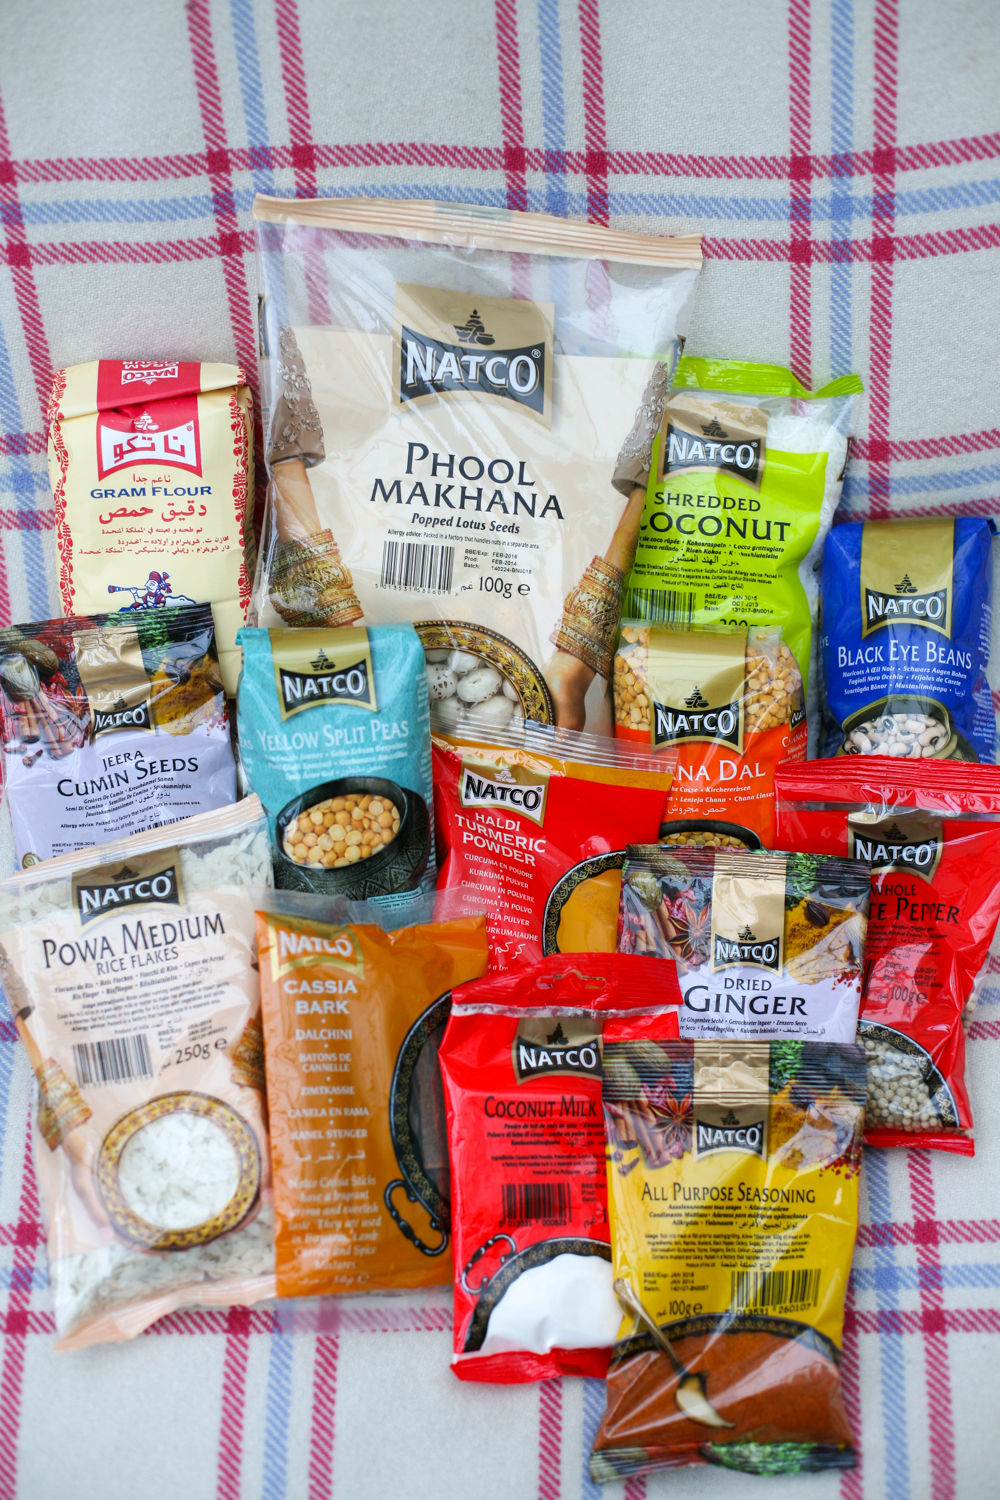
This week I have another recipe for you that I created using some ingredients from the hamper that Natco foods sweetly provided me for the the Curry for Change bloggers challenge. For those who have not read my two previous posts (shame on you ;o), for the month of June I will be cooking recipes using the ingredients that Natco foods sent me to inspire YOU at home to cook your own Indian food to support ‘Curry for Change’ that in turn supports a wonderful charity called ‘Find Your Feet‘, which does exactly what it says on the tin….help rural communities in Asia find…..their….feet in order to bring them out of poverty and be self sufficient.

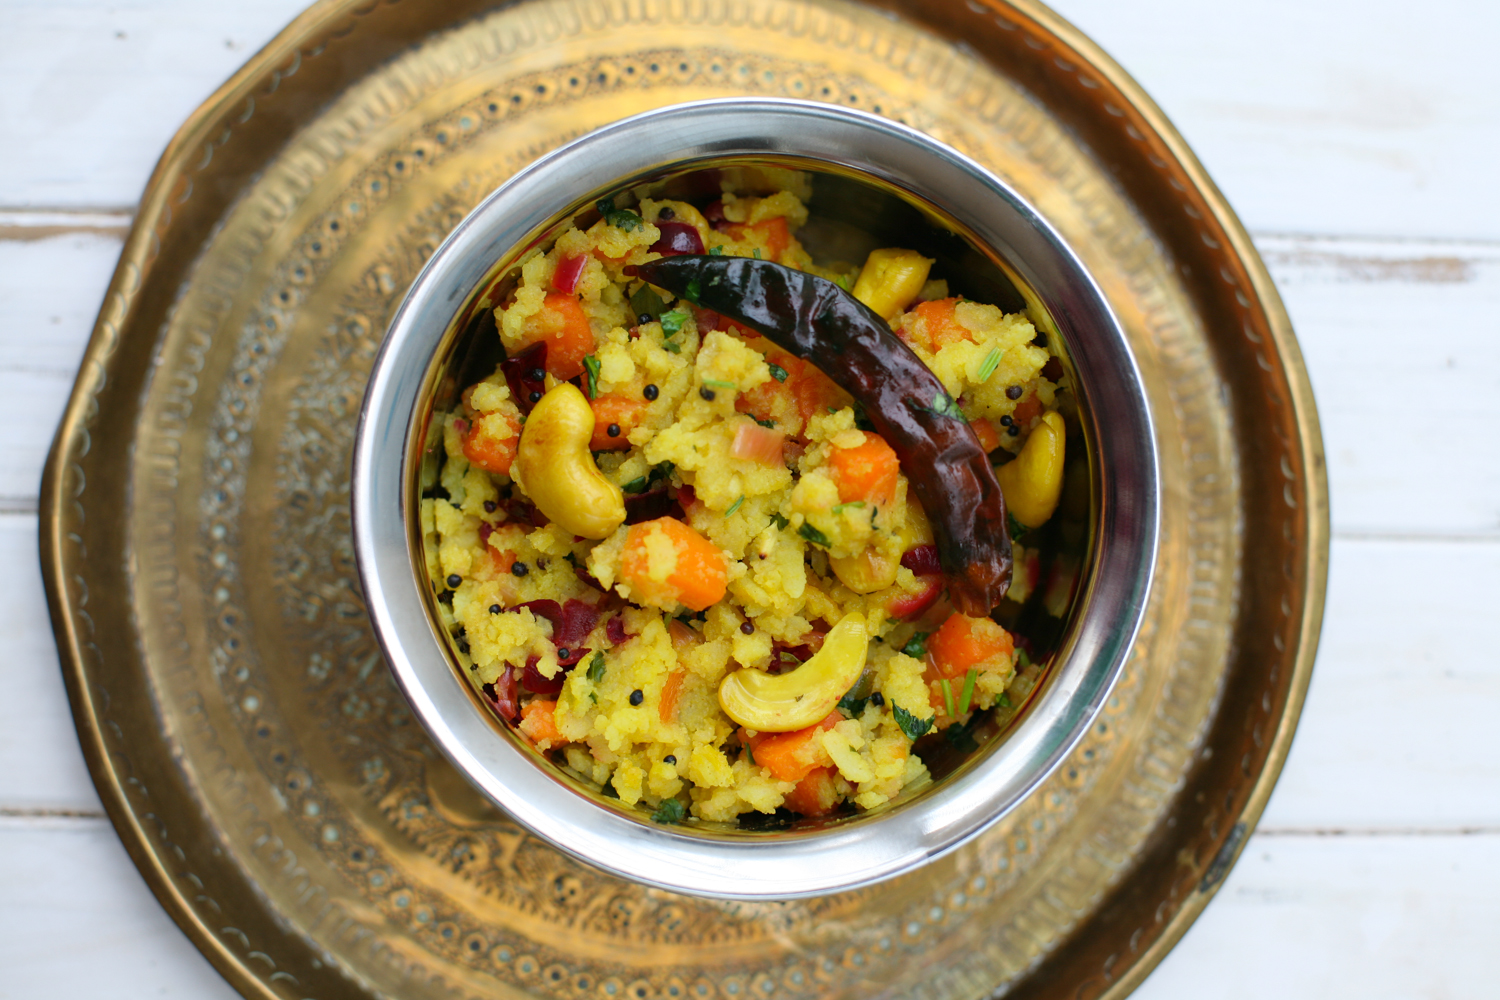
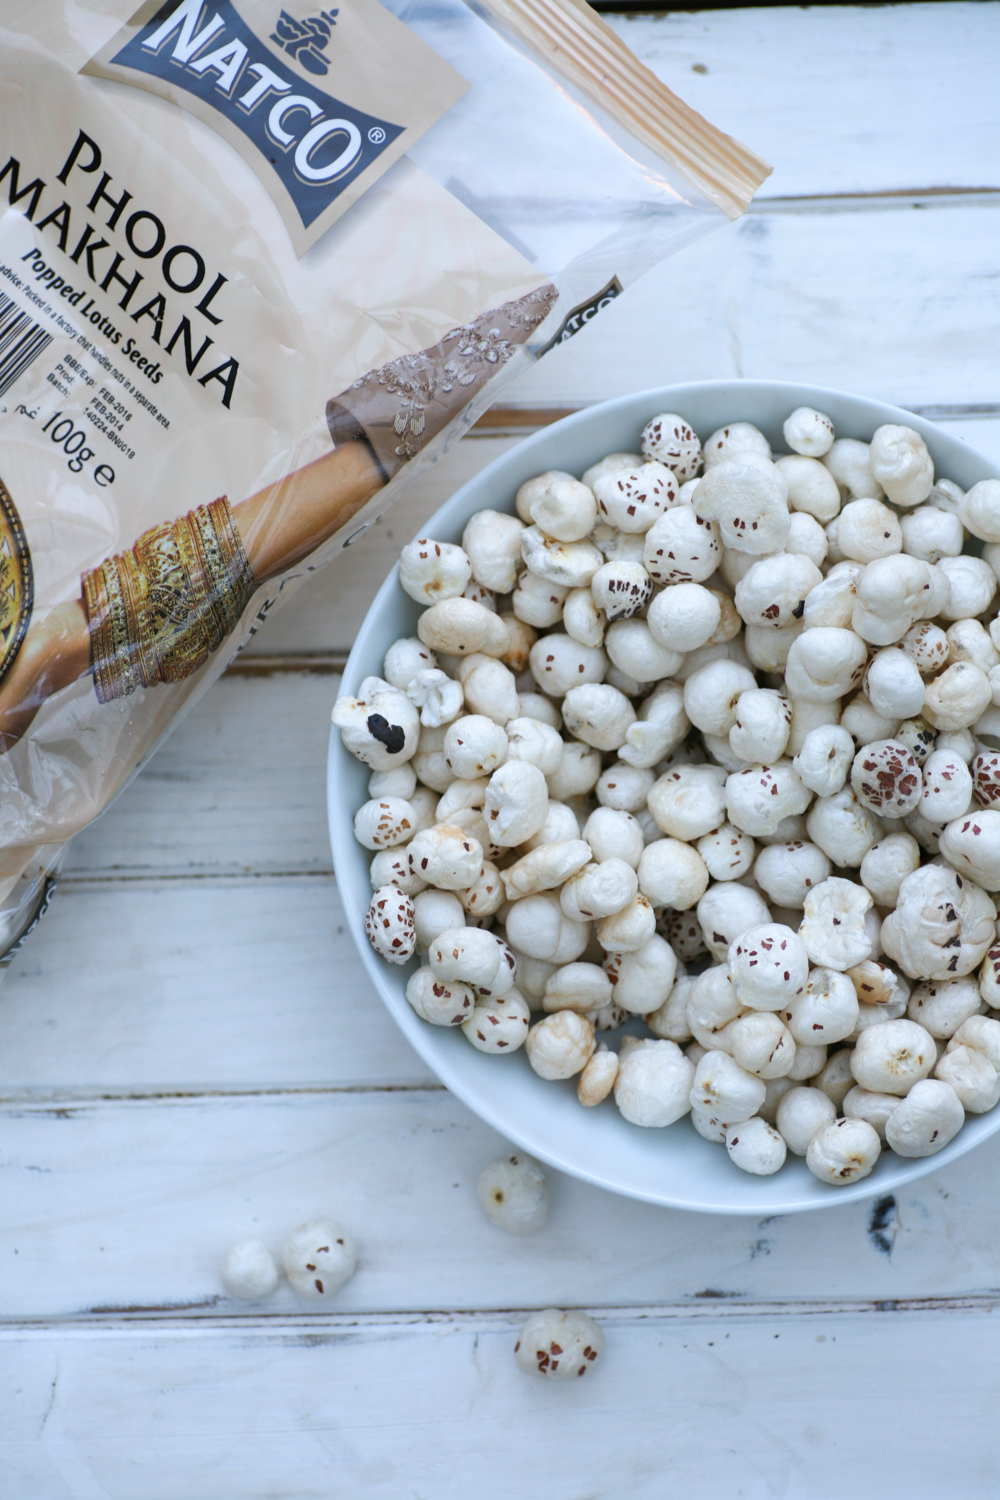
I pulled out a packet of powa flakes from the hamper and decided to create an appetising Indian inspired dish that you too could easily make at home. Powa flakes are flattened pre-cooked rice, that look fairly similar to white Kelloggs corn flakes. Similarly they can be used in sweet dishes, but can also be used in a number of savoury dishes and snacks. I have always tended to eat them as part of a crispy, fried snack, similar to a Bombay mix, but after a bit of researching I decided to use them in a more substantial meal. They are low in fat and high in fibre so tick many boxes from a health perspective. You’re probably wondering where on earth you can buy them. Well any Asian/Indian grocers will definitely stock them or you can order them online from Natco – here.
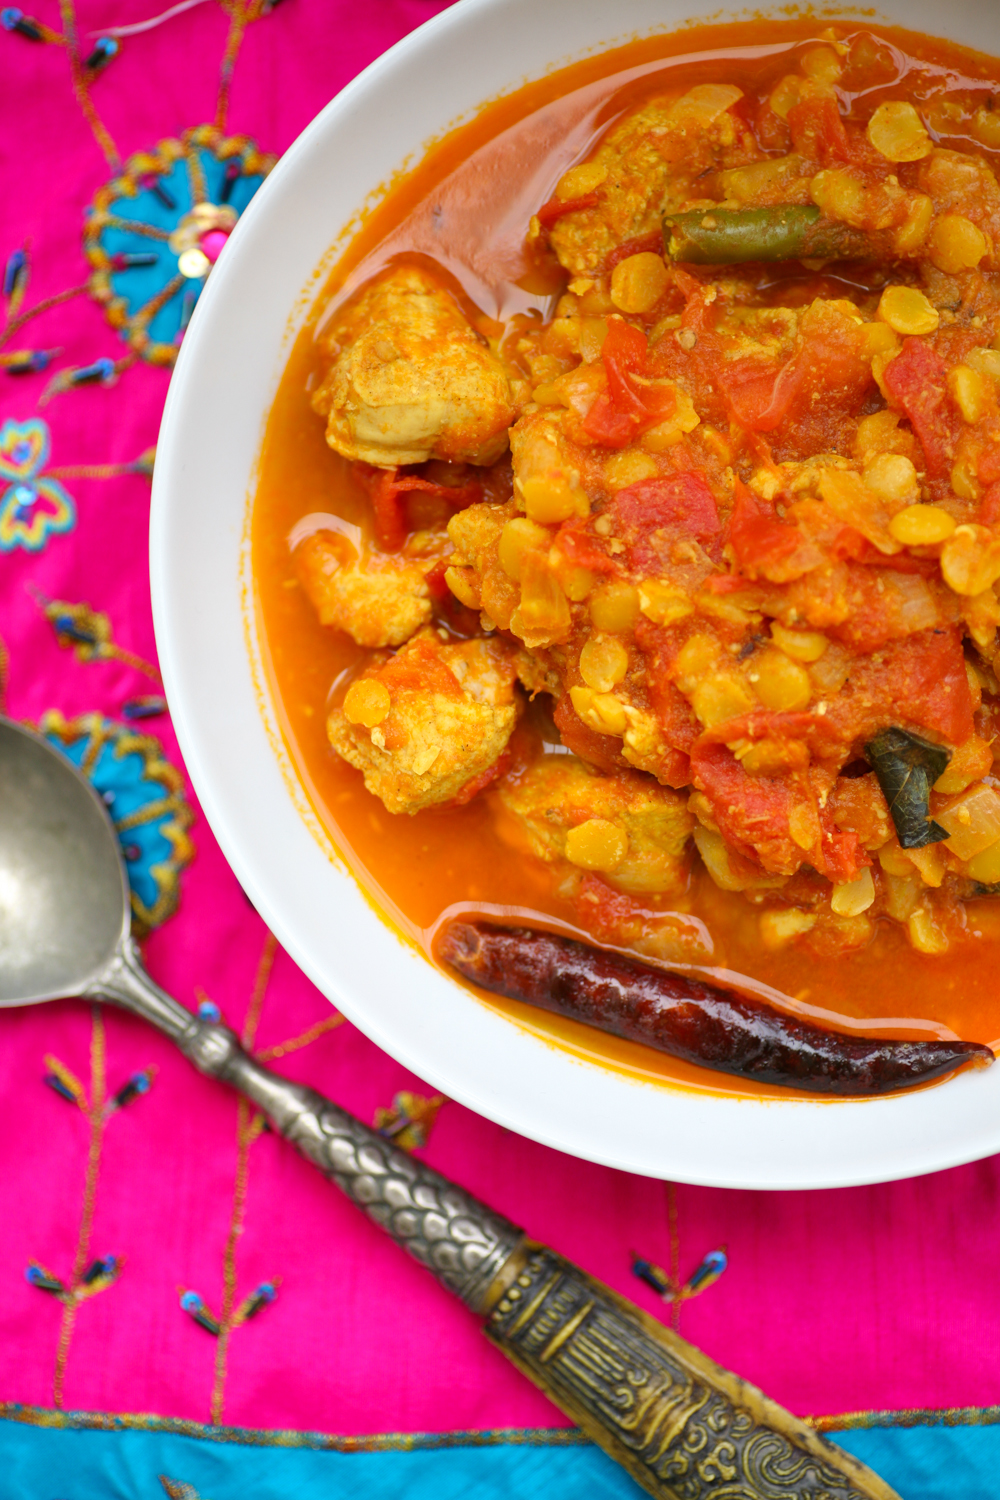
Unlike rice, that requires a little longer to cook, powa flakes only require soaking in cold water for a couple of minutes. Once they are drained, they only require a few minutes cooking before they are ready to be eaten. I honestly think that they are the perfect ingredient to use after a shattering day at work/looking after the kids (delete as appropriate) when you cannot be bothered to cook. Within 10 minutes this dish is cooked and it is so satisfying and filling. Seriously I think I am onto a winner here. I am totally converted and you will be too if you seek out the powa.

My eldest, who is 8 years old, absolutely loves this meal and eats it exactly as I do (with chilli). However, it has only really been in the last year that she has been able to eat many of the same curries as me and Mr B. She has been gradually weened on over the years. Children can and do enjoy spice, however, it is best to gradually build up their tolerance and love of spices. My four year old in comparison has made it very clear that she only likes traditional English food and not spicy Indian food. More left for me, Mr B and Big A then.
***********
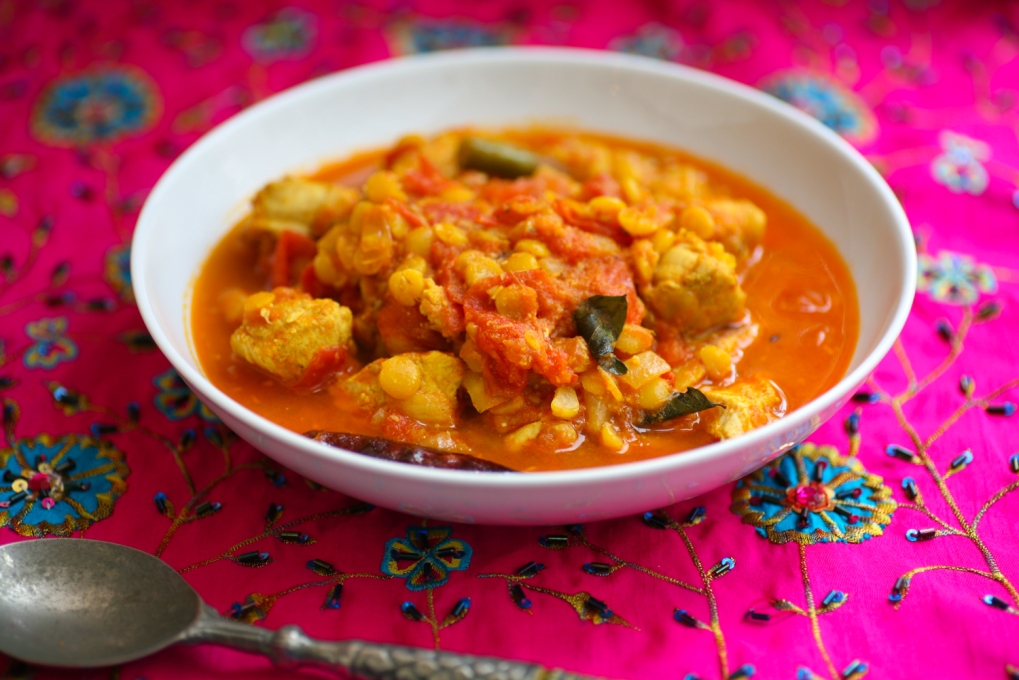
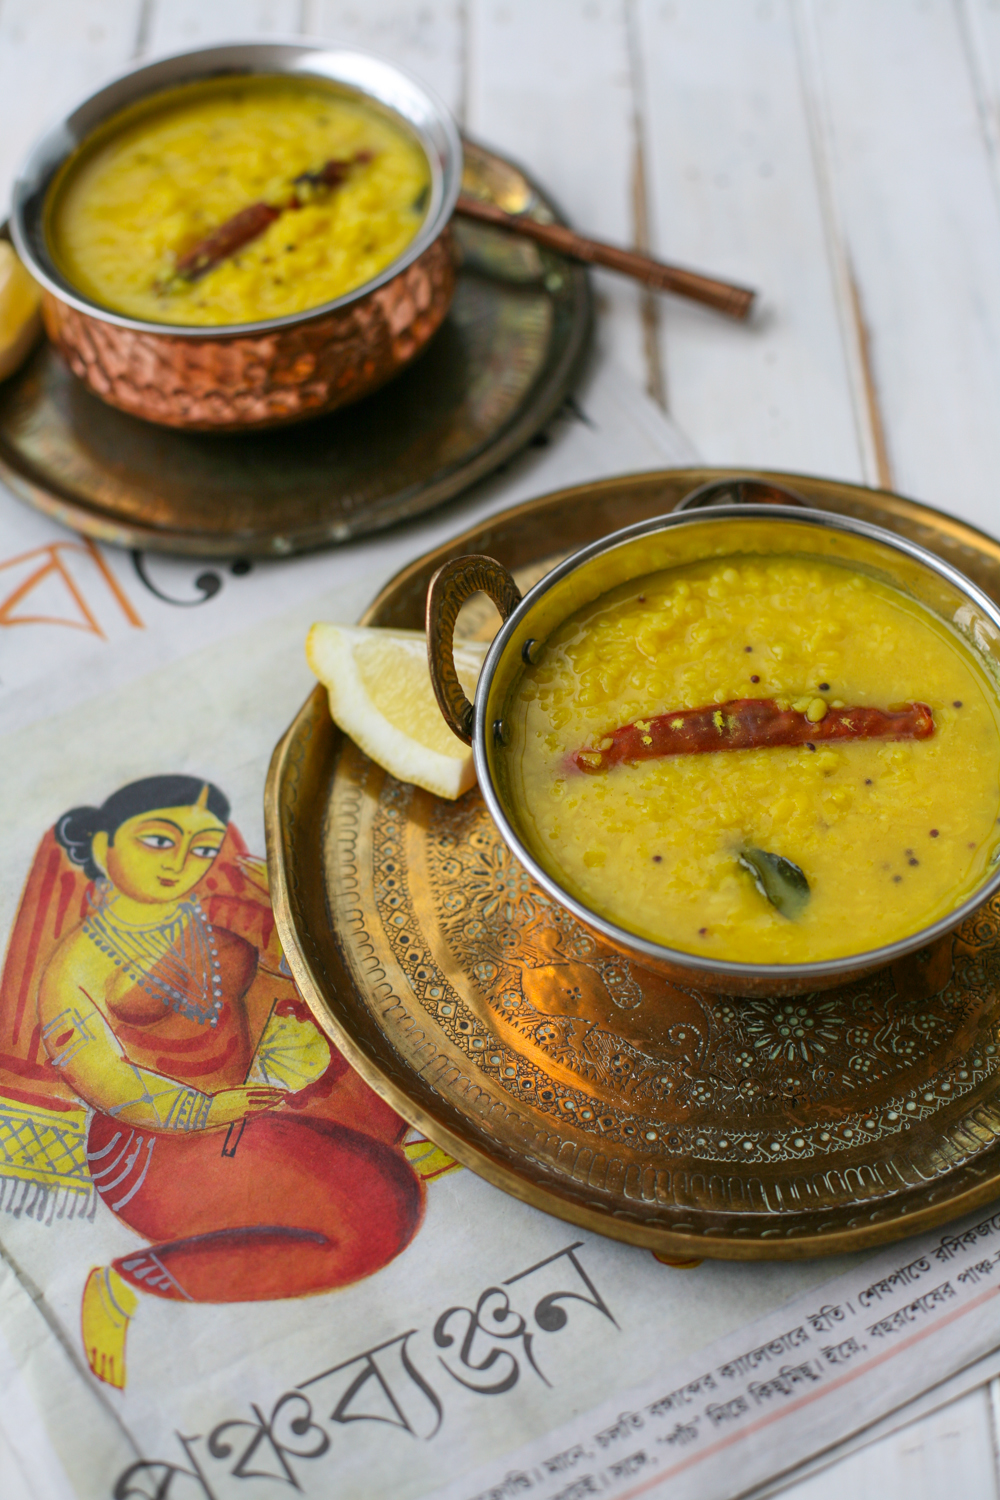
Indian Powa Fuel
Serves 4
125g powa flakes (medium thickness)
3 tbsp vegetable/olive oil
1 tsp black mustard seeds
1 dried red chilli
2 fresh green chilli, finely chopped
1/8 tsp hing/asafoetida
1/2 (half) tsp of ground turmeric
30g cashew nuts
10 fresh curry leaves
1 small red onion, finely chopped
1 tsp salt
1 lemon, juice only
150g of finely cubed carrots
handful fresh coriander, finely chopped
1. In a bowl cover the powa flakes with cold water.
2. In a karahi, wok or frying pan, add the oil and when it is hot, but on a low heat, add the mustard seeds. They will begin to pop after about 10 seconds.
3. Immediately add the dried chilli, turmeric, hing/asafoetida, cashew nuts, green chilli, curry leaves and stir together. Stir in the pan for a minute.
4. Now add the onion and salt and stir well into the ingredients in the pan. Fry the onion for 5 minutes until softened and then add the lemon juice.
5. Add the finely cubed carrots and place a lid on the pan so that the carrots soften. As they are small this will not take more than a few minutes.
6. Add the drained powa flakes and gently mix into the ingredients in the pan, without making them too stodgy. Sprinkle the fresh coriander around the pan and serve warm immediately.
********
As for the ‘Curry For Change’ competition, well my recipe, which was this one, sadly did not win. However, two out of the three winners I am twitter friends with so I am thrilled that their recipes made it through. They have now been filmed cooking their winning recipes, so am looking forward to seeing the result, when it goes live on the curry for change site. In the mean time check out their recipes on their sites below and try making them. I would love to hear from you if you try any of the recipes I am cooking this month or any of the winning recipes below. Leave a comment below.
· Ellie Matthews with ‘Spiced Roast Lamb with Butternut Squash and Spinach Dhal’ – http://theyoungdomesticgoddess.blogspot.co.uk/
· Deena Kakaya with ‘Black Eyed Bean Pakora and Coconut Kadhi’ – www.deenakakaya.com
· Zoe Perrett with ‘Bombay Bad Boy Chocolate Cheesecake’ – http://culinaryadventuresofthespicescribe.wordpress.com and http://culinaryadventuresofthecocoanut.wordpress.com


