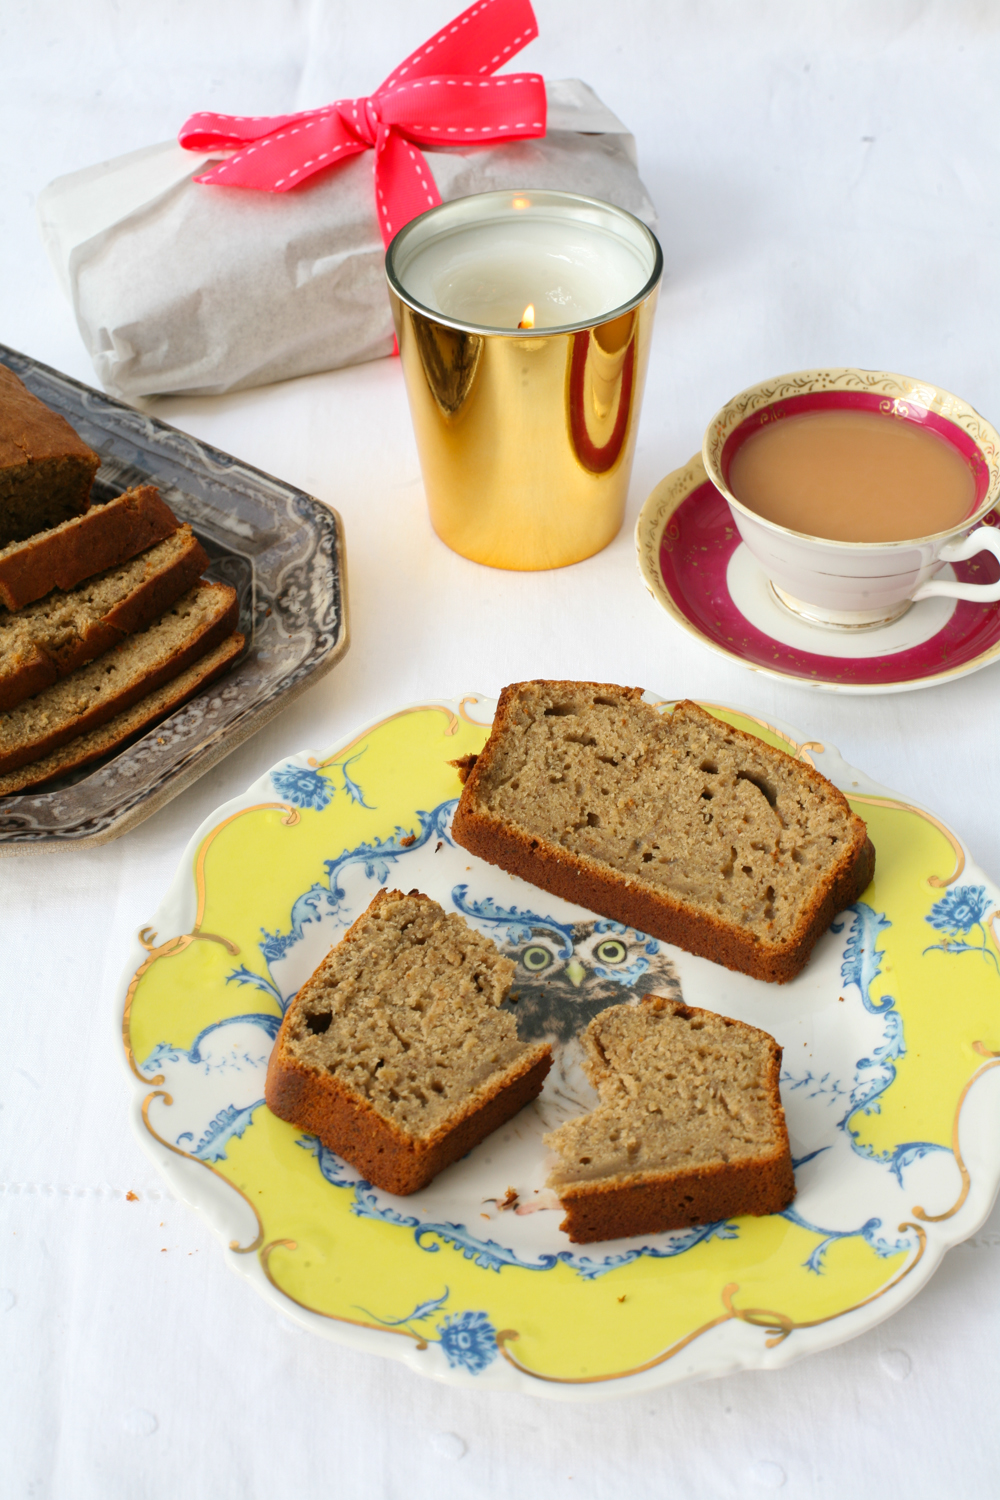
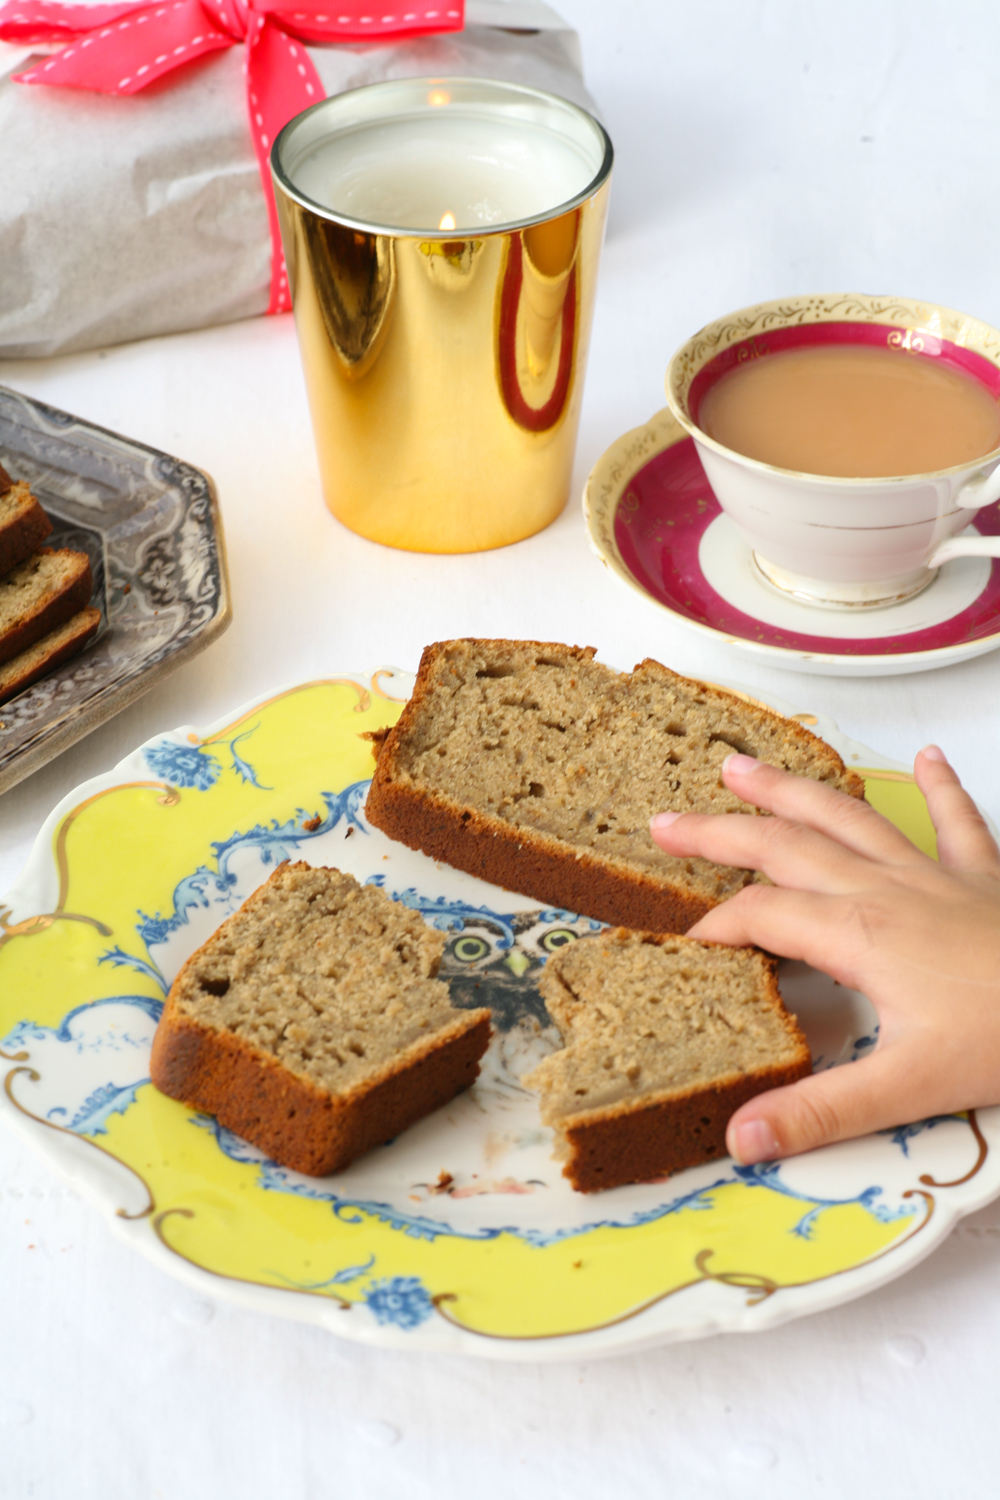
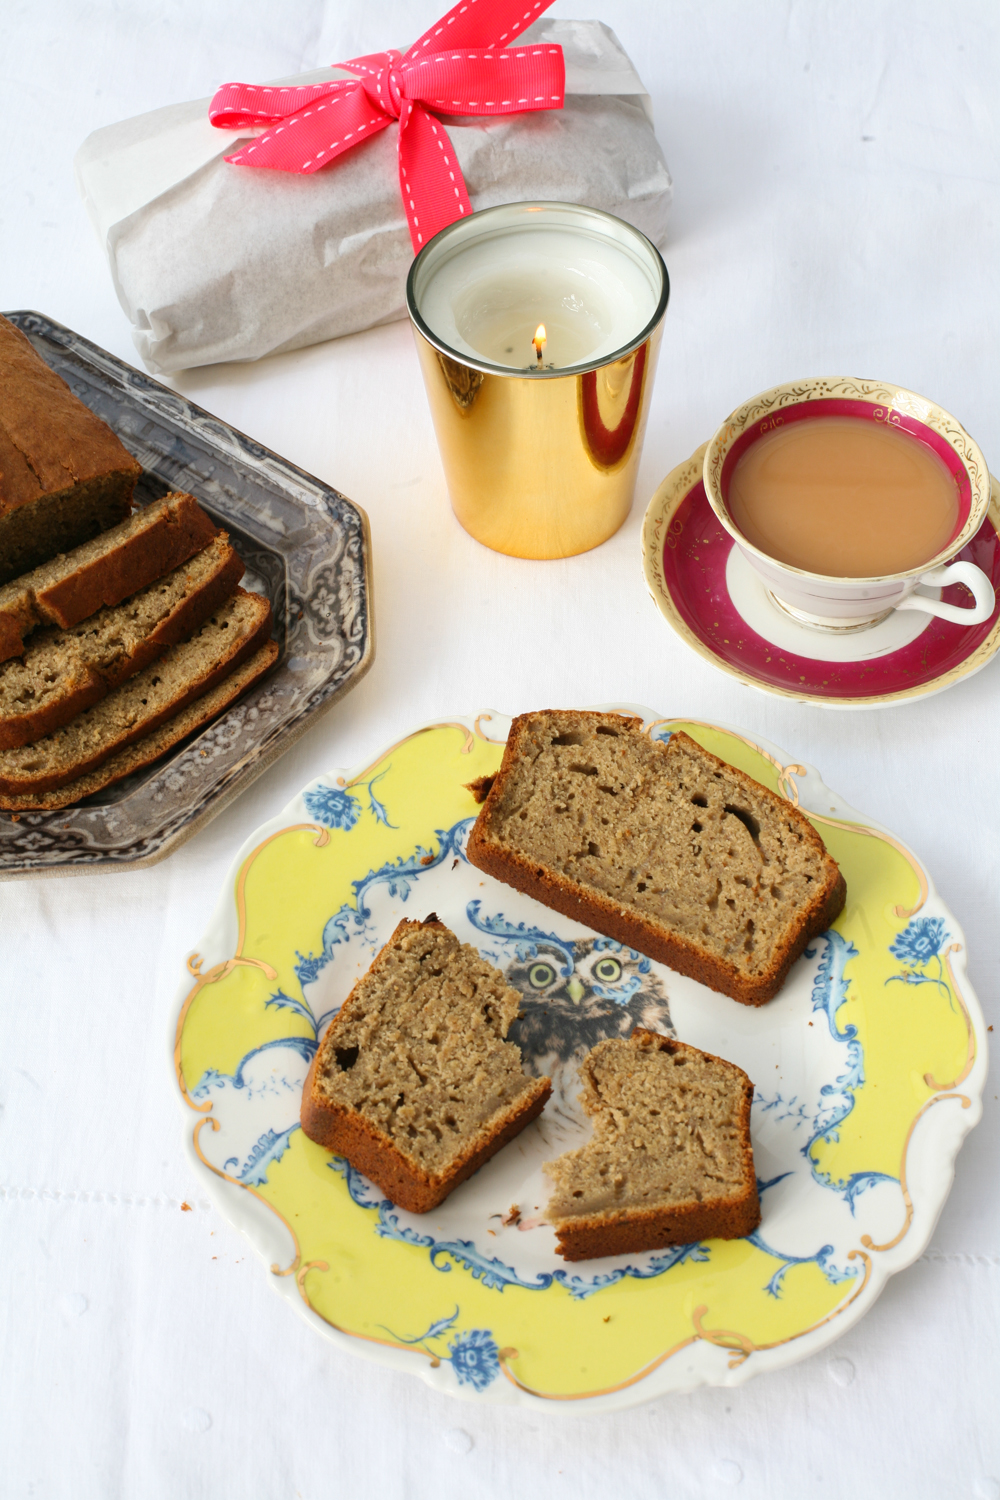
Sticky Ginger Loaf

One of my all time favourite bought cakes growing up was without doubt Jamaican ginger cake, which was deliciously sticky, sweet and gingery. It’s still available at some large supermarkets for a mere 65p. It is also a really lovely one to make at home yourself and tasting it automatically takes me back to my childhood. For those who really like ginger you can add some finely chopped stem ginger bites, or if you prefer a smoother cake consistency just omit this part. I added it this time, but often simply add ginger powder.

adapted from Afternoon Tea at Bramble Cafe by Mat Follas

Sticky Ginger Loaf

100g unsalted butter

100g light soft brown sugar

100g Lyle’s golden syrup

100g Lyle’s black treacle

200g self-raising flour

1 tbsp Chinese five spice powder

2 tsp ginger powder

250 ml milk

1 egg

optional: if you really like ginger you can also add 90g of finely chopped stem ginger and add it to the flour. Sometimes I do and other times I don’t. I tend to find my children prefer it when I omit this part. 

  1. First preheat an oven to 140 degrees centigrade.
  2. In a saucepan add the butter, light soft brown sugar, golden syrup and treacle and stir on a low heat so that all the ingredients combine smoothly.
  3. In a mixing bowl sieve the flour and add the Chinese five spice and ginger powder. (if you are adding stem ginger then add it at this stage)
  4. In a separate bowl whisk the egg and milk and keep to one side.
  5. Add the mixed butter syrup to the bowl of  flour and fold in to combine.
  6. Follow this with the whisked egg and milk so that the mixture is nice and smooth. I used my new Kitchen aid and it worked a treat.
  7. Line a baking loaf tin with parchment paper on the bottom and a longer strip in the middle going up the sides – see photo – this helps to remove it from the tin after baking.
  8. Add the mixture to the tin and then place in the middle of the oven for 60 minutes. Use a skewer in the centre to test it comes out clean and therefore is cooked. If it doesn’t return it to the oven for a little longer.
  9. Remove from the oven and allow to cool before taking it out of the tin.

Cut into slices to serve either as is or with a little butter on top.


Lindisfarne and Pilgrims Coffee Cake


On our recent visit to Northumberland we visited the Holy Island of Lindisfarne. It is a tidal island that is accessed by a paved causeway, which is covered by the North Sea twice every 24 hours (so check tide times before you visit). It is one of the most important centres of early English Christianity when Irish monks settled there in AD635.

The Northumbrian King Oswald summoned an Irish monk named Aidan from Iona – the island monastery off the south west coast of now Scotland – to be bishop of his kingdom. He granted Aidan and his companions the island of Lindisfarne on which to found a monastery.

In the AD670’s a monk named Cuthbert joined the monastery at Lindisfarne and later became the greatest monk-bishop, and the most important saint in northern England in the Middle Ages.

Cuthbert also spent time on the even more remote island of Inner Farne just off the coast from Bamburgh. We visited the priory, which is now run by English National Heritage and definitely worth exploring, along with the fascinating exhibition which is included in the ticket. We combined our adventures on Lindisfarne with a stunning walk of the coast line of the whole island – around a 5 mile circular walk. We use Pathfinder walk books which I really recommend.

At the end of the walk, before we headed into the Priory, we chanced upon a rather inviting coffee house called ‘Pilgrims Coffee and Roastery’. I highly recommend you make a detour here to purchase a bag of their coffee beans (great gifts) as well as a cup of coffee and some excellent cakes and savoury eats. Their ‘Espresso Cake’ was so good that I thought I would share it with you here.

They have a cookbook, which you can buy with all their recipes in – you can purchase that here.


Pilgrim’s Coffee Cake

adapted from the Pilgrim’s Coffee and Roastery Cookbook

Serves 12

250ml espresso

250g salted butter

50g cocoa powder

400g caster sugar

150ml sour cream

2 eggs

1 tbsp vanilla extract

300g plain flour

200g chopped walnuts

2.5 tsp bicarbonate of soda

For the icing

60g unsalted butter

120g sifted icing sugar

2 tbsp espresso


  1. Preheat the oven to 180 degrees (they state 160 degrees if using fan, but I found it needed to be hotter for my fan oven)
  2. Line a 20cmx30cm tray with greaseproof paper
  3. In a large bowl whisk together the butter and sugar until light and fluffy
  4. Mix in the espresso, cocoa, sugar, sour cream, eggs, vanilla, flour, bicarbonate of soda and walnuts to a loose batter.
  5. Pour the cake mixture into the prepared tray.
  6. Bake for 30-40 minutes until risen and dark brown – I found I needed to do it for a little more than 40 minutes.
  7. Allow to cool on a baking tray and remove the greaseproof paper when cooled slightly.

Icing


8. In another bowl whip together the butter and icing until light and fluffy.

9. Fold in the espresso until smooth.

10. Spread over the cooled coffee cake. Decorate with a few extra walnuts.


Note: It’s probably me, but I found the icing did not work when I used the amounts in their recipe – 250g unsalted butter, 250g icing sugar and 120ml espresso so I redid the icing to the amounts above and it worked. I tend to prefer less than more when it comes to icing anyway as I don’t have a particularly sweet tooth. Let me know what works for you.


Homemade Donuts

It’s been a whirlwind of half term activities these past couple of weeks and it has only been today that all of mine have returned to school. So apologies that my blog posting has been rather tardy. I thought it would be fun however to show you one of the activities we all got involved in over half term. A rainy day a while back we all made bagels – see here  so this time I thought donuts would be equally satisfying to make.

There is something about making your own that makes them so much more satisfying that store bought. The icing could certainly have been prettier – I think we probably iced when they were still a little warm – but I think the homemade/rustic look gives them an appealing edge don’t you think?

This recipe made us around 16 or so, but it kind of depends on how large your cutter is. They are irresistible light and fluffy to eat and the perfect teatime extravagance .

donuts

300ml whole milk

7g instant quick rise yeast

2 eggs

115g unsalted butter, melted and cooled

50g granulated sugar

pinch of salt

540g bread flour

sunflower oil (for frying)

glaze

icing sugar

milk

salt

sprinkles of your choosing

  1. Warm the milk in a pan and then place in a bowl along with the yeast and give a stir. Leave to rest for 15 minutes, by which time foam should have formed on the top.
  2. Either by hand or using a hand whisk beat together the eggs, butter, yeast/milk mixture, sugar and salt.
  3. Add the flour little by little until it has all been absorbed into the mixture. Cover and leave to rest in a warm room for an hour so that the dough has doubled in size.
  4. Sprinkle flour over a clean surface and turn out the risen dough. Gently roll it out to around 1/2 inch thickness and using a round cutter (3 inch diameter works well), cut out the circles and using a smaller cutter make the central hole. Place each donut onto a square of baking parchment. Once they have all been cut out cover again for a further 40 minutes to allow them to rise.
  5. Heat the oil in a deep pan and when it is hot – test by dropping in a little dough crumb and if it fizzles and rises to the top it is ready – then place 3 or 4 in a pan at once. Leave for around 45 seconds and then turn and leave for a further 30 seconds or until golden brown. Remove with a slotted spoon and place on a cooling rack with paper towels. Repeat until they have all been prepared.

When the donuts have cooled you need to make the glazes.

  1. In a large bowl add icing sugar, a little milk and a pinch of salt. Add the milk gradually so that you get the right consistency. If you want a specific colour icing sugar add the colouring at this stage.
  2. On a side plate get your sprinkles ready.
  3. Gently dip one side of the donut in the icing glaze followed by the sprinkles and return to the cooling rack. Repeat.
  4. Eat immediately – although they do still taste good the following day, they taste the best on the day of preparation.

SaveSave

SaveSave

SaveSave

SaveSave


Banana, Cinnamon and Nutmeg Loaf

IMG_9959

Having afternoon tea is very much a British thing to do. Granted we may not always sit down to tea and scones every afternoon, but given half the chance then we probably would. Copious amounts of tea is drunk throughout the day, but at tea time – around the hour of 4pm, a little sweet treat or savoury dainty might make an appearance if you are lucky.


IMG_9933

It wasn’t always the case. In fact it was Charles II wife, Catherine of Braganza from Portugal, who started the trend of tea drinking in the seventeenth century. From the English royal court it spread to London’s coffee houses and from there into the homes where civilised tea parties would take place.

IMG_9952


If you want a no fuss cake that is easy to whip up, moist and produces delicious baking smells when cooking then look no further. This banana, cinnamon and nutmeg loaf won’t win prizes for appearance in ‘The Great British Bake Off’ but what it lacks in appearance it makes up for in taste.


IMG_9941

So put on the kettle, pour yourself a cup of tea in your favourite fine bone china teacup and sit back and relax with a slice or two of this moist banana, cinnamon and nutmeg loaf.


Happy Days.


IMG_9955


Banana, Cinnamon and Nutmeg Loaf

2 eggs, beaten

90g butter

150g light Muscovado sugar

4 bananas, mashed

1/2 tsp cinnamon

1/4 tsp fresh grated nutmeg

250g self-raising flour

1. Preheat oven to 180 degrees.

2. In a large bowl mix the eggs, butter (which has been at room temperature) and sugar together and when it is smooth add the mashed banana, cinnamon, nutmeg and flour. Stir in throughly. I use a hand whisk but arm power works equally well if you do not have one.

3. Grease your non-stick loaf tin. I don’t tend to line my tin as I find that the loaf easily comes out of the tin when cooked.

4. Place in the oven for 45 minutes. It is done when you place a sharp knife into the centre of the cake and it comes out clean.

5. Place on a rack to cool slightly.

It is lovely to serve warm but equally lasts well for a few days.