
Up in my old neck of the woods there is a fantastic restaurant that I love to visit whilst catching up with friends. It goes by the name of Granger & Co, owned by the Australian chef Bill Granger. Bizarrely I have never purchased or been given any of Bill’s cookbook (sorry Bill – take note friends and family ;o) but if any of the dishes at his restaurant are to go by I really ought to get my hands on some copies. The restaurant is always heaving and it’s important to note that they don’t take reservations, so it is always best to go with plenty of time in hand as there may be a wait – max I have ever waited was 20 mins.
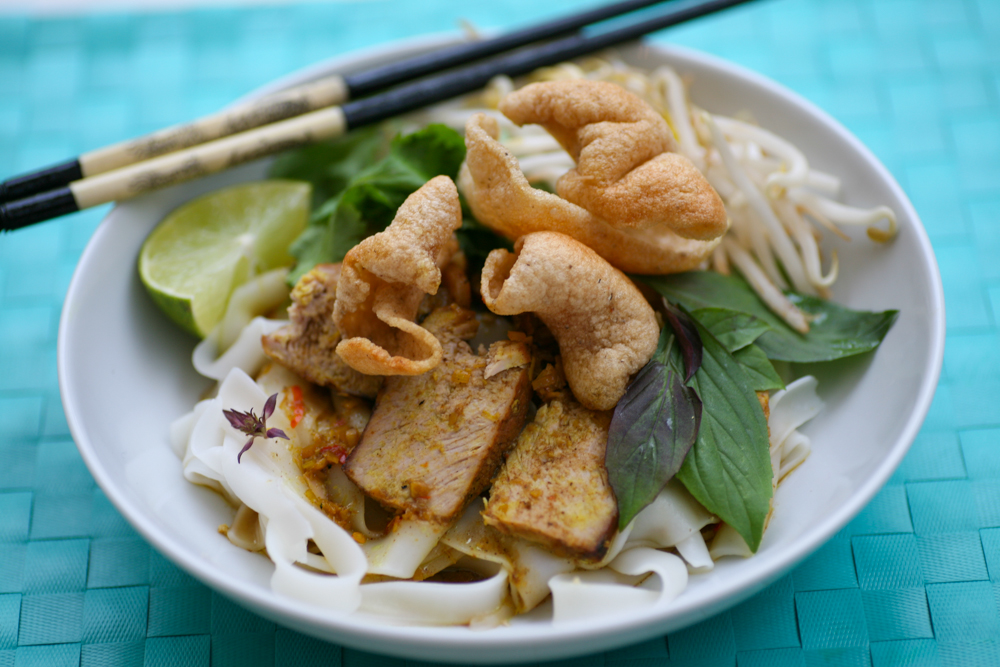
The other day my lunch companion and I were seated to a table immediately – we were in luck – and then cast our eyes over the menu, which quite frankly has all the types of dishes that I would like to eat in a restaurant. Delicate, fresh, exotic, great flavour combinations and healthy, the menu appeals to anyone with a love of food and flavours. I actually found it hard to make a decision as there were so many things that appealed. I opted for a Vietnamese inspired salmon salad – mainly for two reasons: firstly I have a bit of a ‘thing’ going on for Vietnamese cuisine at the moment which you’ve probably noticed and secondly I was curious to see how the dished compared to those I actually ate in Vietnam recently. It was also light and healthy, which was a bonus!
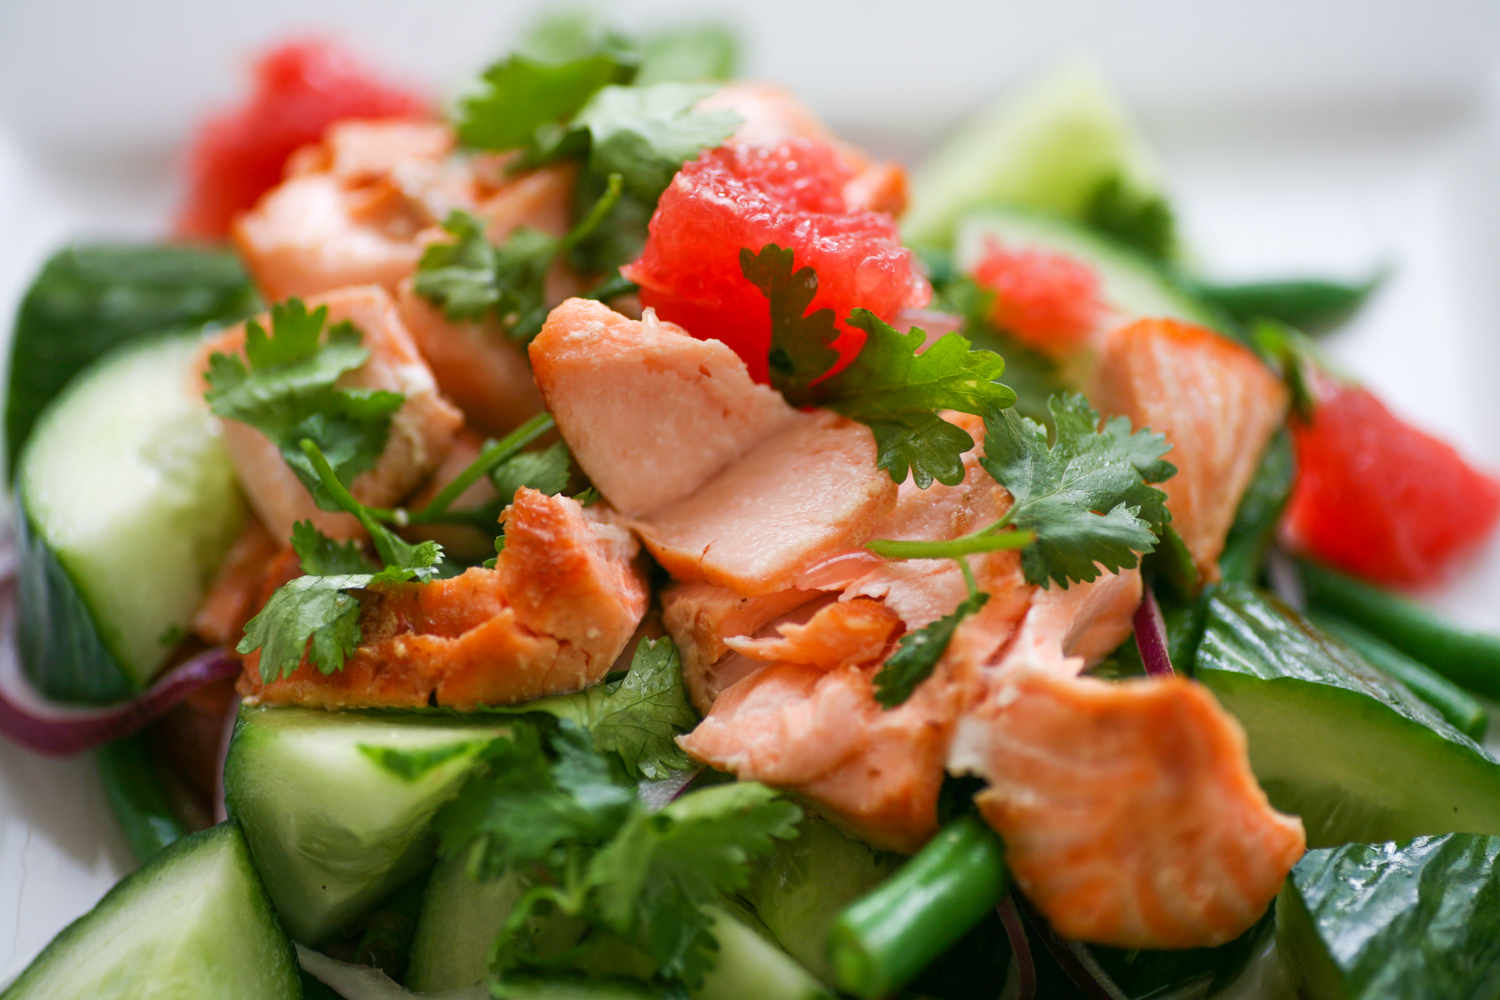
It is no exaggeration but every mouthful was an utter delight. Making a mental note of what I was eating I was determind to replicate a similar dish at home and share it with you. I don’t know exactly what Bill used in the dressing but I have made my own twist on the dish. I have cooked it many times since and the response has been really positive. Aside from the red grapefruit, even my seven year old really loves the dish. As alternative you could always replace the red grapefruit with fresh mango.
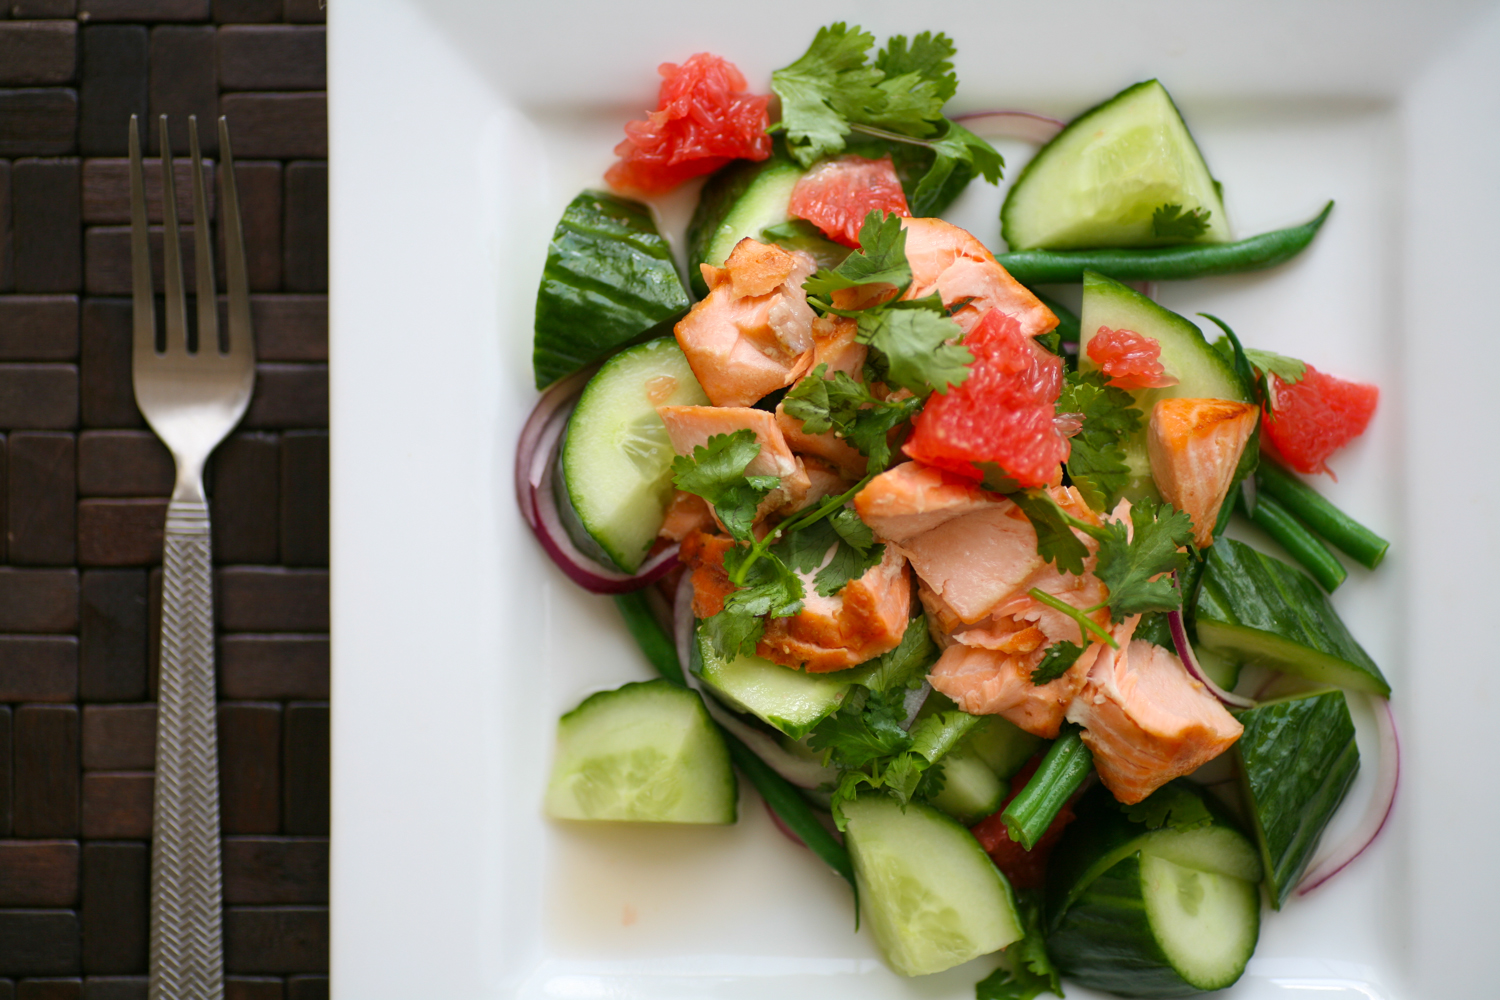
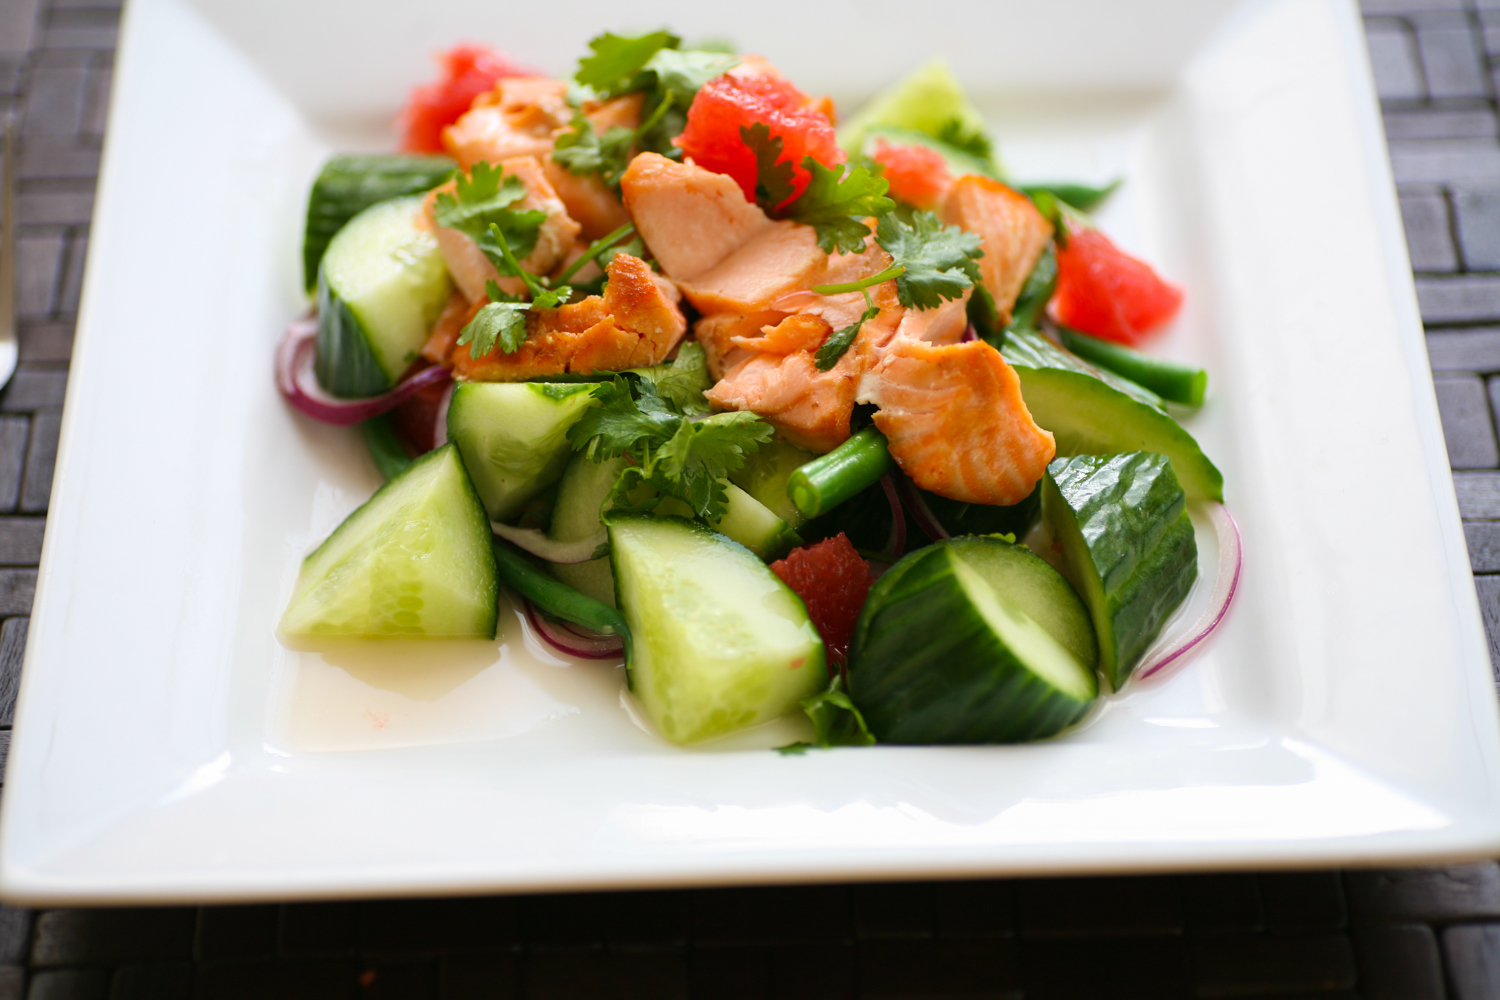
Vietnamese inspired Salmon, Cucumber, Red Onion and Grapefruit Salad
Serves 4
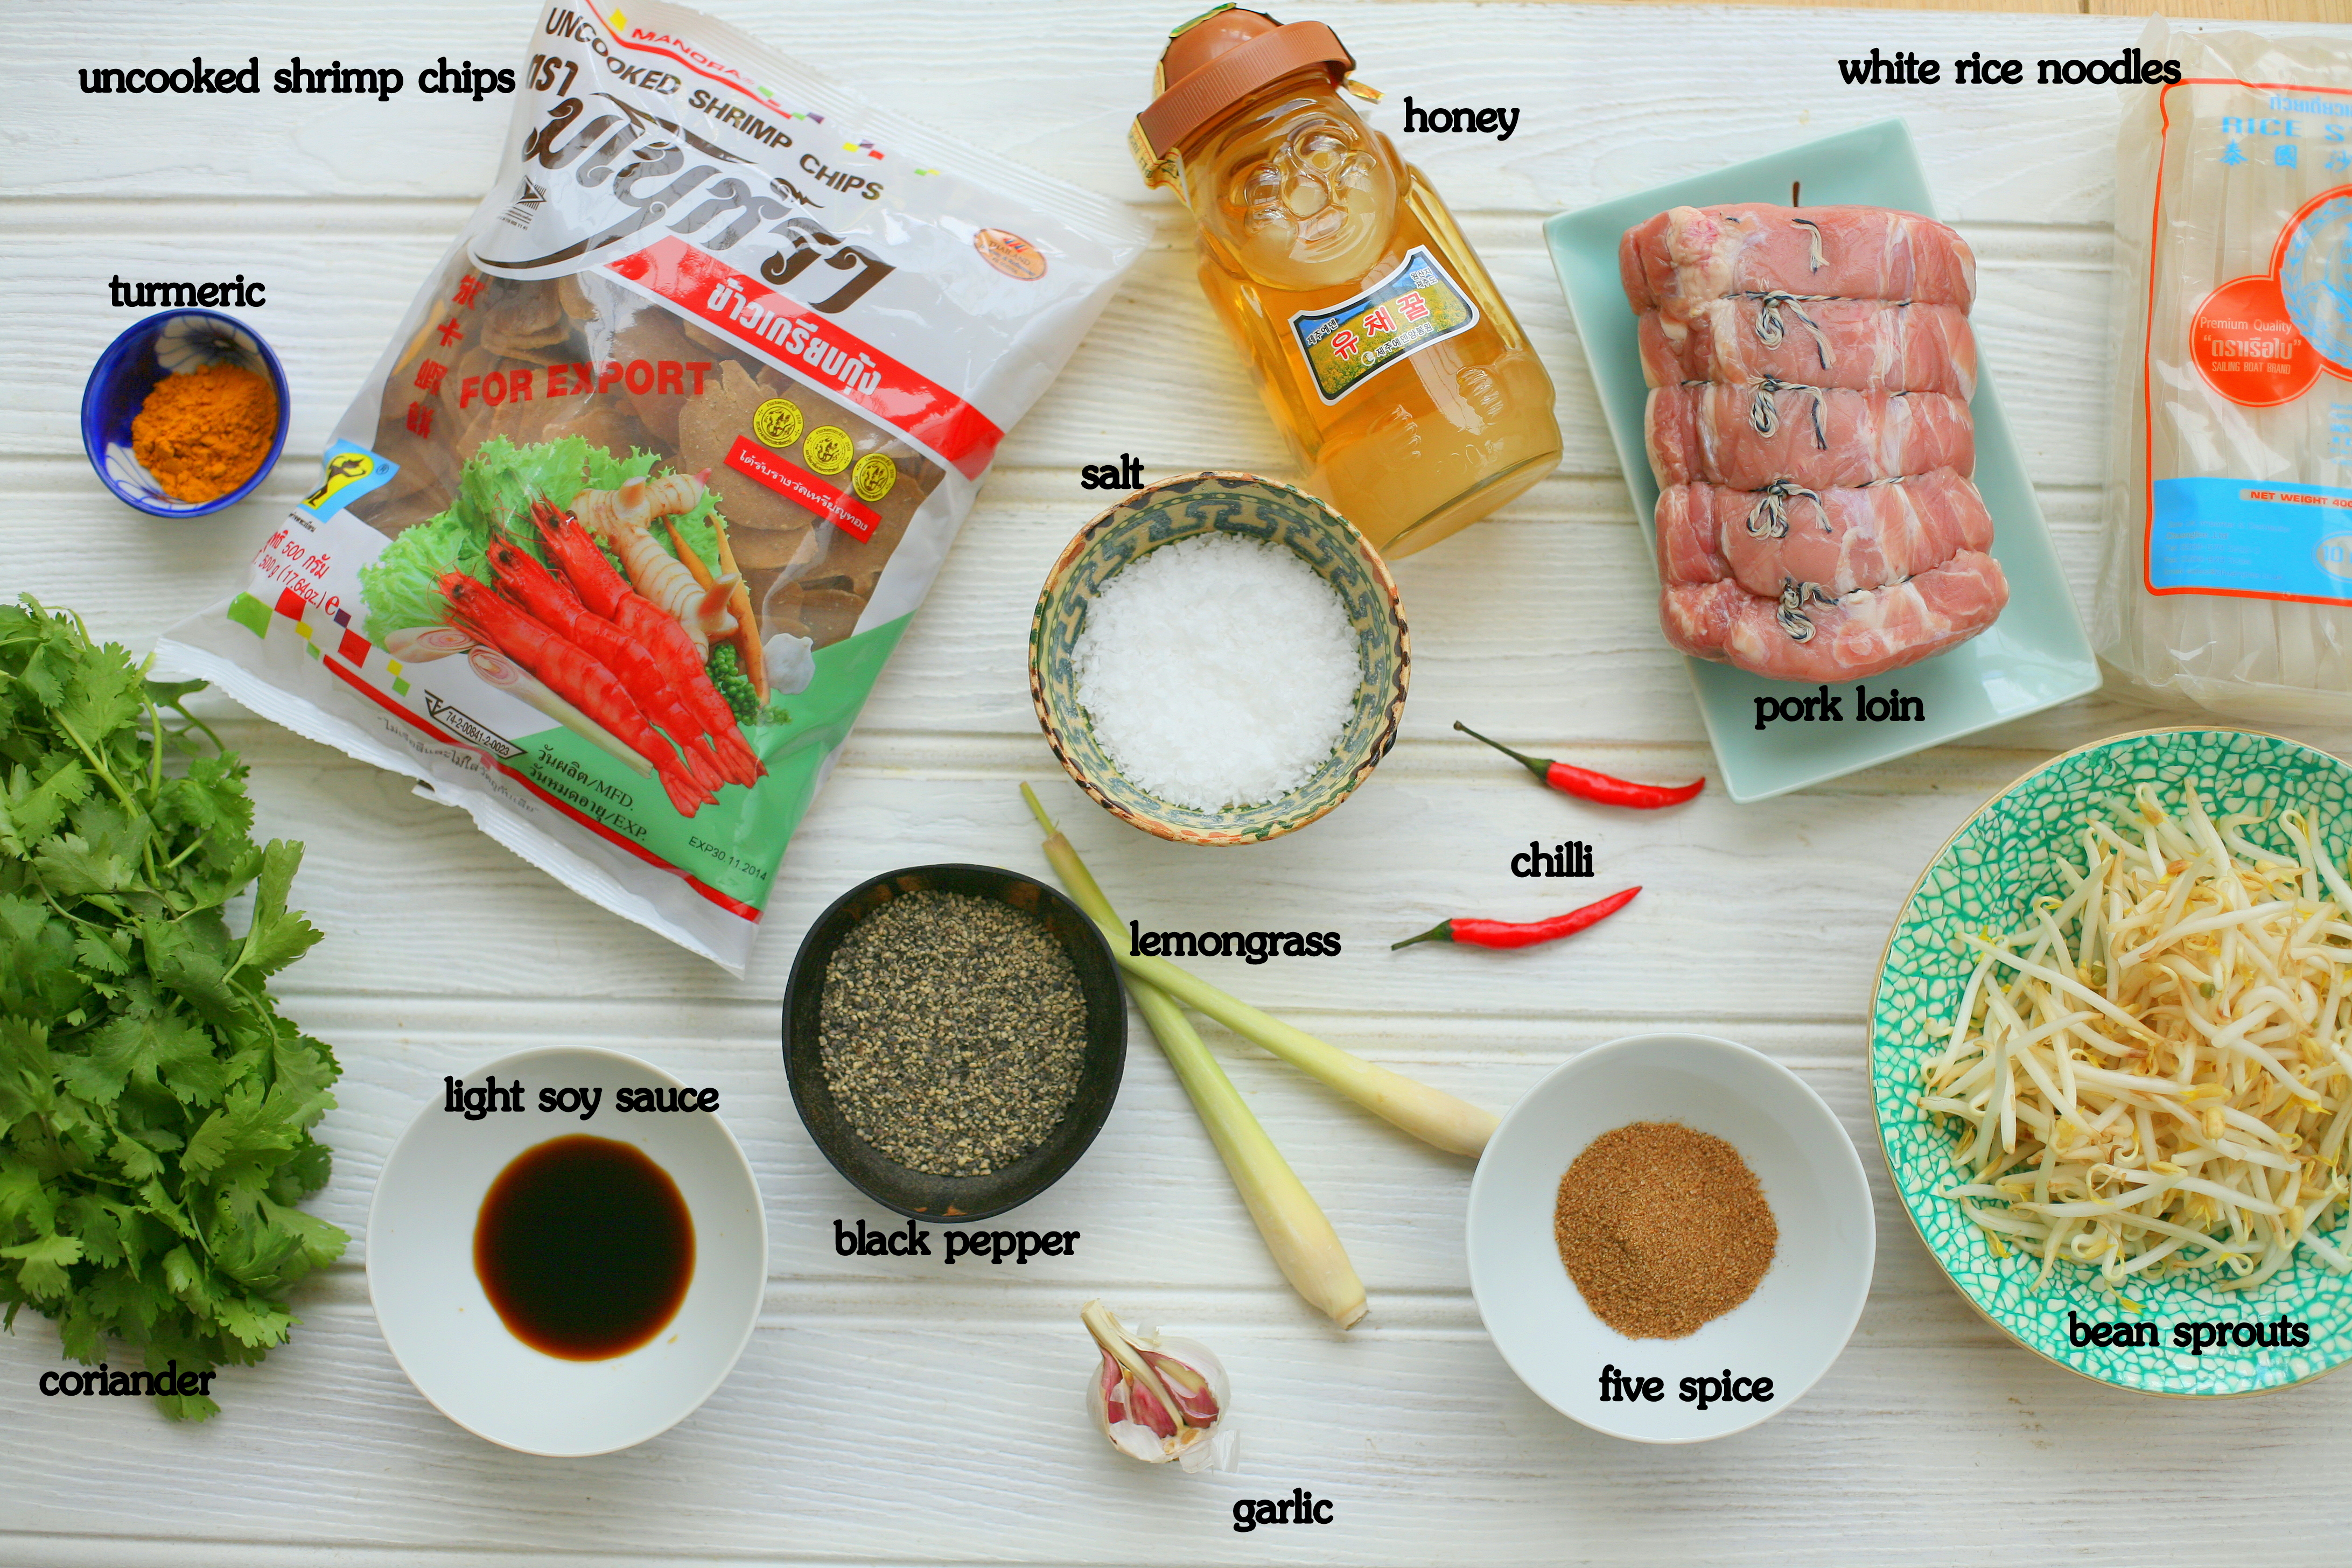
4 salmon fillets
2 tbsp light soy sauce
2 tbsp runny honey
1 tbsp sesame oil
*****
2 cucumber, sliced at diagonal angles (see photos)
1 red onion, finely sliced
1 red grapefruit, chopped into bite sized pieces
200g trimmed fine green beans
1 large handful of fresh coriander
*****
2 tbsp mirin
2 tbsp fish sauce
1 tbsp rice vinegar
2 tbsp caster sugar
2 limes, juice only
1. In a bowl place the salmon fillets and add the soy sauce and runny honey and using your hands coat the salmon pieces and leave to marinade in the fridge for 30 minutes.
2. Preheat your oven to 170 degrees.
3. In a frying pan heat the sesame oil and when hot add the salmon skin side down to begin with. Literally allow to bronze slightly for a minute and then turn over gently and leave for another minute. You want to have it so the outside is delicated bronzed but not cooked all the way through. It can begin to turn a lighter pink but you want the remainder of the cooking to take place in an oven gently.
4. Spread out a large piece of tin foil and place the salmon pieces in the centre, making sure not to break them up. Add the remaining marinade from the bowl over the salmon. Now you need to create a Papillote effect. It’s very straightforward – all you need to do is create a salmon parcel making sure all the foil edges are closed up so that no air can escape and there is some space above the salmon so don’t enclose it too tightly.
5. Place the salmon parcel in the preheated oven for 15 minutes, by which stage it will have be cooked through and ready to crumble gently on the salad.
6. Whilst the salmon is cooking steam the green beans for a minute or two. You want to make sure they continue to have a good crunch but that the bite is taken off a little with the steaming. Equally you could boil them for a minute and then drain under cold water.
7. Add the green beens to the cucumber, red onion, red grapefruit, fresh coriander and place a good helping on eat plate.
9. Add the mirin, fish sauce, rice wine vinegar, caster sugar and lime juice to create the marinade. Taste to check you have the right balance for you.
8. When the salmon is ready remove from the oven. Gently remove the skin, which will come away easily and place a salmon fillet on the top of each salad, allowing it to crumble slightly. Pour a little of the marinade over the fish and salad and serve immediately. Place the remaining marinade in a small jug for guests to add more should they wish.


