Fried Indian Spiced Aubergines

IMG_9073


After the excessive eating around Easter time, which always happens when my family gets together for a few days, it was time to detox a little and by that I mean eat vegetable-only lunch and suppers. If you are a vegetarian, eating and cooking Indian food holds so many delicious possibilities, in fact it would be really easy to be a vegetarian in India as all the vegetable dishes taste so good and in many cases better than their meat and fish counterparts. Anyway after a few days of worthiness we did cook one dish, or perhaps I should call it a snack, that was perhaps a little less healthy – as they are fried – but are very addictive.


IMG_9061

They are incredibly moorish and the perfect accompaniment when eating rice/chapati and dal. The trick is to eat them within a couple of minutes of being cooked as they are not as tasty once they become cold. When eating Indian food with my family at home I tend to eat with my right hand – why? – well I find the food actually tastes better, although be careful not to over eat as it is easy to eat more this way ;o). Eating a thicker dal (not the overly soupy kind) and chapati with these fried spiced aubergines is one of lives pleasures. Have a go and you’ll know what I mean. They may not be pretty but they do taste rather good.

IMG_9070

To cook these little beauties follow these simple instructions:


Fried Indian Spiced Aubergines

4-6 people depending on the size of your aubergine

1 aubergine

100g chickpea/gram flour

100ml water

1/2 tsp chilli powder

1/2 tsp turmeric powder

1 tsp salt

2 tbsp poppy seeds/sesame seeds

2 tbsp vegetable oil


1. To make the batter mix the flour and water together. You want to get the right consistency – not too watery and not too thick so add a little more water/flour as you see fit.

2. Add the turmeric, chilli powder, poppy seeds/sesame seeds and salt and mix into the batter.

3. Slice the aubergine into thin circles – approximately 1cm in diameter. If they are too thick they will not cook through properly.

4. Place the aubergine slices into the batter, a few at a time.

5. Add the vegetable oil to the frying pan on a medium heat. When it is hot add a few of the aubergine slices. Fry on both sides for around 3 minutes per side.

6. Once bronzed place carefully on some kitchen roll and serve immediately with more salt as required.


Mustard, Coconut and Colombo Spices Salmon Curry

IMG_8841

A couple of weeks ago I was approached on behalf of Maison Maille the purveyor of fine mustards, oils and vinegars, who have been in existence since 1747 and who have recently opened their first London store at 2 Piccadilly Arcadeto be part of the ‘Maille Culinary Challenge‘. It’s open for food blogger and food reviewers and as such I thought I would throw myself into the challenge and create a dish using one of their products in a recipe that I have devised especially for them and which I hope my readers will try and make.

IMG_8852

The recipes entered will be judged on four main criteria: creativity, originality, taste and visual appeal. I hope the curry I have created ticks all the boxes and in addition is easy for others to attempt to make at home. There is nothing more frustrating when you see a fabulous recipe but to create it involves so many steps and ingredients that it actually puts you off.  I want my recipes to be user friendly and to actually encourage people to cook and try new flavours and tastes. There is a whole flavour universe out there waiting to be sampled so be courageous and follow the simple steps below to try this recipe.

IMG_8863

Using mustards, in fish curries in particular, is very common in Bengal where my husband originates from and so I thought that would be a good starting point when coming up with a recipe. I was immediately attracted to the mustard that had coconut and Colombo spices as I thought that they would work really well in a curry. Unlike some coconut curries, which are very creamy, this curry is far more delicate and light and perfect for spring time. I was also conscious not to suppress the wonderful flavours of the mustard, so chose a range of ingredients that I believe complement the mustard perfectly. I hope you agree. Do leave a comment below and let me know what you think. Let’s see what the judges say. Fingers crossed!

IMG_8877

Mustard, Coconut and Colombo Spices Salmon Curry

Serves 4

3 tbsp vegetable oil

1 tsp nigella seeds

2 green chillies, halved lengthways

10 fresh curry leaves (or dried if you cannot find fresh)

15g of fresh ginger, cut into wafer thin batons

2 spring onions, sliced at an angle

1 tsp ground turmeric

600g salmon fillets (5 pieces)

200ml boiling water

2 tsp Maille Noix de Coco et Spices Colombo

1 tsp salt

1/2 tsp caster sugar

1. Gently heat a wide deep pan or karahi with 3 tbsp of vegetable oil. When it is hot add the nigella seeds and move them around the pan and then immediately add the fresh chilli, curry leaves and turmeric. Stir together and then add the ginger and spring onions. Toss in the pan for a minute.

2. Add the salmon fillets – skin side down – and leave them to gently bronze for a further minute. Do not keep touching them as you do not want them to break up.

3. Mix the Maille Noix de Coco et Spices Colombo with 200ml of boiling water and stir thoroughly. Add to the pan so that the salmon fillets are virtually covered.

4. Add the salt and caster sugar and stir gently into the sauce. Spoon some of the liquid onto the salmon and then place a lid on the pan and leave to simmer for 10 minutes. Continue to spoon the liquid onto the salmon fillets a couple of times during the ten minutes. (Depending on the thickness of your salmon the fillets should be cooked by ten minutes. If, when gently cutting into the fillet, it looks a little pink leave for a further couple more minutes with the lid on the pan).

Serve with basmati rice.

******************************

If you are not going to be in London town anytime soon you can order from Maille online HERE if you are based in the UK or France. A few products are on the US site which you can find HERE with more to be added next year.

Thank you to Maille for kindly providing me with the mustard for this post and also the ‘sweet apricot and curry mustard’, which I hope to use in a new recipe soon. 


Spiced Chickpea and Coriander Soup and Spinach Pakoras

IMG_8826

 I had some fresh spinach in the fridge what was beginning to turn so thought that making some spinach pakoras would be the perfect way to save them and accompany my homemade chickpea and coriander soup. I always have tinned chickpeas in my store cupboard as I find them so useful to throw into a number of dishes, be it a casserole, soup or salad. Similarly I had some fresh coriander that needed eating so decided to throw them into the soup as well to add a lovely balance.


IMG_8808

This whole meal takes a short time to prepare so is great to cook for a light lunch or a speedy supper when you have had a hard day at work. The soup does have a very satisfying kick, so if you prefer a less chilli buzz just reduce the amount of dried chillies you use. If you do use the same amount as me you’ll find that the yoghurt softens the chilli a little making the soup very satisfying and delicious.

IMG_8835


Pakoras – vegetables dipped in a spiced batter and then fried – are a hugely popular snack in the Indian sub-continent. Whilst perhaps not the most healthy out there they are extremely moorish and addictive.  In India you will find numerous street stalls selling them in little paper cones, similar to the one that I prepared for the photos above.  They are rather similar to my coriander fritters which I posted a couple of years ago on this blog – see here. Get creative and try making them with a mixture of vegetables. I’ll show you how to make different types in time. Watch this space.


Spinach Pakoras

Serves 4

75ml water

80g chickpea flour

1 pinch of baking powder

1 tsp turmeric

1/4 tsp Kashmiri chilli powder

1/2 tsp salt

160g fresh spinach, roughly chopped

vegetable oil for deep frying

1. To make the batter mix the water, chickpea flour, baking powder, turmeric, chilli powder and salt together in a bowl. If the batter is still a little too thick simply add an extra drop of water.

2. Add the fresh spinach leaves to the bowl of batter and mix in thoroughly.

3. In a deep pan or karahi heat some vegetable oil. When it is hot – you can test by placing a pinch of flour into the oil and if it fizzes then it is ready, add a tablespoonful of the spinach batter. Depending on the size of your pan you can do a number at a time. Leave the pakora to cook for a minute before turning over for a further minute. They should have gently bronzed by this time.

4. Place on a plate with kitchen paper to soak up any excess oil. Eat whilst still hot.

*******************

Spiced Chickpea and Coriander Soup

Serves 6

4 tsp coriander seeds

2 tsp cumin seeds

5 large dried red chilli

2 tbsp desiccated coconut

****

4 tbsp olive oil

650g fresh tomatoes, boiled to remove the skins

50g fresh coriander

2x400g tins of chickpeas, drained and pureed using a hand blender

1 tsp turmeric powder

900ml water

6 tbsp yoghurt

juice of 1 lemon

salt to taste

1. Place the cumin and coriander seeds and dried red chilli in a warmed up frying pan and move around the pan for a minute to realise the flavours. Place into a spice grinder along with the desiccated coconut and whizz to form a powder.

2.  Having removed the skins of the fresh tomatoes (I find boiling them for a couple of minutes allows the skins to be easily removed) place them in a blender along with the chickpeas and fresh coriander.

3. Heat the olive oil in a large deep pan and when it is hot add the spiced powder along with the turmeric powder and stir around for 30 seconds before add the pureed chickpeas/tomatoes and coriander.

4. After a minute add the water and stir together well. Simmer on a medium heat for 15 minutes and then add the yoghurt, lemon juice and salt to taste.

Serve with the spinach pakoras on the side for a tasty vegetarian meal. I often tend to make chapatis as well to dip into the soup.


Boneless Southern Indian Chicken Curry

IMG_8635

I am guessing that most households will eat chicken at some point in an average week and whilst I do cook a number of chicken curries on the bone, it is always good to have some boneless chicken curries up your sleeve that you can whip together relatively quickly on a given evening. Cooking meat on the bone allows the meat to be more tender and succulent, but that said I know that having bones in a meal can really put some eaters off. So I hope this curry will be a happy compromise in that it is tasty, quick and bone free, therefore perhaps appealing to a wider audience.

IMG_8632

Whilst it does contain coconut milk the tomatoes balance out the sweetness to the extent the coconut doesn’t dominate this dish, instead giving it a subtle creaminess. I also find that adding just two chillies allows my eldest child, who is 8 yrs old, to really enjoy eating it as she does not find it too spicy. So if you find yourself wondering what to do with some chicken breasts in the fridge over the course of next week give this south Indian curry a go, you won’t be disappointed.

Boneless Southern Indian Chicken Curry

Serves 4

650g chicken breasts or thighs, cut into bite sized morsels

1 level tsp of turmeric powder

1/2 tsp of Kashmiri chilli powder

2 tbsp vegetable oil

1 tsp black mustard seeds

1 red onion, chopped

2 inches of ginger, peeled and finely grated

4 garlic cloves peeled and finely grated

************

curry paste

2 green chillies, chopped

1 red onion, chopped

3 garlic cloves, chopped

1 inch of ginger, peeled and chopped

1/2 tsp of black peppercorns

1/2 tsp ground cumin

1 tsp ground coriander

2 tbsp water

****************

5 tomatoes, peeled, skinned and chopped (put in boiling water for 3 mins then peel easily)

 2 limes, juice

250 ml coconut milk

salt to taste

fresh coriander leaves to serve

1. First marinate the chicken breasts at room temperature for up to an hour. Mix thoroughly with the turmeric and Kashmiri chilli powder and cover.

2. Prepare the chopping and grating of the onion, garlic and ginger for both the paste and the sauce and place to one side.

3. Place all the curry paste ingredients in a blender and blend into a smooth paste. Add a little more water if it needs help reaching a smooth quality. Place to one side.

3. Heat up a large pan with the oil and when it is hot add the mustard seeds. They will begin to pop within about 20 seconds  – move them around the pan to release the fragrance and then add the onion and stir into the oil and seeds. Cook the onions for 5 minutes, by which time they will begin to soften before adding the garlic and ginger. Cook for a further minute before adding the curry paste and stiring thoroughly. Let simmer away for a further couple of minutes.

4. Add the chicken and stir into the sauce so that it is coated and begins to cook. After 8-10 minutes the chicken should have turned white, with no pink bits remaining, and will begin to bronze in places.

5. Add the softened tomatoes (you can remove the pips but I tend to use it all up, bar the skin!), lime juice and coconut milk and simmer for a further 20 minutes to allow the flavours to work together and for the chicken to be thoroughly cooked through. Season to taste.

If the sauce needs to be juicier then simply add a little water. If it is too juice then cook with the lid off for a little longer.

Serve with fragrant rice or some Indian flat bread.

IMG_8629


Chana Masala at L’atelier des Chefs by St Paul’s Cathedral

IMG_8345

A stone’s throw away from the iconic St Paul’s Cathedral in the heart of the city of London you will find Foster Lane and nestled down it at number 10, the cookery school and cook shop, ‘L’atelier des Chefs‘. This is one of two – the other is in Wigmore Street – soon to be three locations of the cooking school, with a further 17 across the water in France.

IMG_8368

Originally set up by two French brothers, Nicolas and Francois Bergerault who wanted to bridge the gap between chefs and the day to day cook. The ethos of the company was to bring people back in the kitchen, around the table and share the love of cooking. The brothers have hired passionate and skilled chefs to teach cooking classes to budding food enthusiasts. Classes range from half an hour, whereby you cook one dish over a lunch time or after work, to a four hour ‘chefs masterclass’, therefore appealing to those of all standards and budget. Class sizes also range from small intimate groups to larger corporate events/team bonding; there is even a class for kids so everyone is included and encouraged.

IMG_8367

I headed down there earlier this week with my mother in tow. I enlisted the pair of us on the Indian cooking session. Whilst I am very comfortable around the spice rack and cooking Indian food, my mother, who is a fabulous cook, is slightly less comfortable cooking a curry. I was keen to see if the session would appeal to both of us.

IMG_8310

We were greeted by friendly staff who offered us teas and coffees before class began. There were seven of us in our class and we were introduced to chef Daniel Stevens who has just returned from an extended visit to Kochi in Kerala, India, where he has been working closely with Lily Vanilli and Atul Kochhar in their new joint venture, Bloomsburys Cafe, which focuses on celebrating Kerala flavour in Western style patisserie.

IMG_8290

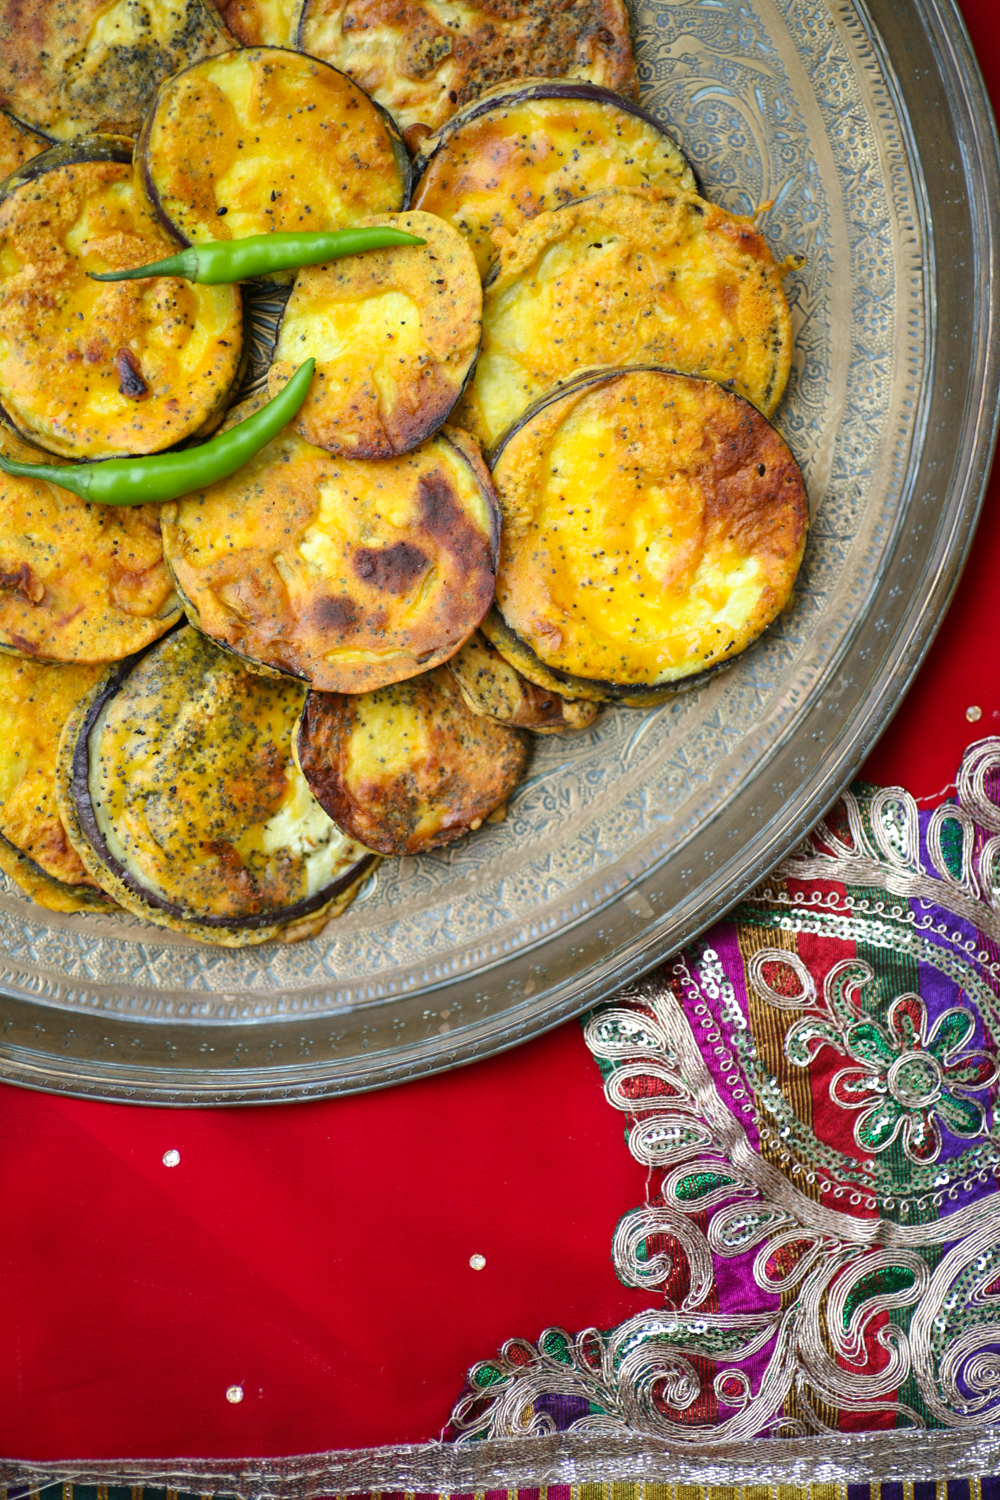
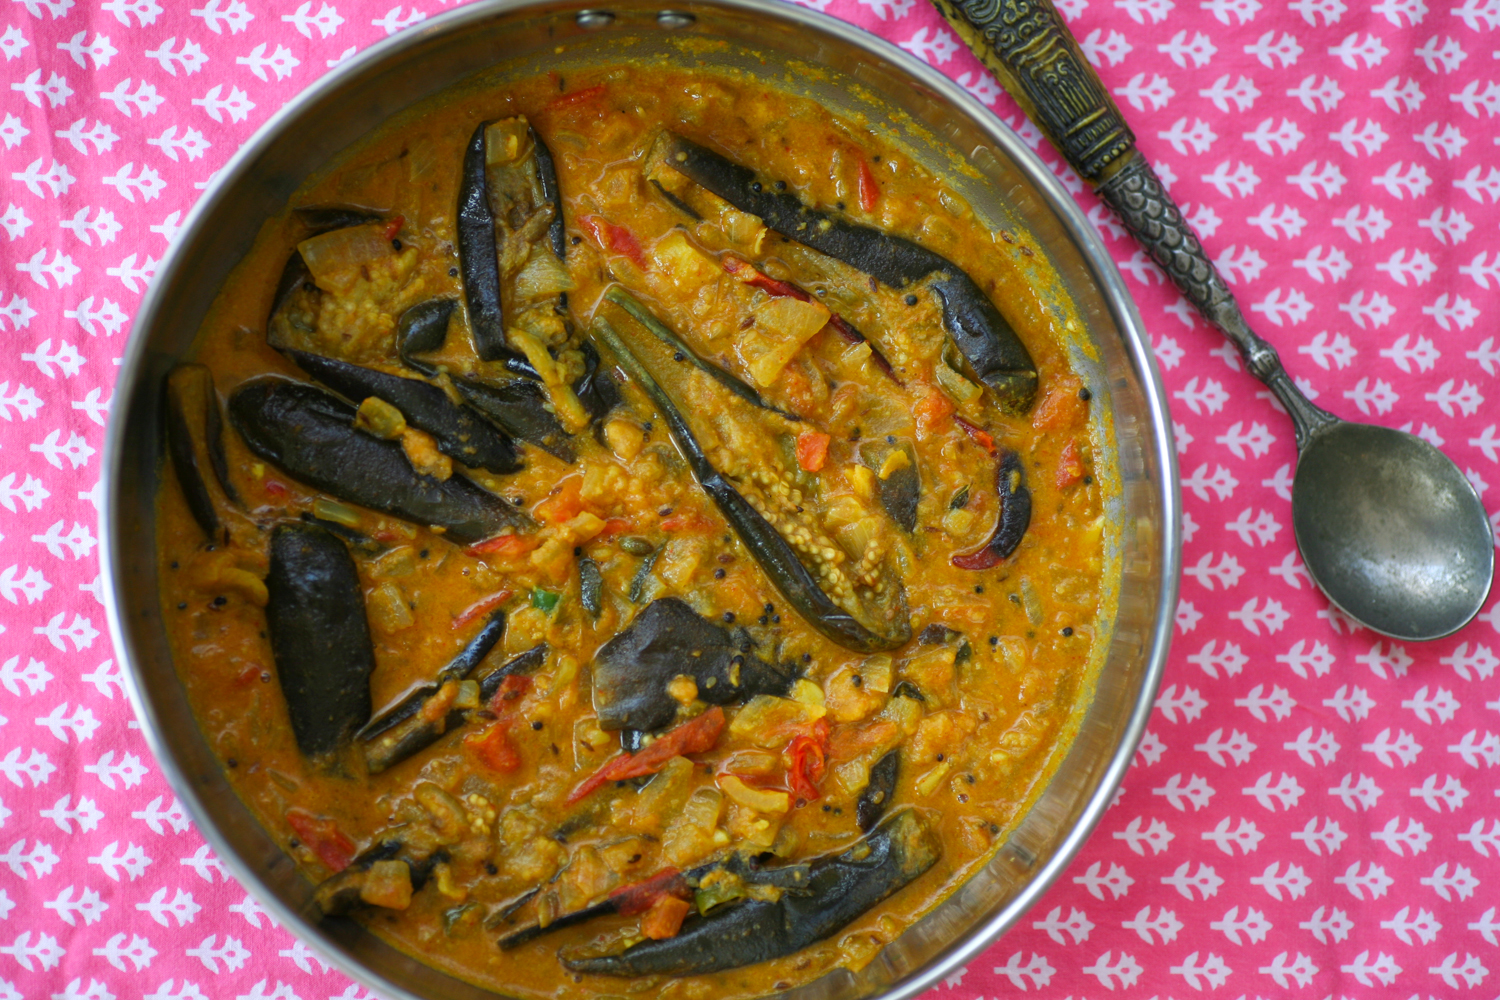
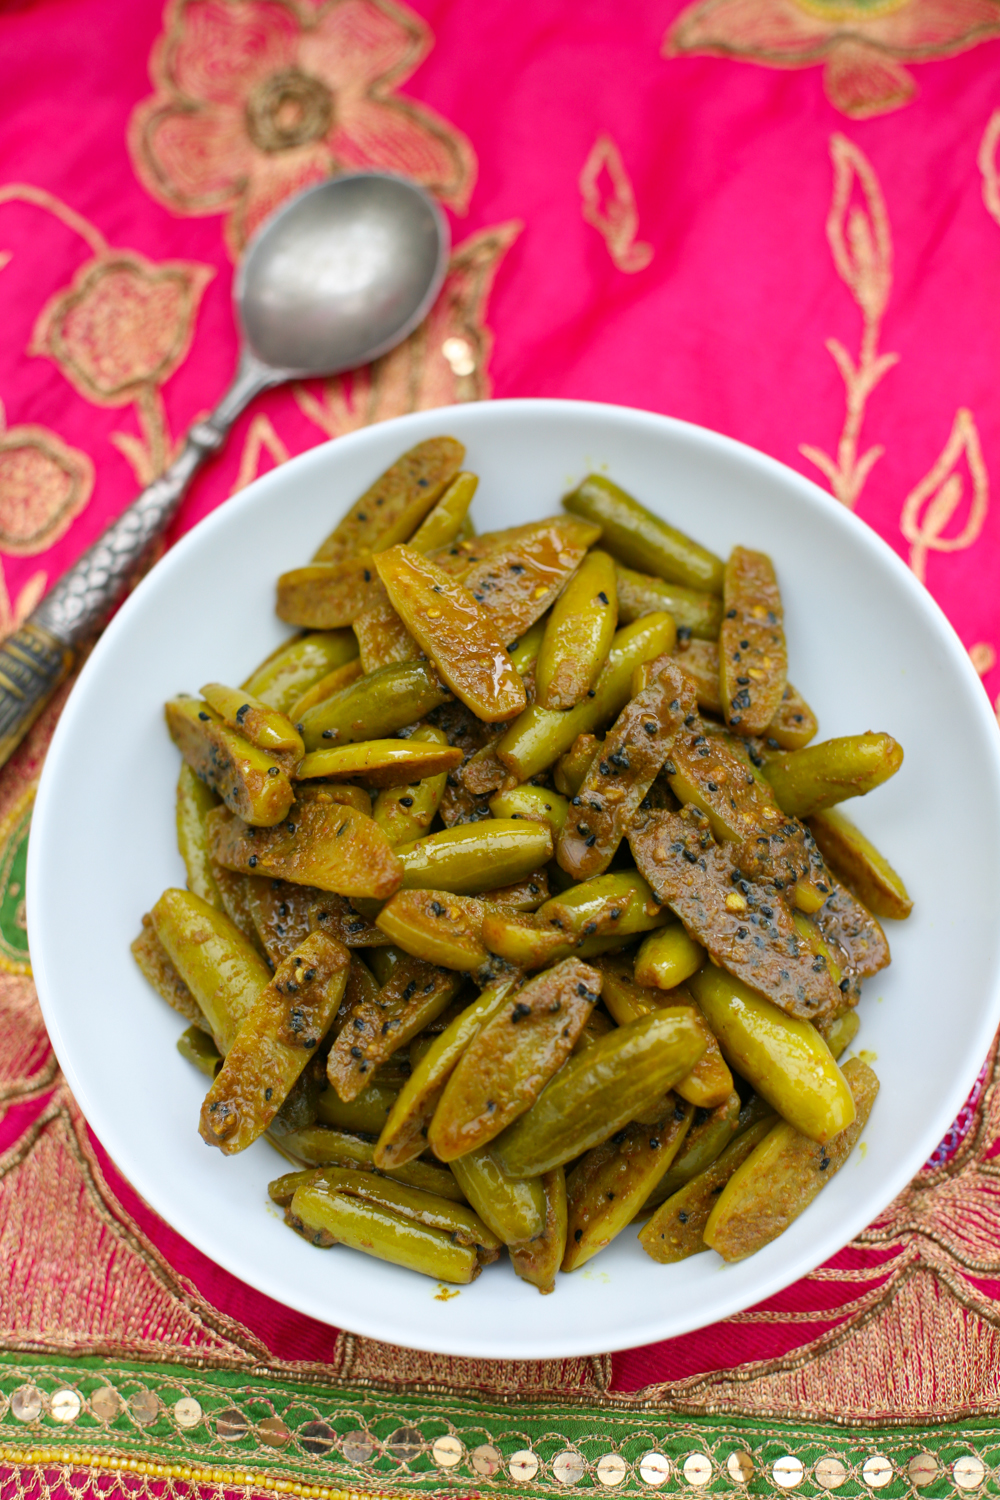
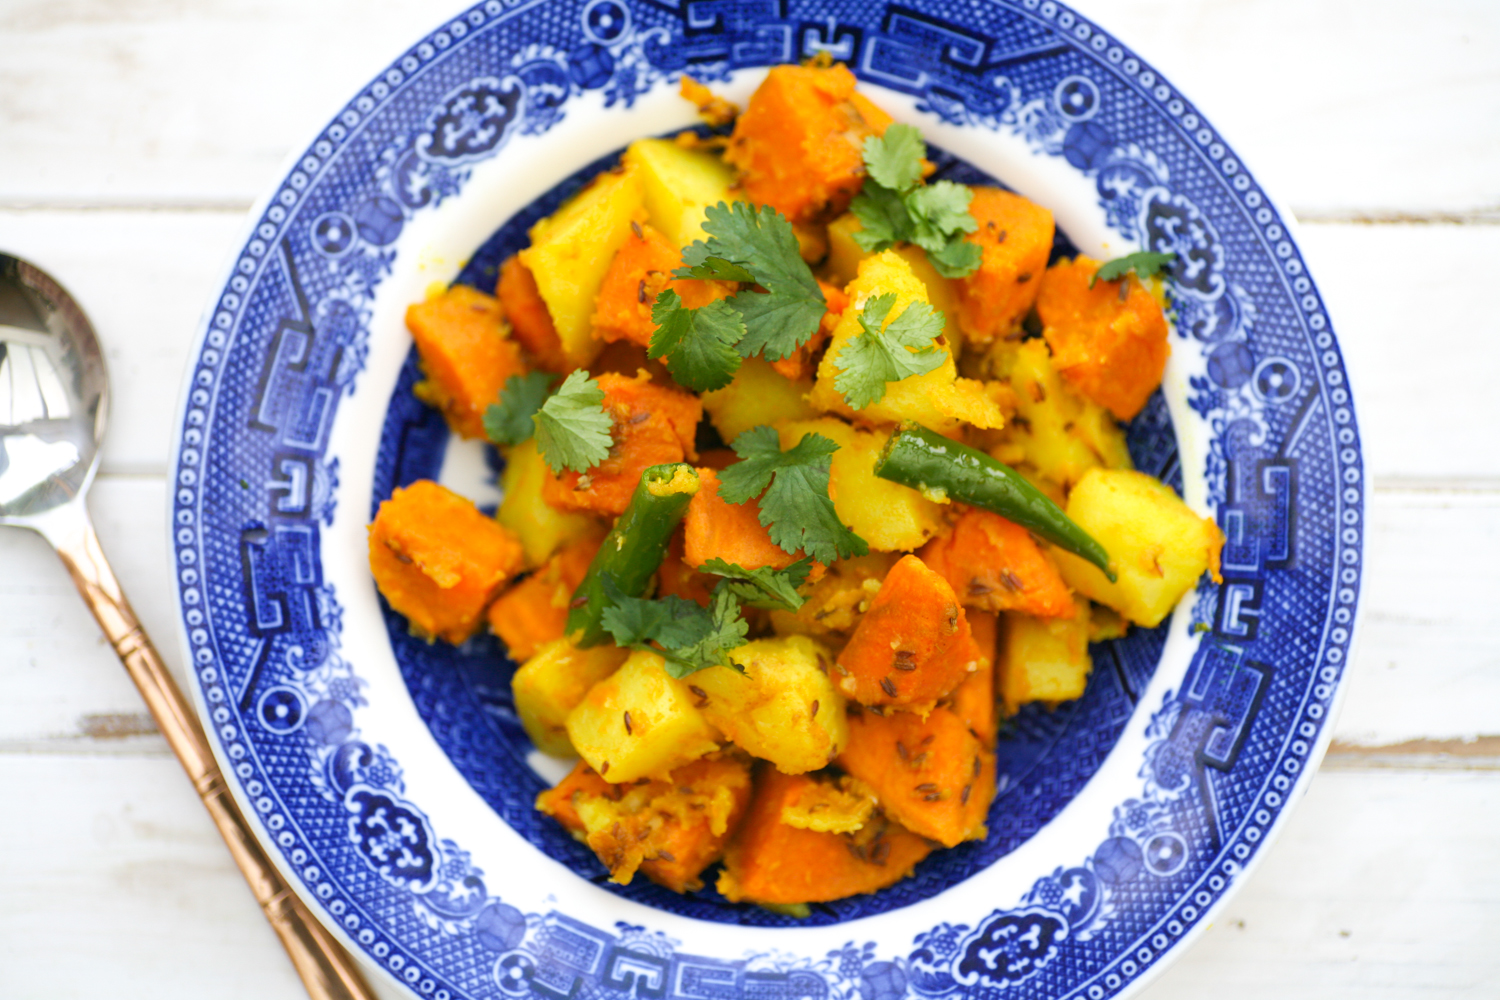
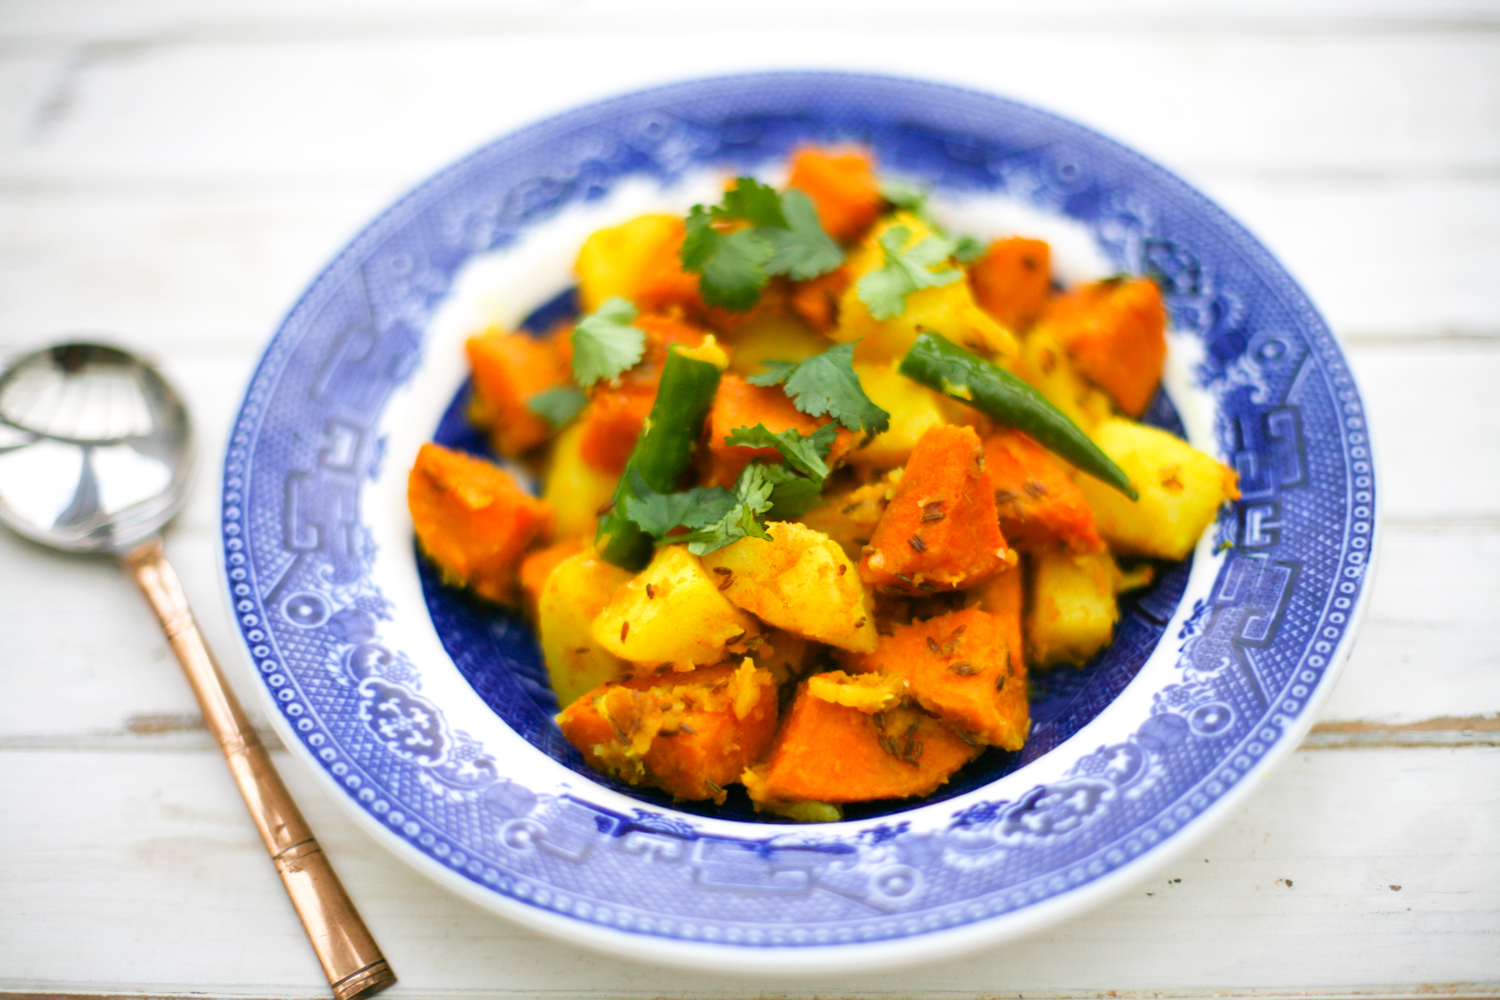
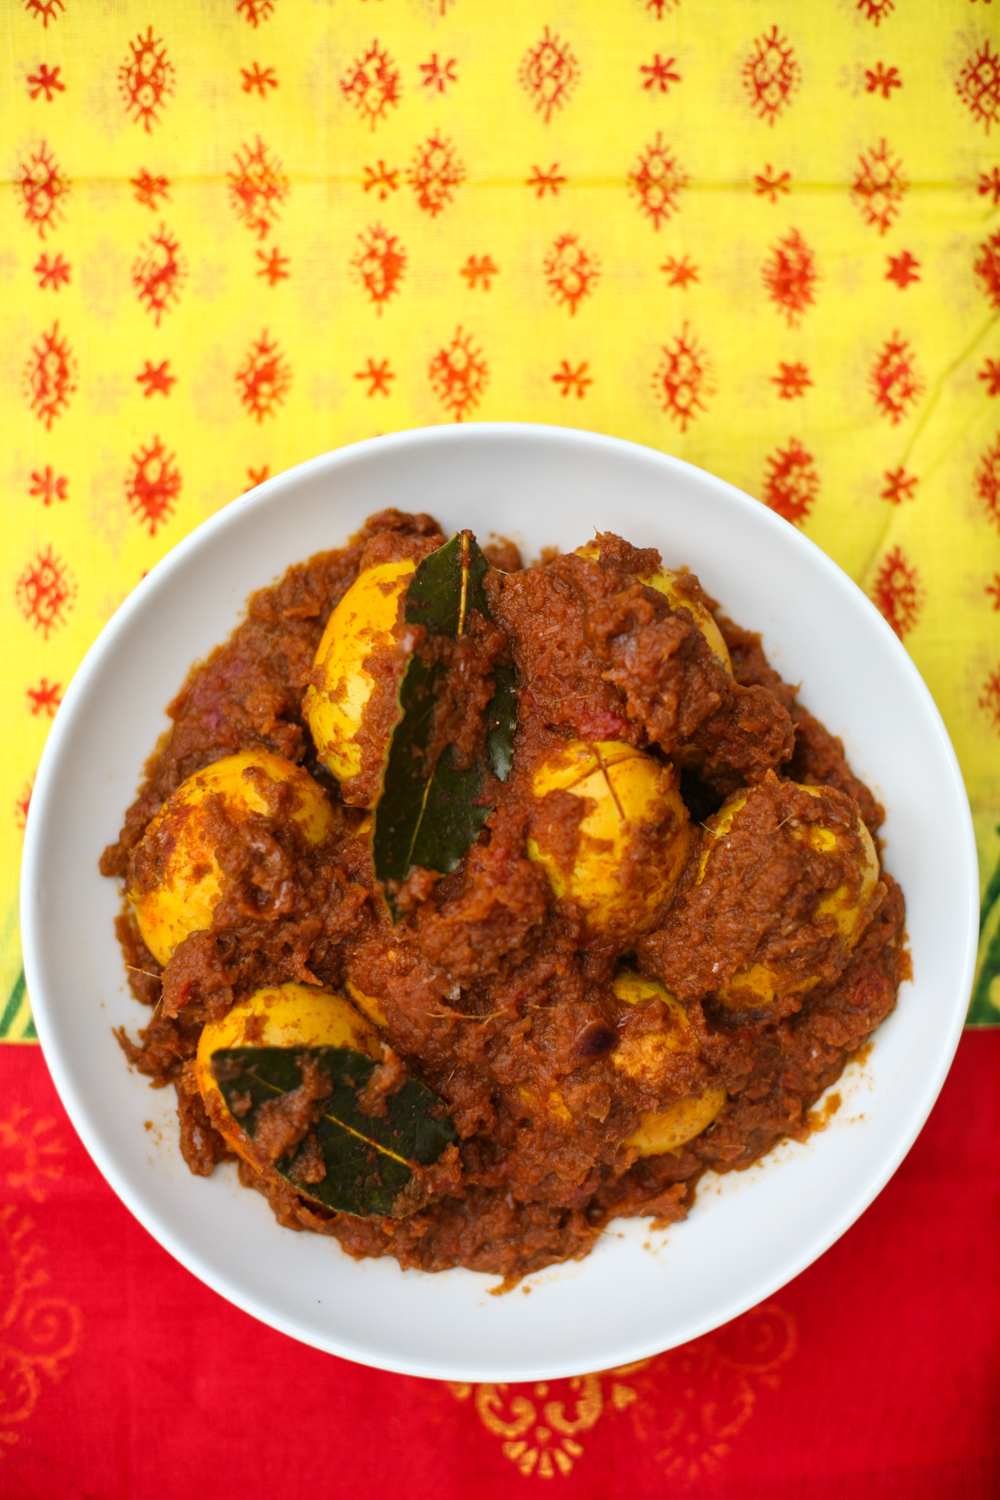
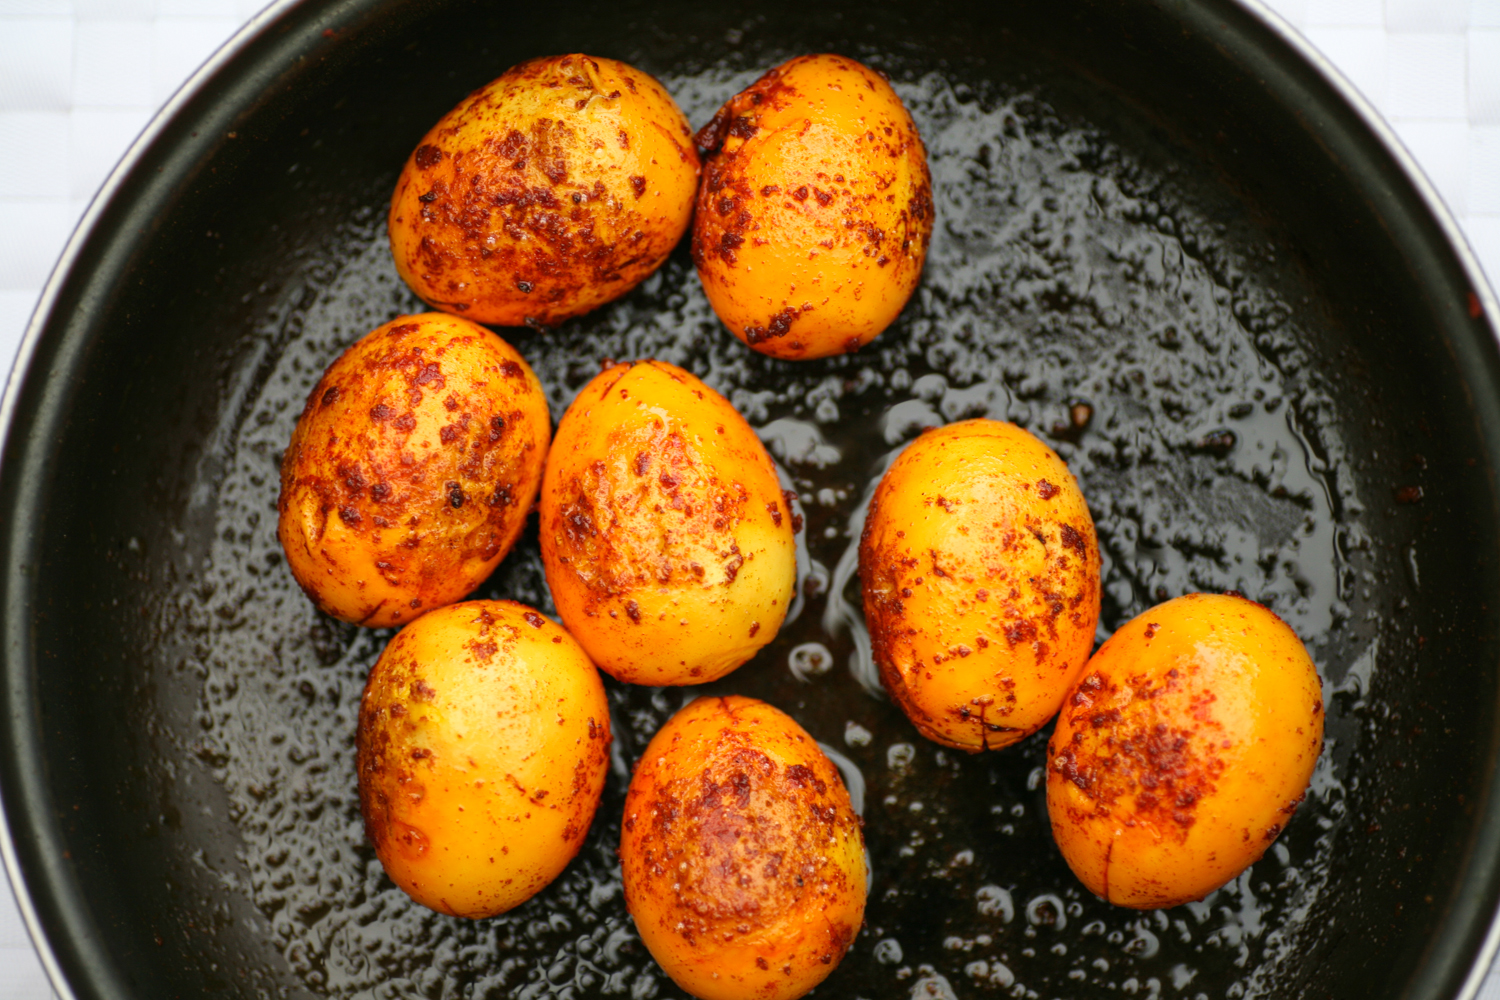
Introductions over we rolled up our sleeves, washed our hands and began slicing, dicing and chopping away. Over the course of the morning we all helped to prepare a lamb rogan josh (lamb curry), chana masala (chickpea curry), vegetable pakoras (similar to an onion bhaji) with a tamarind chutney and saag aloo (potato and spinach curry). We all took turns with stirring and adding ingredients and all tasted for spiciness and saltiness along the way. I liked how Daniel allowed the class to decide if more salt, spice, sourness or sweetness was required in a particular dish. After all Indian cooking is not an exact science like baking where exact measurements are integral to the success of the cake or bread. Indian cooking allows you to be a little flexible with measurements and a more ‘go with the flow approach’ to creating a dish – something that definitely appeals to my style of cooking.

Time raced by and after two hours we had prepared all the dishes. We all sat down on a long table, admired the curries we had created and dived in before anything got cold. We all agreed that the morning had been a real success. We had all picked up new tricks and skills and unanimously agreed that we would all be able to replicate the same dishes again in the comforts of our own home kitchens. Would we return? Most definitely. In fact a couple of my class mates were already on their third return visit and if that isn’t the seal of approval on a fun and informative cooking school, I don’t know what is.

After squeezing in second helpings we were given goodie bags to take home some more. We said our goodbyes and headed out into the rain with a glow in our bellies and a spring in our step.

Chana Masala

Adapted from the L’atelier des Chefs recipe.

Serves 4-6

250g tinned chickpeas

2 tbsp vegetable oil

3 whole cloves

1 whole cinnamon stick

3 green cardamom pods, split open

2 medium sized white onion, finely sliced

1 tsp turmeric

1 tsp red chilli powder

2 tsp ground coriander

2 inch fresh ginger, peeled and finely grated

2 whole garlic, finely grated

4 tomatoes, chopped into small bits

150ml vegetable stock

1 handful of fresh coriander

2 tsp rock salt

1 lemon, juice

1. Heat a saucepan and add the vegetable oil. When it is hot add the cloves, cardamom pods and cinnamon stick and allow the aromas to be released. After a minute add the onion to the pan and cook on a medium heat for around five minutes until it begins to soften and brown.

2. Now add the turmeric, chilli powder and ground coriander and give a good stir. Add the garlic and ginger and stir to make sure they do not burn at the bottom of the pan. Adding a very little water helps to prevent burning!

3. Add the tomatoes and allow them to soften for a few minutes before adding the vegetable stock and chickpeas and allowing the curry to simmer and soften gently. Allow the juice to soak up and if it becomes too dry then just add a little more water.

4. After ten minutes add some salt to taste and then turn off the heat and scatter the fresh coriander on top. Before serving add some lemon juice

Chilli and Mint was a guest of L’atelier des Chefs. You can find more details about the course and other courses on offer here.


Indian Aubergine/Eggplant, Peanut and Tomato Curry

IMG_8109

Have you ever been a little ambivalent about aubergine/eggplant? On the one hand loving their smooth, shiny plum coloured exterior but never really in raptures about the taste. Well my other half, Mr B, tended to fall into this category, so a while ago I set out to prove him wrong.

IMG_8072

After mutterings of ‘you know aubergine is my least favourite vegetable, I prefer greens’, he tasted one mouthful and that completely shut him up. Murmurs of approval were given between mouthfuls and a 9/10 score (yes we regularly mark our food – is that unusual?). RESULT. Surprisingly my eldest child also adored it, surprising as it does have a fair amount of chilli in it! If you don’t like chilli, but like spice, just reduce or take out the chilli in the recipe below.

IMG_8093

The combination of aubergine, peanuts and sesame seeds works ridiculously well together so much so that you will have to restrain yourself from wanting to guzzle up the whole dish. Combine that with a spiced onion and tomato sauce and you have yourself a winning dish.  So put your assumptions to one side for a moment and give this recipe a whirl and I can assure you you will be more than pleasantly surprised.  I couldn’t resist the bijou aubergines on sale at my local market but a regular sized aubergine will work equally well. Just slice the aubergine into chunky chip sized pieces, keeping the skin on of course.

IMG_8097

Indian Aubergine/Eggplant, Peanut and Tomato Curry

450g baby aubergine/eggplant (normal size is fine too), sliced lengthways or chunky chip sized if using a regular aubergine

cooking oil, enough to deep fry the aubergine

2 tbsp olive oil

1 tsp black mustard seeds

1 tsp cumin seeds

2 dried red chillies

1 small green chilli, finely chopped (optional)

5 curry leaves (fresh or dried)

1 tsp turmeric powder

1 tsp of garlic paste

1 tsp ginger paste

1 white onion, finely chopped

200g chopped fresh tomatoes

1 tsp coriander powder

1 tsp cumin powder

1/2 tsp Kashmiri chilli powder

2 tbsp salted peanuts

1 tbsp sesame seeds

150ml water

1 tsp salt (to taste)

1. If using baby aubergine/eggplant slice lengthways removing the stalk. If using a regular sized aubergine slice into chunky chip sized, again removing the stalk. Once sliced, immediately place in a pan of boiling oil to sizzle away and bronze. This should take no longer than ten minutes.

2. Remove the aubergine with a straining spoon and place on some kitchen roll whilst you prepare the next steps.

3. In a new large pan add the olive oil and when hot add the mustard and cumin seeds. They will begin to pop immediately so move them gently around the pan for 15 seconds before adding the dried red chilli, fresh small green chilli (optional), curry leaves (fresh or dried), turmeric, garlic, ginger paste and onion. Continue to cook on a medium heat for around 7 minutes by which time the onion should have nicely softened, but not bronzed.

4. Add the chopped tomatoes, coriander, cumin and Kashmiri chilli powder and simmer for a further 5 minutes, by which time the tomatoes will have totally softened and blended into the sauce. Return the aubergines to the pan and fold gently into the sauce.

5. In a small pan dry roast the peanuts and sesame seeds for a couple of minutes, making sure to constantly move them around the pan so that the heat is evenly distributed and they do not burn. They will begin to bronze at which point you need to remove them from the pan.

6. Using a spice grinder (definitely one of my most useful items I own in my kitchen) – this is the one I use – see here – grind the peanuts and sesame seeds together to form a paste.

7. Add the peanut sesame paste to the pan and stir into the curry, adding more water if necessary. As I used salted peanuts I only needed to add a little more salt. Simmer for a few minutes and serve. If cooking ahead and leaving to rest you will have to add a little more water when heating up.

Serve with rice or Indian bread and you have yourself a vegetarian – in fact vegan – treat. Try it and leave a comment below.

IMG_8116


Ivy Gourd Curry – also known as Gentleman’s Toes

IMG_7967

We all know that lady’s fingers is okra right? But gentleman’s toes? I had no idea there was a vegetable with such an unappealing name, I mean seriously who wants to eat a gentleman’s toe?

IMG_7931

My Bengali mother-in-law introduced them to me only recently and since then I have become hooked. They look similar, and taste not dissimilar in fact, to gherkins which we are huge eaters of in my household – seriously we get through jars of them, even my four year old has a weakness for them. Gentleman’s fingers is also more commonly known as ivy gourd or in Bengal they are known as kundri. Baby watermelon or little gourd are two other names by which they are known.

IMG_7952

Granted, you are unlikely to find them at the big supermarkets but head to any Indian subcontinent grocers and you’ll stumble across these fabulous little vegetables. I know for a fact that you can source them in Tooting and I imagine the same goes for Brick Lane, Southall, Hounslow etc. They are commonly eaten in India and are a great source of vitamin A and C. Eaten alongside a dal and you’ll have a very filling and tasty vegetarian supper.

IMG_7976

Ivy Gourd Curry

Serves 4

550g ivy gourds/kundri/gentleman’s fingers, halved lengthways

4 tbsp olive oil

1 green chilli, halved

1 tsp nigella seeds

1 tsp turmeric powder

1 tsp chilli powder

 2 tsp cumin powder

1 tsp coriander powder

2 tsp salt (to taste)

2 tsp sugar (to taste)

2 tbsp water

1. Heat a large pan with the olive oil and when hot add the nigella seeds followed by the green chilli. After  20 seconds add the ivy gourds and stir into the oils and nigella seeds. Leave to cook on a low heat for 5 minutes.

2. Add all the other ingredients and give a good stir and then place a lid on the pan and leave to simmer, stirring a couple of times, for 20 minutes or until the ivy gourd is soft but not mushy!

So simple and yet ridiculously satisfying.

I hope you get to stumble across these little beauties before too long.


Aloo Shaak – Potato Curry

IMG_7716

Back in my university days I often used to make myself aloo shaak when I had the munchies. It was so quick, cheap and easy that it made a perfect snack to nourish my hunger. I would place it in a bowl with a dollop of natural set yogurt on the side and then dip the potato cubes into the natural yoghurt. Happy memories.

To this day I continue to cook it and often serve it up with a dal for a vegetarian supper, or as a complimentary dish if I am cooking a larger Indian banquet with a meat and/or fish curry. At this time of year when the cold sets in this bowl of carbs is highly appealing and is easy to feed to the whole family. As I only chop the chillies in two I find that it does not make the dish too chilli, unless of course you actually munch on the chilli – which I always leave for the adults to do.

IMG_7727

On the subject of munching chillies, if you are feeling a little under the weather I really recommend eating a cooked chilli either in a dish like this or one of my dal dishes (see under Recipe Library). Packed full of vitamin c, they give the immune system a good burst and can bring you back to the land of the living if you are feeling under the weather. Just remember if you ever find the chilli too hot, don’t drink a glass of water as that will spread the heat across the tongue, milk and yoghurt however are able to numb it as they contains a protein called ‘casein’, which breaks the bond between the the pain receptors in your tongue and capsaicin, which is an oil found in chilli – the seeds are always the hottest part so you can remove these if you prefer less of a kick.

Aloo Shaak – Potato Curry

Serves 4

600g sweet potatoes, roughly 1 inch cubes

600g white potatoes, roughly 1 inch cubes

3 tbsp vegetable oil

2 green chillies, chopped in two

2 tsp cumin seeds

1 heaped tsp turmeric powder

2 tsp rock salt

Optional: fresh coriander to serve and/or a dollop of natural set yoghurt

1. Place the cubed potatoes in a pan of boiling water for 13 minutes. You want them to begin to be soft, but not completely soft that they just fall apart!

2. Strain the potatoes. In a large pan heat the oil and add the cumin seeds, chillies and turmeric powder. Let the sizzle for 30 seconds before adding the potatoes and coating them in the seeds and powder.

3. Cook the potatoes on a medium low heat for a further 7 minutes, turning carefully a couple of times. Add the salt, stir one last time and then serve. If you find the potatoes are still a little hard, add a little water and place the lid on the pan and they will soften after a couple of minutes.

an alternative way to cook this is to omit the first step and let them fry in the oil with the cumin seeds, turmeric powder and fresh chilli, immediately. Once they begin to bronze add a little water and let them soften. At university I  tended to opt for this version, but now I find that parboiling them first ensures that they soften to how I want them. 

If you like this potato recipe you may also like to try my ‘Curried Potatoes’ another time.


An Indian twist on ‘Greens’

IMG_7668

Growing up I am sure we’ve all encountered our parents encouraging us to ‘eat our greens’ and reluctantly forcing, the invariably boiled, greens into our mouths. I have nothing against greens, far from it, I think they are delicious, I just think that a little helping hand from a few Indian spices goes a long way to making a fairly bland dish into an elevated one that you actually want to eat! There was a great article in the Observer back in September 2013 by journalist Tim Lott (see here)  which discusses the issues parents have surrounding making their children eat greens or green vegetables in general. The crux of the matter is that if it doesn’t taste good they are simply not going to enjoy or want to eat it. Also if we use the health mantra on them constantly this in itself is going to be a turn off.  We seem to be caught up in our own worry of putting healthy things in their months, but if we perhaps stand back and relax they will too and a natural love of these healthy foods will develop.

You’ll see in my recipe that I have added fresh chilli to the dish. I find my eldest daughter likes chilli, but with my four year old I simply omit it as she isn’t quite ready for the chilli kick! Chillies range hugely in heat levels so start off with the very mild ones – they tend to be the large ones you buy in the supermarkets. The smaller the chilli the hotter they tend to be in general.

Whilst the dish I want to show you today is vegetarian I also find that greens and kale work wonderfully well with chorizo (or any pork product really) and butter beans. If you have a moment take a look at my caldo verde recipe – here, for inspiration. It’s hearty and straightforward and perfect for cold winter days.

IMG_7657

Indian Greens

Serves 4

1 bunch of greens, washed and finely sliced

2 garlic cloves, sliced

2 small green chillies, finely sliced

2 tbsp sunflower/vegetable oil

2 tsp nigella seeds

1 tsp turmeric

1 tsp salt (to taste)

1. After preparing the greens, garlic and chilli add the oil to a large pan. When the oil is hot add the nigella seeds and turmeric followed by the garlic and chilli. Reduce the heat and stir to avoid the garlic burning.

2. Add the greens and stir thoroughly so that they become totally covered in the other ingredients. Keep stirring for a few minutes and then place the lid on the pan. You may find that you need to add a little water at this stage.

3. Simmer gently and the greens will wilt and reduce in size. Add the salt to taste and more water if necessary. The dish will take no longer than 10 minutes to cook in total.

Simple, straightforward and totally satisfying.

I like to eat them with a dal or my Indian potato curry (blog post on this soon).


Bengali Egg Curry

IMG_7385

When I was staying in the heart of Kolkata, I was often woken from my deep slumber by the egg (dim) or milk (dudha) wallah shouting out in his crescendoing voice each morning. It was my regular wake up call to get out of bed and embrace the day ahead. There was something very charming about the wallah selling the fresh eggs and milk as he pushed his cart slowly down our road. Bengalis love eggs as much as I do. To this day, a picnic is not a proper picnic without a hard boiled egg. So when I was introduced to Bengali egg curry many moons ago, it was an immediate hit. Easy to execute, it makes for a most satisfying protein rich meal.

For the adventurous, this also serves as a wonderful late Sunday brunch with a kick.

IMG_7364

After boiling the eggs, remove the shell and place a cross with a sharp knife at the top of each egg and make a few other incisions on the skin and then cover them with turmeric and salt. Shake the bowl gently so that the eggs are properly covered in the turmeric.

IMG_7370

Fry the eggs in a pan so that the outer skins darken and harden. Then place to one side.

IMG_7427

Bengali Egg Curry

Serves 4

6 eggs, hard boiled

1 tsp turmeric

1 tsp salt

4 tbsp vegetable/mustard oil

2 onion, blended into a paste

4 garlic cloves, blended into a paste

2 inches of fresh ginger, blended into a paste

2 bay leaves

1 tsp cumin powder

2 tsp coriander powder

1/2 tsp sugar

1 tsp kashmiri red chilli powder

1 plum tomato from tin and a little juice (or 1 fresh tomato)

1 tsp garam masala

1.  Boil the eggs in water for 5 minutes and then strain under cold water and peel off the shells.

2. Place a small cross incision at the top of each egg as well as a few prick marks over their sides so that they do not explode during cooking. Place in a bowl and cover with turmeric and salt.

3. In a pan heat up some oil and when hot carefully lower the eggs into the pan and let them sizzle away for a few minutes so that the sides are bronzed and the skins harden. Remove from the pan and place to one side.

4. With an electric blender, blend the onion, garlic and ginger to form a paste. Add a little water so that the paste runs smooth. In the same pan that you cooked the eggs in, add a little more oil before adding the onion/garlic/ginger paste and simmer gently, moving the paste around in the pan with a spoon. When it dries up add a little boiling water and continue to heat through.

5. Add the chilli, coriander and cumin powder as well as the bay leaves and fold into the paste. Now add the chopped plum tomato and a little  tomato juice (about 2 tbsp) and leave to simmer.  Add a little more boiling water and let it simmer gently.

6. Return the eggs to the pan and fold into the paste along with the garam masala. Simmer for a few more minutes and add a little more salt if necessary.

Serve with some plain basmati rice or naan bread.

IMG_7395