Interesting Ingredients
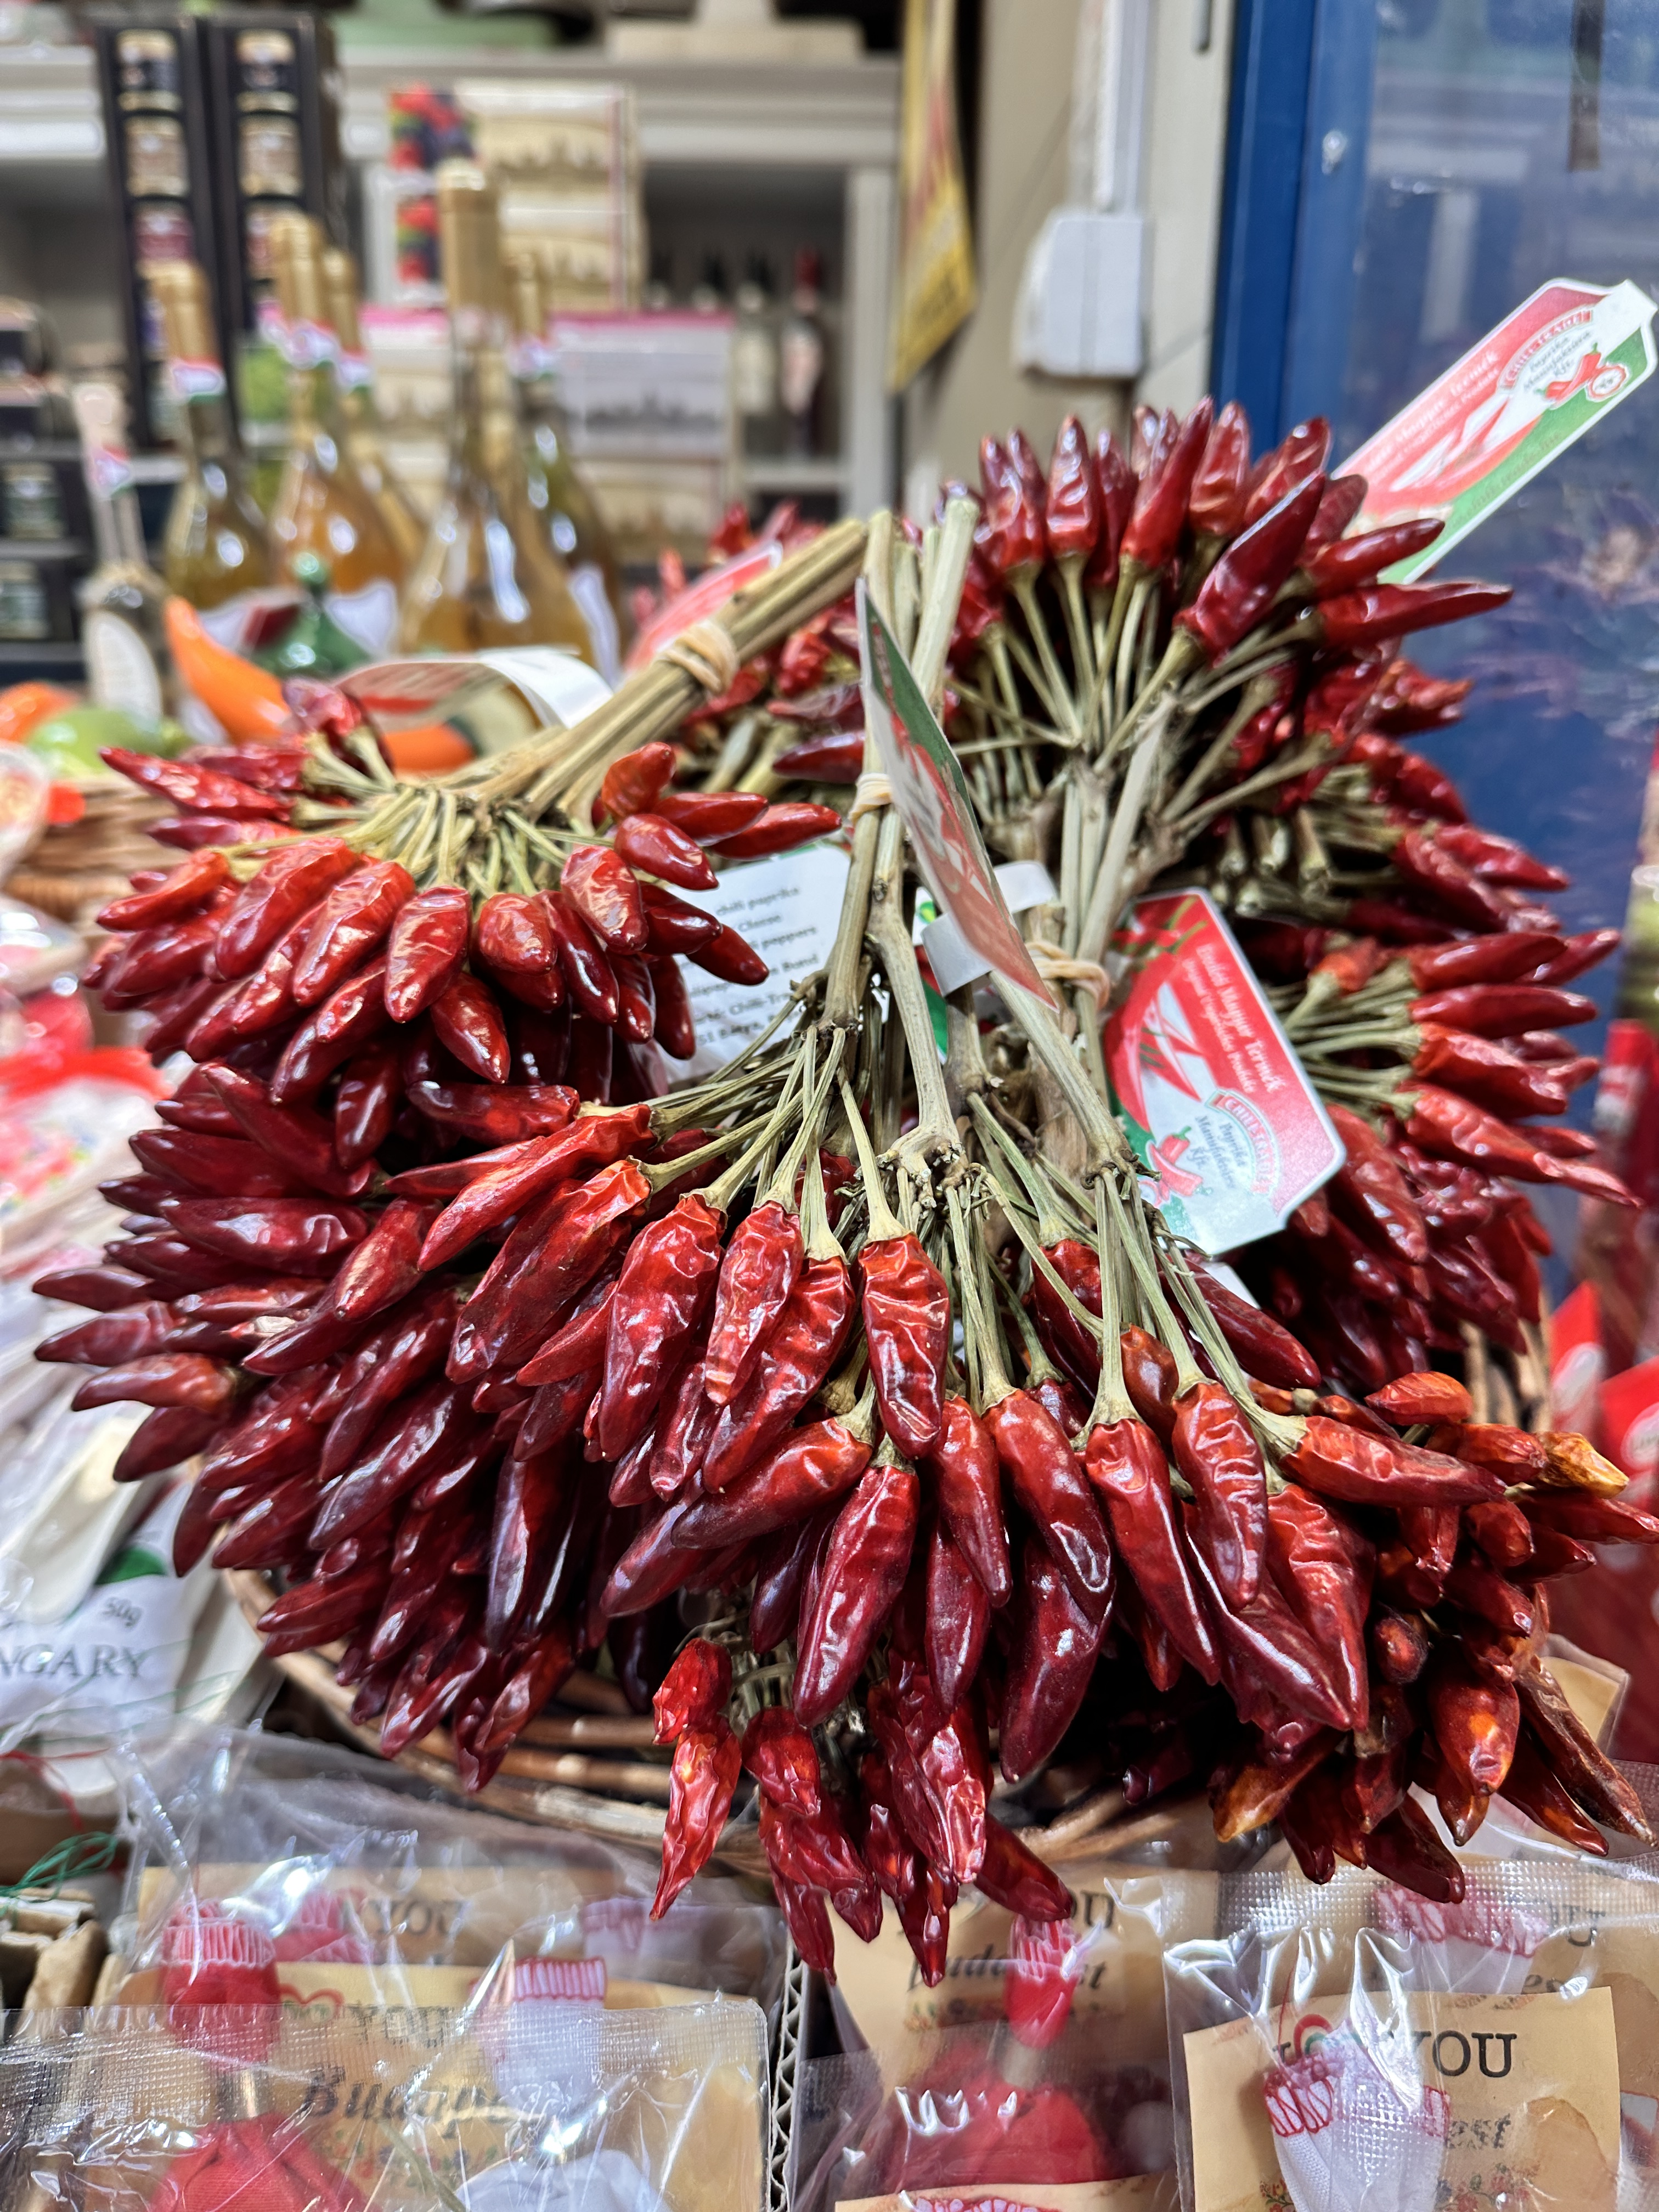
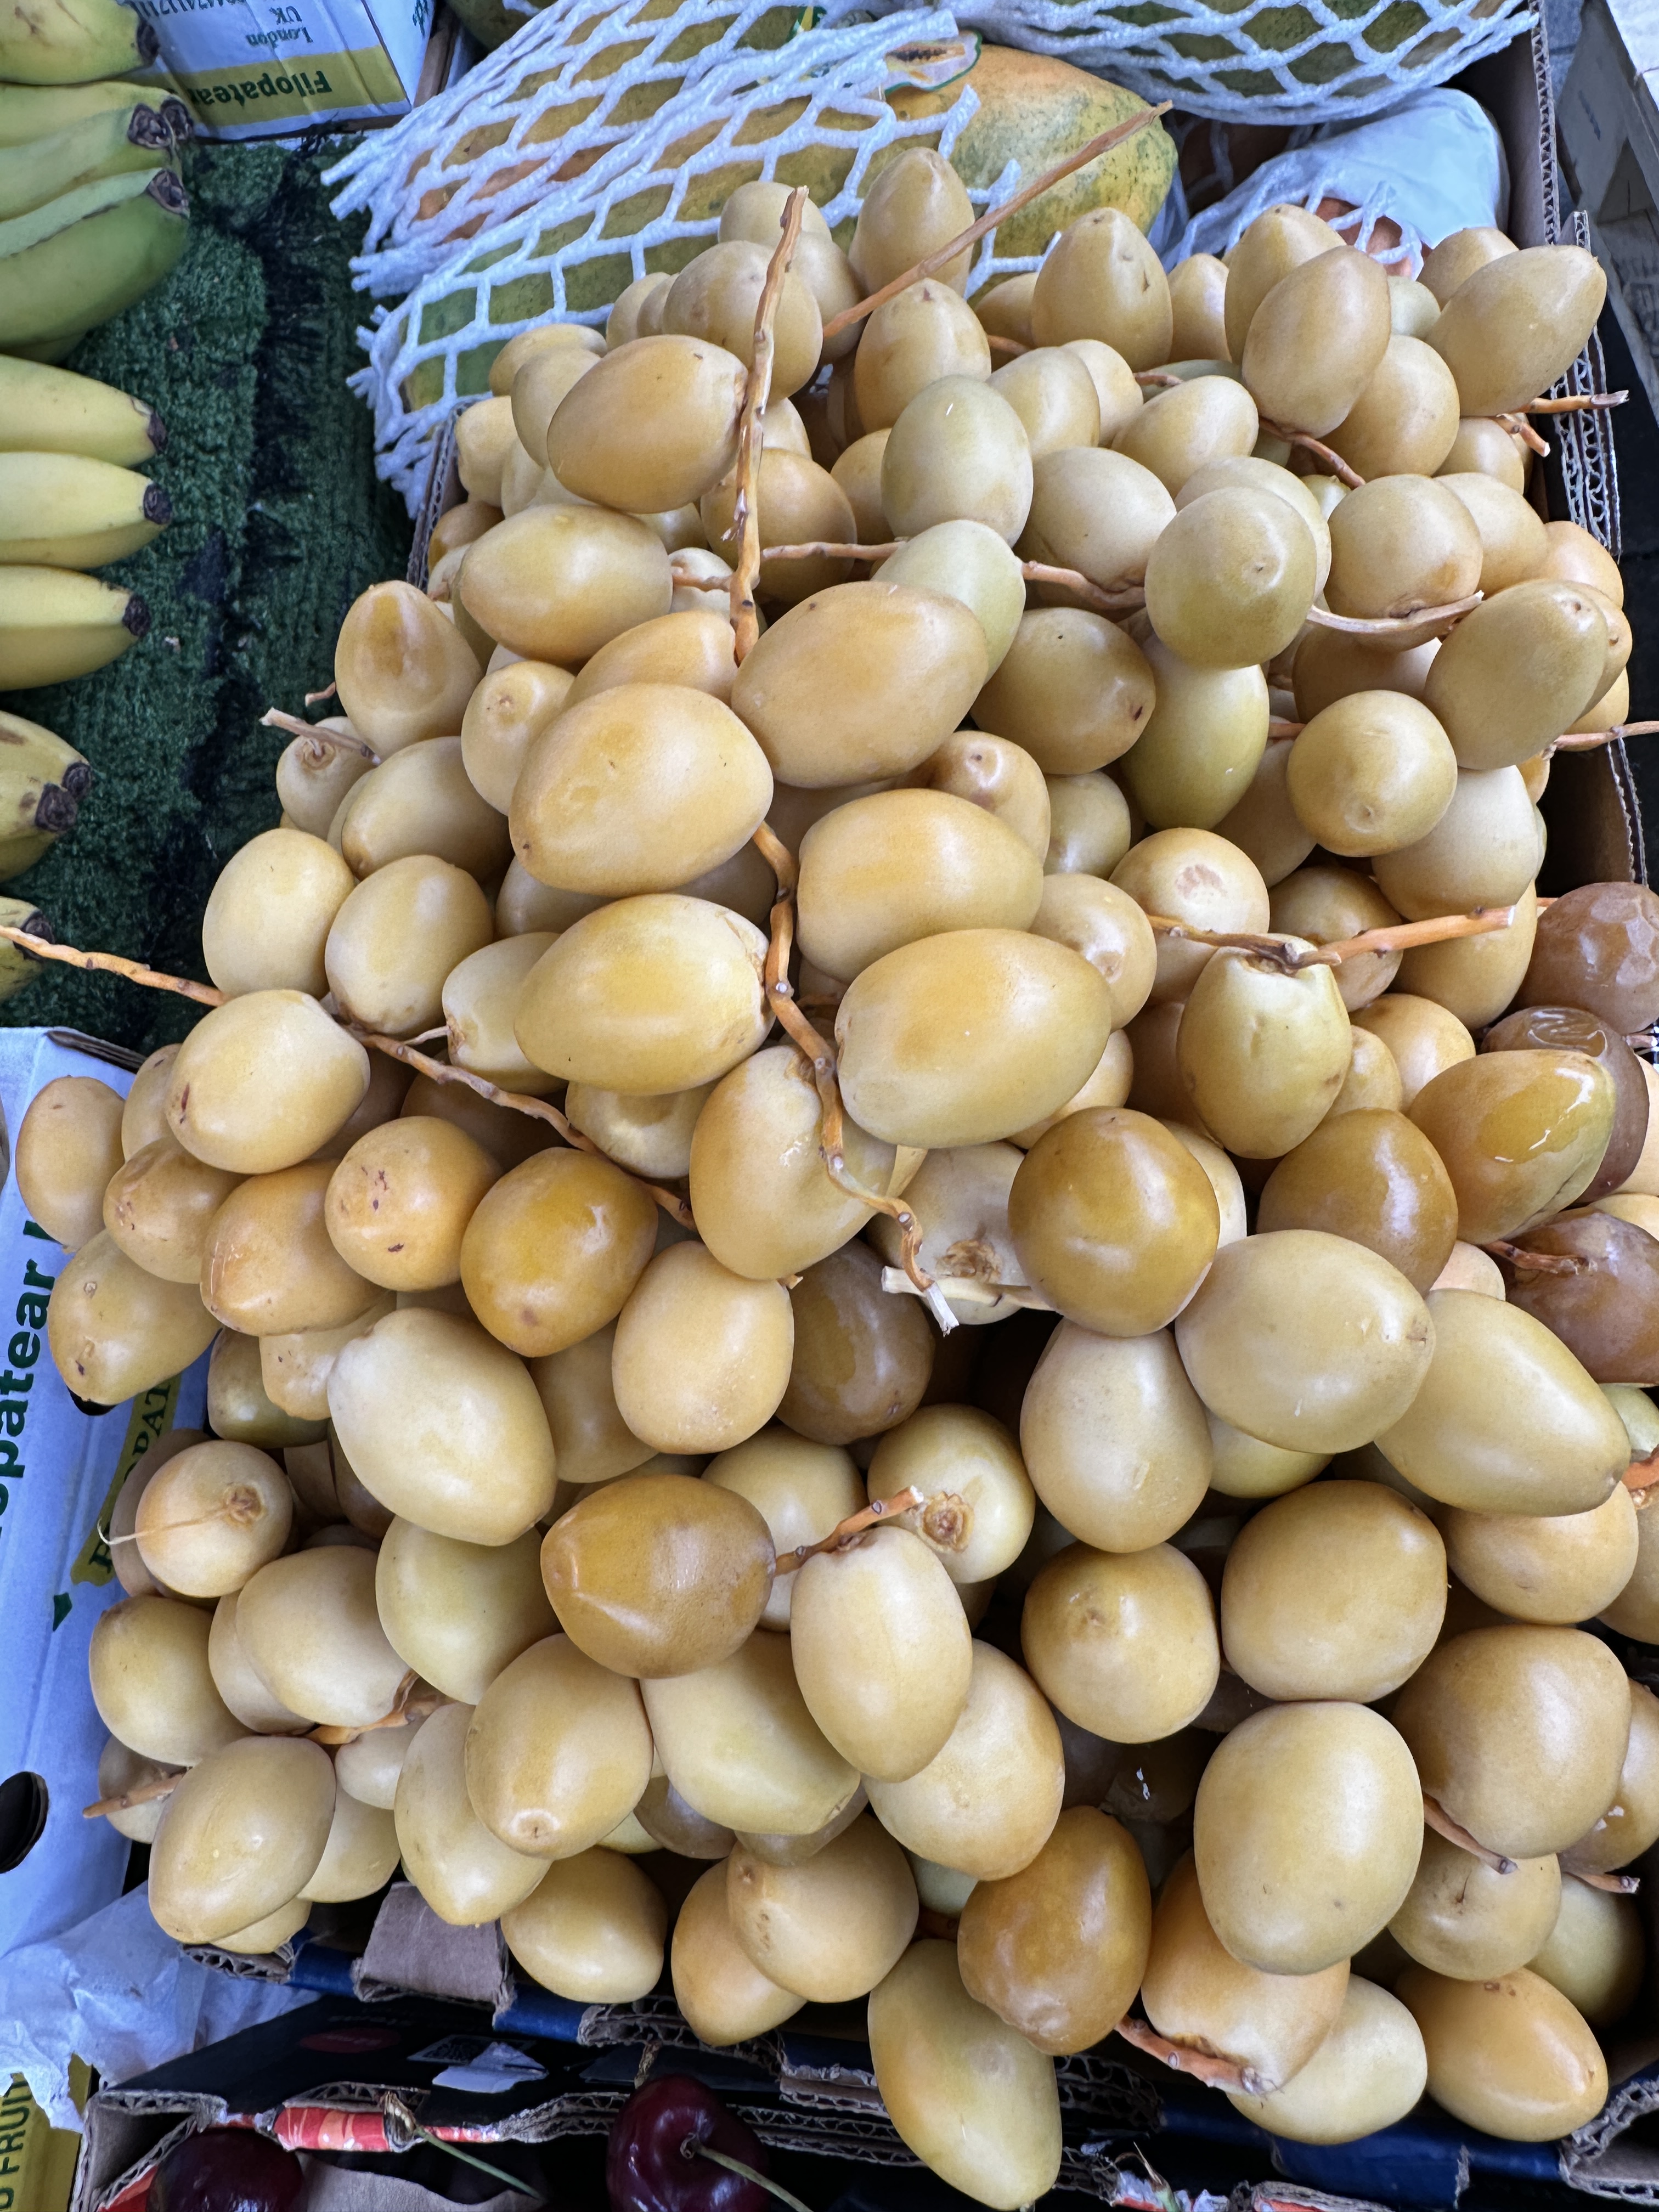
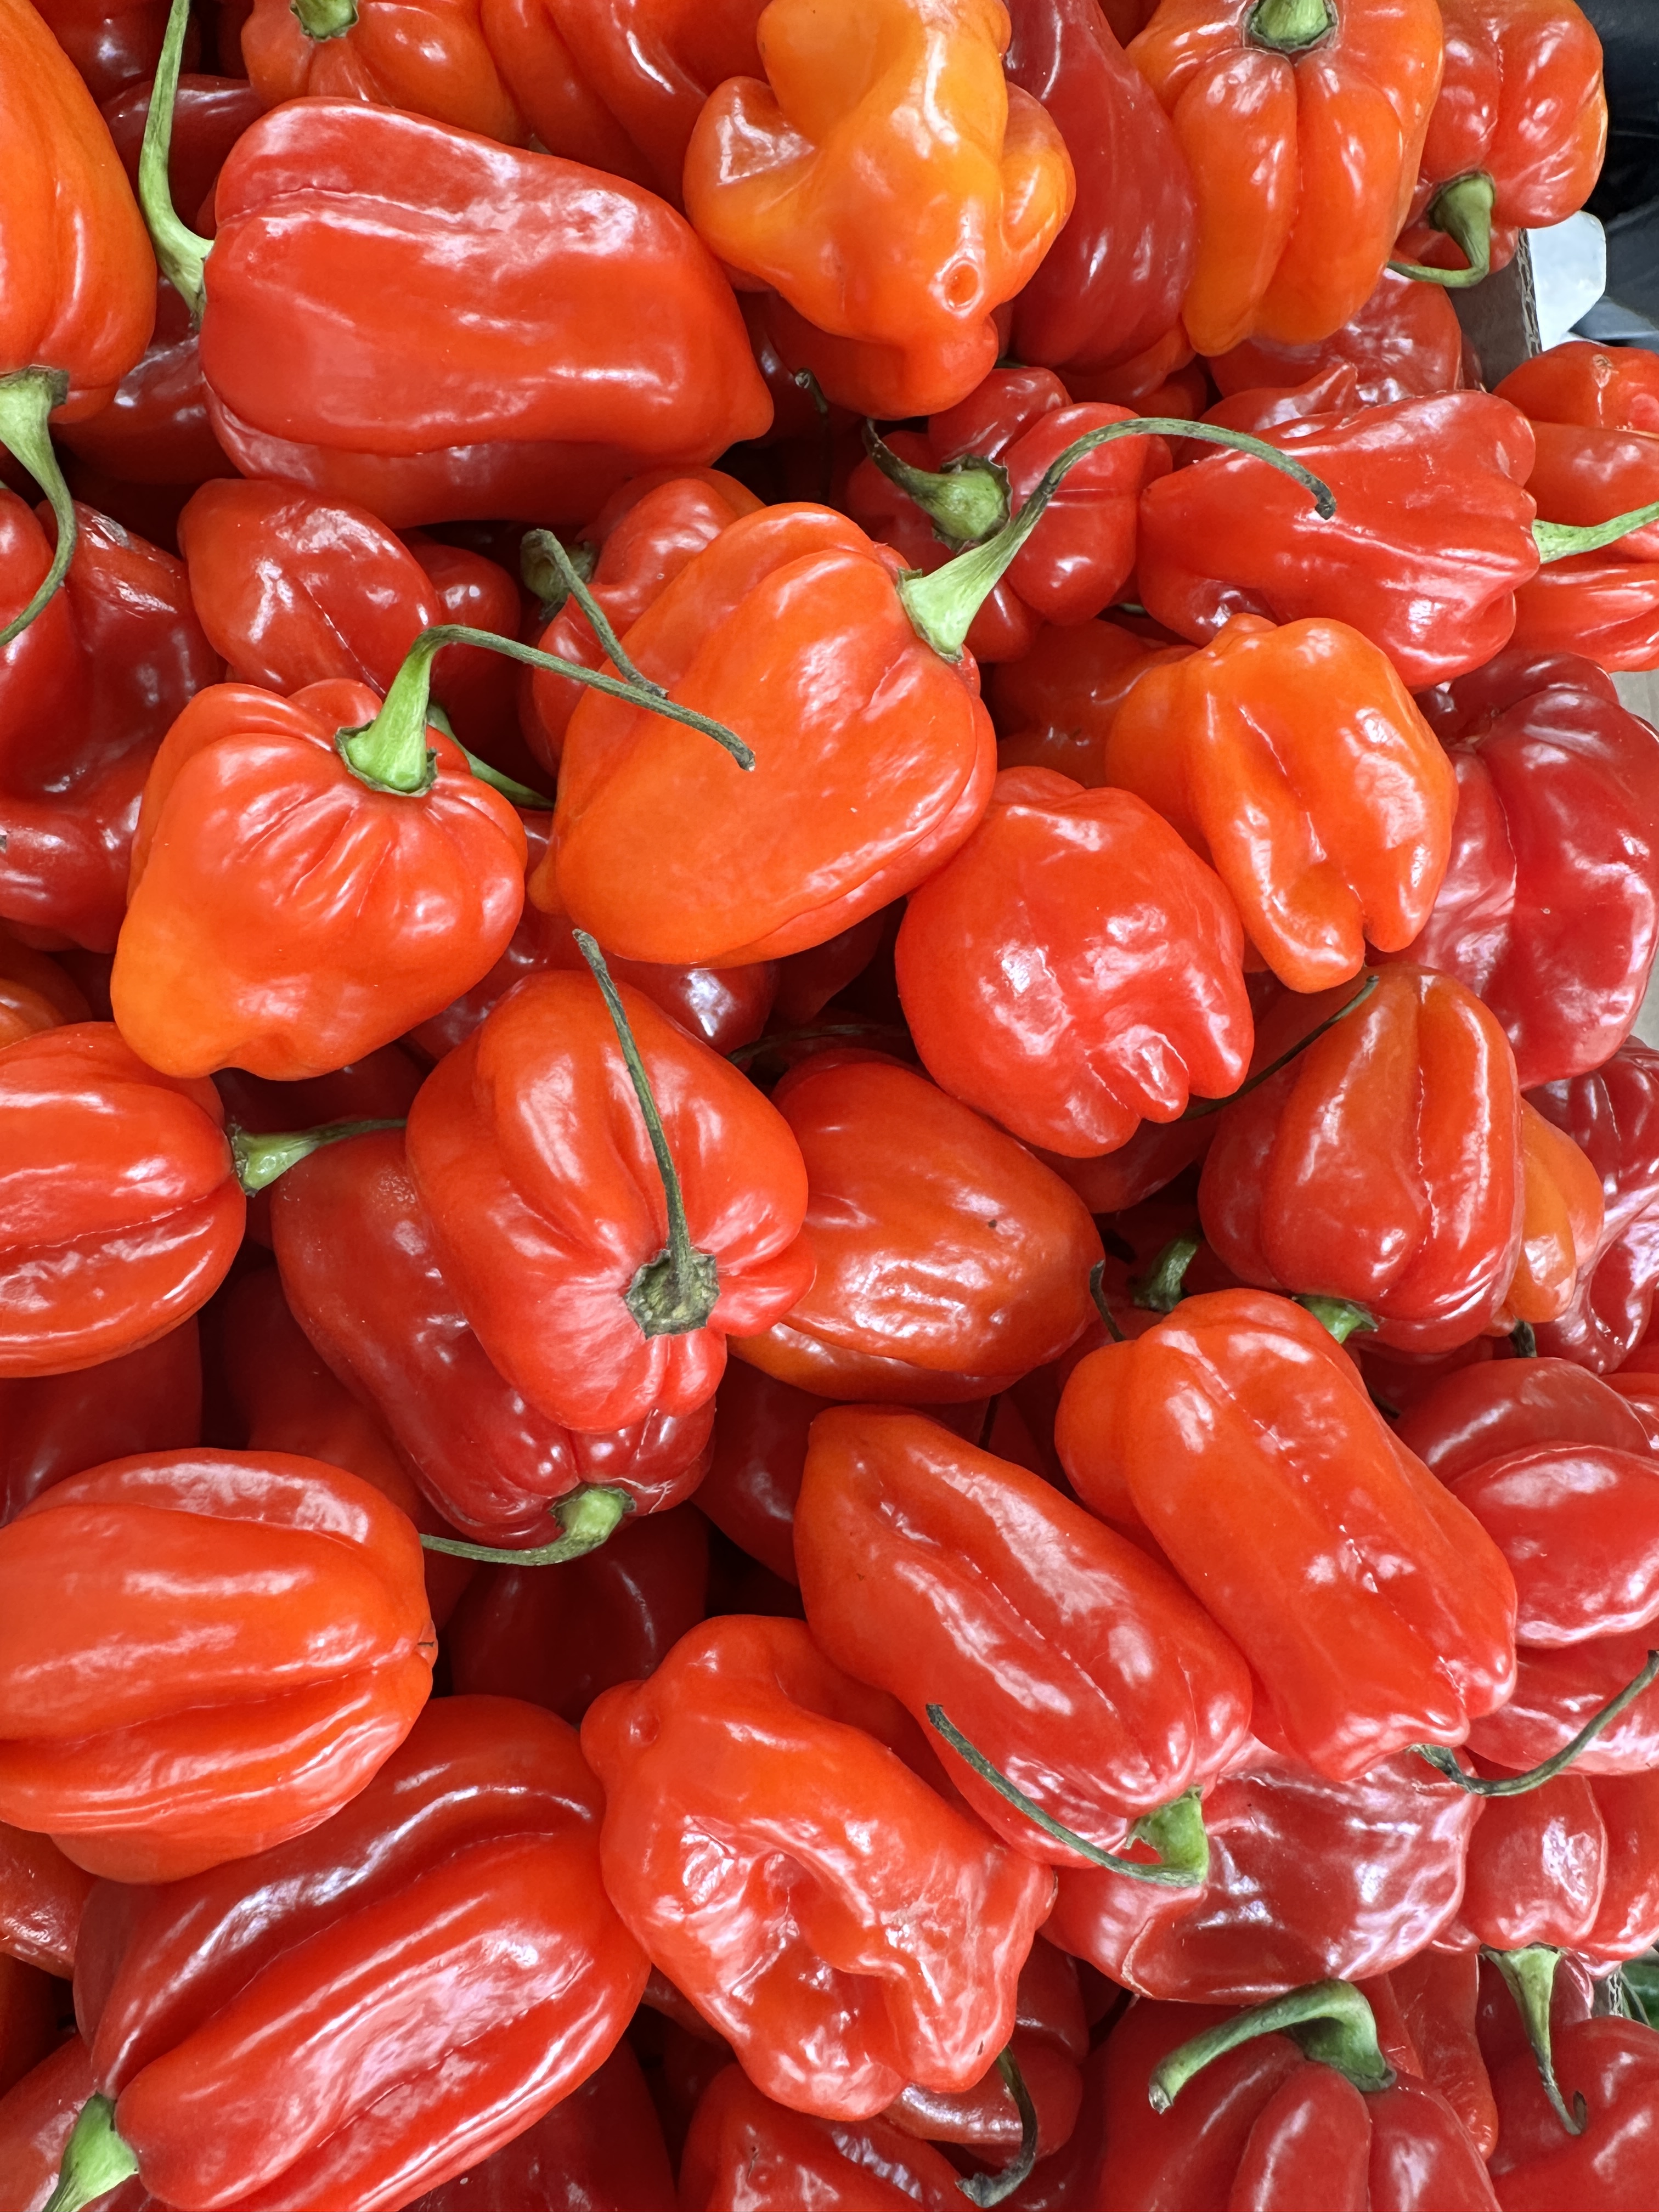
I hope you have all been having a good week since I last checked in here? I have been busy running my Indian cooking classes (that include a little spice tour first – to set the scene). I love seeing all the different fruits and vegetables that are available. My clients and I sampled fresh yellow dates from Egypt, known as ‘barhi’. They are fresh, crunchy and crisp – much like an apple, and have a slight chalkiness about them but with a delicately pleasing sweetness. I also couldn’t resist a photo of the alluringly beautiful ruby red, shiny, sweet and hot habanero chillies. I like to use these from time to time, just don’t touch your eyes after handling them.
The bitter melon (photo below) always intrigues clients. Also known as ‘karela’, it is one of the ‘healthiest vegetables in the world’, according to ‘Dan Buettner’ of Blue Zones fame. For those who have not come across the ‘blue zones’, it is a term coined by Dan to describe five places in the world which has the highest concentration of centenarians – places such as Okinawa, Japan; Sardinia, Italy; Nicoya Peninsular, Costa Rica; Icarian, Greece, Loma Linda California. There is fascinating documentary on Netflix about the Blue Zones for those who are keen to know more. Worth a watch.
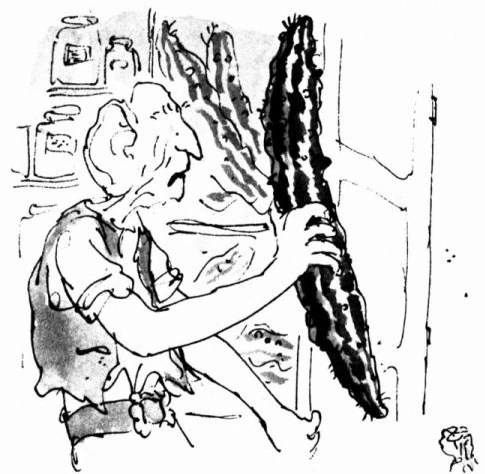
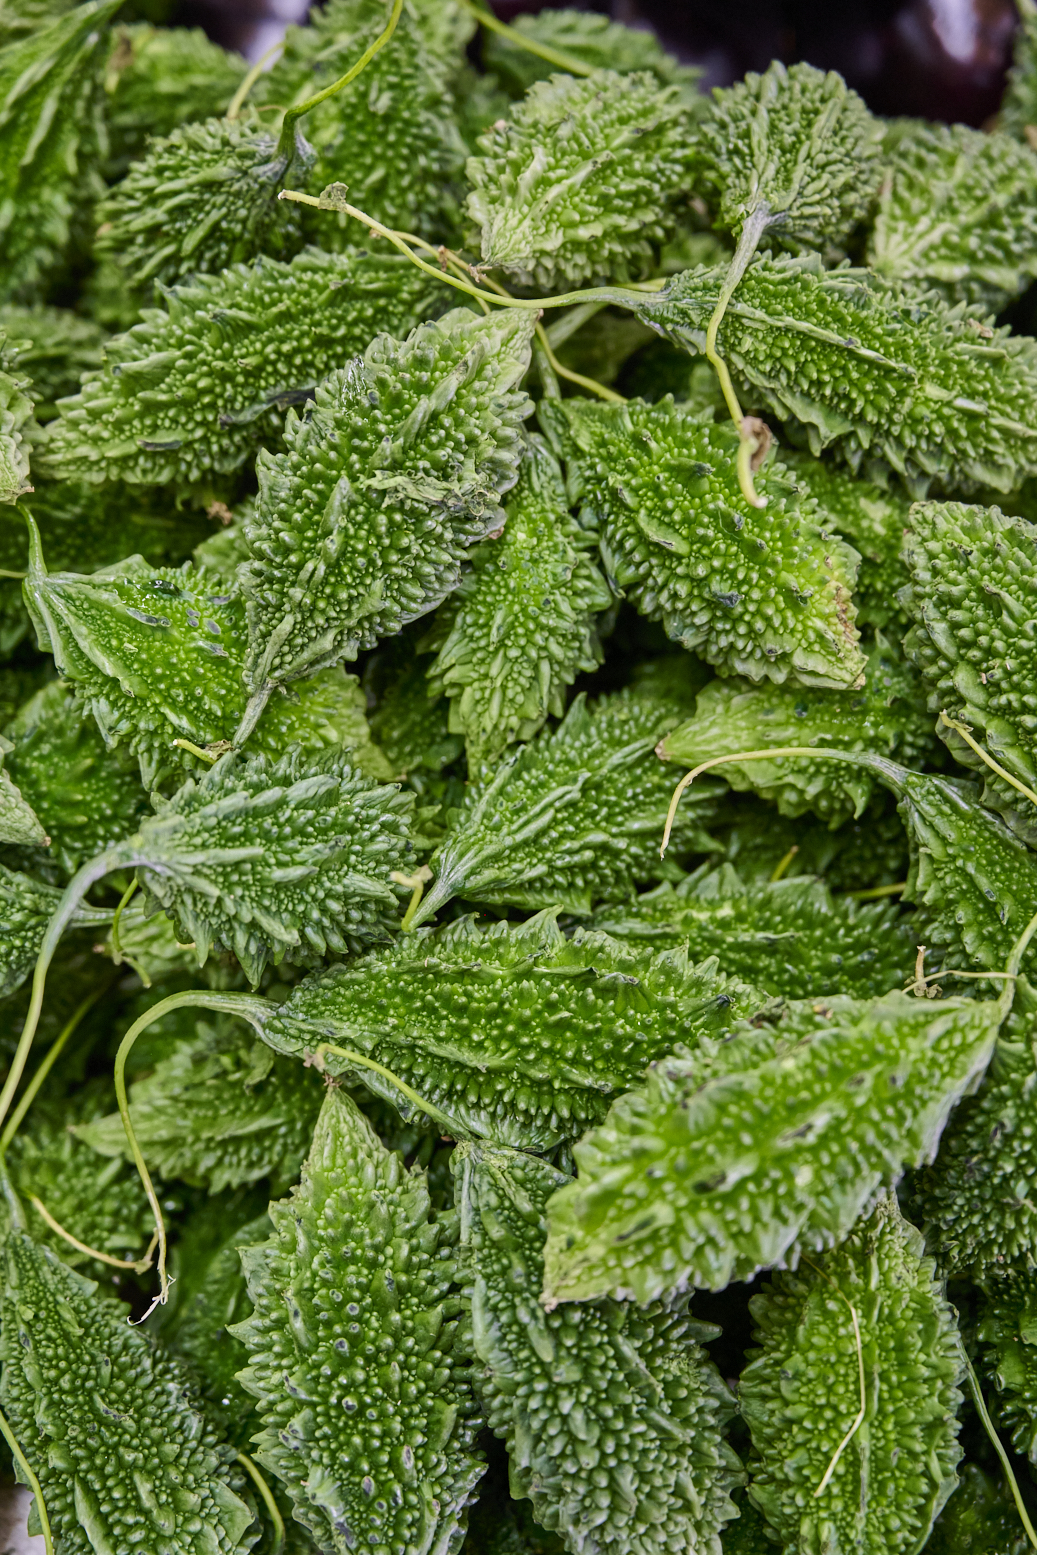
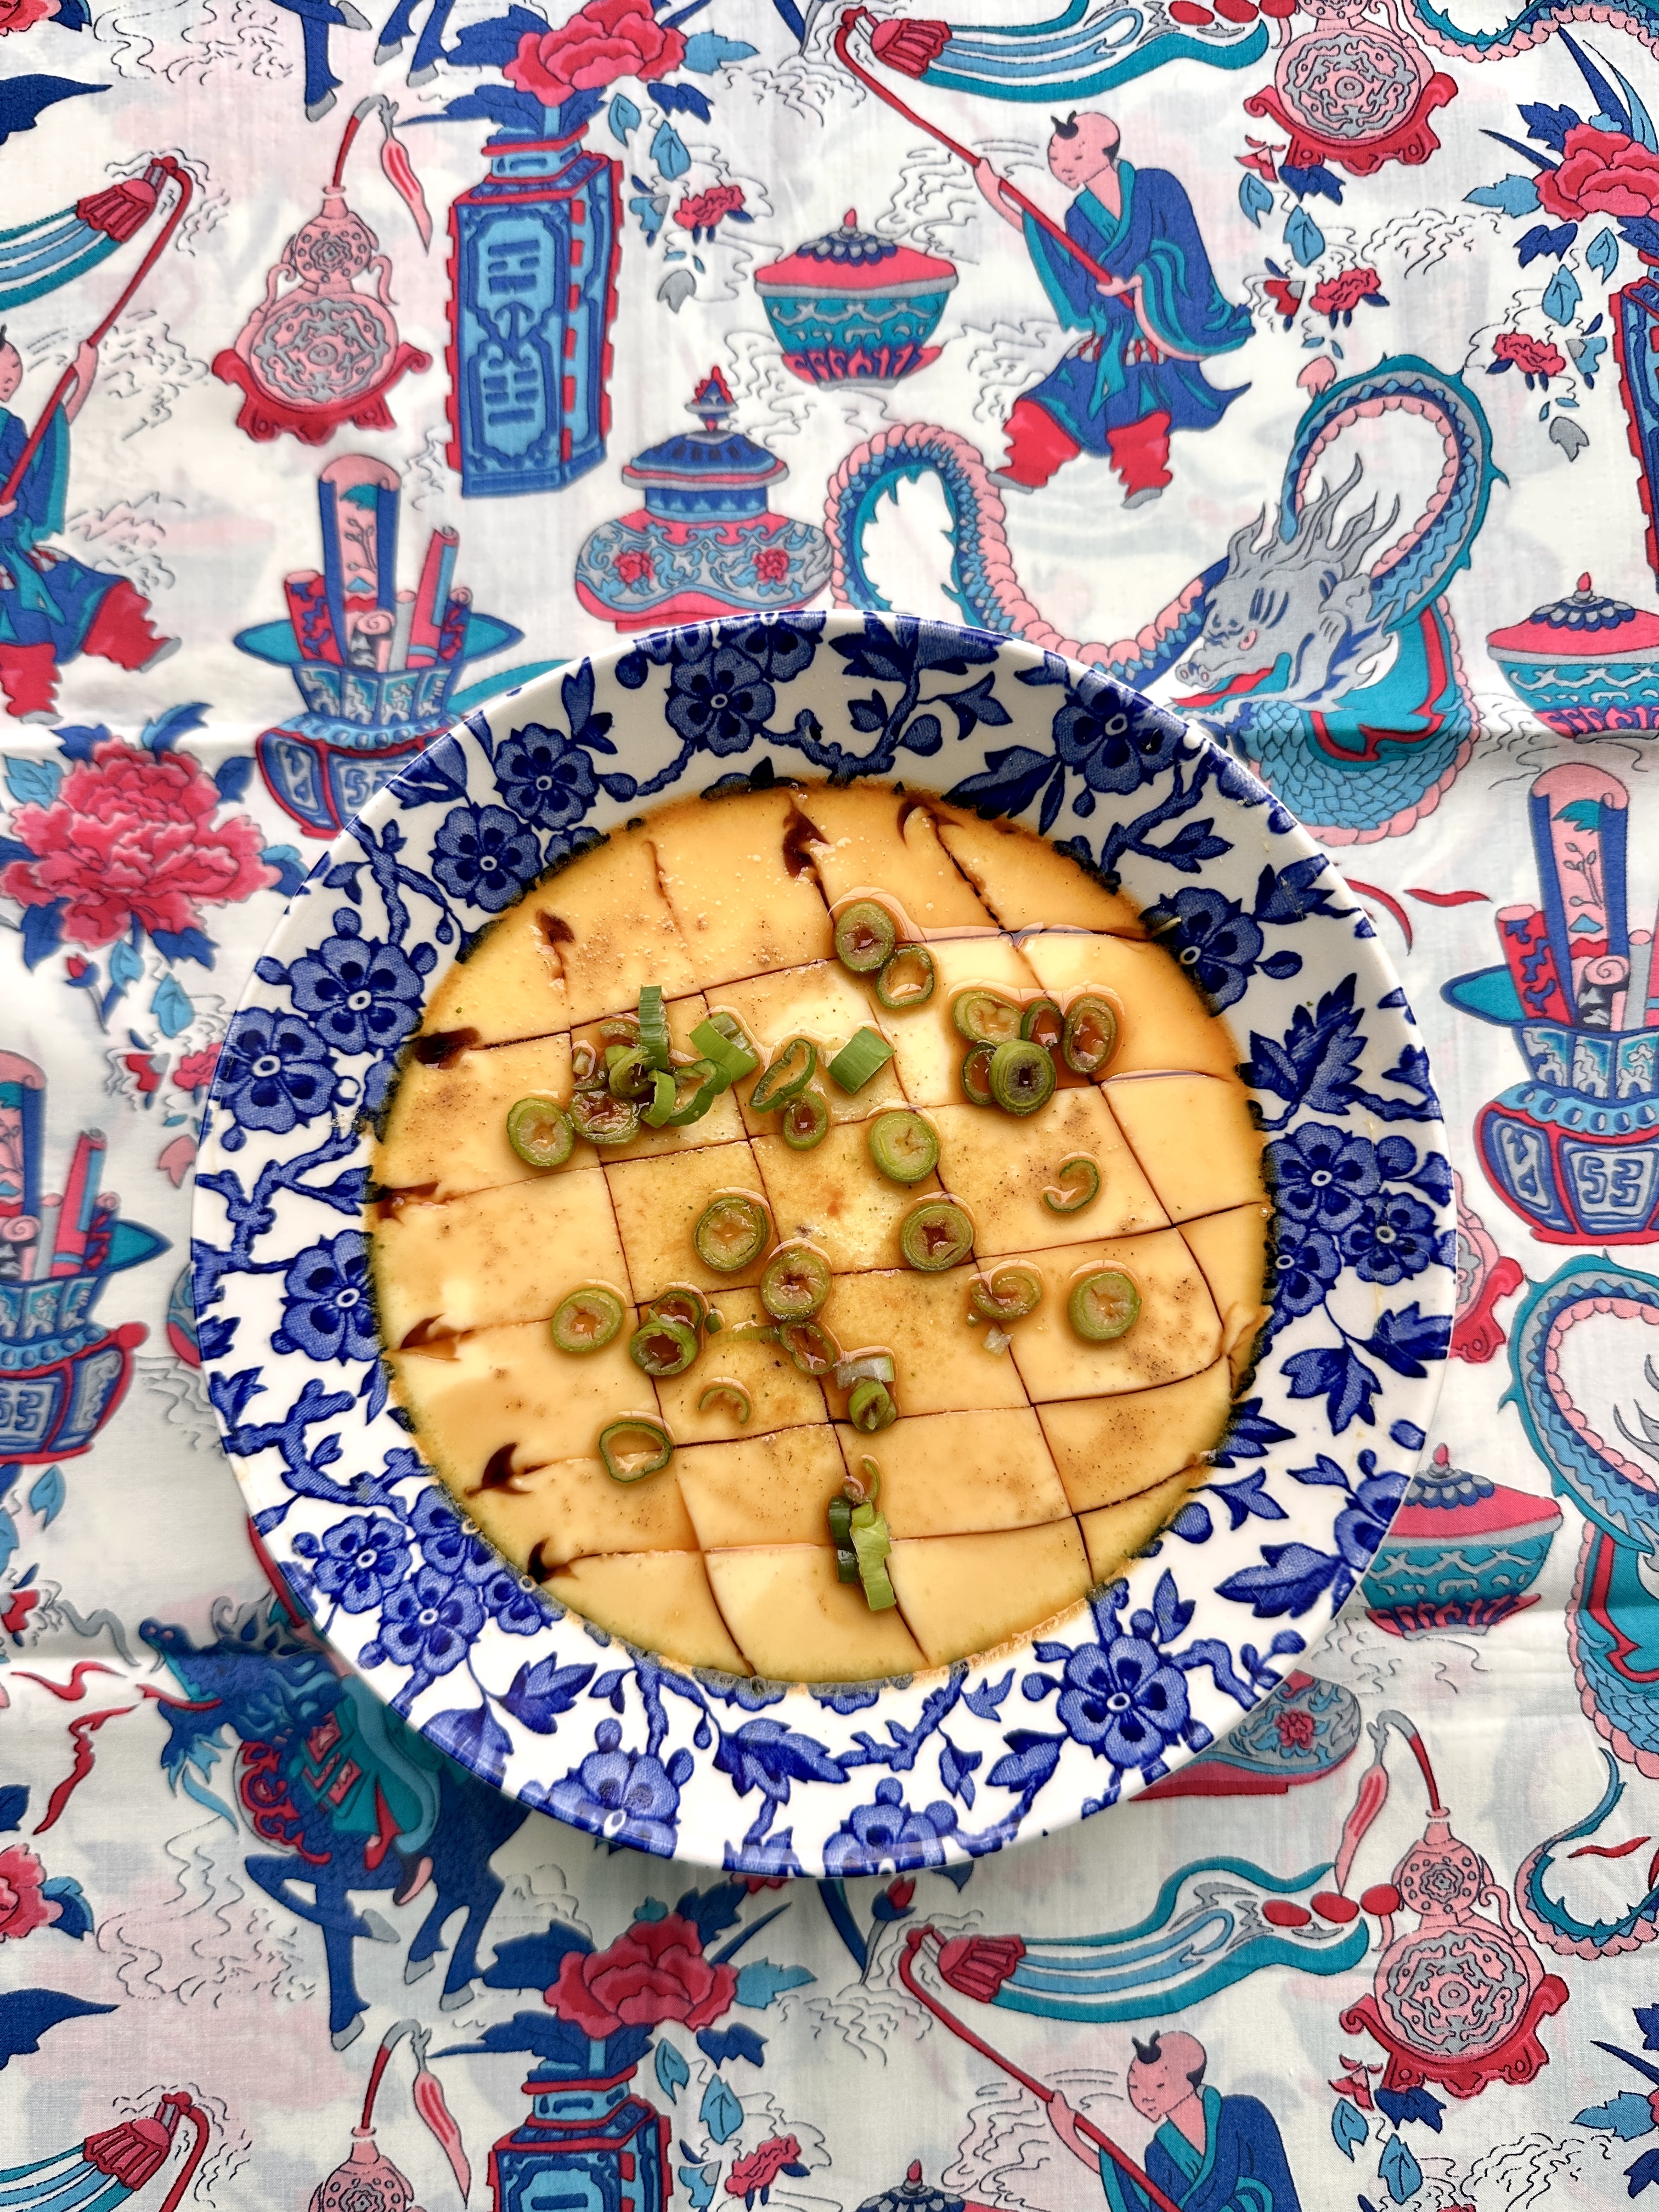
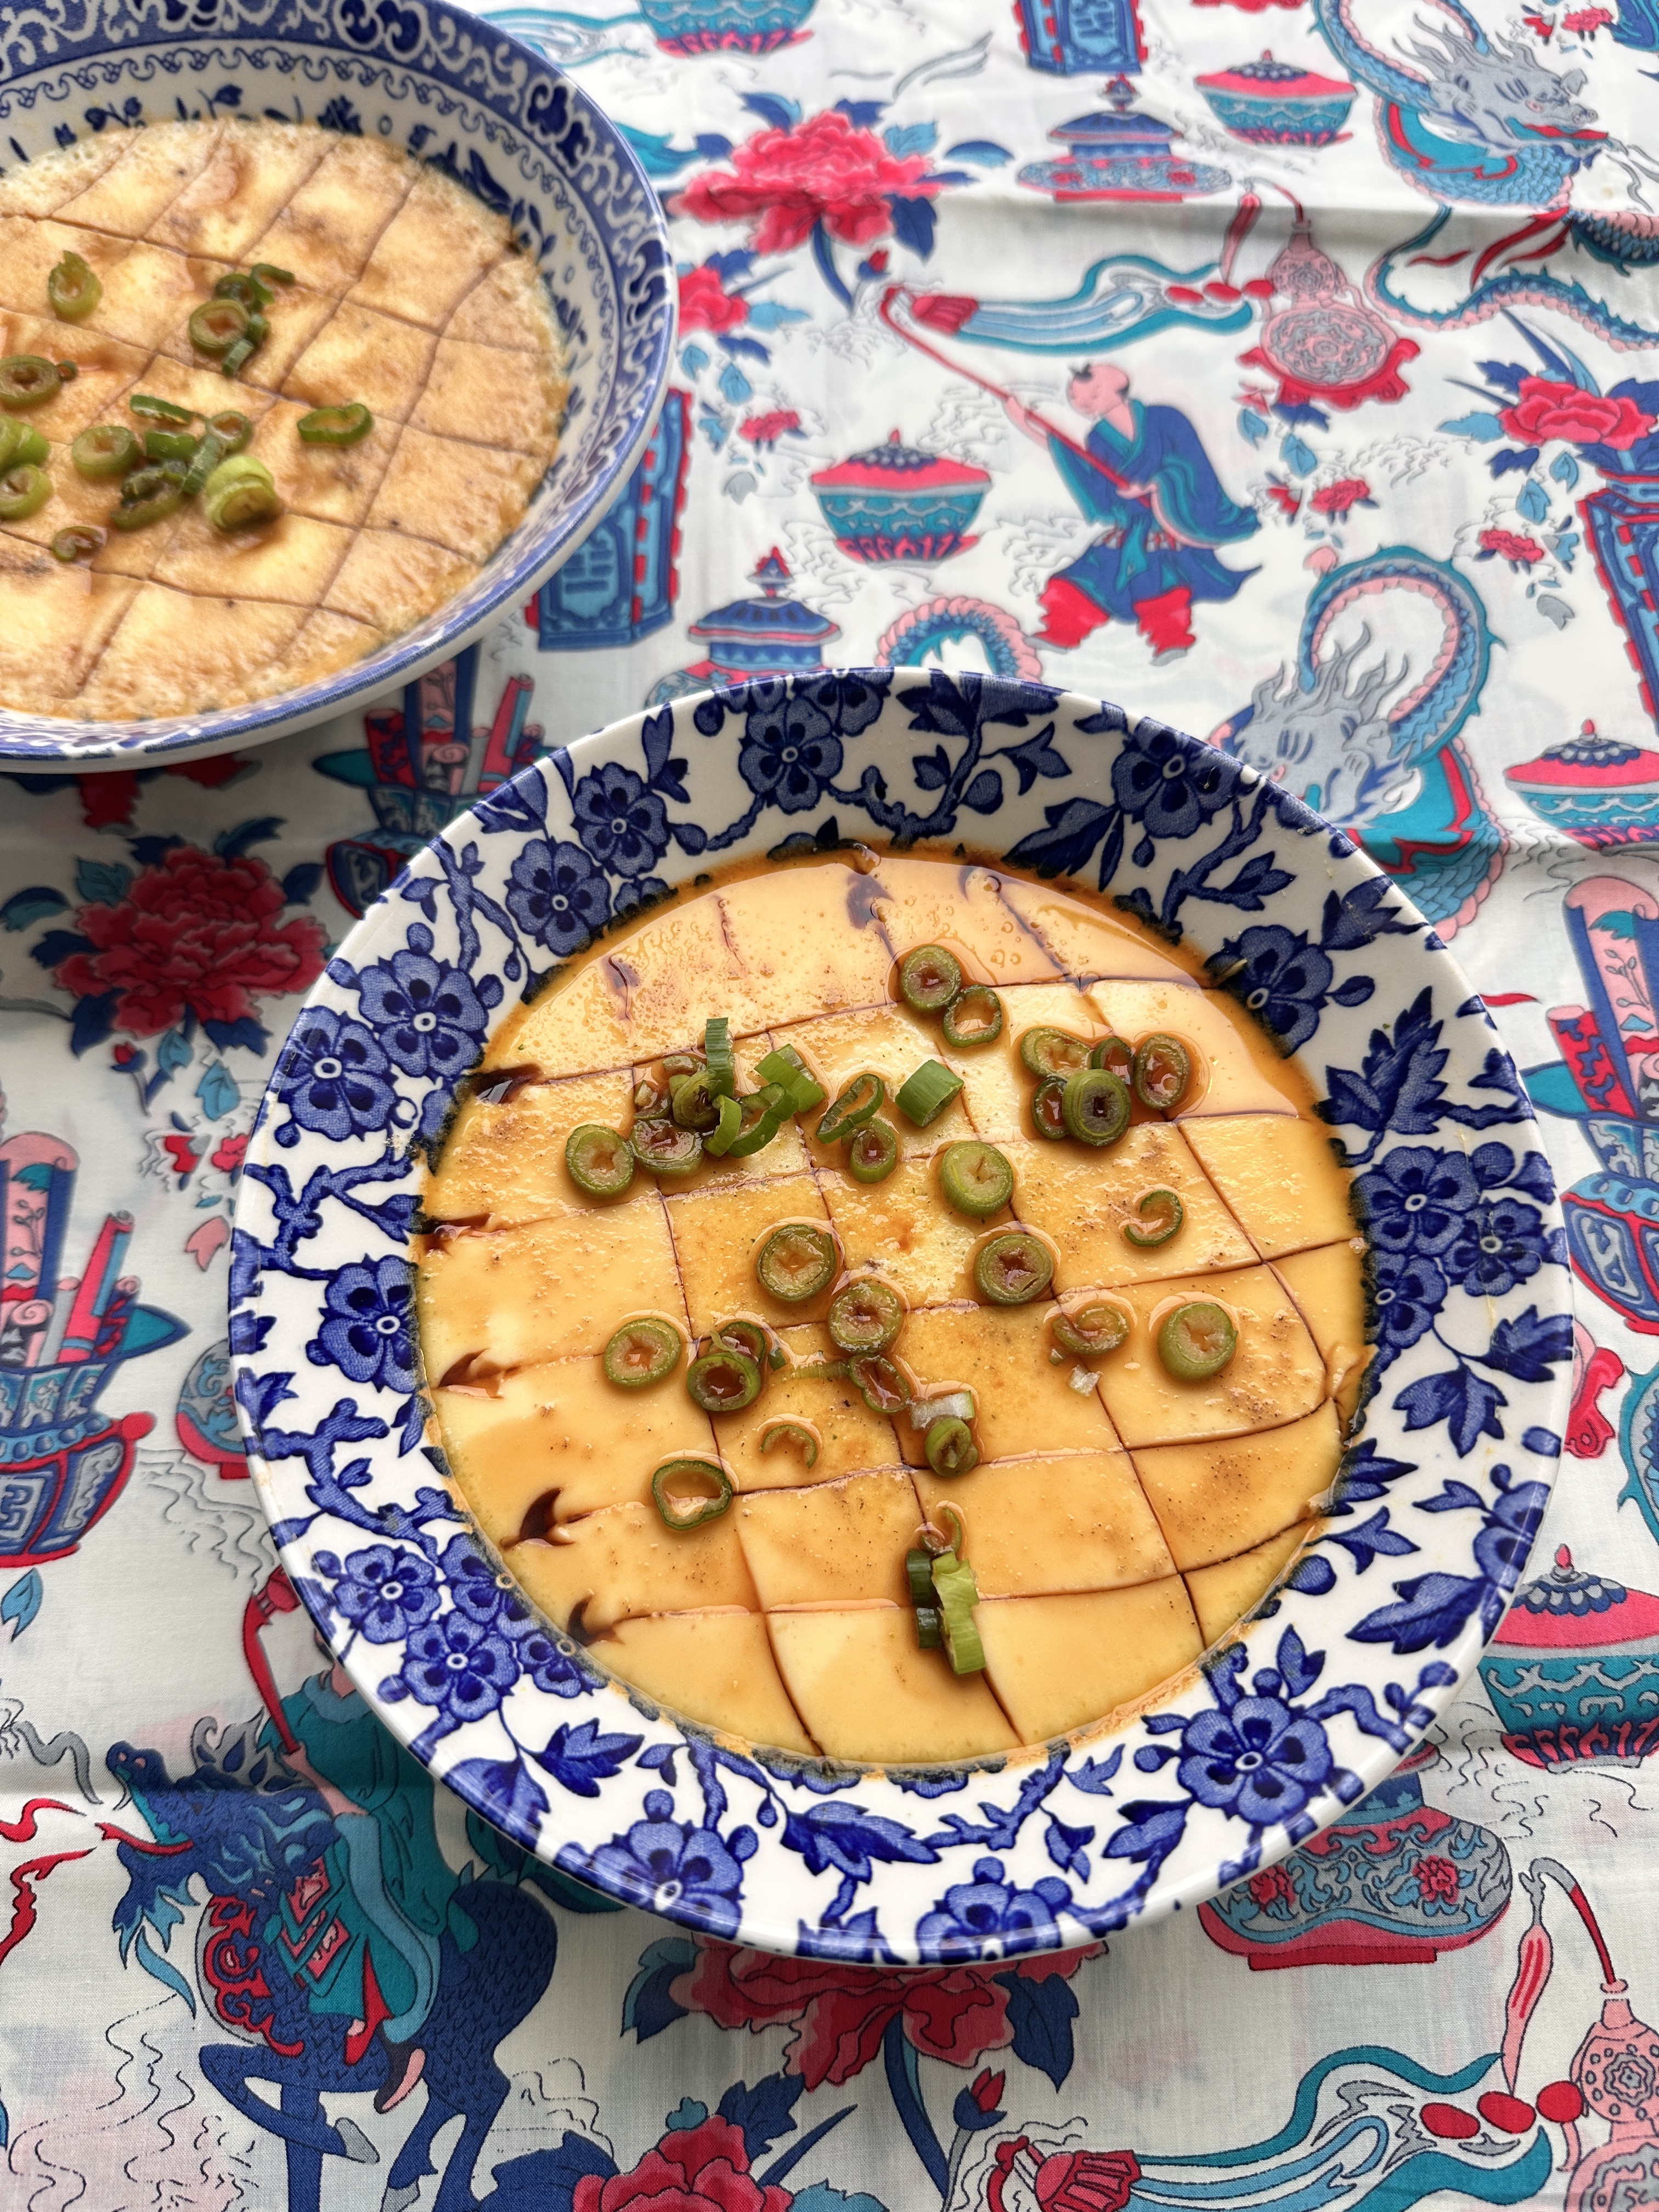
Anyway back to bitter melon. It is nutrient dense, packed with antioxidants, vitamin C, A and E, iron, potassium and great for blood sugar management with compounds such as ‘charantin’ that are believed to act similarly to insulin. It is a key ingredient in the Okinawa diet (one of the key blue zones as described above), often eaten with tofu. I am convinced Roald Dahl must have got the idea for his ‘snozkumber’ in the BFG from the vegetable ‘bitter melon’ – what do you think? Can you see the resemblance? They range in size. The ones I took photos of are small but they can reach to half the length of my arm. I really like the taste – but they are a little surprising when you first taste them due to the bitter afternoons. I like to thinly spice them and then shallow fry until bronzed. Then a pinch of salt and then they are perfect. Once you have acquired a taste there are lots of recipes that stuff them and chop them into large chunks. I’ve avoided putting them in both my cookbooks as I feel that if that was the first recipe you chose from my book, then the likelihood is that you may not try any other recipes ;o).
Indian Cooking and Art Collaboration (few spots left)

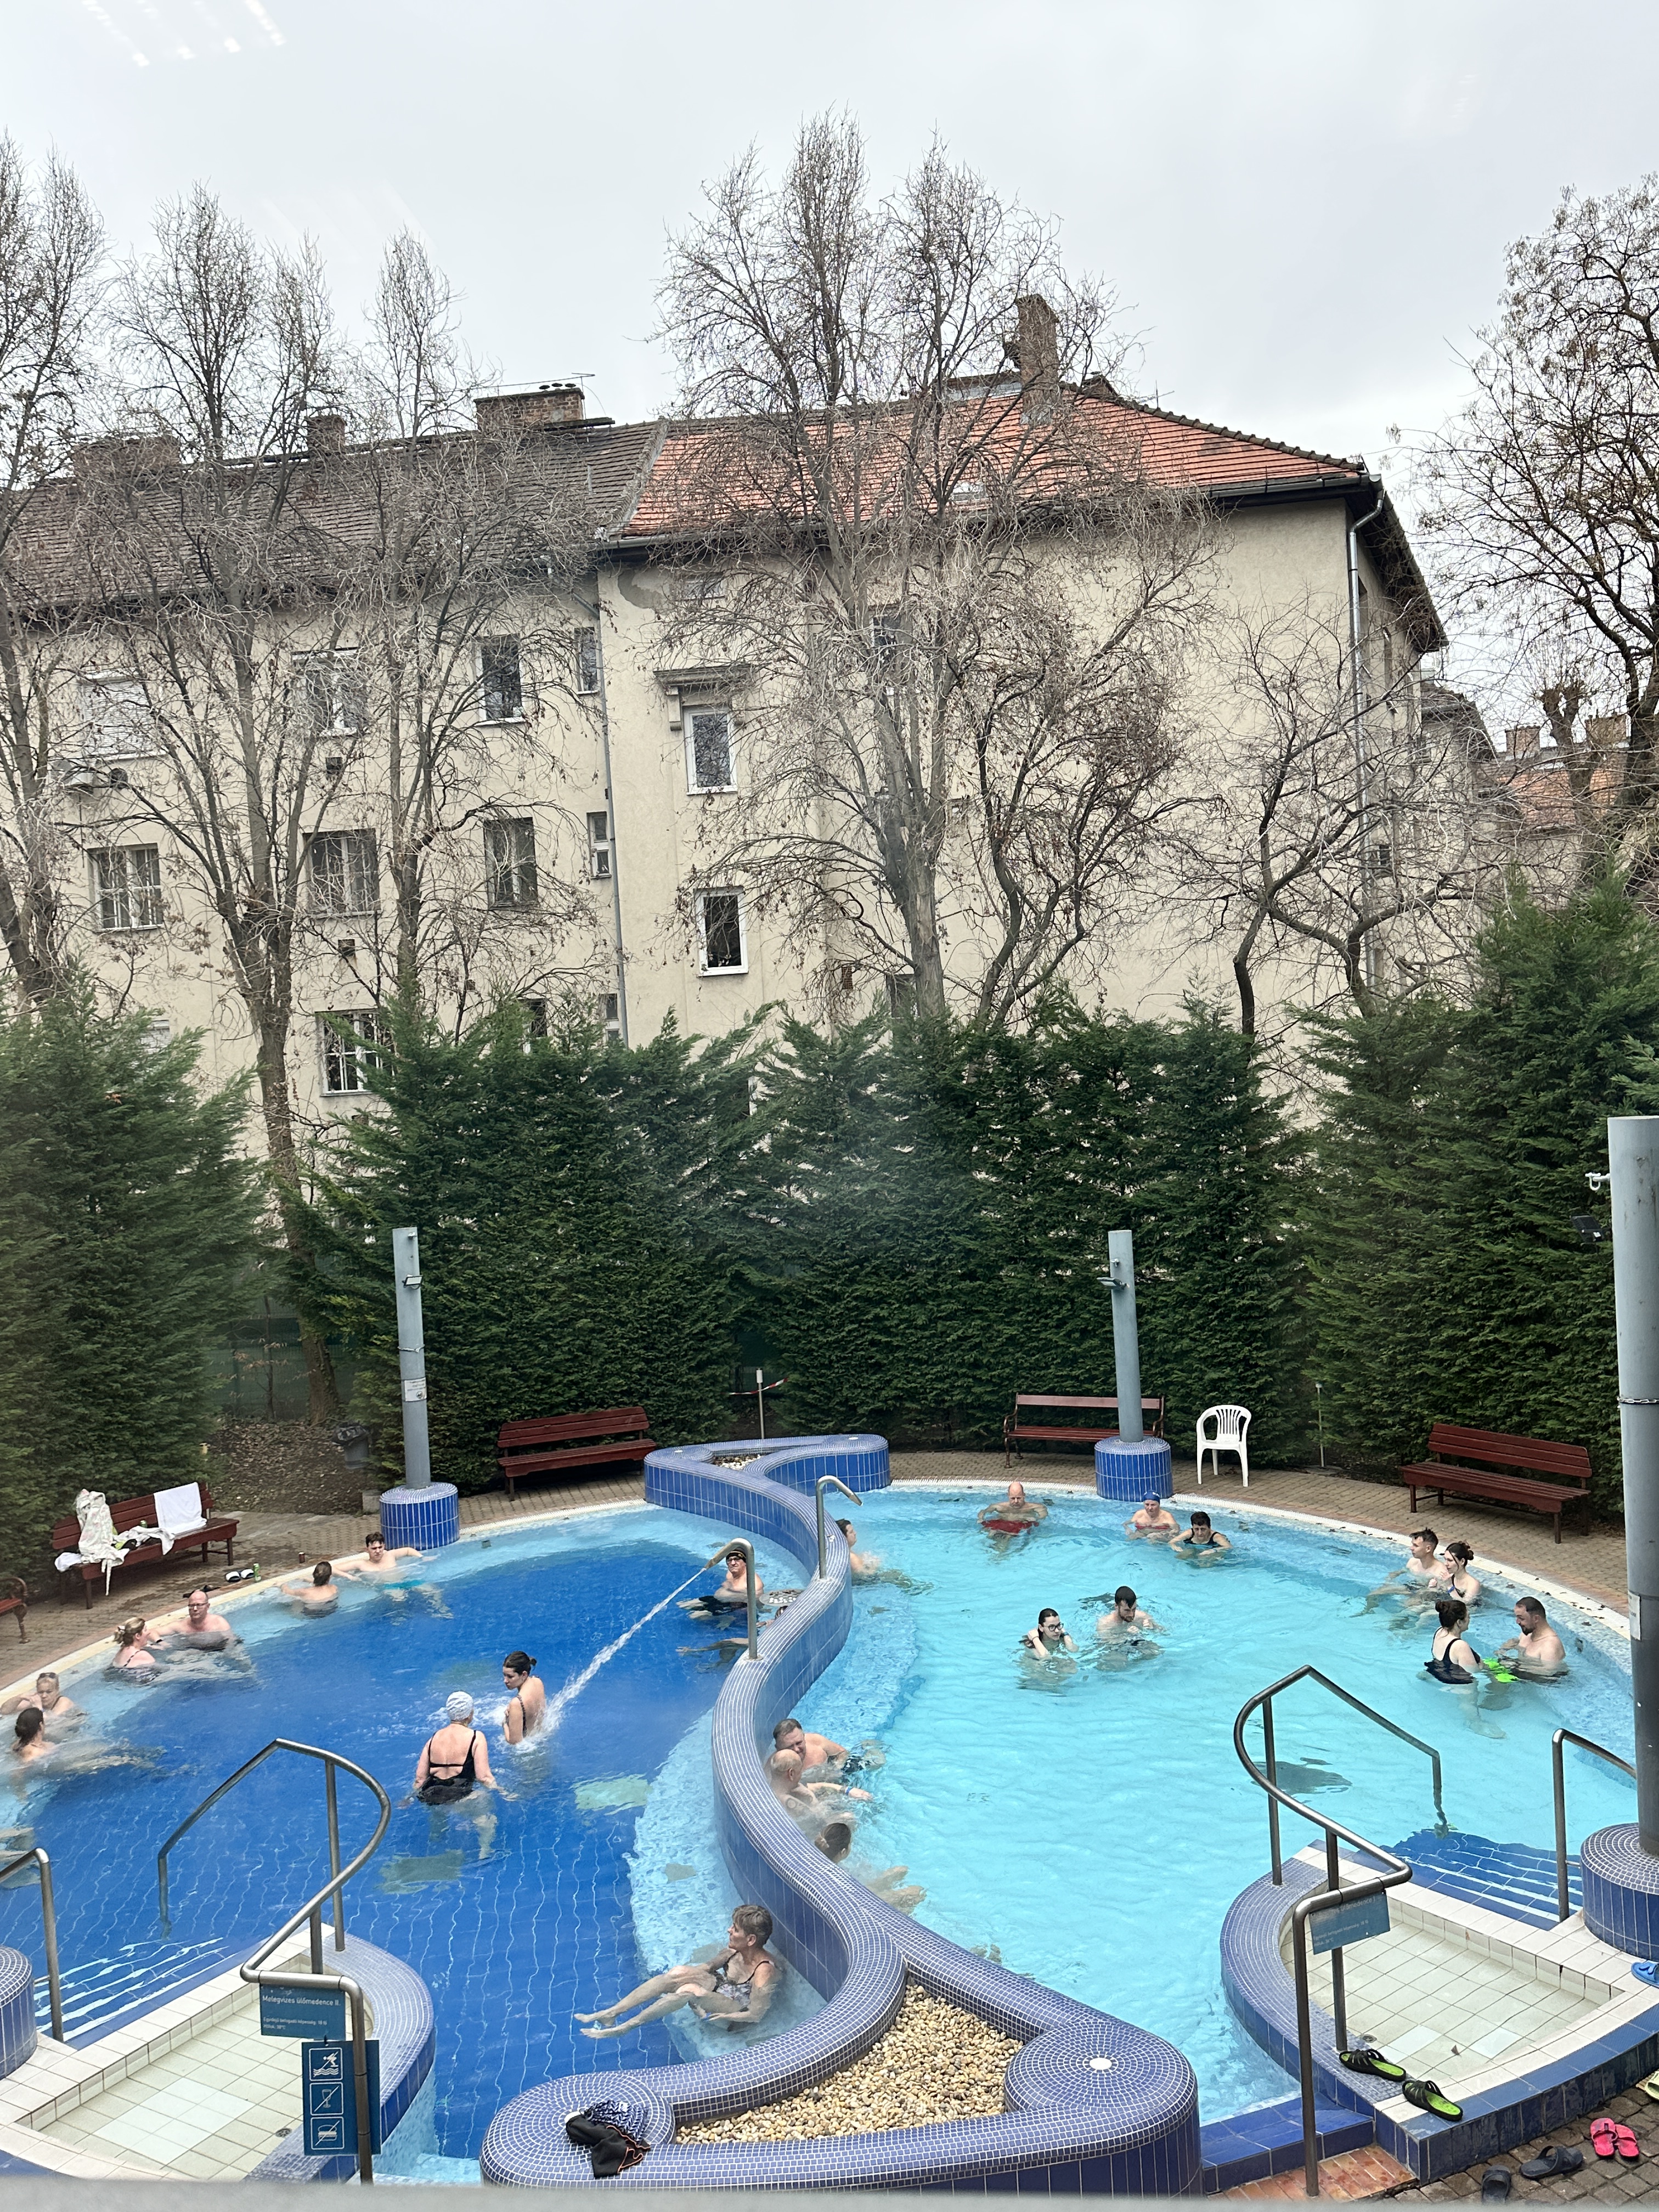
In a couple of weeks – Friday 27th March I am doing a fun collaboration with artist Emma Thistleton. We are both keen swimmers, so hatched this plan last year at the Lido to arrange a fun day together. There are still a few places left if those who are keen to join.
Let me explain the order of the day. Arriving at Emma’s house (near to Wandsworth Common) at 11am you will be greeted by some warming chai and some homemade dhokla – a Gujarati steamed savoury sponge cake, which you can find in my first cookbook ‘Chilli & Mint’. Then Emma will begin with some relaxed and fun drawing exercises to get the creative juices flowing. Absolutely no experience is required, we promise. Then I will take over and we are going to cook some delicious Indian food for lunch together. This will include:
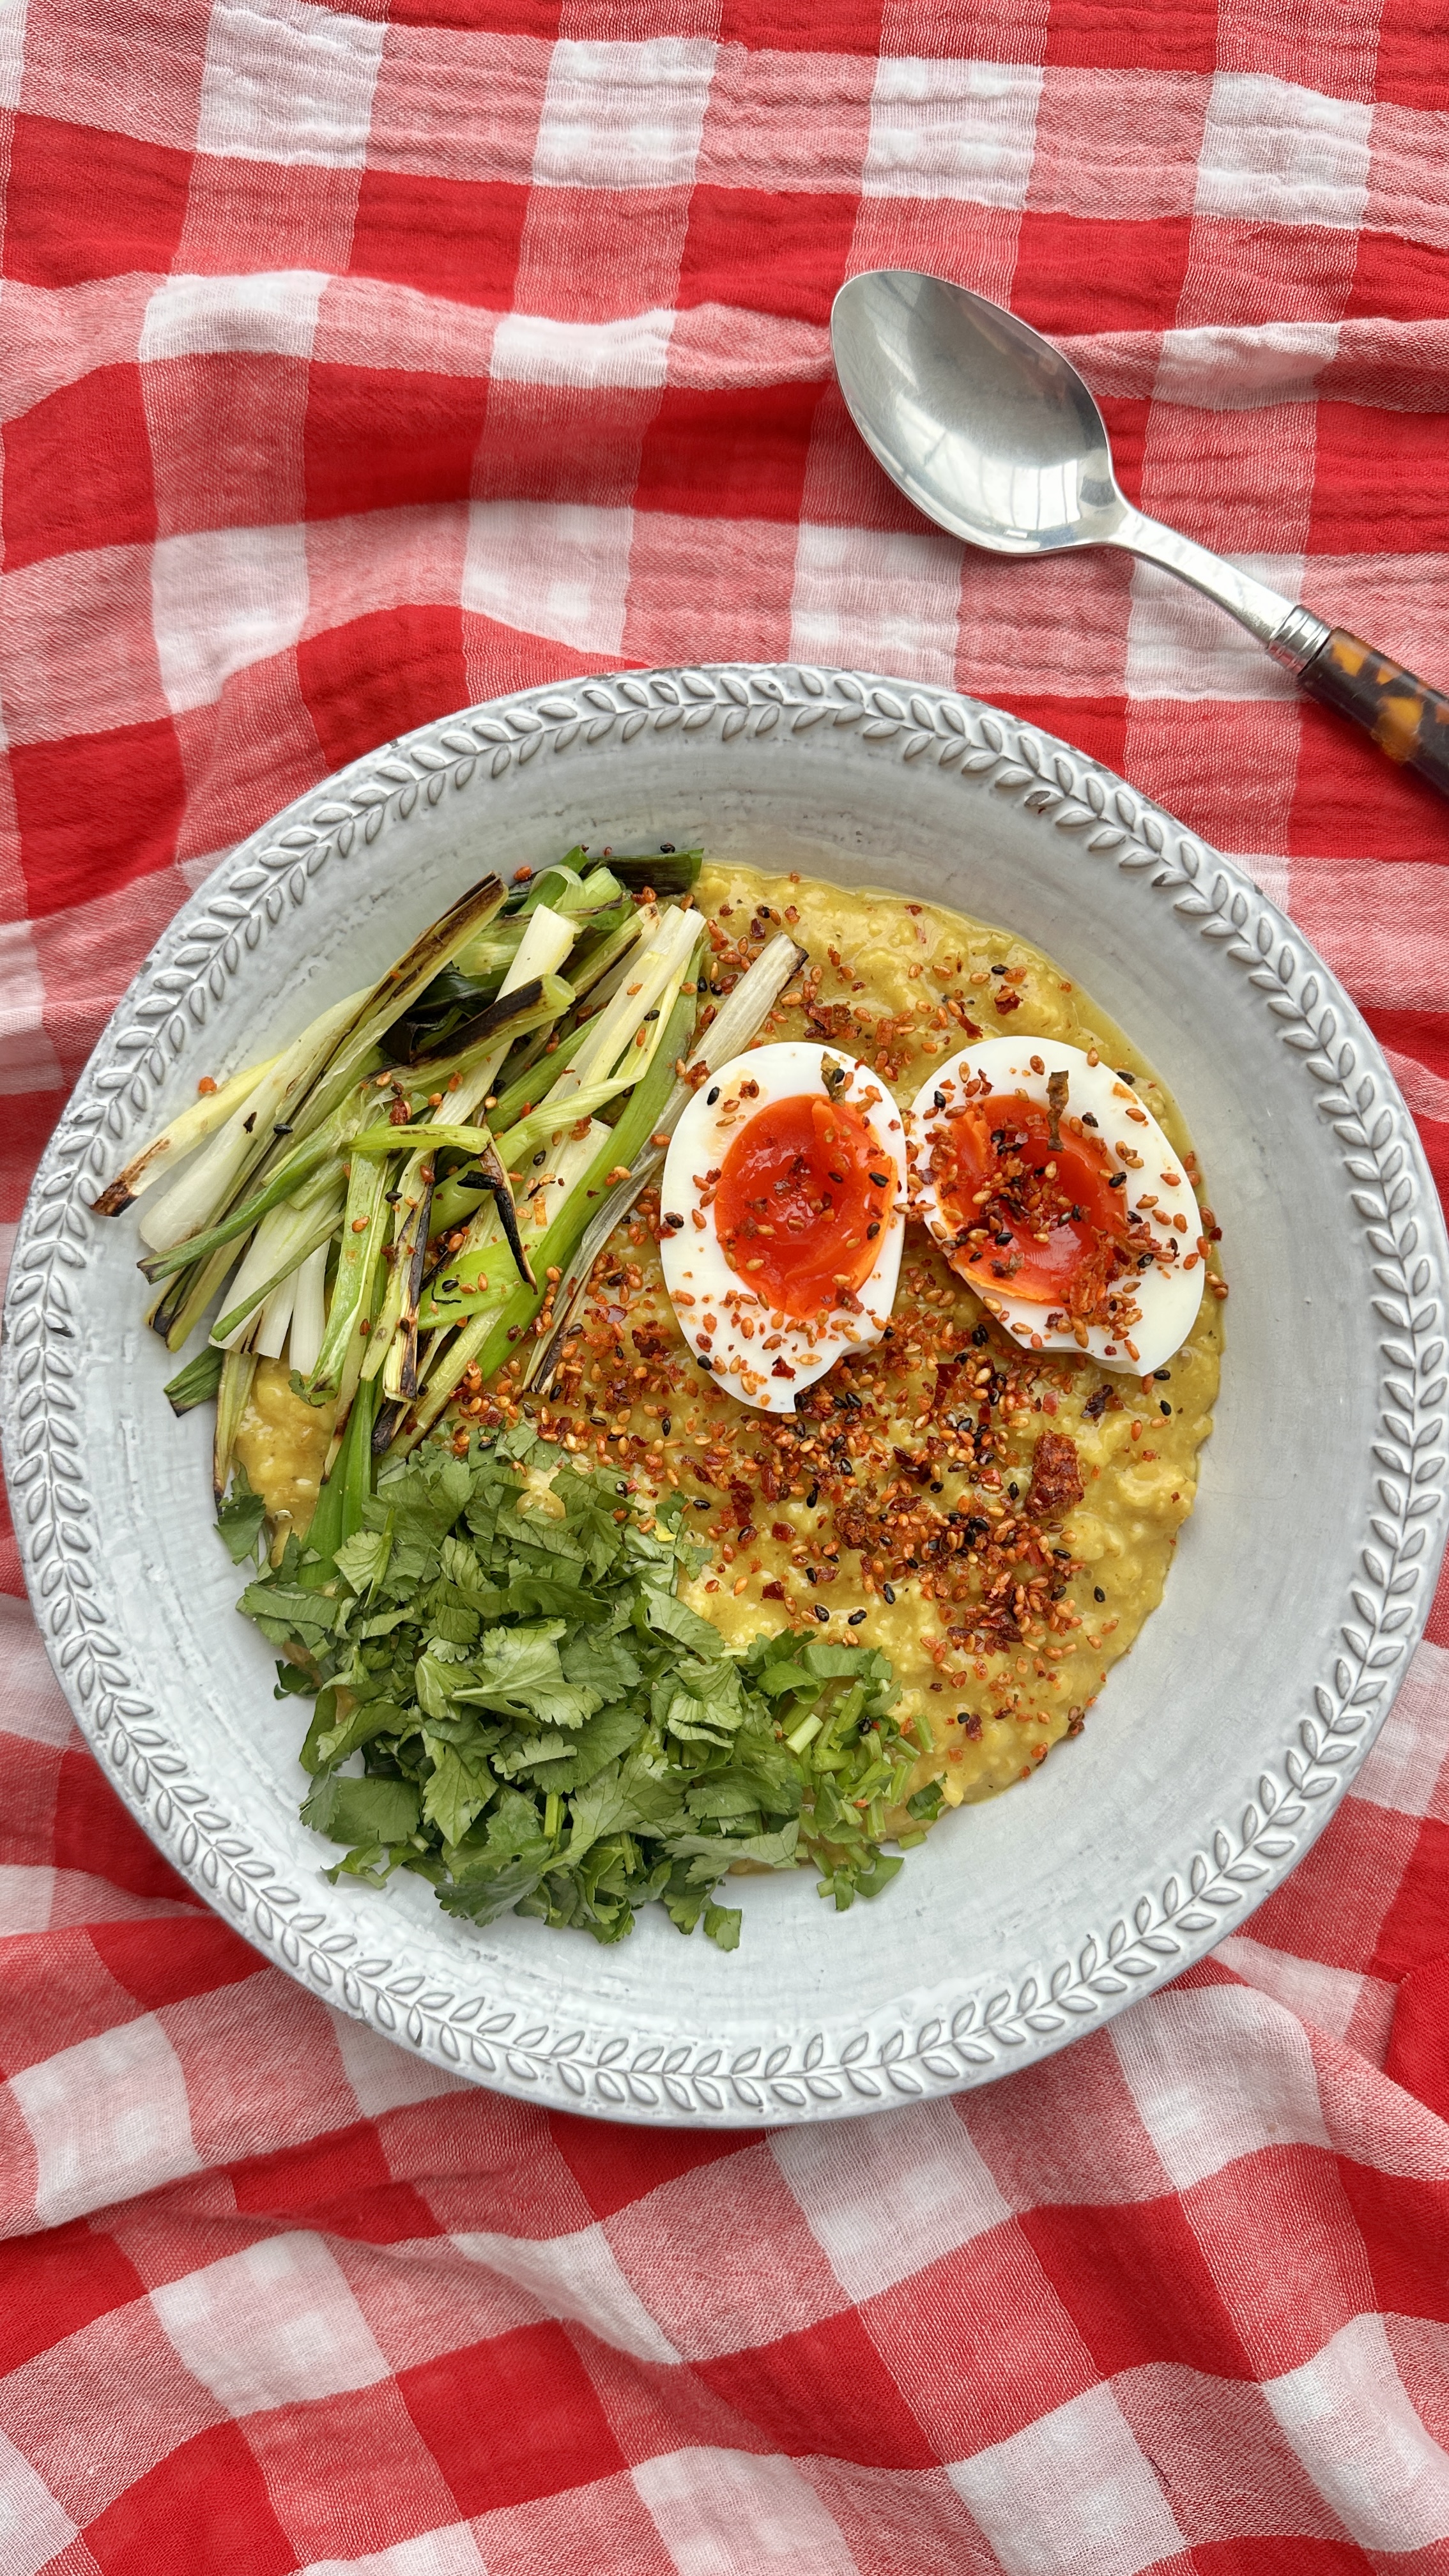
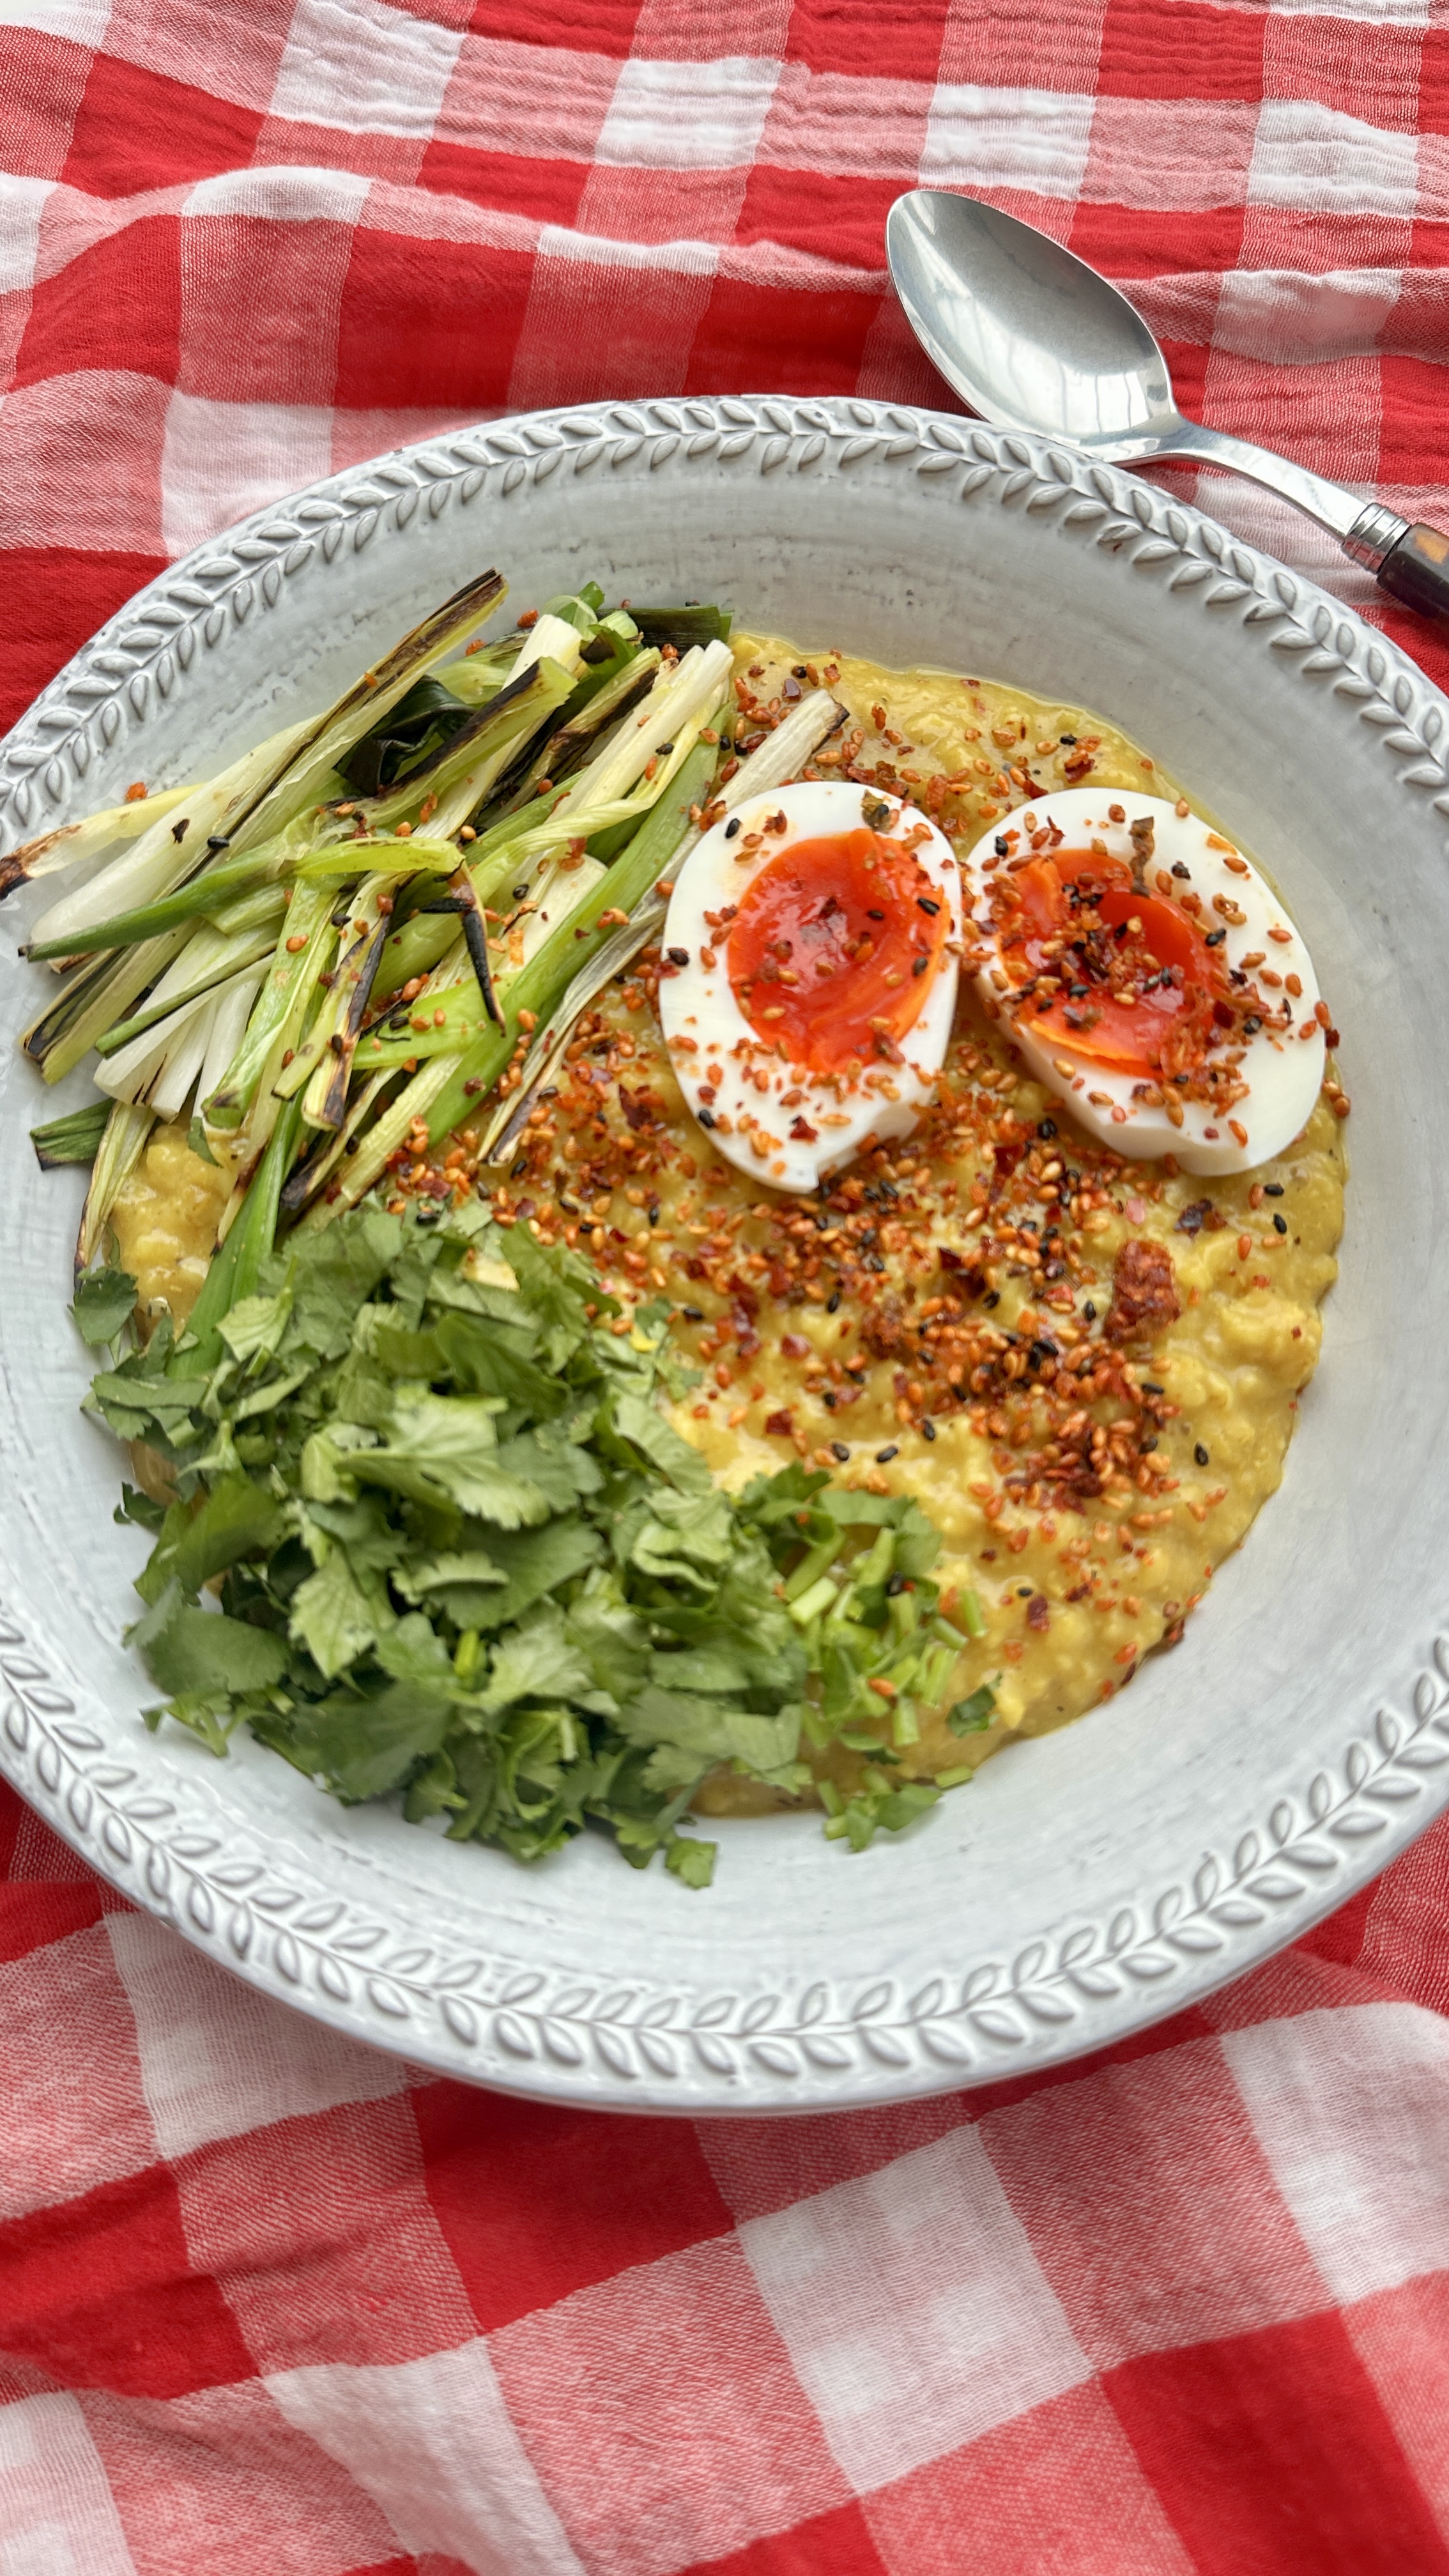
- Sri Lankan Dal
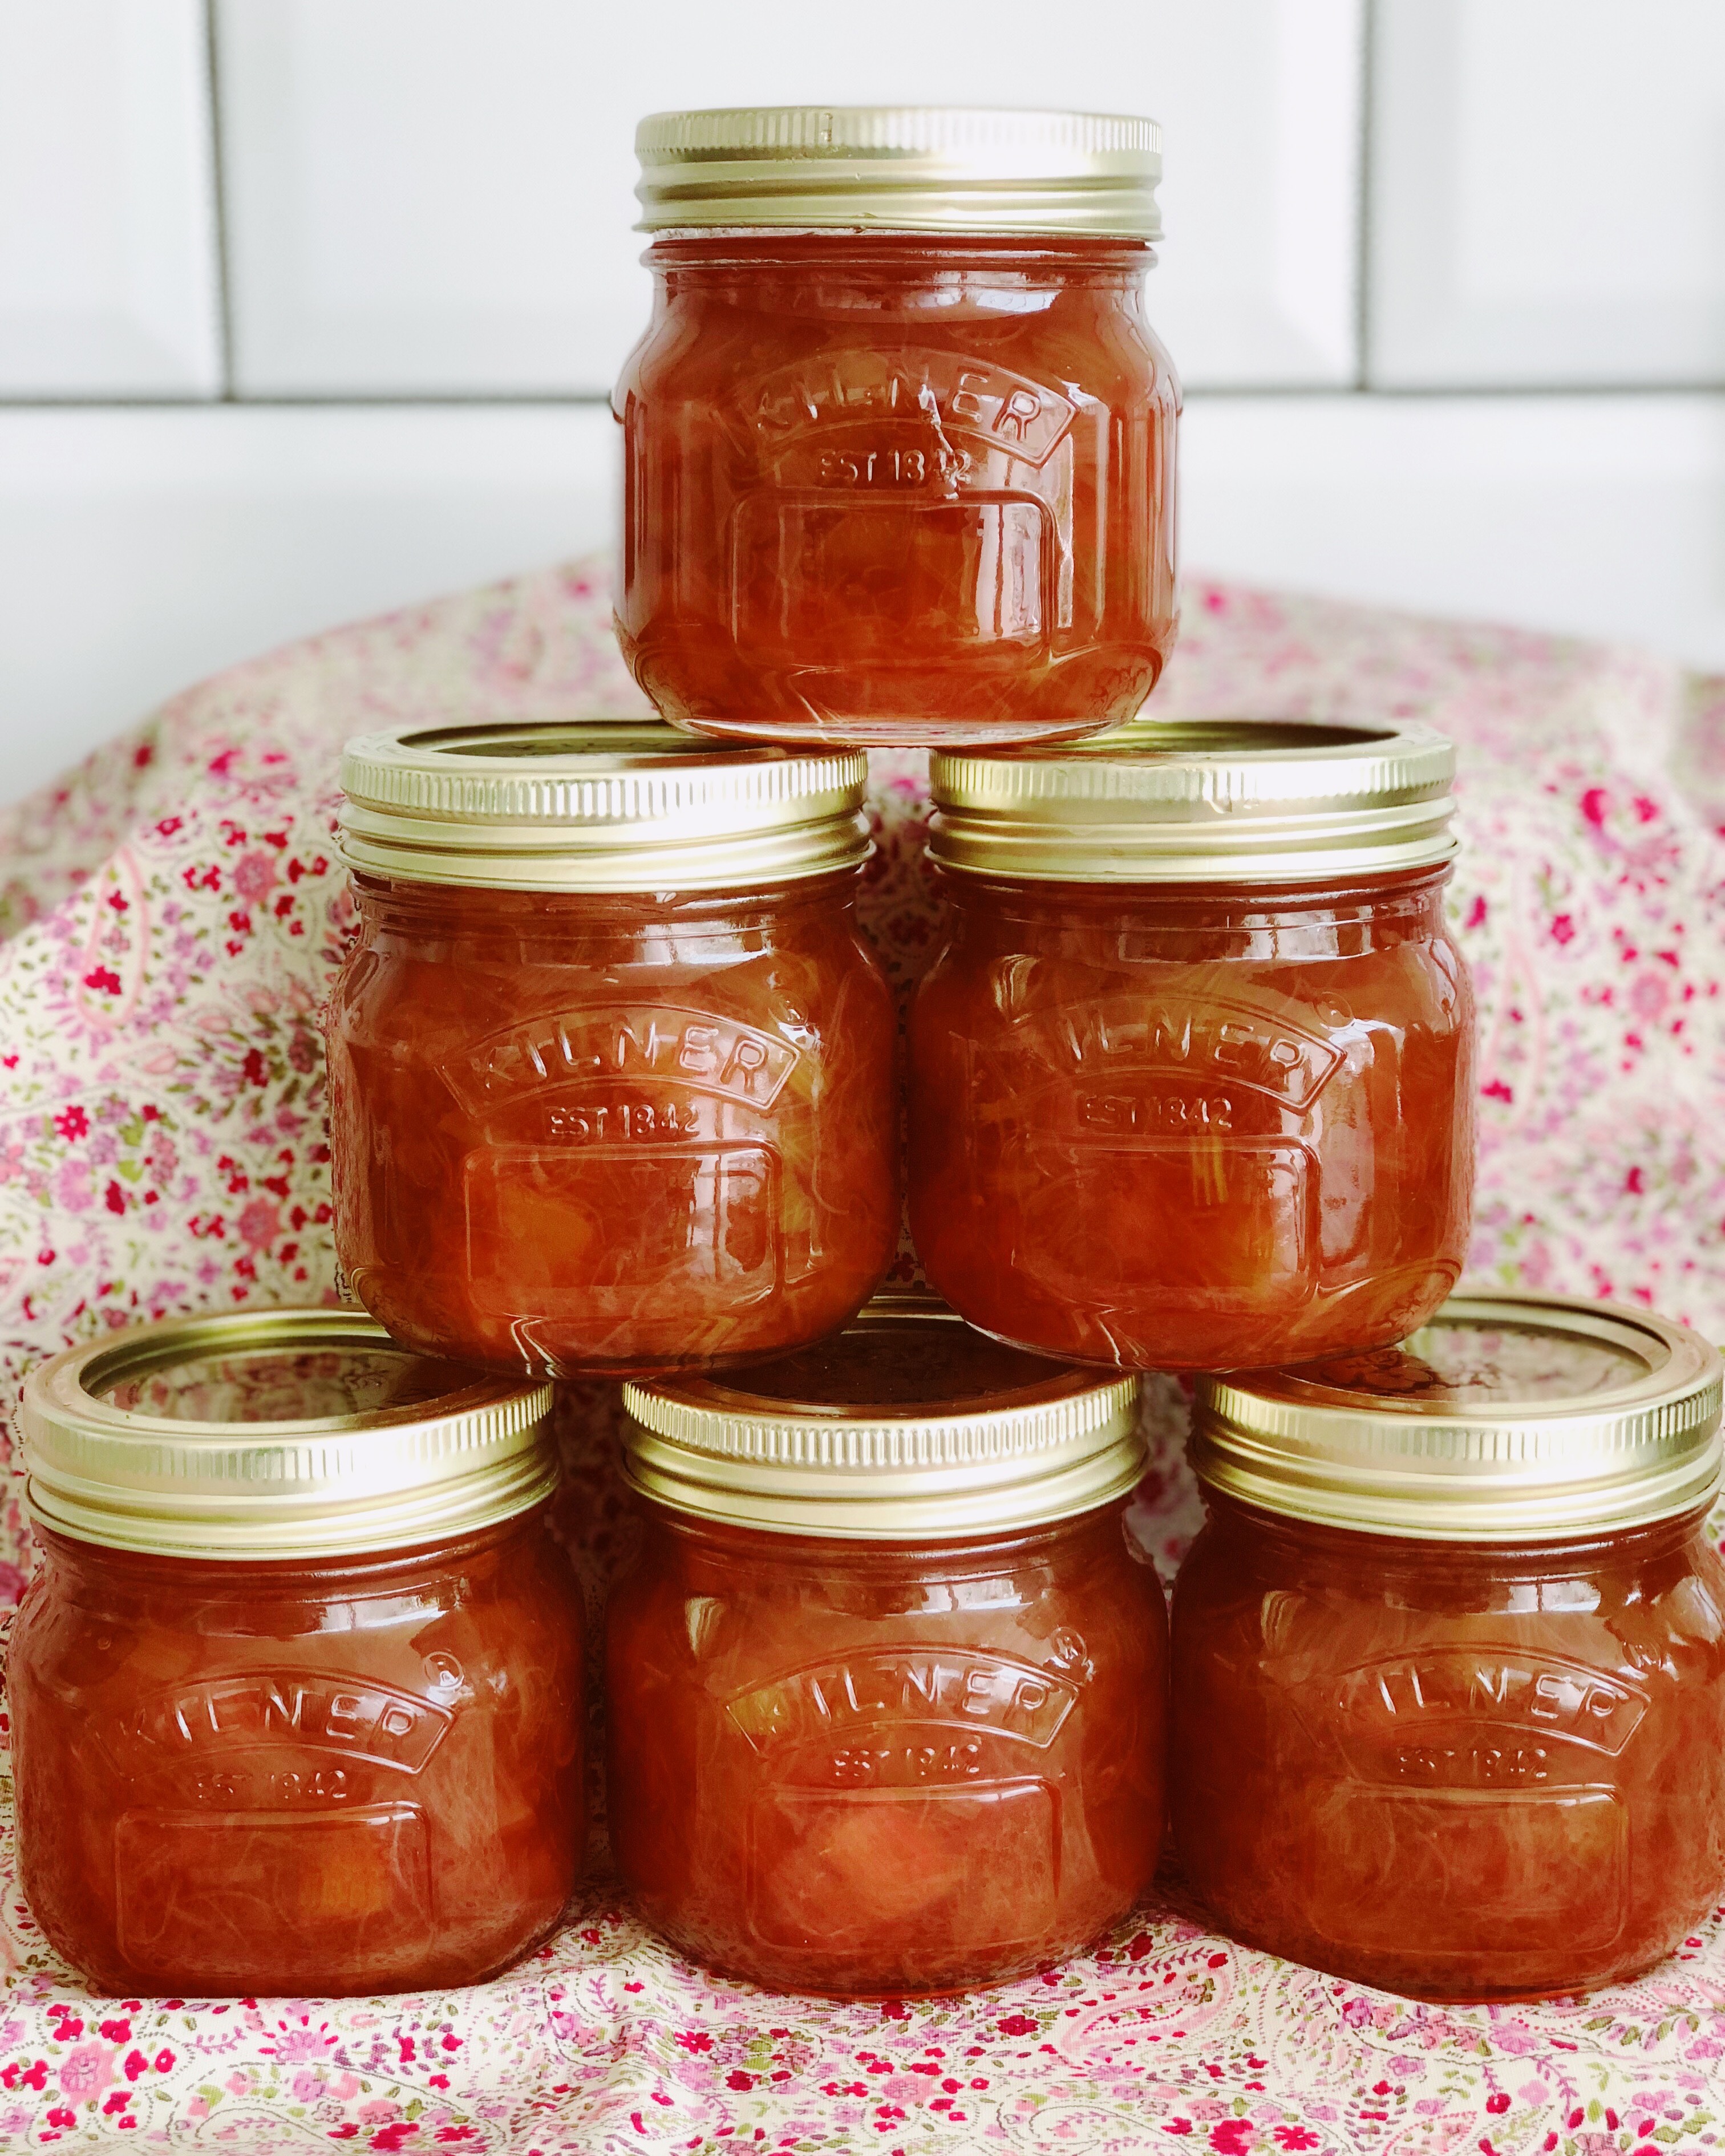
- Amma’s Mango Chutney
- Bengali Egg Curry
- Chaat Salad
- Spiced okra munchies
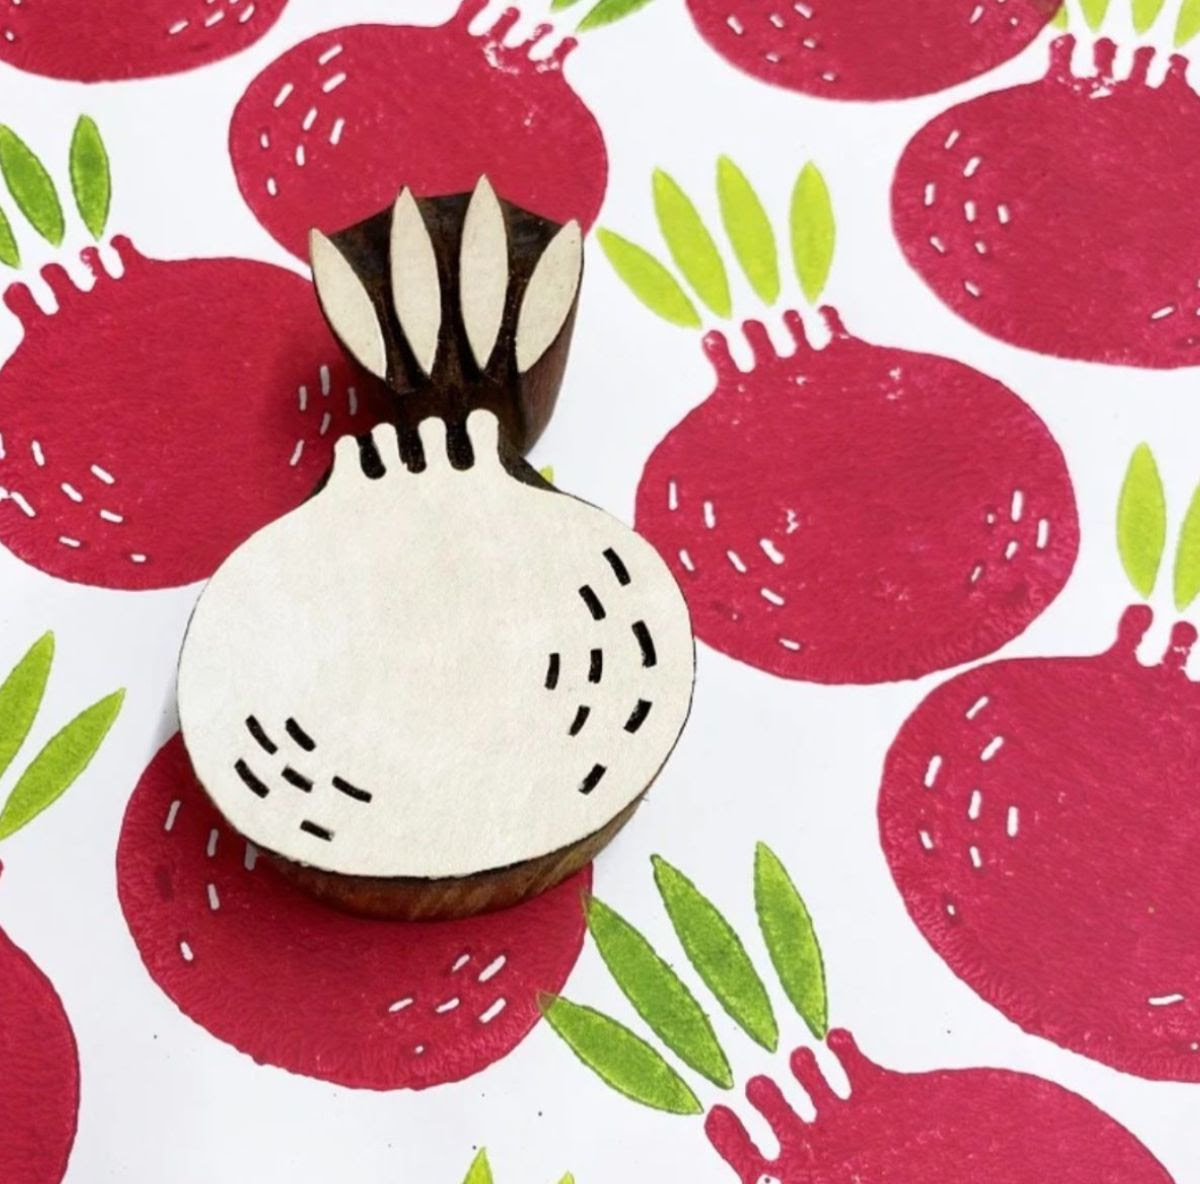
We will then sit down to a leisure lunch together. After our feast Emma will demonstrate block printing – pomegranates, limes, leaves and some wonderful boarders and then will guide you through designing and making your very own tote, tea towel and napkins, which you will take home.
Everyone will also go home with a signed copy of Chilli & Mint: Indian Home Cooking from a British Kitchen (OR Seven Kitchens if you already have Chilli & Mint).
The cost of the day in total is £160 per person and is limited to 8 people. There are a few places left.
IF you are keen please email me directly chilliandmint@gmail.com The event will take place at Emma’s house near Wandsworth Common.
Chocolate Guinness Cake
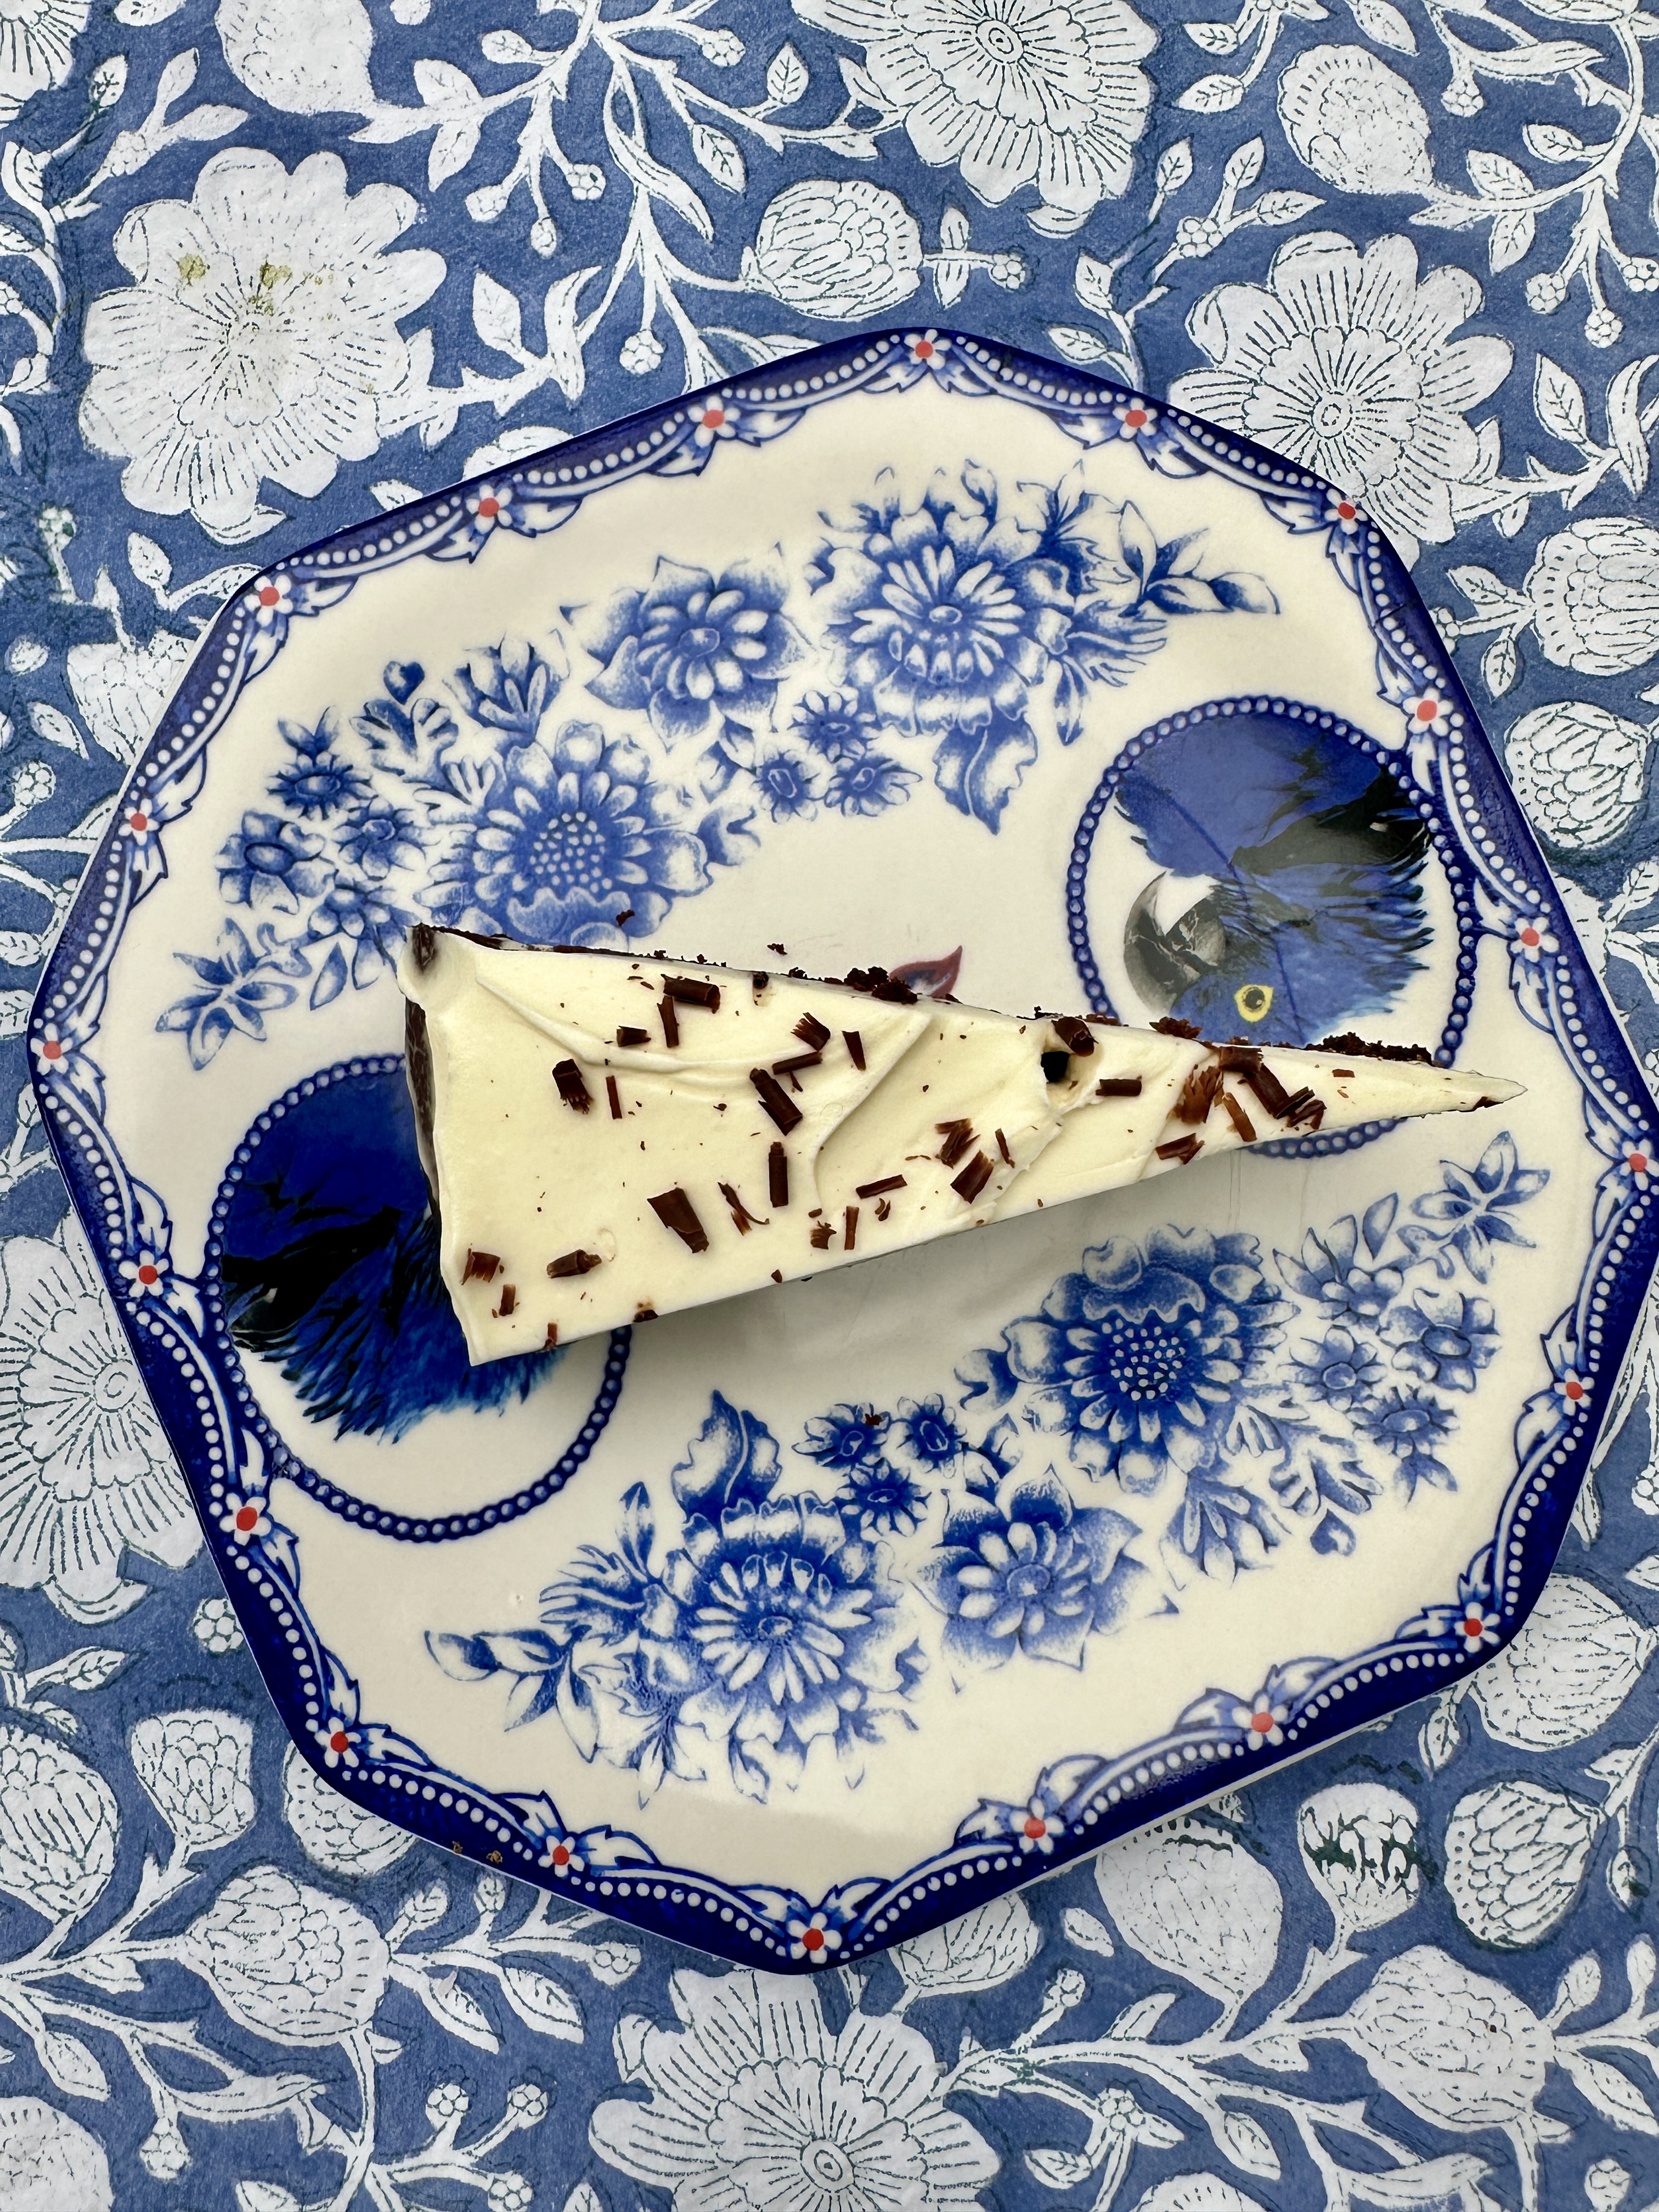
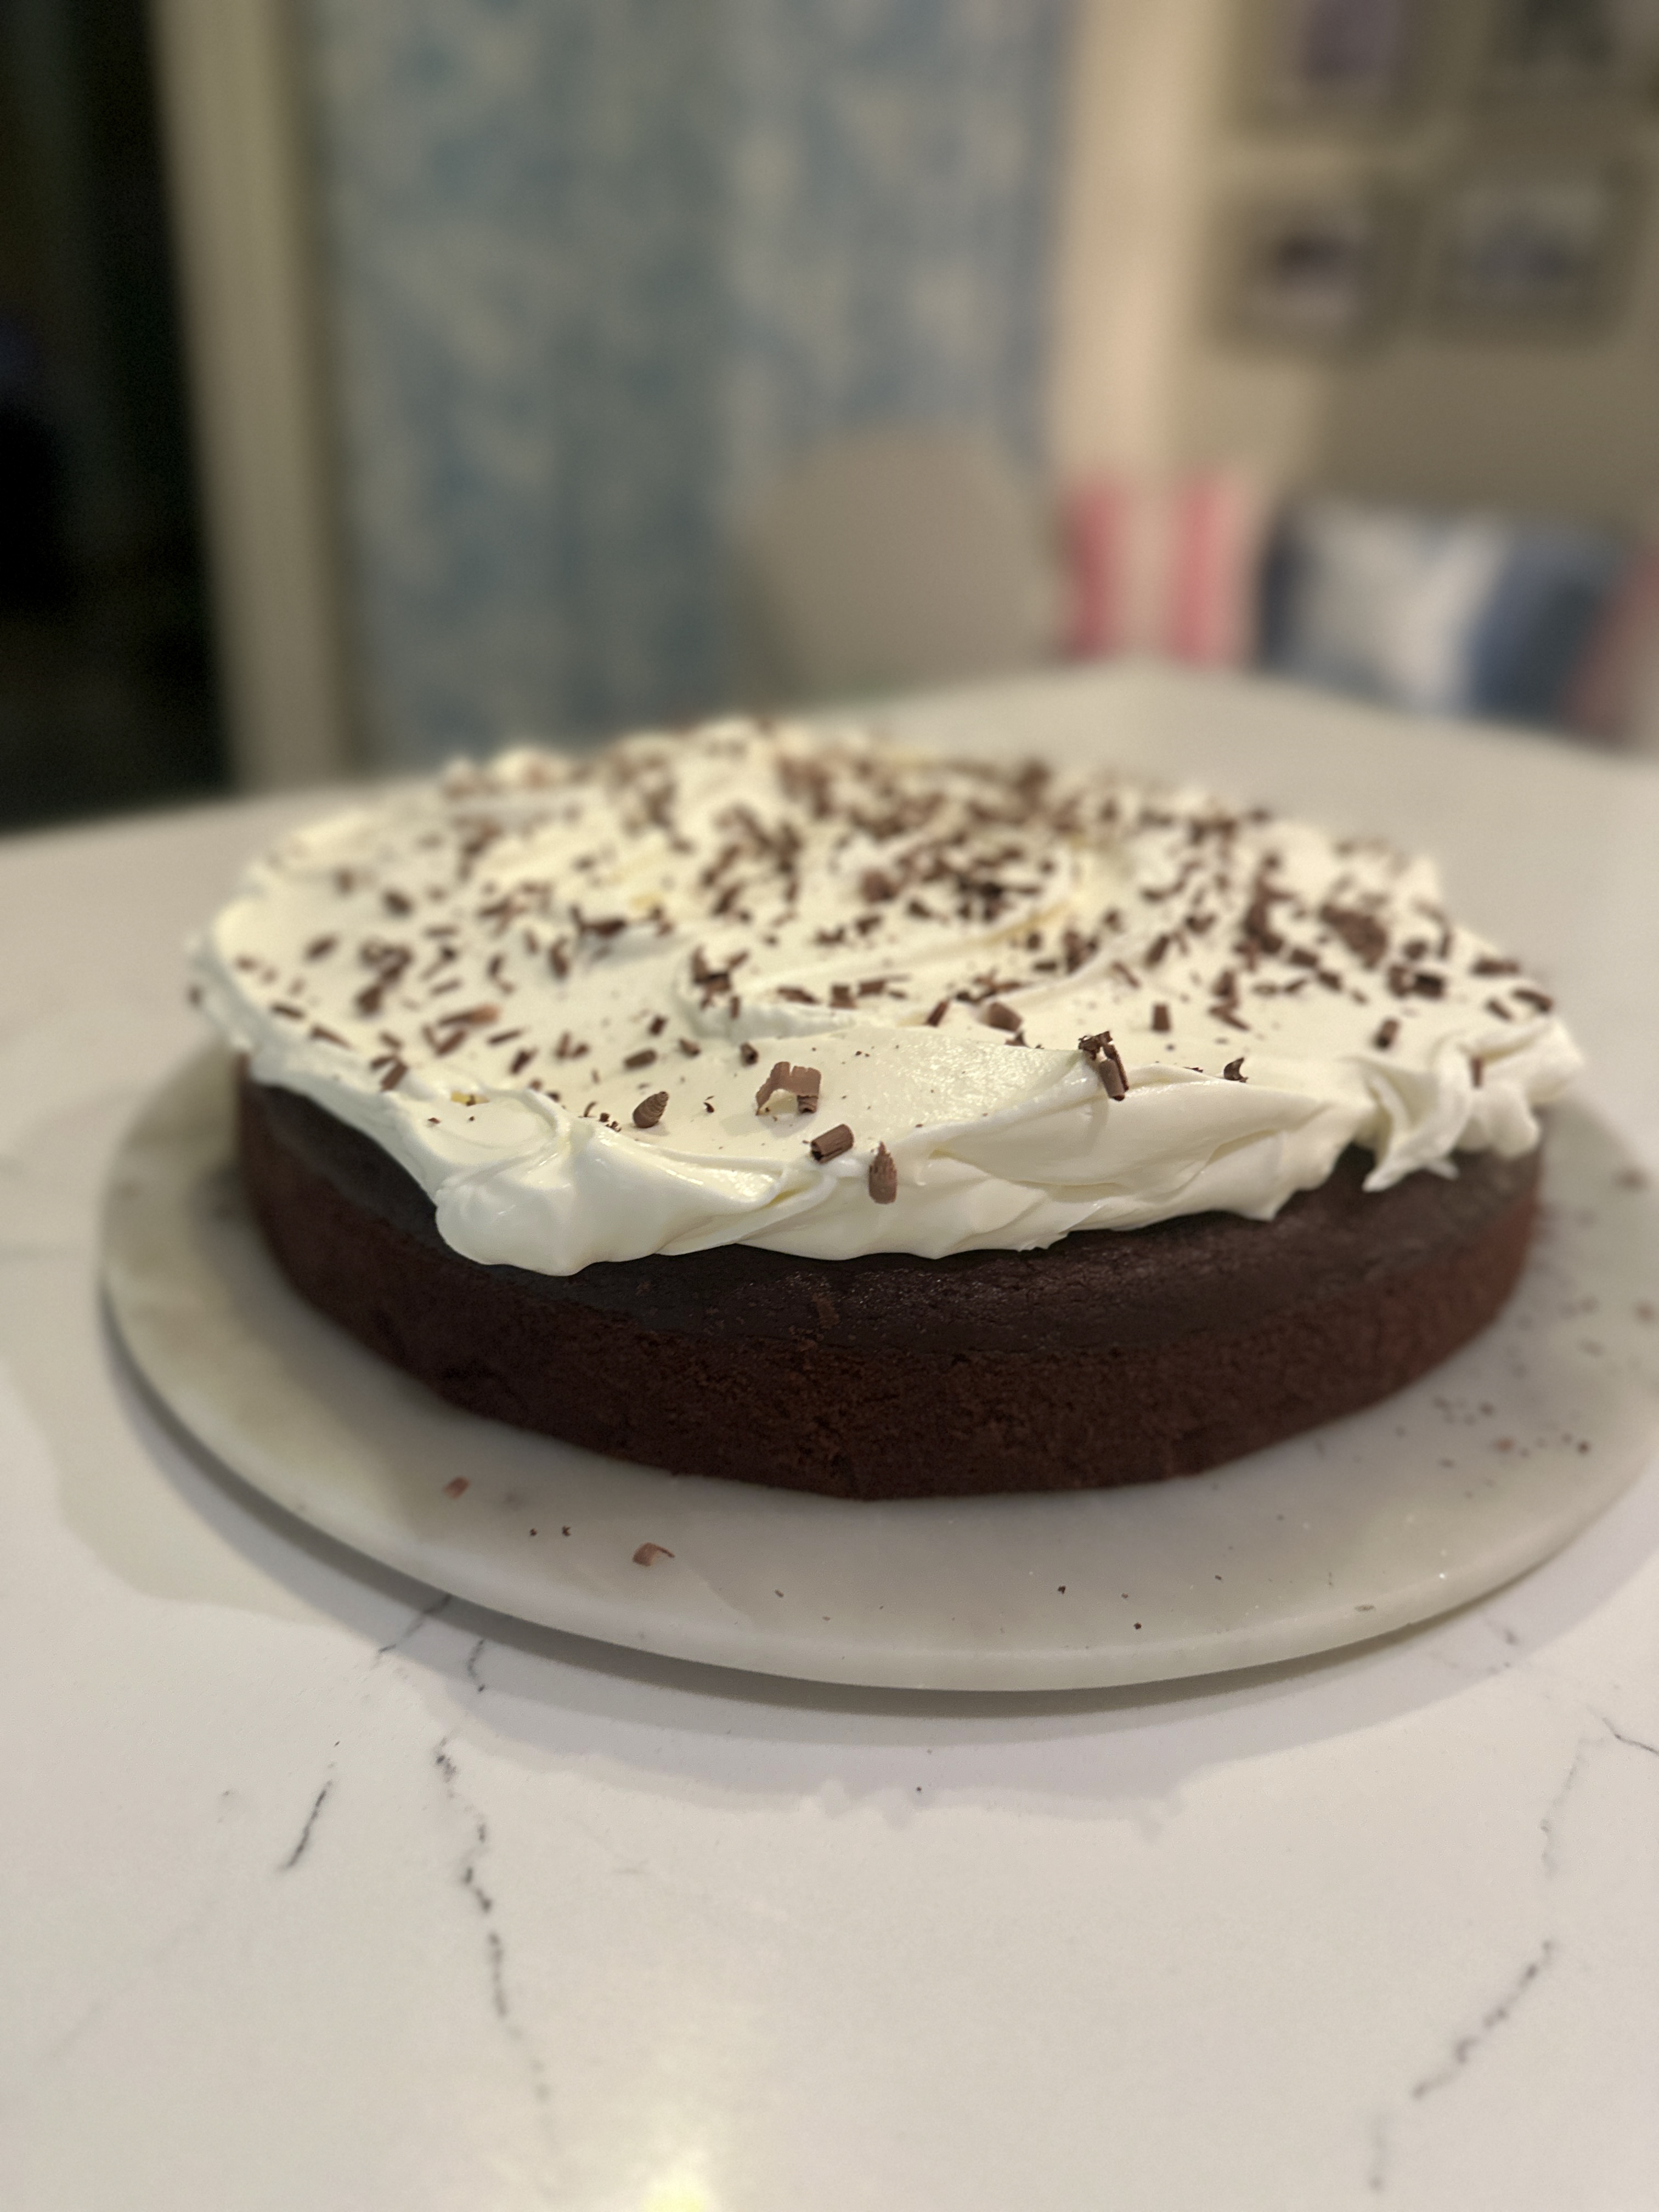
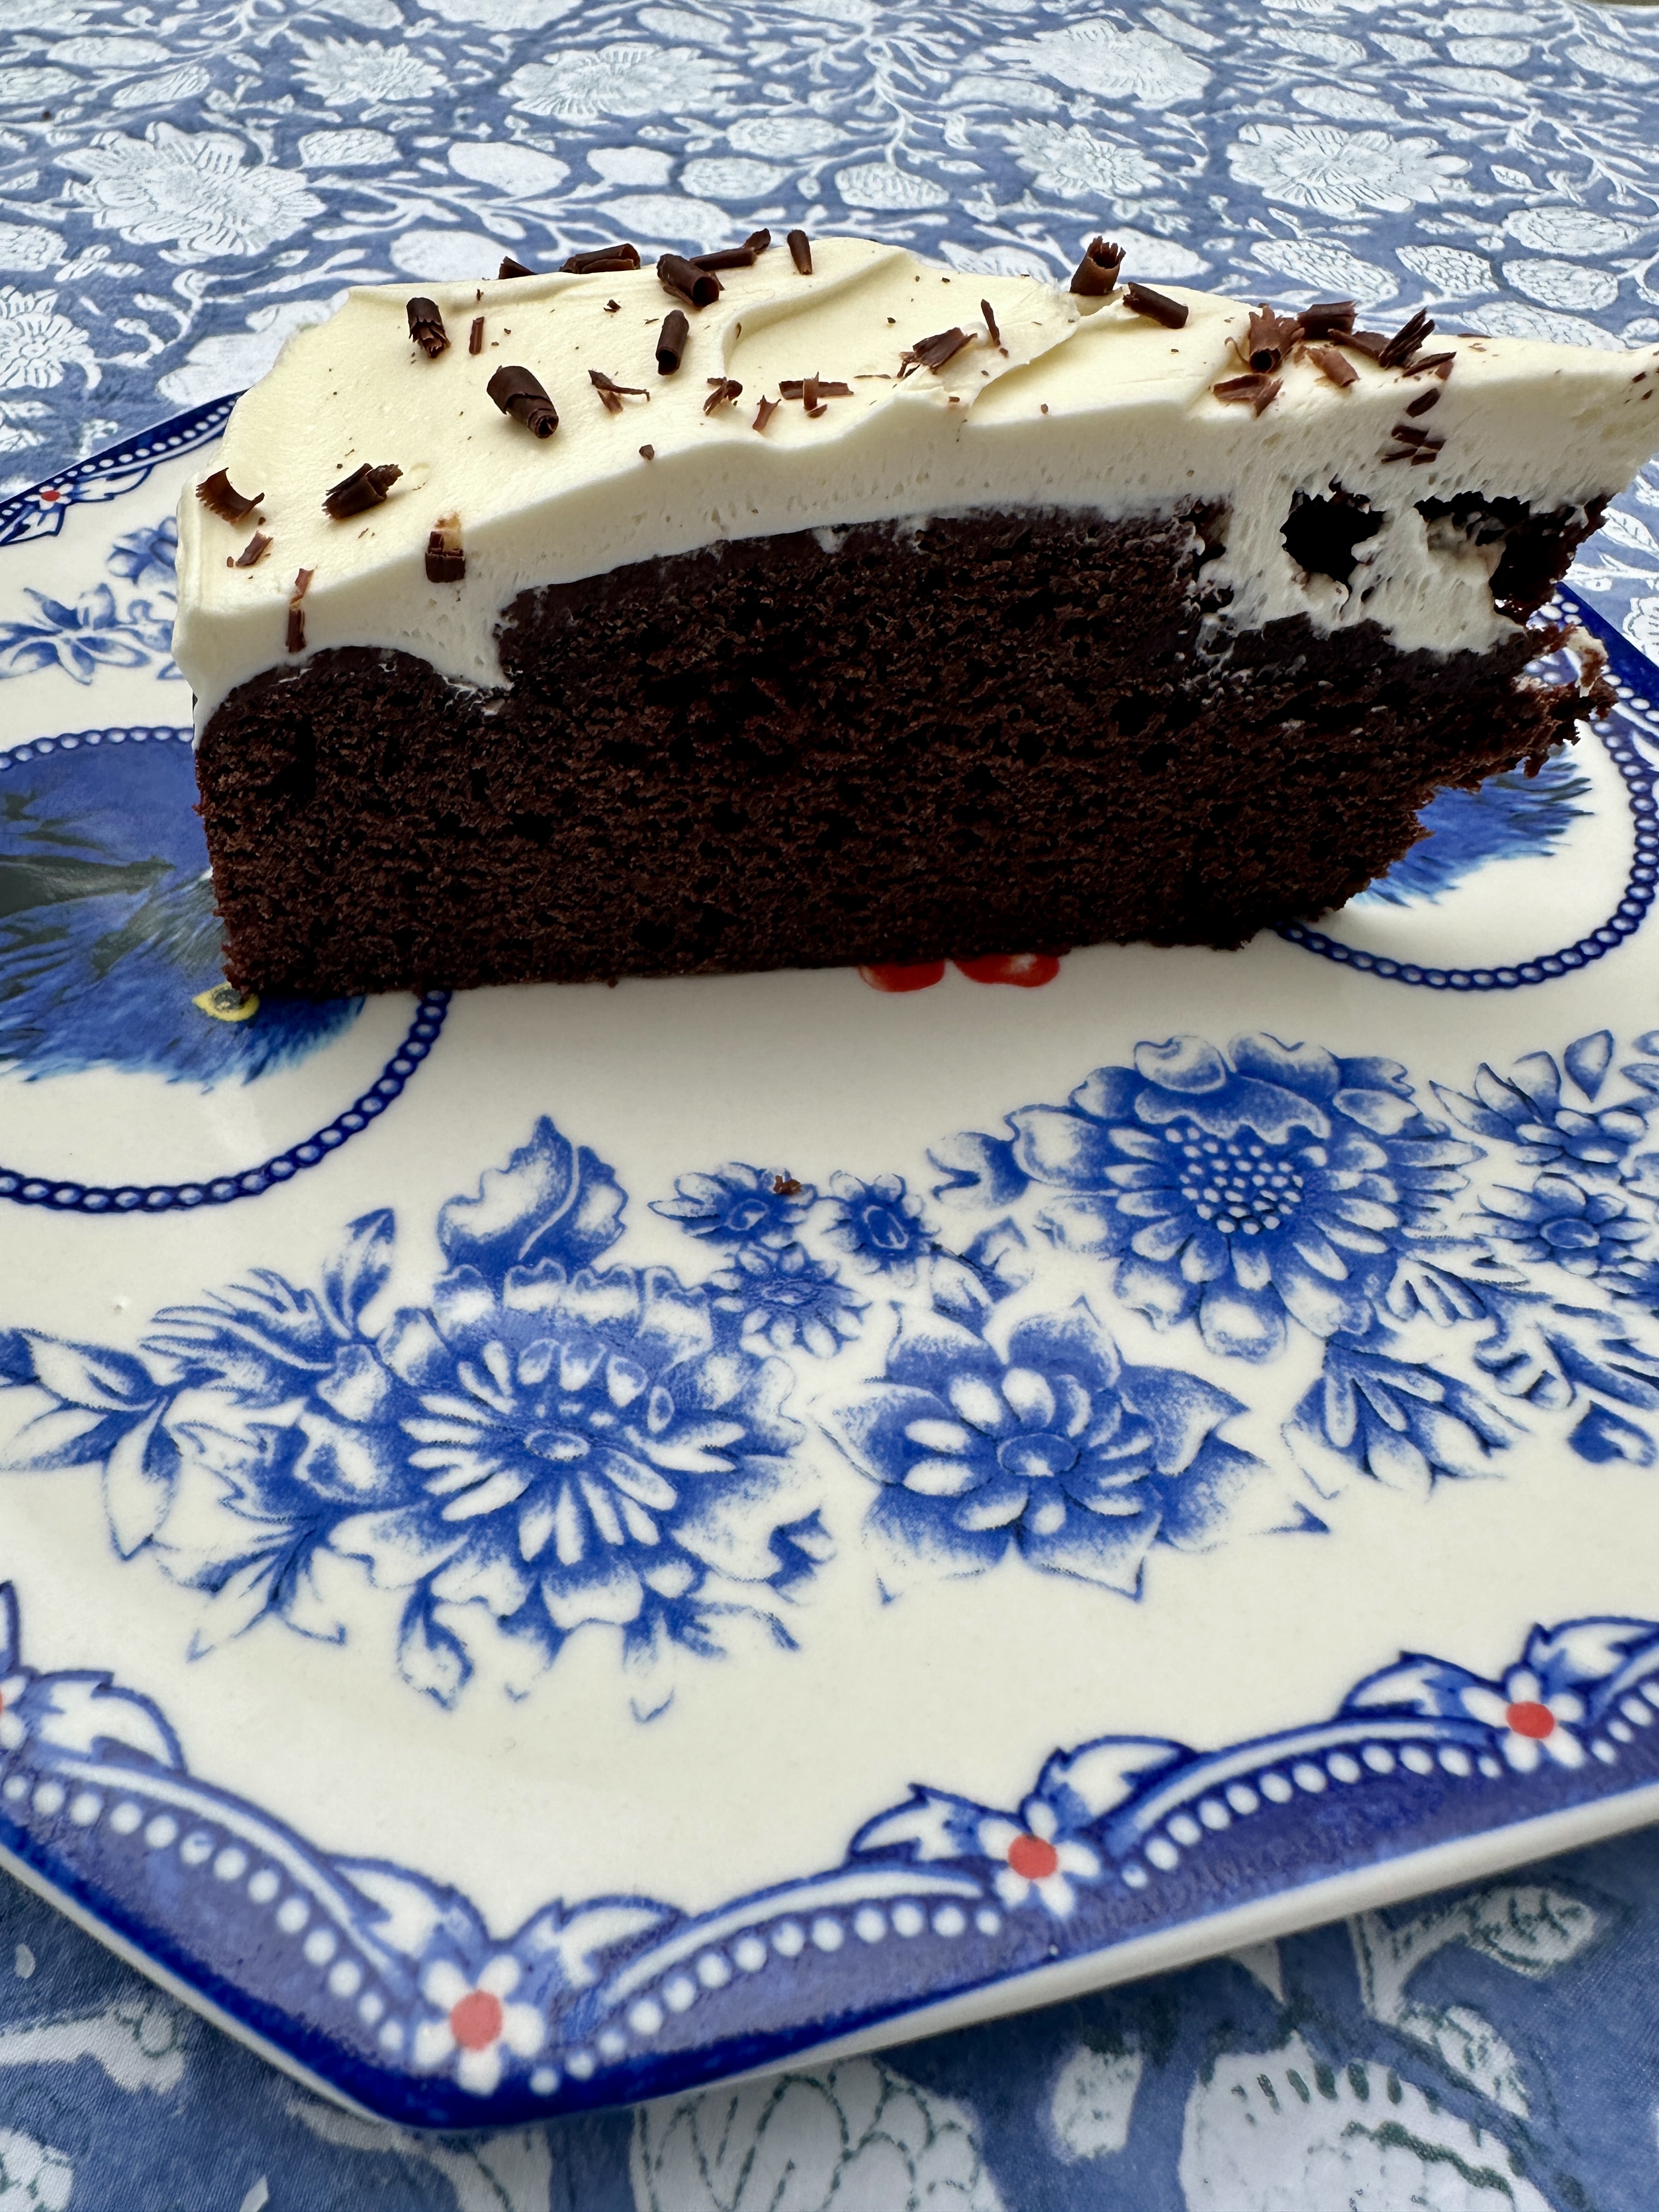
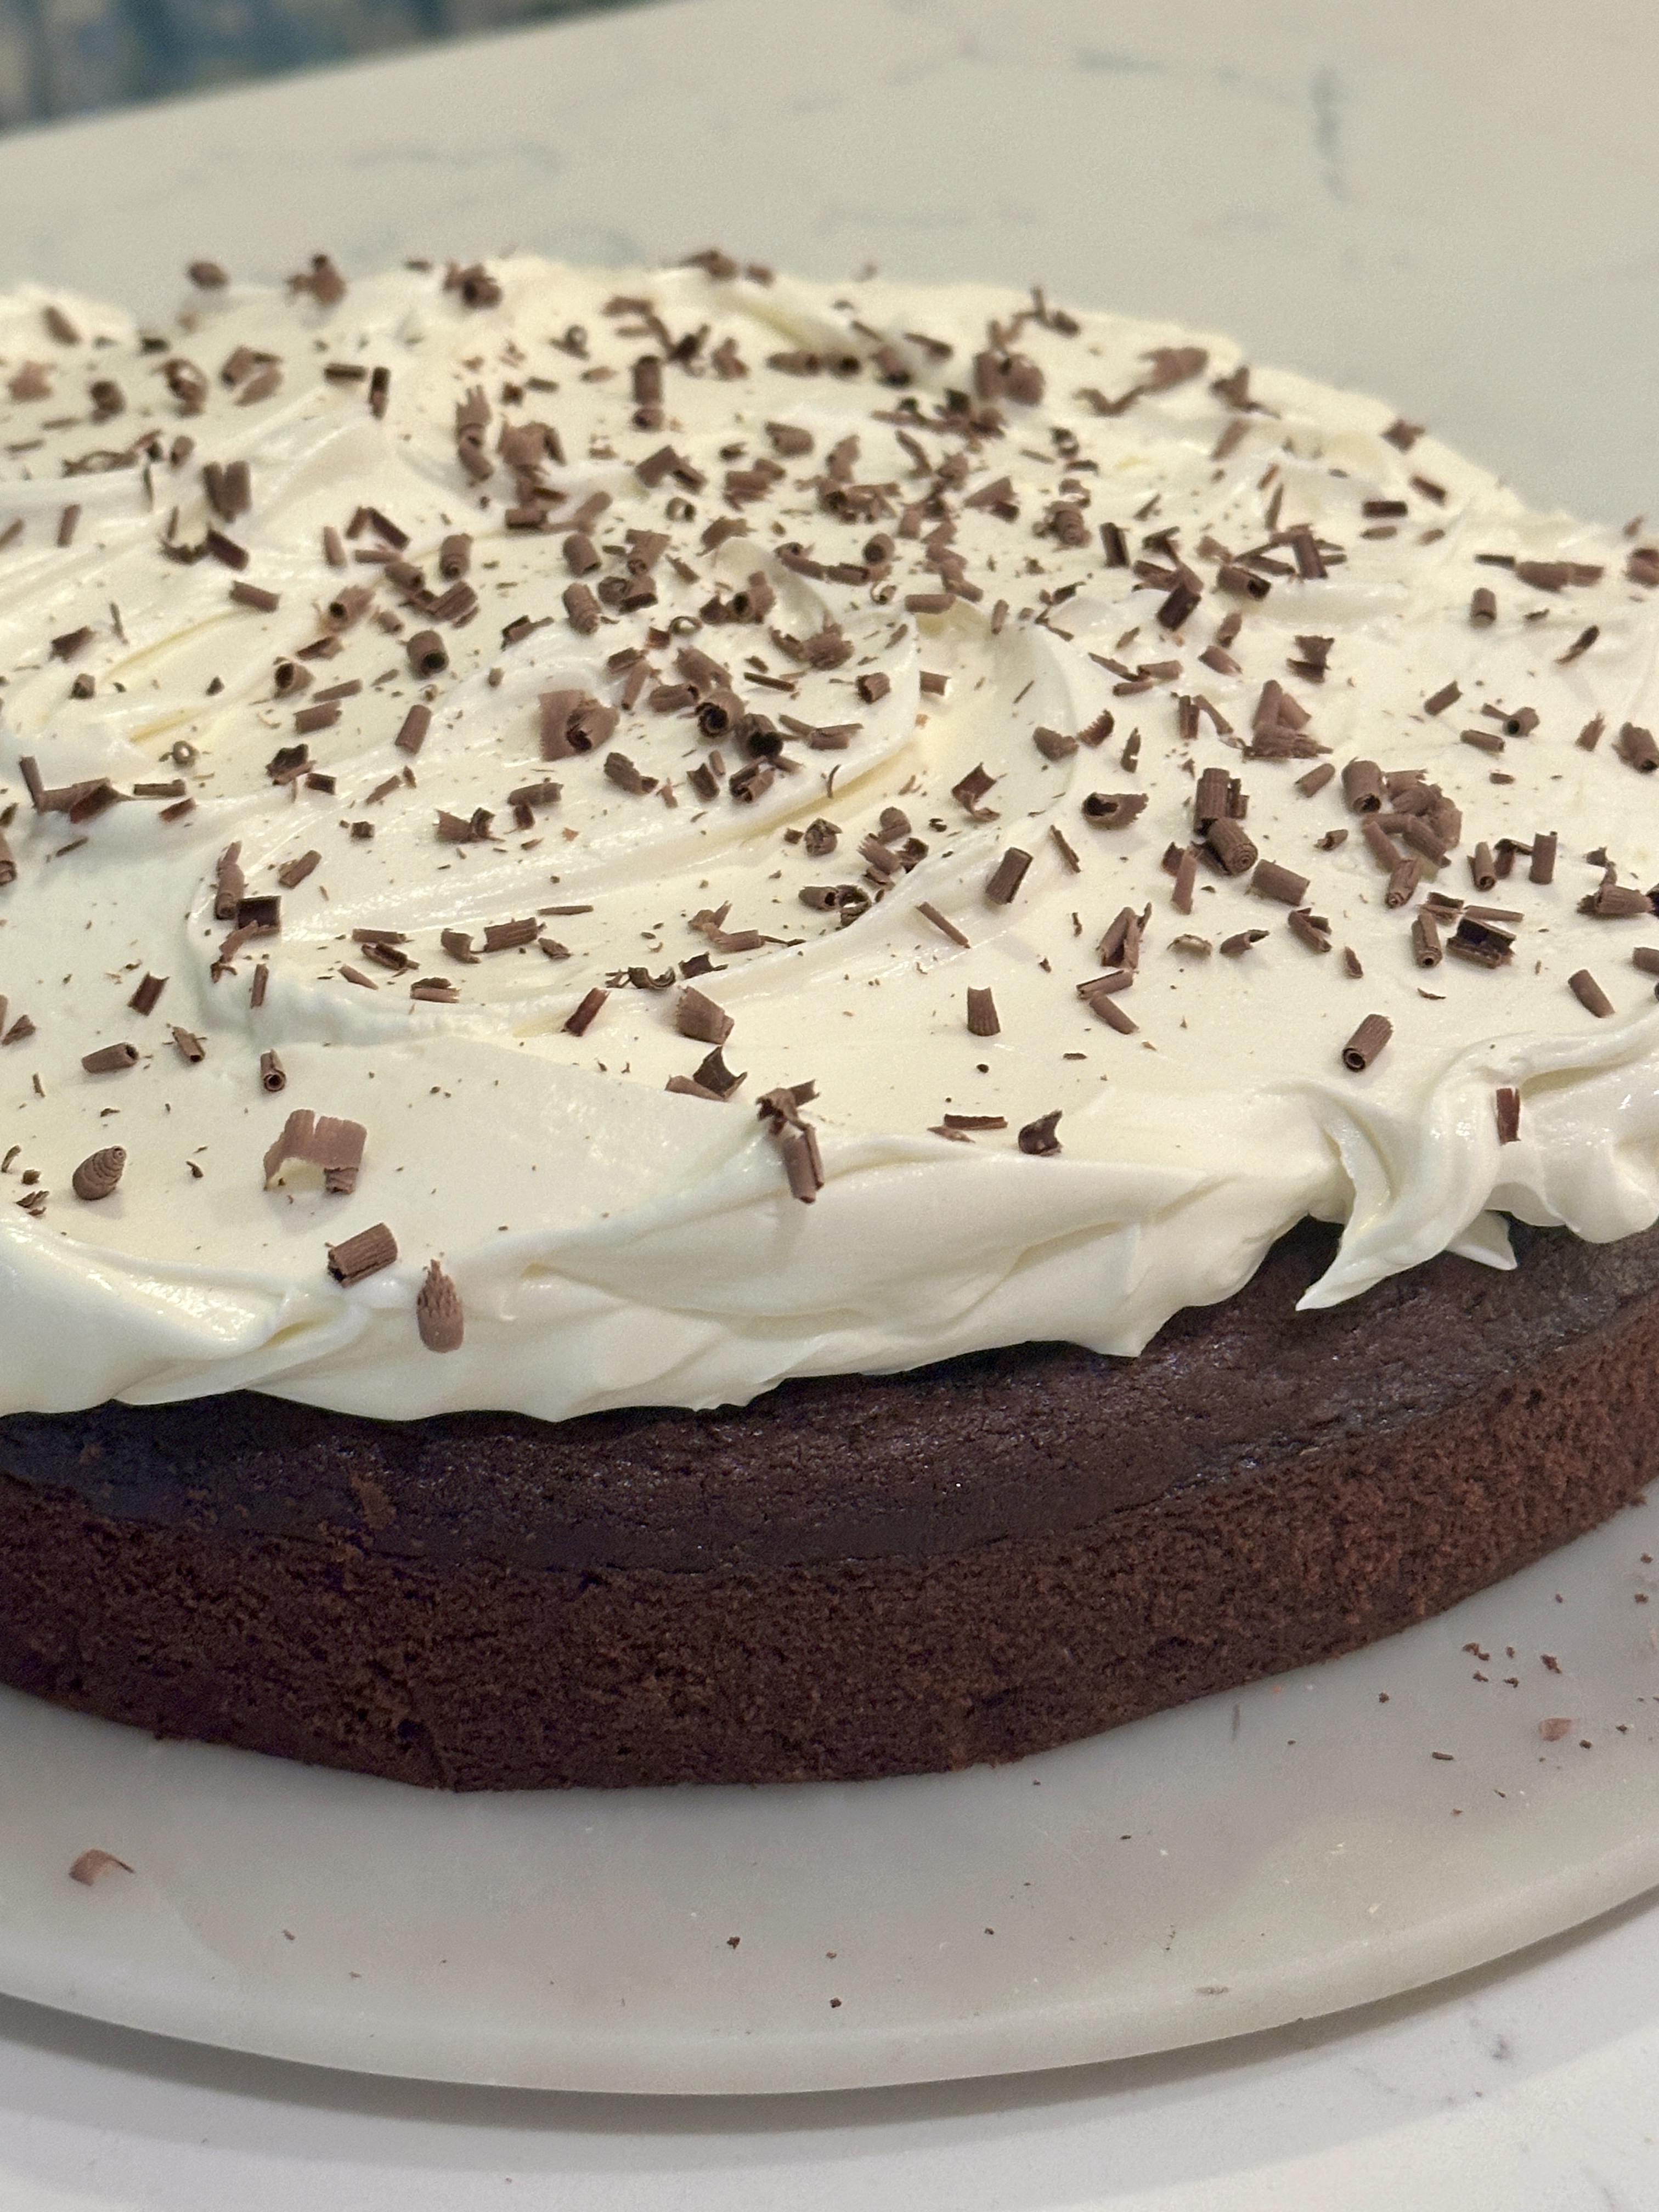
Have you ever tried a chocolate Guinness cake before? It’s rich and delicious and a great go-to celebration cake. My husband had a big birthday earlier this week and I asked him what cake he would like. Pondering for a moment he toyed with an espresso coffee cake and a chocolate Guinness cake. The Guinness cake won out and is an absolute keeper. You may be wondering what Guinness brings to the party. Let me tell you. By adding Guinness it really enhances the chocolatey flavour and gives the cake a dense and yet moist texture. Do try and let me know how you get on.
Chocolate Guinness Cake
225g unsalted butter
225ml Guinness 0.0 (non alcohol)
250g caster sugar
100g cocoa powder
2 large eggs
150ml soured cream
1 tsp vanilla paste
275g self raising flour
1 tsp bicarbonate of soda
Topping
250g full fat soft cream cheese
100g icing sugar
1 tsp cornflour
150ml double cream
dark chocolate with sea salt (or whichever you fancy!)
- Begin by preheating your oven to 180 degrees fan.
- Line the bottom of your cake tin. Now don’t get too focused on the size. I used a large loose bottom cake tin which is 26cm (10 inches) in diameter, but you can use a lot smaller. It will be a lot thicker cake OR you can use two smaller cake tins and then have a more traditional cake with a cream cheese filling in the middle and on top. It is totally up to you. You don’t need to rush out and get a larger tin! Grease your cake tin too.
- In a large pan, on a medium to low heat, add the block of butter. You don’t need to cut it down – it will melt easily. Add the alcohol free Guinness – you can use regular Guinness if you prefer. Once the butter has melted, take off the heat.
- Add the cocoa powder and caster sugar and mix in well.
- In a separate bowl, whisk the eggs and then add the soured cream and vanilla paste and then add to the pan. Stir well.
- Sift in the self raising flour and bicarbonate of soda. Stir well and then pour into your cake tin.
- Bake in your preheated oven for 50 minutes. Use a skewer to check that it is cooked inside. If it comes out clean it is done. If it comes out gooey, leave the cake in the oven for another 5-10 minutes.
To make the Topping
- Either by hand or use the whisk handle on your Kitchen Aid (or equivalent), whisk the cream cheese for 30 seconds and then add the icing sugar gradually and the cornflour.
- Again either by hand or using your mixer, whisk the double cream until soft peaks form. Then gradually add top the cream cheese/icing mixture.
Only add the topping once the cake has cooled completely. Finally grate some dark chocolate on top.
Enjoy. I am off to Norfolk next week to talk about my new book ‘Seven Kitchens: A Journey Through India’s Culinary Heritage’ and demo some recipes at the glorious Old School Books in Burnham Market. I will be there first ever event – no pressure there ;o). The event has sold out so I am super excited about it.