Lentil kisses, known as bori, are little sun dried lentil nuggets that have often been handmade and left to dry in the hot, warming Indian sun. My mother-in-law often brings me back a jar upon visiting her beloved home city of Kolkata. They remind me of a lentil version of Hershey’s chocolate kisses – the type that visitors from the US often used to bring me and my siblings when we were young. Making bori yourself is not too tricky – there is a lovely recipe here if you are keen – if you live in a country where you can rely on warm, glowing hot sun, but as the weather in the UK is at best erratic when it comes to sunshine, it would probably be rather tricky.

Whilst I realise not everyone has a Benglai mother-law-in who can magic up bori at a whim, you can get hold of bori in London at any good Asian grocers. In Kolkata, bori is also cooked with fish dishes or with greens, but today I wanted to show you a simple recipe that uses up vegetables that you are likely to have in your fridge. It makes for a very satisfying and enjoyable vegetable meal that is perfect eaten on it’s own or accompanied with some dal, rice or flat breads.

Good luck in your quest for lentil kisses. They are seriously not that hard to seek out. Let me know how you get on.

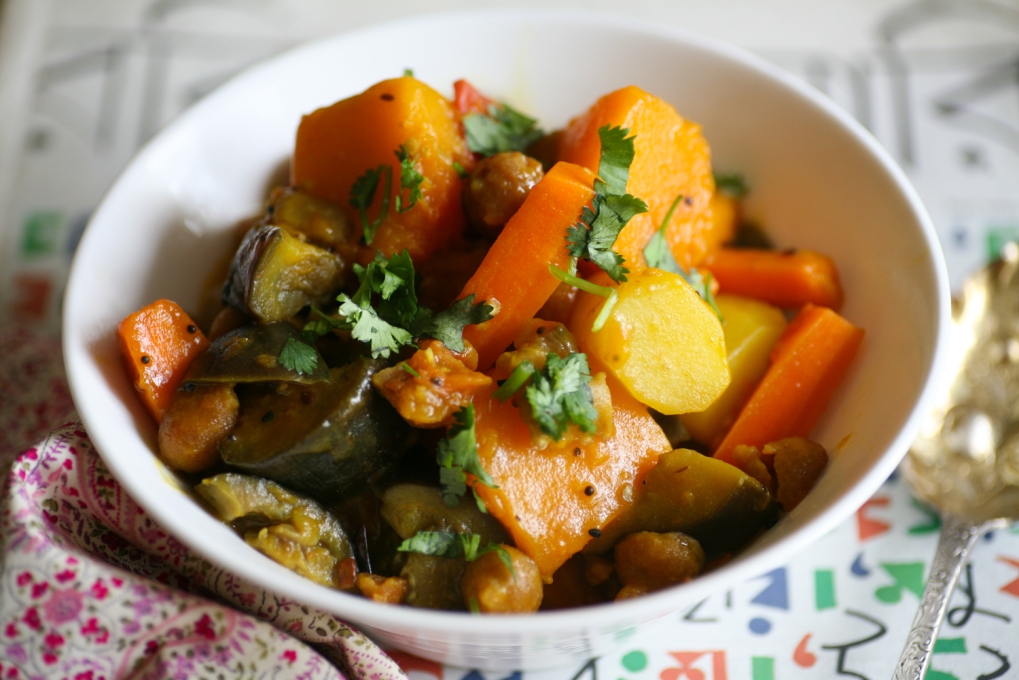
Vegetable Curry with Lentil Kisses
1 large handful of bori (lentil kisses)
2 tbsp groundnut oil
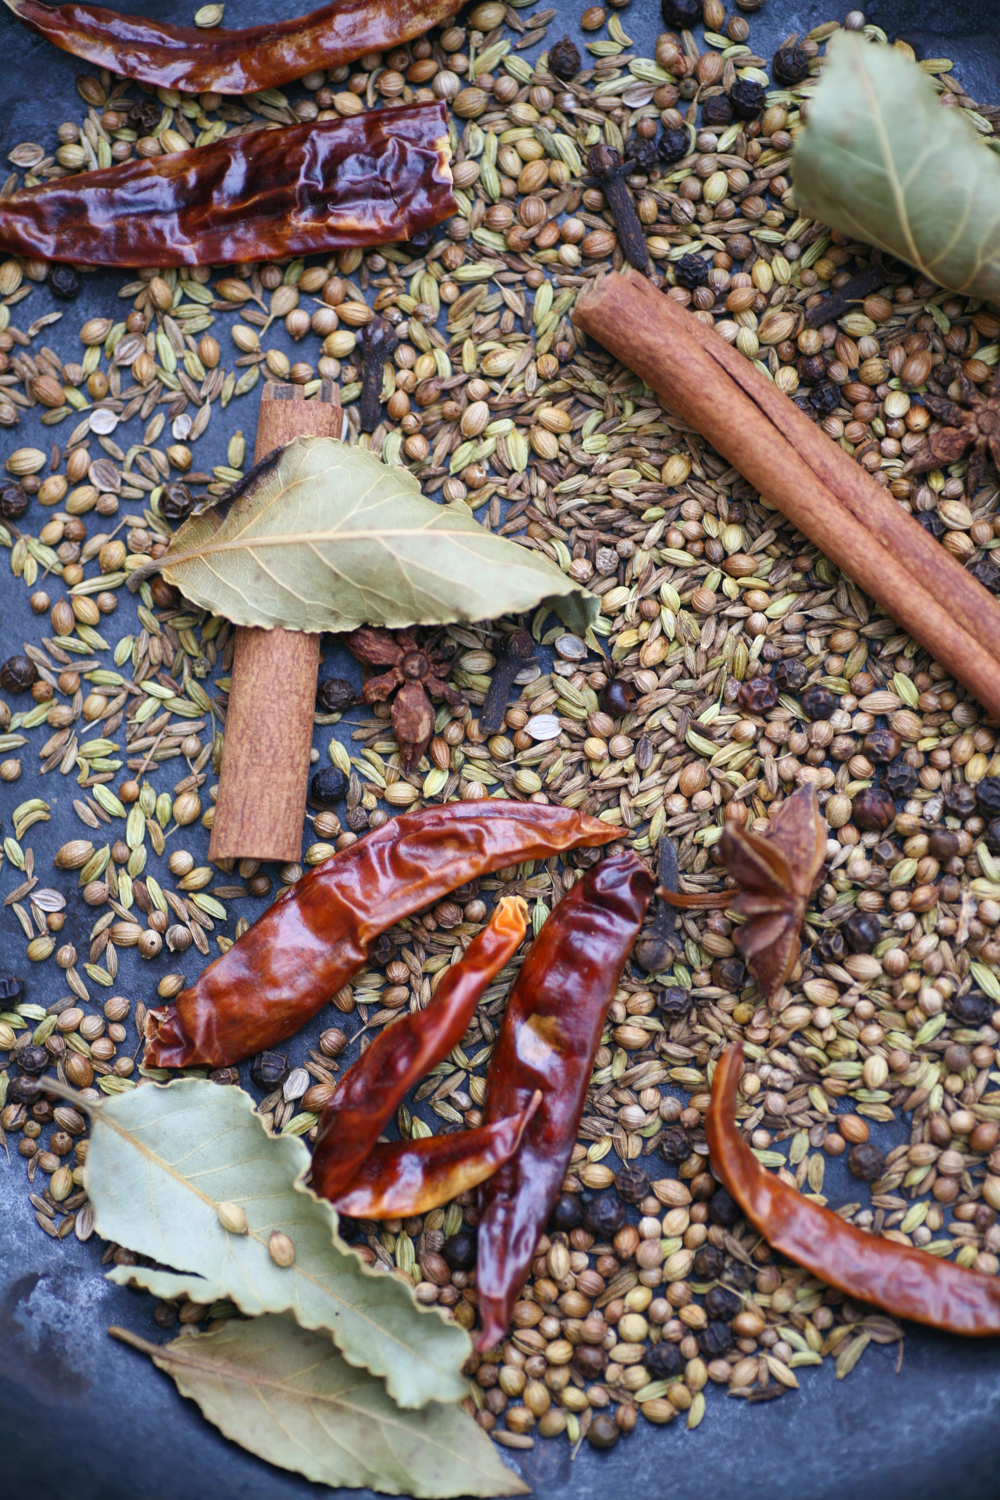
2 small dried red chillies
1 tsp panch phoron
1/2 tsp turmeric
1/2 tsp chilli powder, optional
2 carrots, cut into bite sized chunks
3 medium sized potatoes, quartered
1/4 of an aubergine, cut into bite sized chunks
2 tomatoes, finely diced
1 tsp salt
to serve
1 handful of fresh coriander
- Heat a tablespoon of oil (or thereabouts) in a pan and when it is hot add the dried chillies and allow them to blacken a little, this will take no longer than a minute, but may make you cough a little so beware!
- Add the panch phoron which will begin to fizzle almost instantly. Then add the turmeric and chilli powder (if using the latter) and add the chopped carrots and potatoes. Move around the pan, lower the heat add a couple of tablespoons of water and place a lid on the pan and leave for 15 minutes, stirring at intervals.
- Meanwhile in a separate pan add another tablespoon of oil and when it is hot add the bori/lentil kisses so that they bronze slightly in colour. This will only take a few minutes, if you keep moving them around the pan. Remove them from the pan with a slotted spoon and place on a plate with kitchen roll.
- In the main pan now add the aubergine, salt and fresh tomatoes and stir into the other ingredients. Add a little more water to help soften the ingredients, but not too much as you do not want the sauce to become too runny. Place a lid on the pan and leave for another 10 minutes.
- After 5 minutes check to see if the potatoes and carrots are softening. Add the bronzed bori and gently stir into the vegetables. Place the lid on the pan and leave for a further 5 minutes or until the potatoes and carrots have softened sufficiently.
- To serve add freshly chopped coriander.
It is wonderful to accompany with some dal and rice or Indian flat breads.